Back to work!
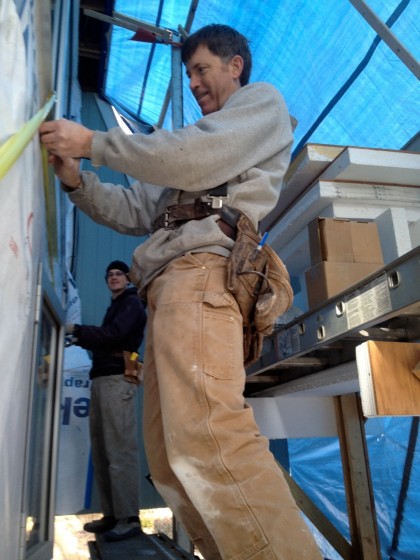
So David and Joe have been getting the un-sided end of the house ready to close up while the plasterers finish up downstairs. David can update us on the proceedings thus far.
——————————————————————————————-
Now that the siding is all stained and had a chance to dry, we can get ready to install it. First up: flashing the sides and tops of the door and window openings.
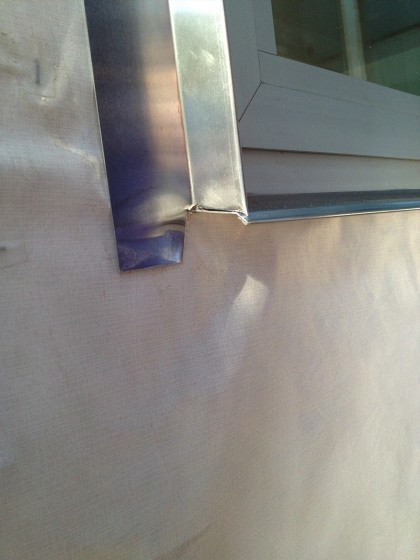
Here, a side piece was carefully mitered onto the existing sill flashing that went in when the window was installed…
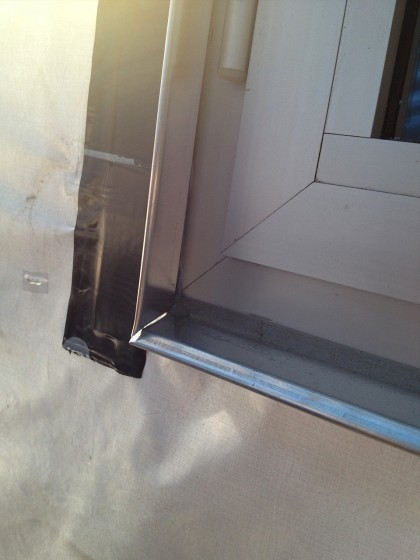
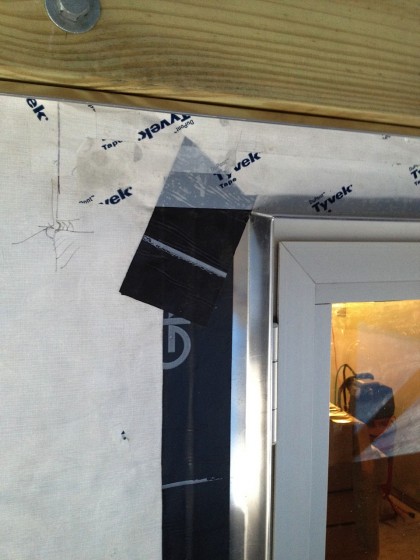
Next, the side flashing got nailed to the house and then taped to the house wrap. The joint between it and the sill flashing, as well as the joint between it and the window frame, will be caulked with the same low-VOC grey caulk we used between the windows and the house…
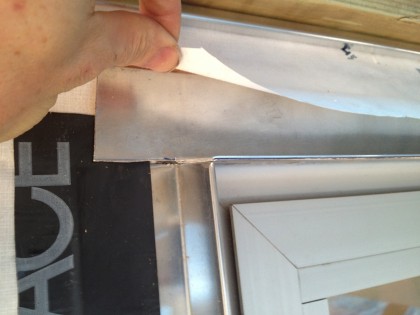
The top flashing rests on the two side pieces of flashing and was also mitered. It extends up through a slit in the house wrap and was nailed in place…
The corner junction of the top and side flashings was taped and then the house wrap taped down to the top flashing. The goal is to shed water out as it goes down, never allowing it entry to the house.
That piece of pressure-treated wood with the big bolt in it and the nice piece of flashing under make up the the deck ledger…
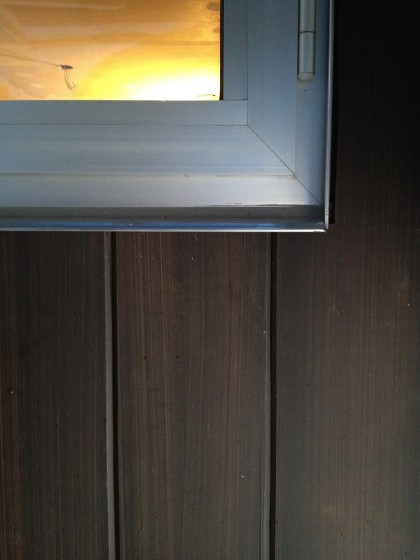
The ledger board had to go in before the siding, but that story deserves a post all its own. Here’s a sneak peek of the newly stained siding installed around the big downstairs window…
Hot. Love how clean it looks — no more clunky trim! Don’t worry, the blue strip above the siding is just the blue of the overhead tarp captured in the shiny new flashing.
Tags: construction, remodel
[…] Around the slider, Joe and David created and installed aluminum flashing to match what they did around the window… […]