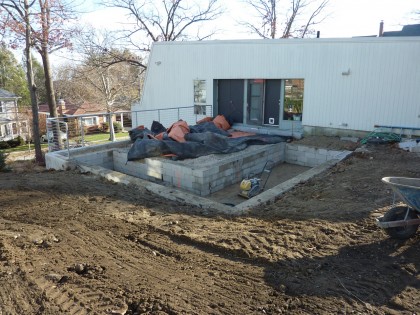
Pond liner guy shows up again for the third time this week. Now he claims there’s not enough sand in the bottom of the pond and he can’t put in the liner. Again. Why he failed to notice that at the beginning of the week so that someone could prep the pond god only knows. You irk me, pond liner guy.
Archive for the ‘projects’ Category
third time’s a charm
Friday, April 29th, 2011rats
Wednesday, April 27th, 2011And double rats. The pond liner dude showed up two days in a row only to claim he can’t put in the liner. Now he says Friday. Or maybe Saturday.
He also says he’s not going to hold up our project. Yup. Not holding it up at all. We’re just putting the entire yard on hold until he can make it happen. And so we return to pond inaction. *sigh*
pond action
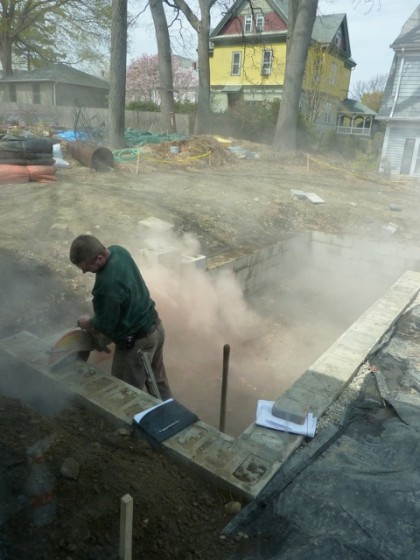
Monday, April 25th, 2011Yep, it’s happening. The pond is finally coming together. Yay! On Friday, the thermal blankets came off and the intake pipe for the skimmer went in. First, the cinder block wall had to be cut…
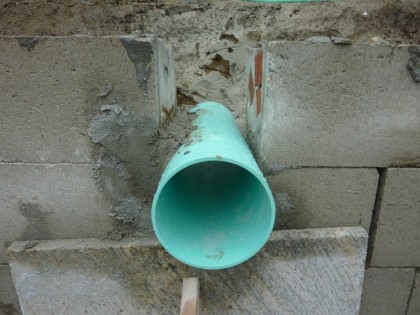
Then the pipe got cemented in and left to harden up over the weekend…
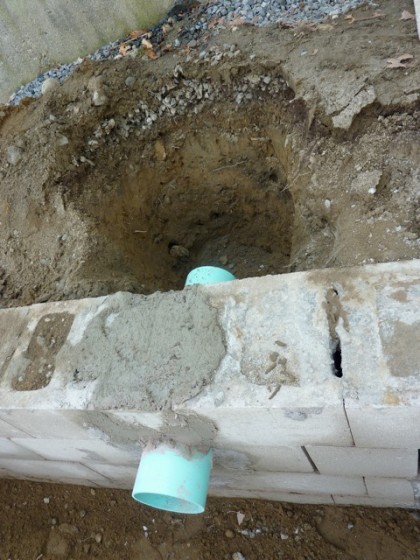
Today, more cement went in. This baby’s not going anywhere…
Eventually that pipe will connect to the pond filter and pump. More on that when I have something to show you.
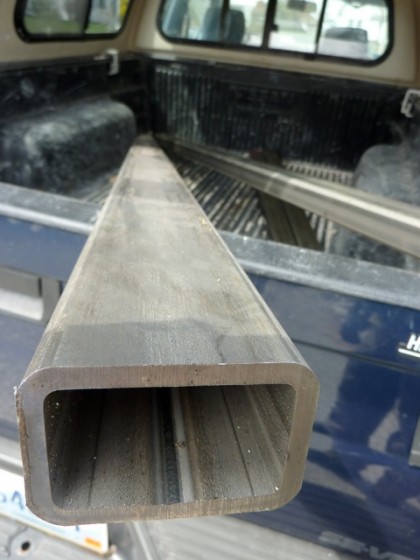
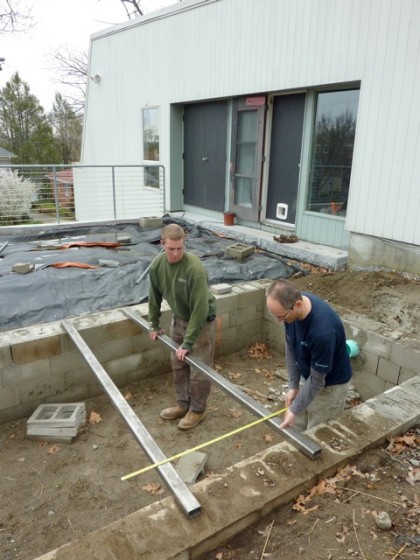
With specifications from the engineer, RI Welding was able to make the steel supports that will hold the two bridges across the pond. In case you’re wondering, yes, that’s a 1/4″ wall of Type 304 stainless steel (whatever that means)…
This afternoon we decided on the placement of the bridges…
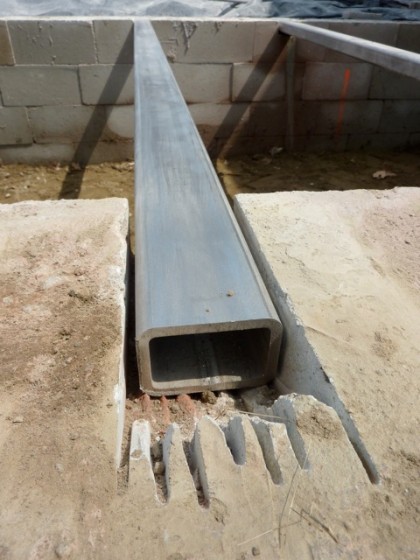
After much noise and cement dust, the walls were notched to hold the steel in place…
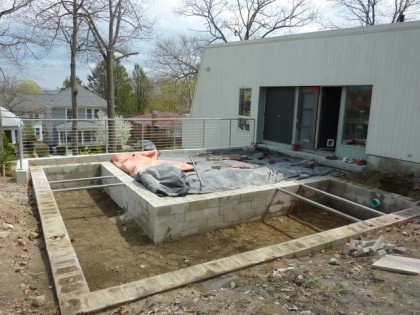
Tomorrow, the flexible pond liner will go down with the steel supports right on top of it. With the steel in, you have a pretty good idea of what it’s going to look like when it’s finished…
I wonder if we’ll have a pond and patio ready for celebrating Cinco de Mayo? Probably too much to hope for. But I’ll keep some limes handy anyway. You know, just in case.
progress you’ll have to imagine
Thursday, March 31st, 2011Sorry, still no ability to post photos. Argh. Hoping this is resolved soon. In any case, here’s what you haven’t really been missing…
- No decision on windows yet. And man oh man, that really needs to happen soon.
- The first orders for bath fixtures for downstairs have been placed. This is a good thing. Means we can soon schedule the plumber to do the rough-ins.
- Bar sink and faucet ordered. Just need to settle on a mini fridge so we have proper measurements.
- We were pondering tankless water heaters because they take up so little space. But the expense and the not-ready-for-primetimeness of tankless means we’ve decided to go with a heat pump/hybrid water heater set-up. More on specifics another time.
- The electrician is lined up to get the downstairs moving. Yay!
- Need to order the cork for the downstairs floor and ceiling soon. Soundproofing materials for the ceiling decided on.
- We’ve gone round and round on the wood we’d like to use on all the built-ins in order to simplify finishes and create continuity throughout the house. And the winner: FSC walnut. Surprise! I thought it might be bamboo. First room to set the tone for the rest of the house: the downstairs bath. Would have preferred to start with the living area and work our way down but oh well.
- Speaking of built-ins, we better decide which Murphy bed system to go with for our fabulous new guest accommodations downstairs — lots of time spent researching. More on that another time.
- Trip to Ann Sacks coming up again soon so we can finalize a tile order. Two selections made. Guess I’ll have to show them to you later.
- After countless phone calls, David finally located someone to help design the HVAC system and a house scientist (no, really) to help us with insulation and house sealing details. What does it mean exactly? Hopefully it means the downstairs walls can go back in soon. I’m sure David will do a post on this someday.
- My floating steps across the koi pond: no go. Waah. Redesigned as plank bridges. The engineer has provided his calculations for the steel. Rhode Island Welding is down to do the project and the metal is ordered.
- The remainder of the pond and the patio is… uh… slow to move forward. The liner, the pump, yadayada. All the details still a little hazy. The schedule, disappointingly non-existent, and here it is the beginning of April.
- Made my first plant purchase of the year last week: three miscanthus giganteus via eBay. This means gardening season has begun!
Oh yeah, it’s snowing. Ha. Ha. April Fool’s on us.
how to walk on water?
Sunday, March 20th, 2011It’s officially the first day of Spring! Which means it’s time to get the outdoor projects moving again. Tomorrow we’re meeting with Jim Egan of Land Design Associates for the first time since early December. Up for discussion: how to get across the koi pond.
Let me refresh your memory. This is where we left off with the pond in December, with walls in and the bottom tamped down…
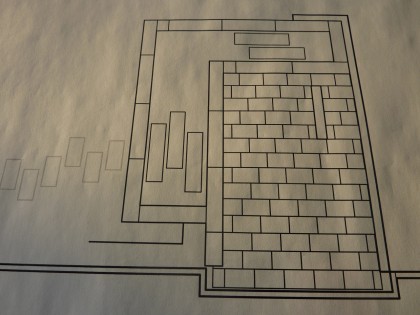
This is the original plan for the pond, with “floating” steps across the water on both sections of the L…
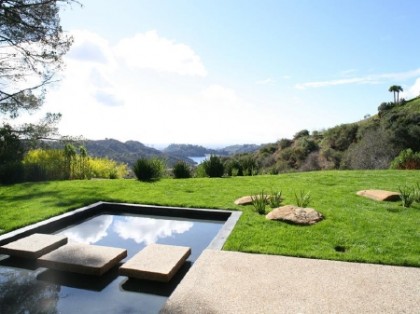
They’d look something like this only only slightly staggered and in granite planks rather than concrete…
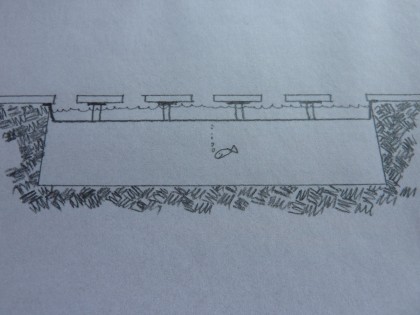
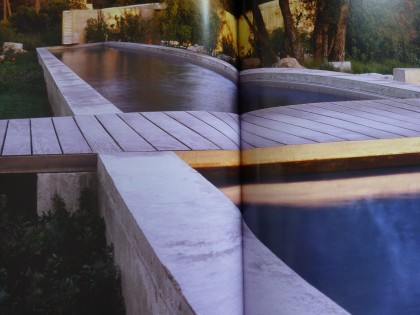
But how the heck do you make that a reality? The Neutra pond looks like it has a concrete bottom. In which case it likely has concrete piers underneath the stepping stones for support, like this…
Our pond will have a flexible EPDM liner, so piers won’t work. Intrusions into your liner = leaks.
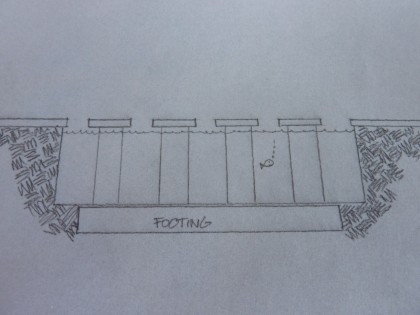
So if we can’t support the stepping stones from below, we have to support them somehow across the width of the pond. You could attach them to a steel rail bridge, keeping in mind that you want the stones flush with the top of the wall…
But that makes it difficult to stagger the steps as Jim did in the original drawing. There’s also some question about how many rails we’d require to carry the load and what the maximum overhang of the rock could be based on its flexural strength.
Floating steps are my first choice. But if they turn out to be too complicated or too expensive to make, I now have a third approach I could live with. While flipping through the pages of this amazing tome…
I spied this bridge…
As you can see, the wood planks are fixed to steel rails that are inset into the concrete, which in our case would be the granite cap that will top off our cinder block walls. No floating steps but still pretty minimal.
Love that look but the bridge wouldn’t necessarily have to be flush with the top of the wall. It could also rest on top of the stone cap. I’d be okay with that. I guess we’ll see what the consensus is tomorrow.
thurs progress report
Thursday, March 17th, 2011tubby tuesday
Tuesday, March 15th, 2011tues progress report
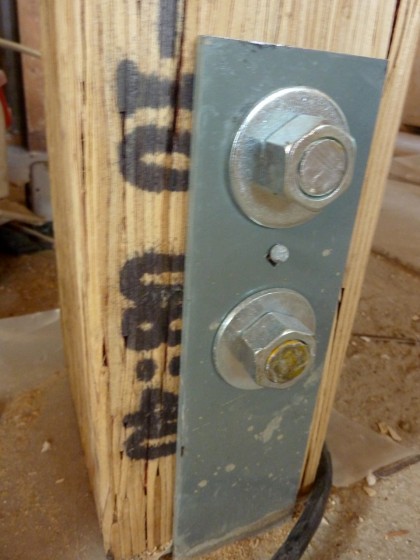
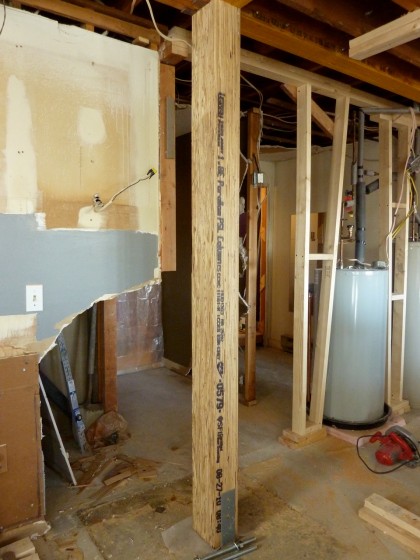
Tuesday, March 15th, 2011When we left off last week, the new column went in downstairs. Since then, David bolted the column to the metal bracket that was cast into the newly poured cement…
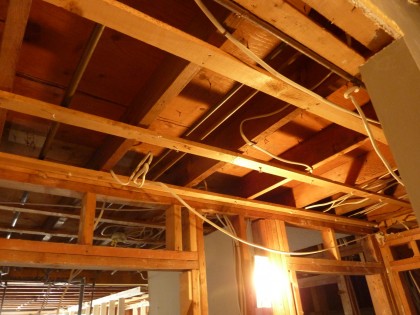
The ceiling came down everywhere…
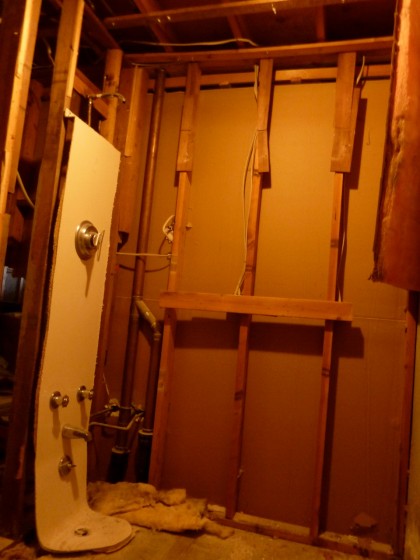
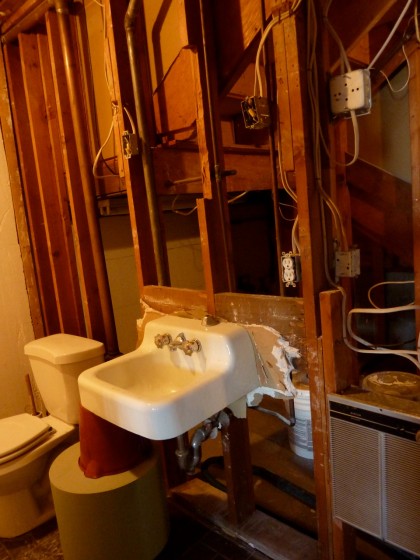
Destruction began in the bathroom. The sheetrock is now gone…
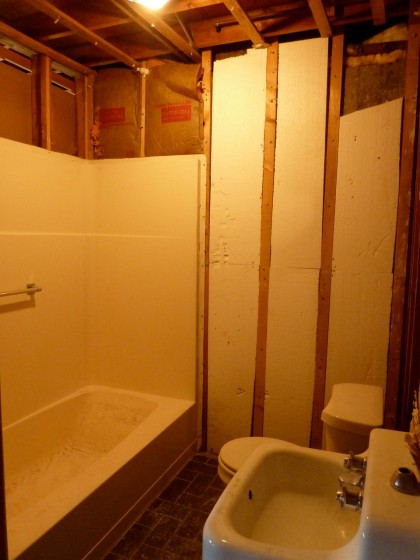
Our dark secrets are fully apparent to all as you can easily see past the sink and toilet into the storage closet under the stairs…
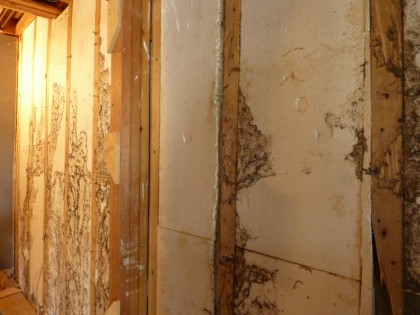
When David pulled off the sheetrock along the rest of the north wall where we discovered past termite activity, he revealed more. Ewww, so much more…
They ate the paper backing right off the sheetrock, the hungry little buggers. No live termites apparent. (Almost done with my post on how we’re going to deal with this.)
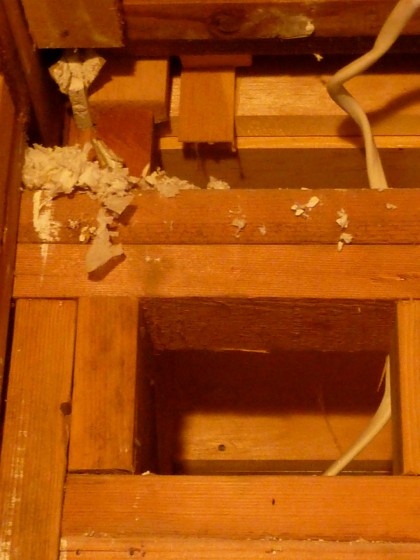
Meanwhile, on the other side of the room, tearing out the wall uncovered a mouse nest…
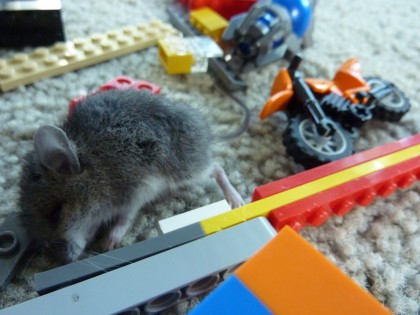
Ralph the Mouse is no longer with us. He died in an untimely motorcycle accident last fall…
I’ll alert Beverly Cleary.
mon progress report
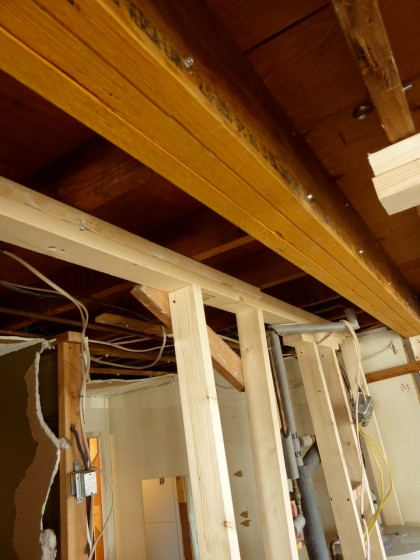
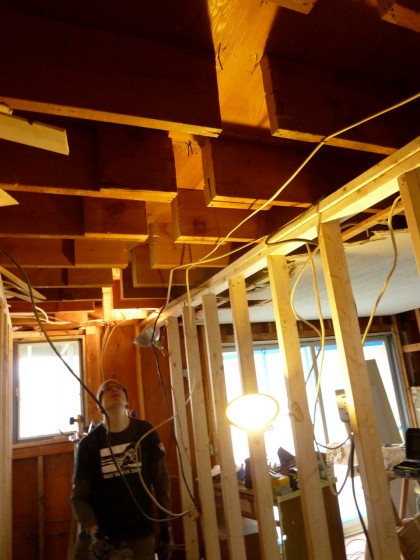
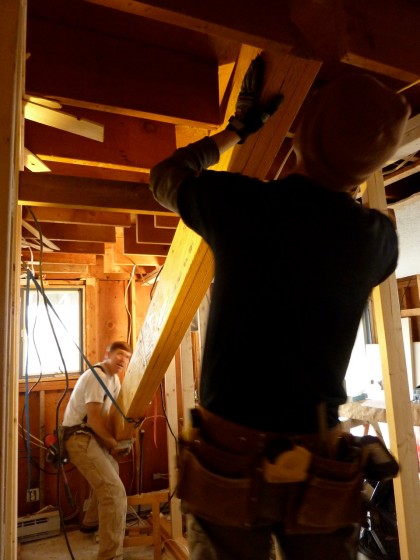
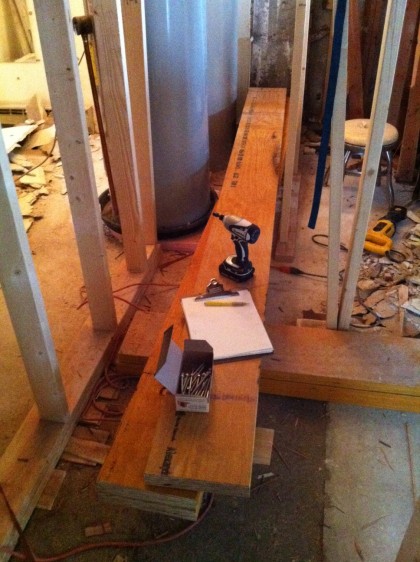
Tuesday, March 8th, 2011No futzing around here, no sir. Things are moving along nicely downstairs. Let’s see, we left off the other day with new beam #1 in position just below its ultimate destination. It is now installed (support walls are still in place)…
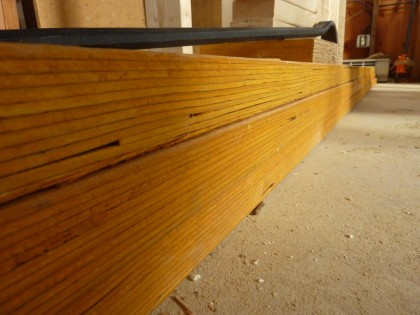
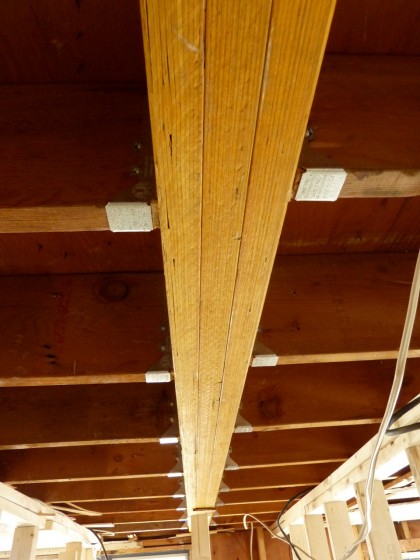
After that, beam #2 was constructed from three beefy LVLs…
David cut up and pulled out the old beam…
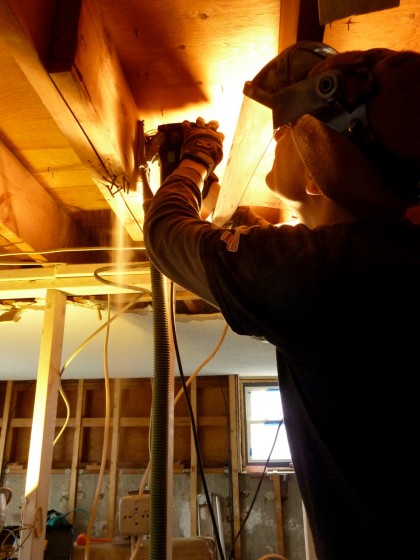
Which then left cutting through the old joists and removing the nails…
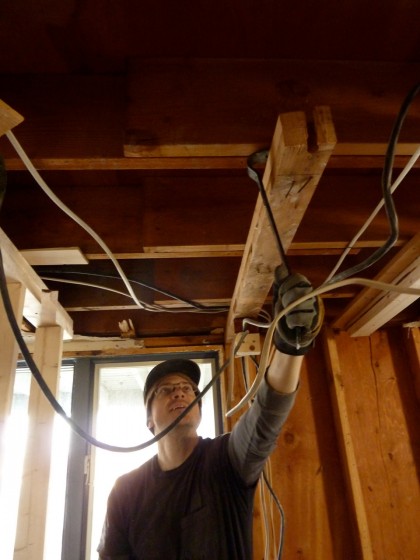
Until there was a clear pocket for the new beam to go into…
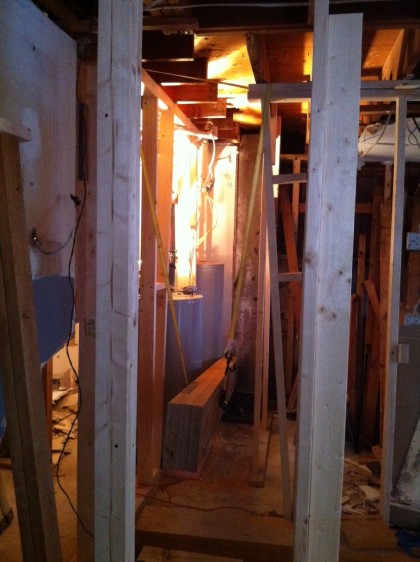
Joe and David hefted the new beam into place…
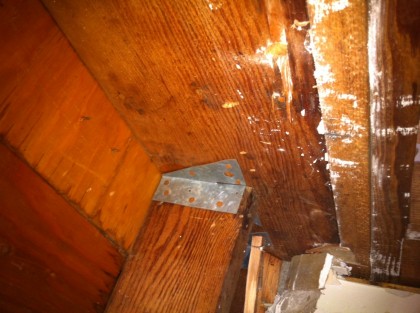
And there it is! New joist hangers in, all clean and shiny…
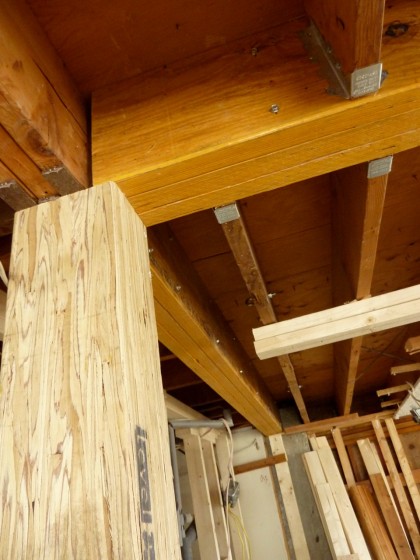
Meanwhile, the concrete for the new footing hardened up as it should, so it was time to put in the new column that supports quite a bit of the house…
At the bottom, it will get bolted to the steel plate that’s set into the concrete. And at the top, metal plates will soon join the three beams to the new column…
Stay tuned.
wed progress report
Thursday, March 3rd, 2011As the concrete footing continues to harden up downstairs, what have David and Joe been up to? Apparently plenty. I’ll let David tell you in his own words what the heck’s going on down there.
* * * * *
Today Joe and I cleared the way for one of the two beams going in downstairs. The existing framing wasn’t going to cut it. It was a double 2×10 sitting mostly on top of a wall, with only about a 3′ span over the hallway. First Joe built a temporary support wall to pick up the load so we could remove the wall under the beam…
Then we removed all the vintage (and upside-down looking) joist hangers…
We cut through all the nails we could and levered the old beam down and out…
Easier than it sounds since there isn’t much to lever against. I put my wrecking bar through the floor upstairs in two spots when I got a little over-enthusiastic. Oops. Luckily the carpet is coming out and new flooring is going in, so no permanent damage done.
The new beam will span over 9′ and carry a new point load from the upstairs renovations, so it has to be beefy. It’s made up of three pieces of 1-3/4″ x 9-1/4″ LVL fastened together with hefty screws into one massively strong beam…
I put the first two together on saw horses and then moved them into place before adding the third, too heavy to move by myself otherwise.
A little magic and boom, it’s strapped into position and now awaits final installation.
A long day but we got a lot done.
