Archive for the ‘projects’ Category

the upstairs plan

Tuesday, January 18th, 2011

On Friday I showed you the downstairs plan we worked out with Emily, our architect. Speaking of which, we met with her and the engineer today to make sure everything’s hunky-dory before we go to the city for the permit. Getting closer. While we wait for final engineering drawings, let’s discuss the rough upstairs plan that Emily drew up. K?

Stage Two: Main Living/Kitchen Area

The upstairs remodel will have to wait for warmer weather — which is fine since we’ll be plenty busy with the downstairs. Upstairs is more involved than the downstairs as this is where the main living area and kitchen are located. Feel free to take the visual tour of what we want to do (I posted that back when we thought upstairs was going to be Stage One).

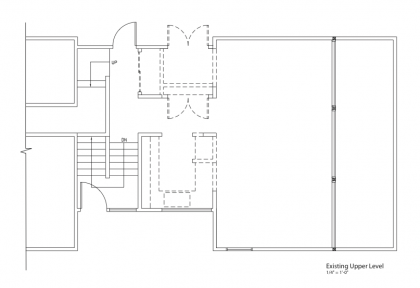
The upstairs currently looks like this (click to biggify)…

existing upper level

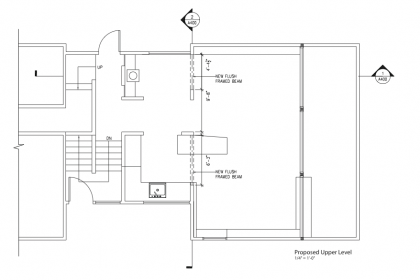
With the changes we want to make, it will look more like this…

proposed upper level

Not easy to spot the differences but here they are:

Just like downstairs, we’re knocking out a few load-bearing walls and putting in beams in order to open up the space. We’ll gain some breathing space in the kitchen by putting in a cooking island/breakfast bar that juts into the living area, plus we’ll go vertical with storage and add a large cooling tower/skylight over the whole space. Facing out to the backyard, we’re knocking out the giant closet and putting in glass sliders and little sitting area with a fireplace insert. The main living area will be flanked by floor-to-ceiling built-ins with built-in seating. The dining area next to the tiny kitchen will get a built-in sideboard/serving shelf as part of its floor-to-ceiling built-ins. We’ll replace current sliders and windows, put in a new floor and ceiling, and improve lighting and heating.

Basically, nothing goes untouched. So do you think we can get it all done in 2011? Let the wagering begin.
the downstairs plan

Friday, January 14th, 2011

I go on and on about how this remodel is really going to happen and yet it looks like nothing actually does. But behind the scenes, things are happening. Our supastar architect, Emily Wetherbee, has met with us several times to get the Stage One plans finalized. Shall we take a look?

Stage One: Downstairs Entertainment/Guest Area

We always thought the upstairs would be Stage One. But because we’re planning structural changes, we want to begin at the bottom and work our way up. Plus timing is everything, right? It’s winter and the work we want to do upstairs in the main living area and kitchen involves skylights and tearing out walls. Who wants a blizzard in their livingroom? Not us. It just makes more sense to begin downstairs — it’s all interior work down there.

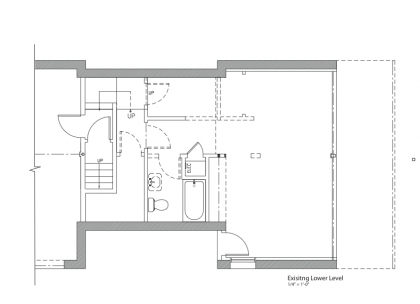
The downstairs currently looks like this (click to biggify)…

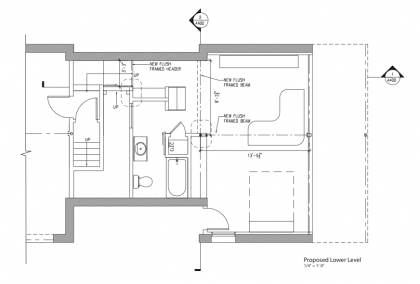
With the changes we’re about to undertake, it will look more like this…

10910_proposedlowerlevel

So what are the differences — other than furniture being drawn in?

Essentially we’re knocking out some space-interrupting, load-bearing walls and replacing them with two headers that will make the downstairs less chopped up. We’ll move the water heaters out to gain a new access corridor and built-ins, tear out the tiny efficiency kitchen we’re currently relying on and replace it with an office area, gain a few feet of bathroom space, add storage space plus a cushy Murphy bed for guest visits. Oh, and a wet bar, since we already have the plumbing. There will be lots of other details, like new windows, new floor and ceiling, eliminating window and door trim, new lighting, etc. etc.

Because we’re dealing with load-bearing walls, Emily also had to take into account future plans for the upstairs. Interrelated pieces that have to go to both the engineer and the city in order to get a building permit. I’ll show you on Monday. Thanks, Emily, for starting off our New Year right!

back to the bunk

Monday, January 10th, 2011

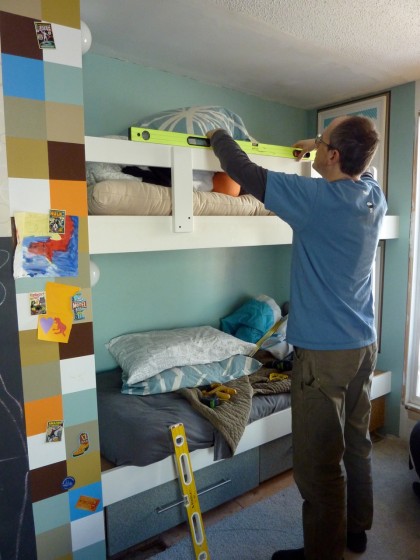
OMG, completion of bunk bed is finally underway!

bunk bed in progress

It only took 10 months to get back to it but now it’s actually happening! I guess last year’s February post turned out to be a cliffhanger. But lookie…

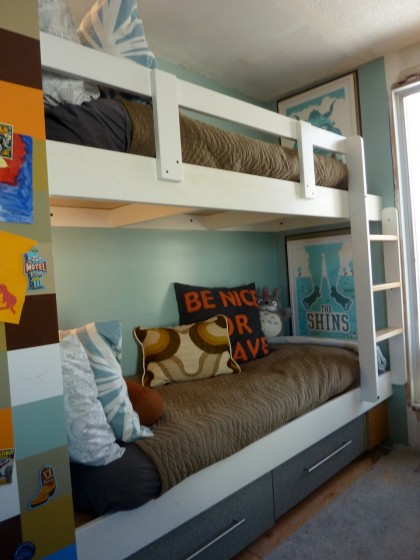
bunk bed with ladder and rail

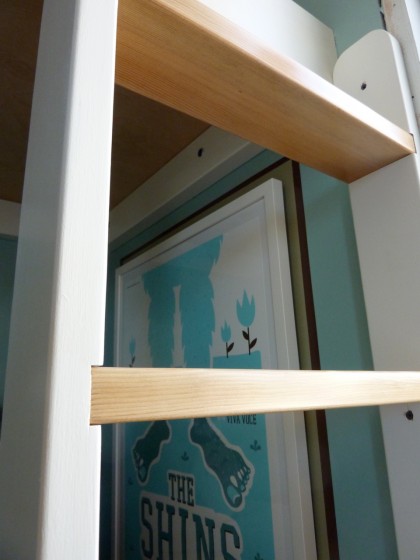
bunk bed ladder detail

I like how the wood treads echo the wood on the bunk above. Good work, David!

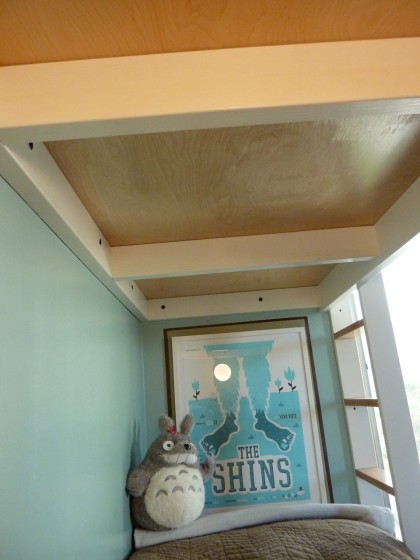
bunk bed view

(Shoulda straightened that poster before I took the picture, eh? Oh well.)

Maybe in another 10 months we’ll get around to finishing the ceiling, floor and trim. *sigh*

if only…

Tuesday, December 14th, 2010

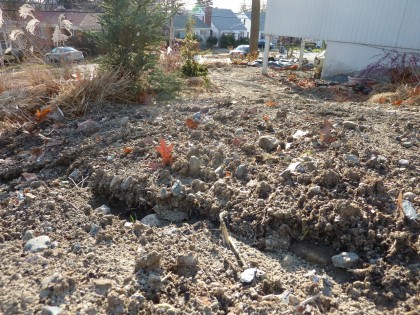
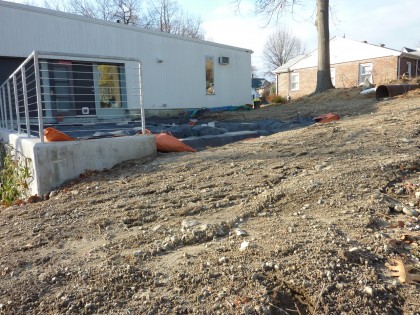
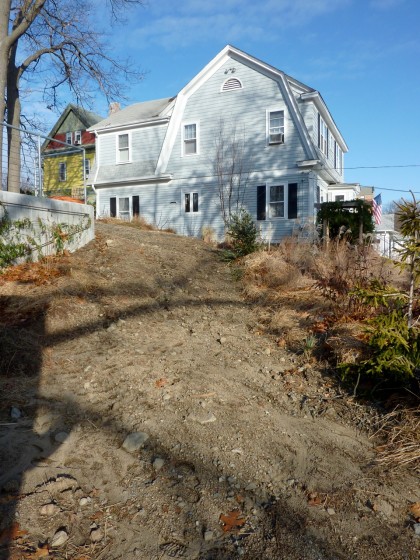
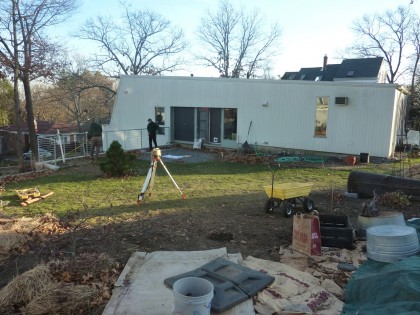
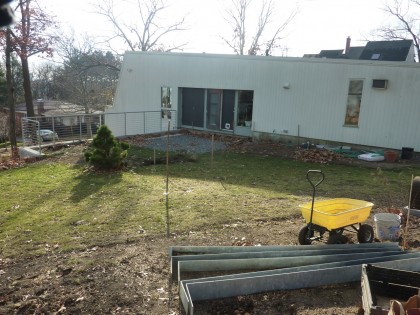
Something occurs to me as I look out over the yard of almost shins-deep, rapidly hardening mud…

wasteland 1

wasteland 2

wasteland 3

Had we chosen the Circle Up landscape layout from among our many choices, the pond and patios would probably be done now. Probably. Maybe. Smaller pond means less digging. Less digging would probably have meant fewer sacrificed plants and less brand-new topsoil carted away — both of which will have to be replaced. Now we can look forward to fabulously mucky, slippery journeys up and down the slope after every snow and rain shower, all winter long. Oh joy.

Curse you, hindsight. Curse you.

patios: day 6

Monday, December 6th, 2010

brrrrrrrrrrrrrrrrrrrrrrrrrrr!!! 23 degrees this morning and it barely reached freezing today. Brisk wind didn’t make it any warmer, that’s for sure. Still, the Land Design Associates crew was here at 8 a.m. with their woolies on.

With temps this low, they couldn’t do anything involving concrete. Installing the flexible pond liner is a no go too as apparently it gets brittle below freezing. That made it a clean-up day instead.

Fill went in around the backside of the pond walls…

day 6 backfill

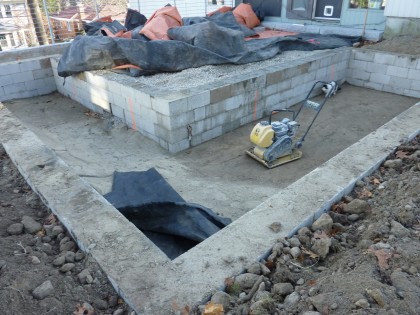
The floor of the pond was raised up some with base, raked to level, tamped down…

day 6 boys at work

day 6 eod

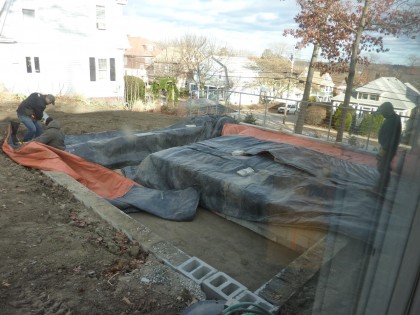
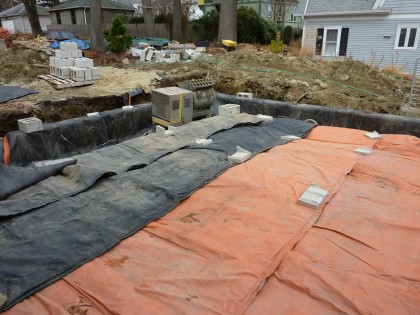
Piles of soil were leveled out and the yard was graded back to something manageable. Then the pond and patio area were covered in thermal blankets again to keep the ground pliable…

day 6 thermal blankets

The stone pavers can’t go onto the patio until the pond liner is in and the coping around the edge of the pond is installed. Soooooo… looks like we’ll have a wait for the temps to rise before much more can be done up top. There is, however, a chance the lower patio may go in tomorrow.

Shall we  consult the Magic Eight Ball to see what it has to say about that?

——————————

Day 5

Day 4

Day 3

Day 2

Day 1

patios: day 5

Sunday, December 5th, 2010

So our patio project is really hardening up. heh heh. See all that cement?

day 5 cement

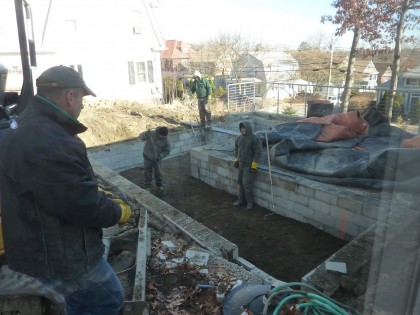
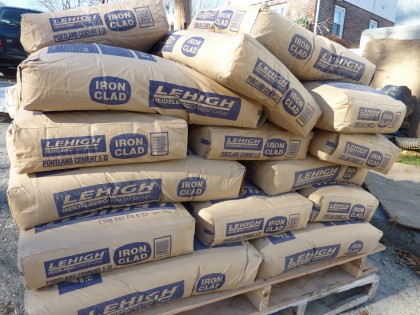
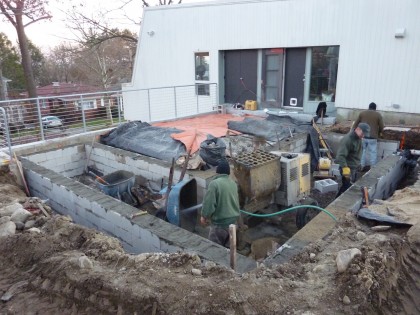
It’s now in our backyard. Day 5 was all about finishing the walls of the koi pond. That entailed a lot of cement…

day 5 cement day

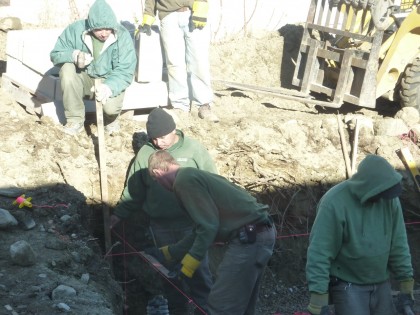
And a lot of ensuring that lines were squared up and things were level…

day 5 getting the walls level

And a lot of yard guts being moved out of the way and into the street…

day 5 yard guts

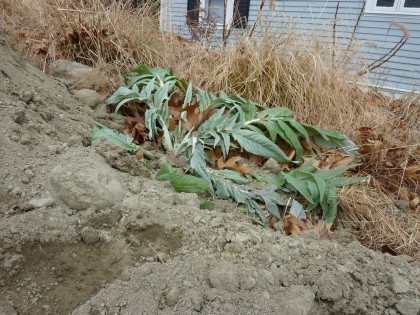
What does that mean for the plants in the margins of the yard?

day 5 poor cardoons

Let’s just say I’ll be digging out the cardoons and the euphorbias and yadayadayada.

It never made it out of the low 40s today. Brrrrrrrrr. But in spite of the cold those boys powered through the walls. Look at them go!

day 5 what a difference a day makes!

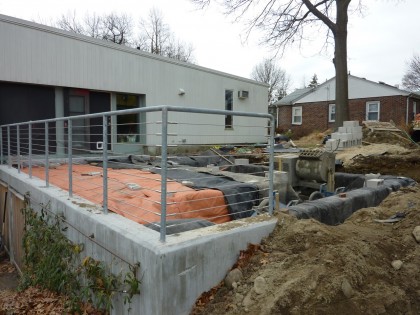
day 5 view from the corner

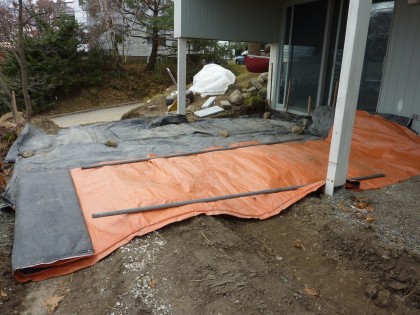
With the temps dropping down into the 20s at night, the crew decided to break out the thermal blankets on the newly poured walls and upper patio area…

day 5 thermal blankets

As well as the lower patio…

day 5 lower thermal blankets

That was a long Saturday’s worth of progress. Nothing going on here on Sunday. Except more hardening. And maybe I’ll get out there with a shovel to see if I can find my poor plants. Sorry plants!

————————

Day 4

Day 3

Day 2

Day 1

patios: day 4

Friday, December 3rd, 2010

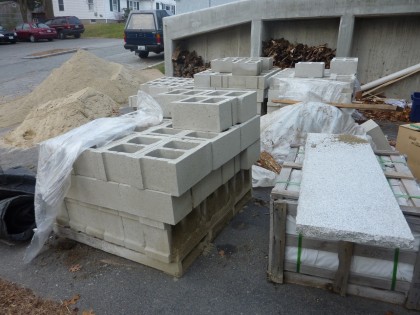
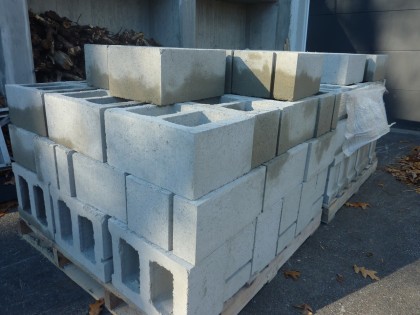
I swear we’re not building a pyramid. Really. Even though our full driveway says otherwise. No room for cars here. It’s full of sand. Cement block. Cement block. Cement block…

day 4 driveway full

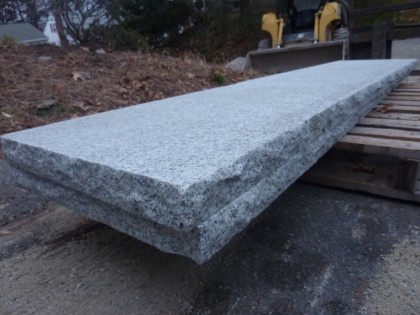
Oh, and the granite strips that will eventually create the border of the pond…

day 4 stone strips

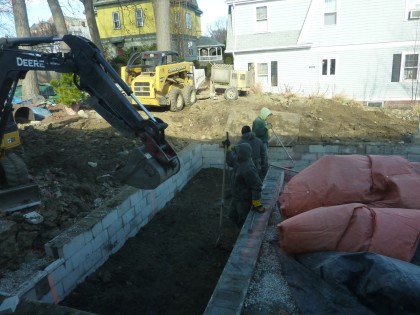
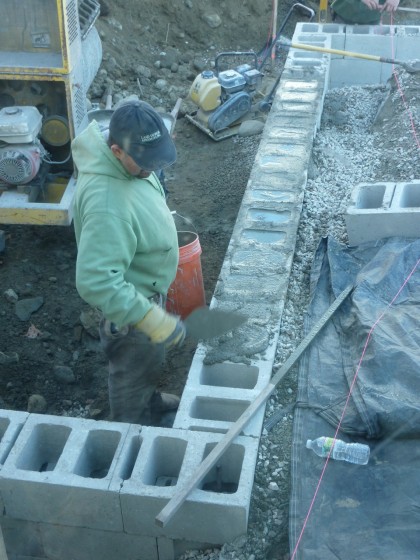
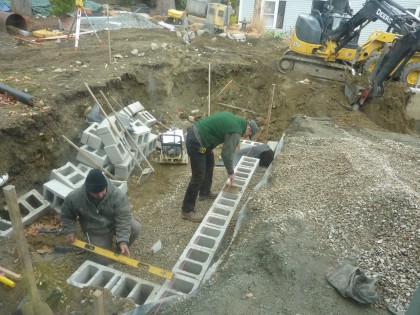
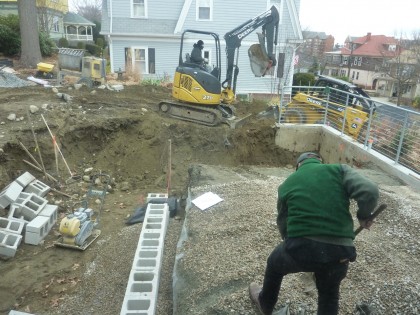
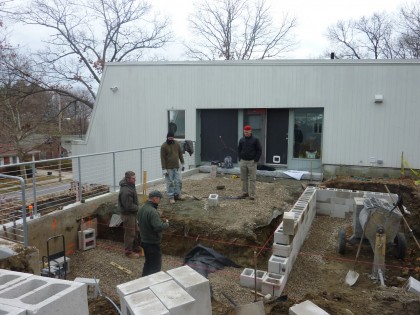
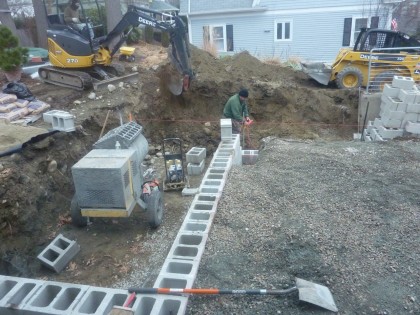
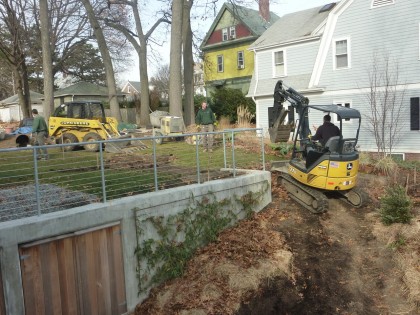
This morning the Land Design Associates boys started forming the walls of the pond. Those cement blocks were leveled and stacked and leveled and stacked, etc. Rebar pounded into place…

day 4 building walls

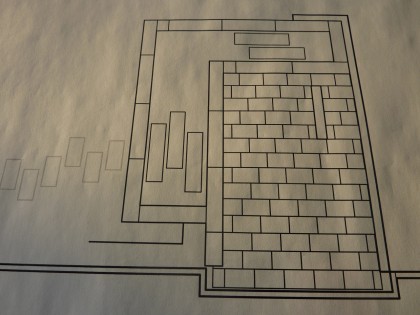
Remember how they’re out there designing The Island of Patio? Might help to look at the layout again. The pond wraps around two sides of the patio, with steps across the koi pond on both sides…
the winner!

So they started digging the top part of the L today…

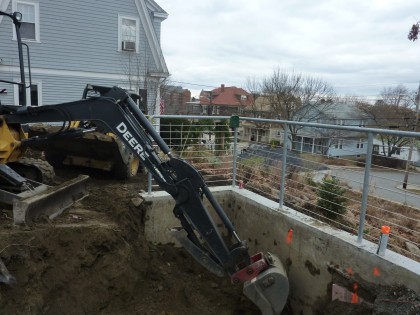
day 4 digging the other side

Now you can really begin to understand why I’m calling this The Island of Patio…

day 4 one big L

Easier to see what it’s going to look like it you view it from the outside edge…

day 4 patio as island

Island! Cue the Hawaiian music. Easy to see why they’re going to need all those cement blocks, eh?

day 4 more walls

At the rate they’re whipping through this project, this thing might be done next week. omg, a project that might actually be done! Hard to imagine. It hurts my head. Ouch.

————————

Day 3

Day 2

Day 1

patios: day 3

Thursday, December 2nd, 2010

The Land Design Associates crew was hard at work making the magic happen out there today. A quick rundown…

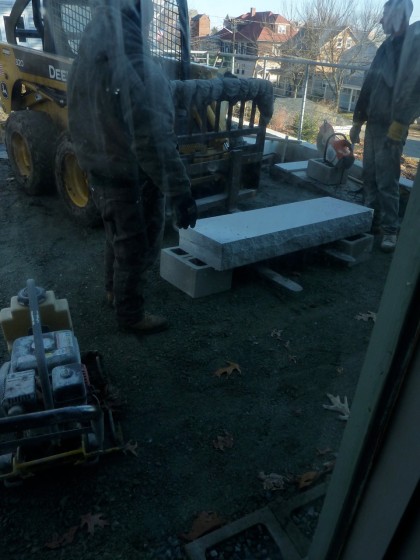
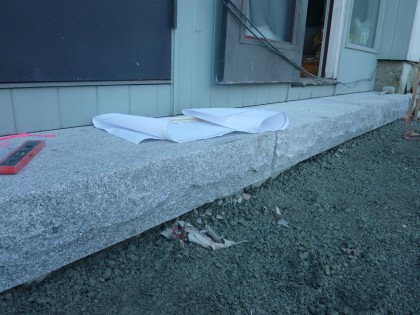
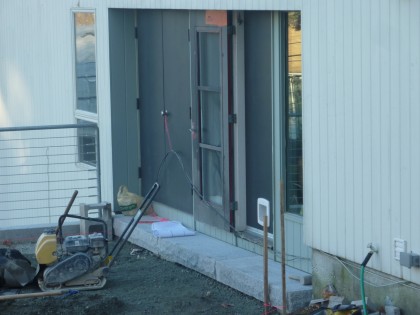
The 5′-long granite steps got hauled up the hill and readied for installation…

day 3 first step comes up the slope

Some trimming. Some pounding. And voila! We have a step…

day 3 steps goes in

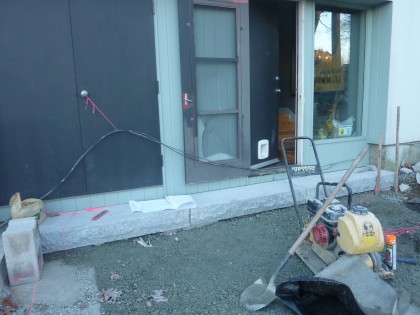
18″ deep to match the width of the stone pavers that will soon go in. It’s gonna be a little crazy having an actual step instead of the tree stump we’ve been using…
day 3 closeup on steps

Minimal. I dig it. Can you picture it with our future wall of glass? Looks good, right?
day 3 steps from a distance

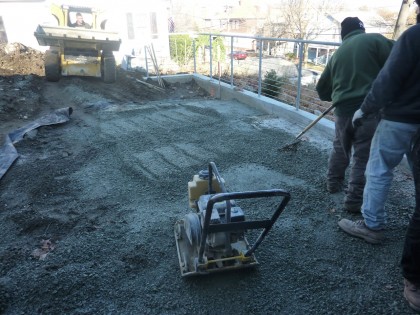
Further down the hill, the crew marked out the lower patio and prepped it for pavers…

day 3 lower patio prepped

Back up top, the big patio had more base material added and tamped down…

day 3 more patio prep up top

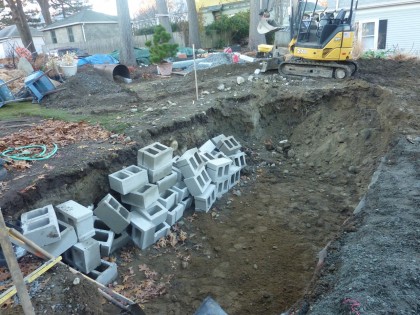
A massive load of concrete blocks arrived. These will eventually form the walls of the pond. Don’t worry, they’ll be hidden by the rubber pond liner…

day 3 concrete blocks

The blocks started making their way out back as the boys dug out the pond a little bit more…

day 3 soil removal

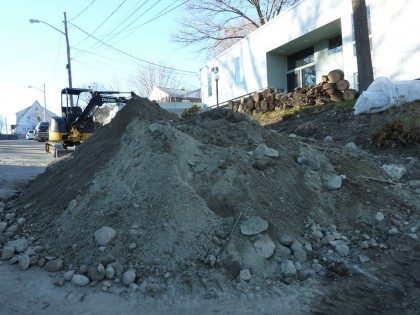
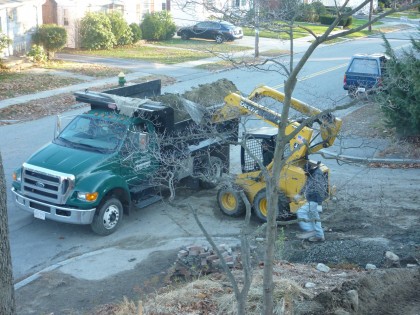
Which means truckloads of soil leaving our yard again…

day 3 haul it away

Can you believe the size of this thing?!

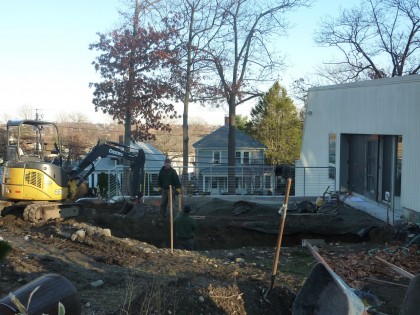
day 3 man that’s deep!

The finished pond will only be 2′ deep, so my luxurious giant pool is really just a pipedream…

day 3 giant pit

Giant pit, however — we got that. Yup.

————————

Day 2

Day 1

patios: day 2

Thursday, December 2nd, 2010

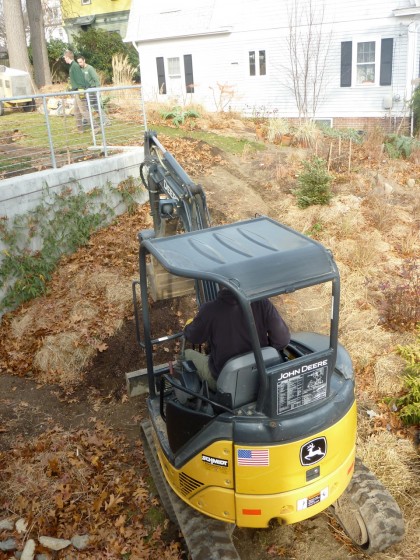
As I write this, the rain is blowing past the windows. Sideways. At about 50 mph. Luckily the Land Design Associates crew nailed everything to the ground. Including our cat — where is she? The boys got a lot done before the rain that arrived. Let’s see…

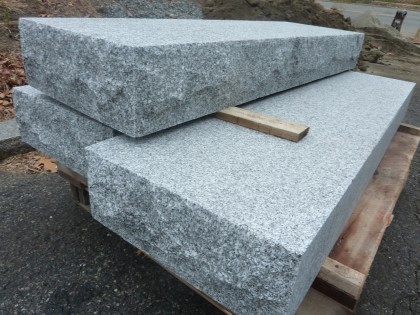
The 5′ long x 18″ wide x 7″ tall granite pieces arrived for the back step…

day 2 stone steps arrive

Cement blocks were trimmed to create a foundation for the granite steps…

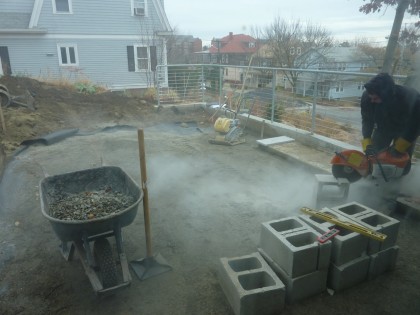
day 2 cutting concrete blocks

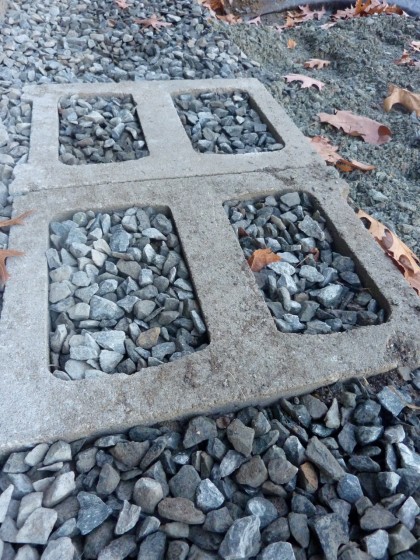
Then they got set in place and filled with crushed stone…

day 2 step base

The pond got dug out a little bit more….

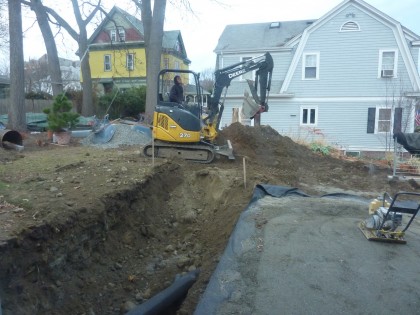
day 2 the trench

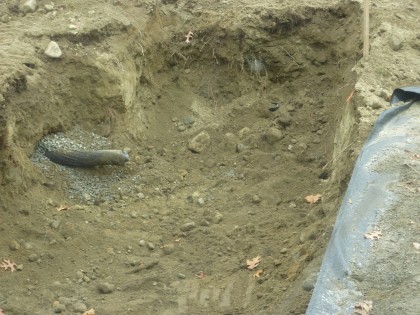
If you look closer, you can see where the rainwater collection tank’s overflow pipe got cut…

day 2 broken drainpipe

Oopsie. S’okay. We knew that might happen, seeing as its placement runs right below the pond area…

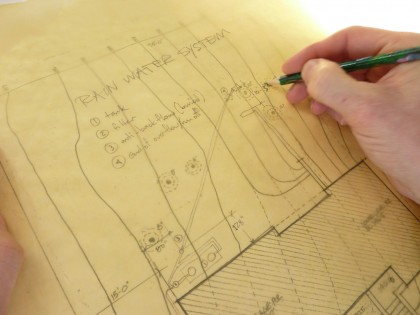
rain collection diagram

Luckily it’s an easy fix. Not a problem.

Meanwhile, more patio base material arrived…

day 2 more crushed stone

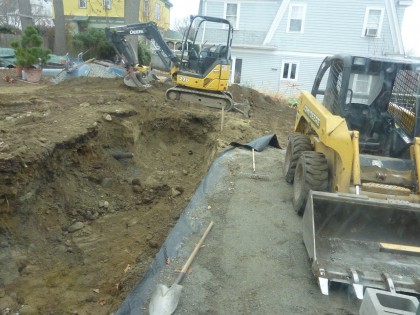
And the crew turned on the heavy machinery again to start excavating the lower patio…

day 2 lower patio

They got it level and tamped it all down right before the skies let loose…

day 2 tamping lower patio

And then Mother Nature told everyone to go home. Except us. We were already there.

day 2 Bambino, there you are!

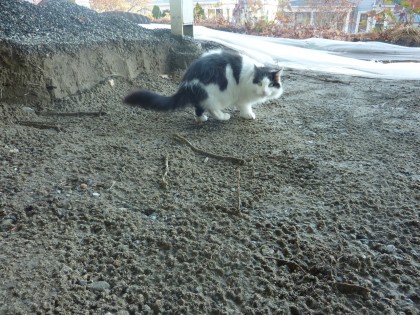
Found the cat.

————————

Day 1

patios: day 1

Wednesday, December 1st, 2010

And so the transformation begins! Monday afternoon, Jim and Connor came and marked out the site with their laser level…

marking out the site

all marked out

And then it was Tuesday! The day I had to do some letting go. Had to look away as the Land Design Associates crew dug up my Beni Kaze forest grass so it wouldn’t get crushed. Then they leveled a good portion of my carefully prepared bed. Funny how prep takes you days and days of manual rock removal and shoveling in compost, and yet how immediately it all comes undone…

day 1 destroying my bed, it’ll all be okay

*sigh*  The steel steps had to come out, too. Once that was done, they were able to get the machines up the hill and into the yard…

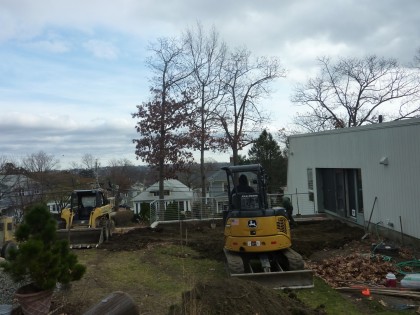
day 1 up the hill

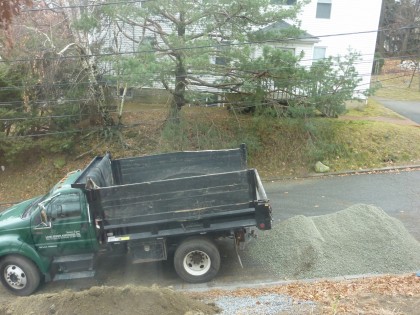
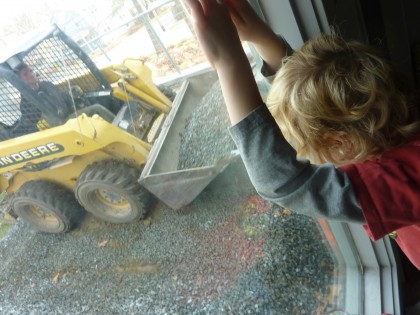
Gravel was moved out…

day 1 removing gravel

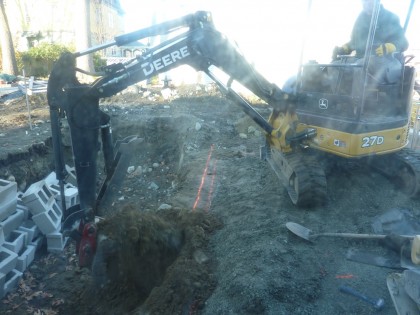
So the digging could begin…

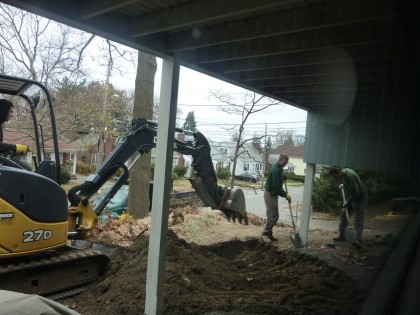
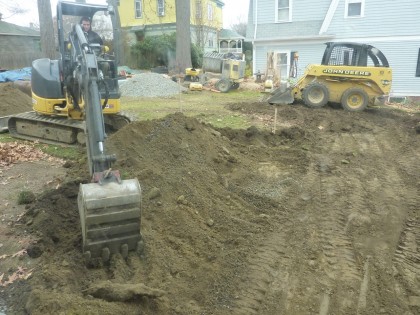
day 1 digging begins

Is it a pond?

day 1 is it a pond?

Or a lap lane?

day 1 or a lap lane?

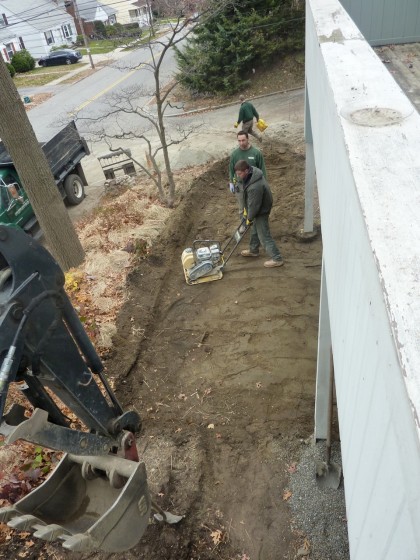
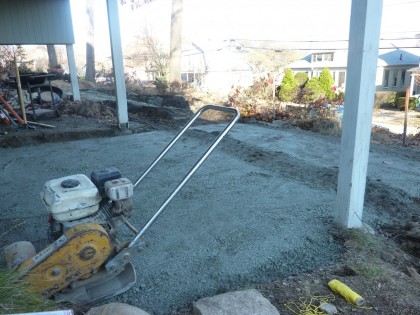
As you can see, the patio area got leveled,  geotextile reinforcement put down and crushed run and sand tamped down over top in preparation for the stone pavers. All in one day!

These guys aren’t messing around.