Archive for the ‘projects’ Category

just in time for father’s day

Thursday, June 3rd, 2010

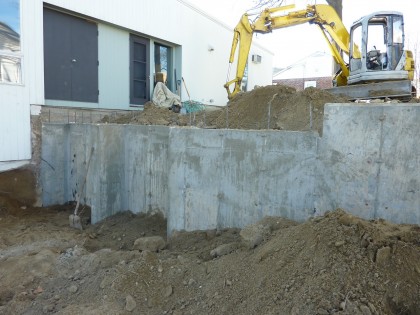
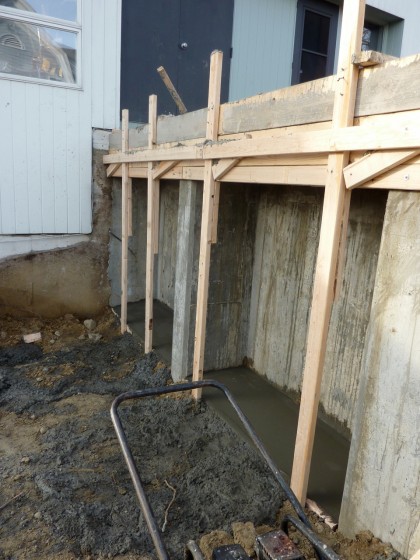
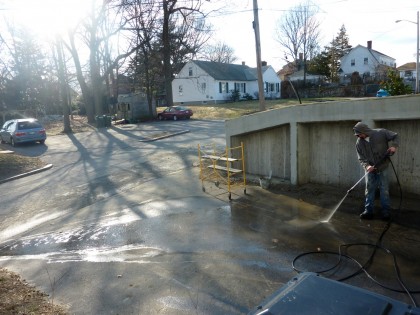
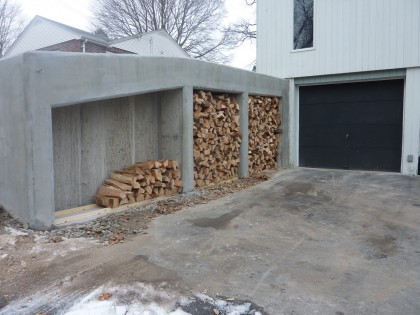
David’s father came up from Brooklyn for a visit, which around here is akin to signing up for our forced labor camp. With Father’s Day right around the corner, there’s no better time than NOW to put dad to work. The project: shed doors for our new retaining wall out back.

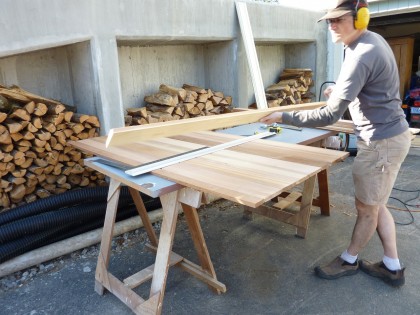
David built the doors out of cedar a few weeks back in his makeshift driveway workshop…

bettridge woodworks, right in our driveway

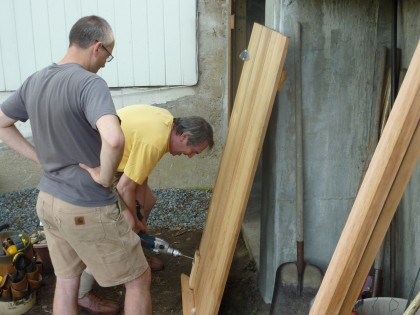
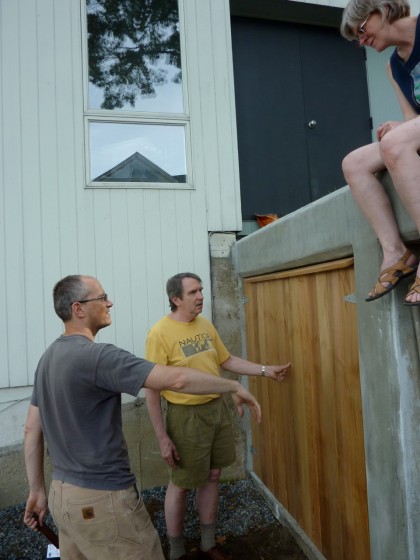
And this past weekend, Tom and  David hung two of the four doors. Power tools and bonding ensued…

way to put dad to work

That’s Wendy taking a break from garden servitude…

in at last

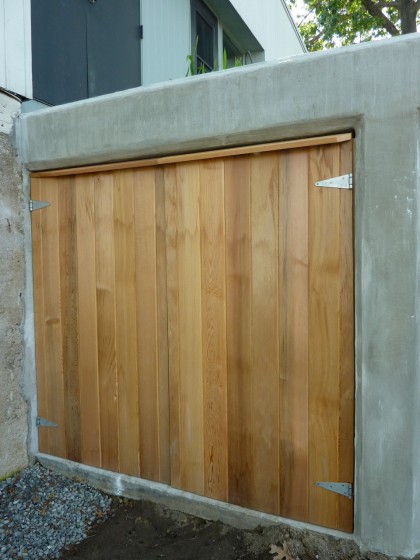
OOH! AAAAAH! They turned out quite nice, dontcha think?

a closer look

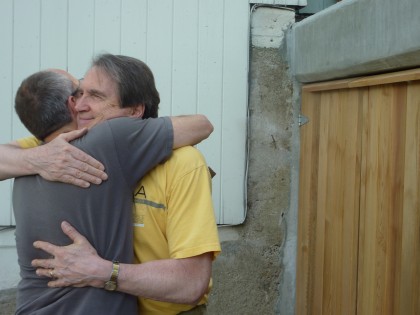
Still to come: the other two doors, hardware, outfitting the closets with storage. And hugs, duh.

awwww

trellis jealous?

Thursday, May 27th, 2010

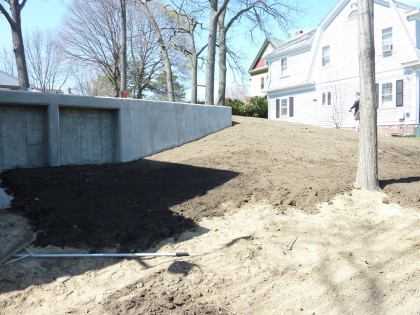
My plants are pining for vining and just can’t wait any longer. So in addition to the arbor that just went up, David whipped up a trellis for our oddly shaped concrete retaining wall out back. Remember that massive thing?

the retaining wall

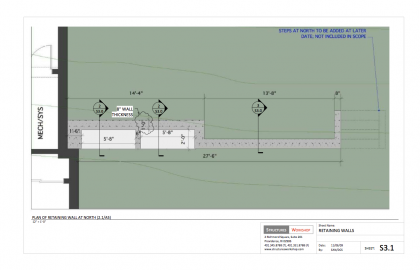
Measures about 6’10 high at one end and just over 2′ at the other end. The usable wall face is roughly 14′ wide. The crazy insane slope and our pickiness made it impossible to find the perfect trellis, which essentially meant make one. David picked up copper tubing at the hardware store — the heavier walled Type M.

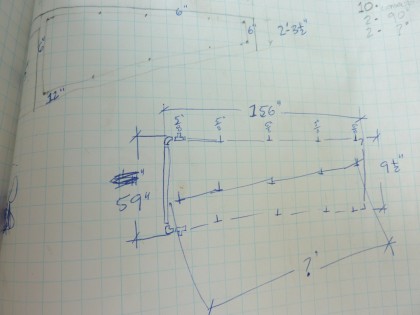
Then he broke out the graph paper…

mad genius calculations

I can only assume the question marks in his mad genius calculations are an indication of chaos theory. After that, he moved on to real-world application…

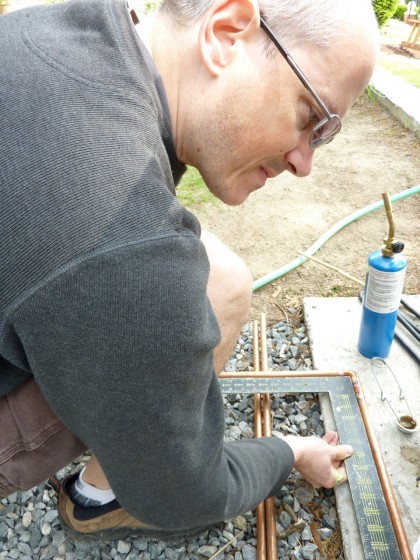
david engineering those right angles

He soldered the tubing together one joint at a time to create a frame for the trellis. Dudes dig fire…

soldering the joints together

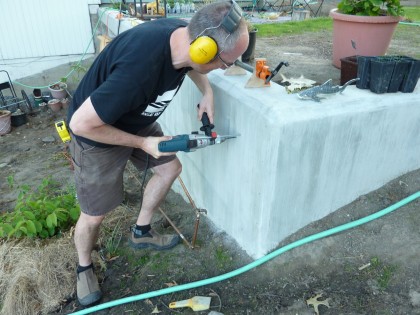
After that, he drilled holes into the concrete to attach the trellis frame to the wall. Not easy…

concrete drilling

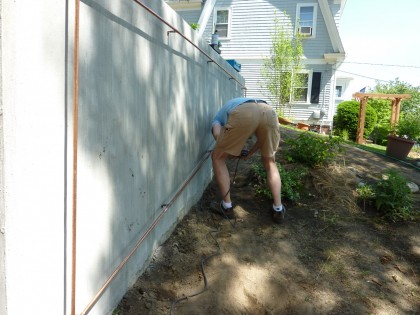
Keeping it level was a challenge but it all worked out…

lots more drilling

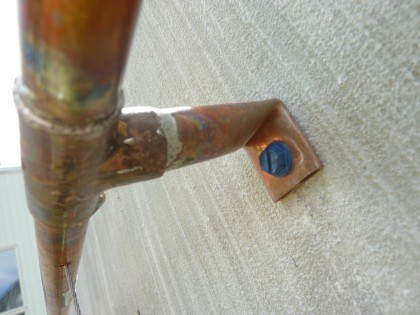
David DIYed some brackets out of the same copper pipe. Clever boy…

DIY brackets

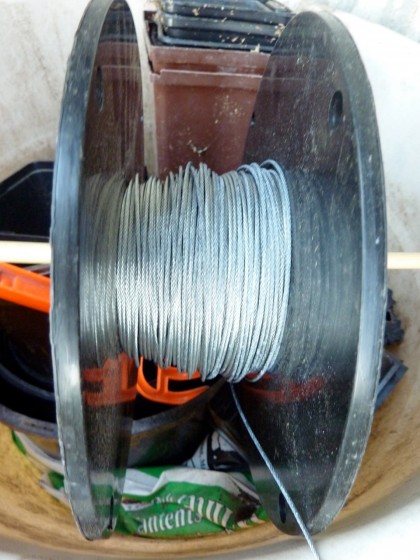
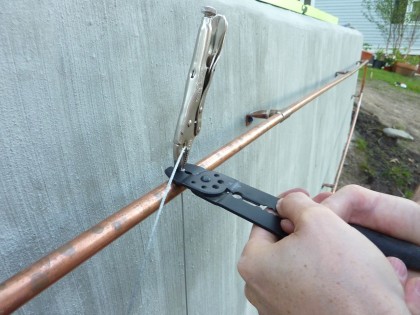
Then drilled holes through the pipe and used 3/32″ steel wire to oh-so-patiently create his trellis grid…

steel wire spool

threading the wire

bolting the wire in place

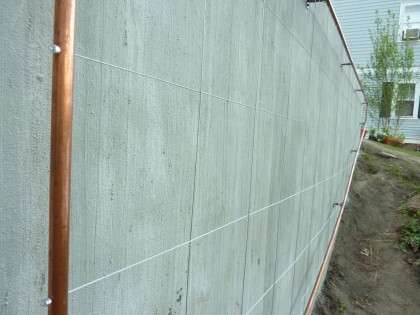
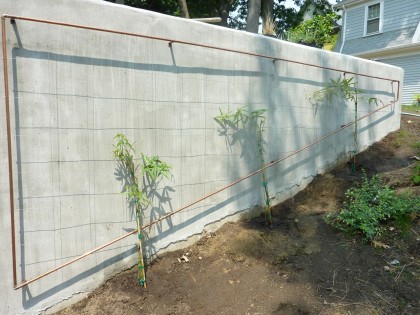
And look — DONE!

detail shot

Simple. Ish. Minimal. Love it. And to adorn his new creation…

trellis with rubus calycinoides planted

Rubus henryi bambusoides (also called Rubus henryi var. bambusarum). From China, the leaves resemble bamboo…

rubus calycinoices closeup

… although it’s actually a bramble, like roses, raspberries and blackberries (all related). Tiny thorns. Small pink flowers. But it’s really all about the foliage. Planting this is kind of an experiment as I’m not sure it will be hardy here in New England, although it appears that Arnold Arboretum may have had some success growing this. We’ll see. Should it not return next year, I can always move my Akebia quinata Shirobana here. Nothing kills an Akebia.

gnome, part deux

Wednesday, May 26th, 2010

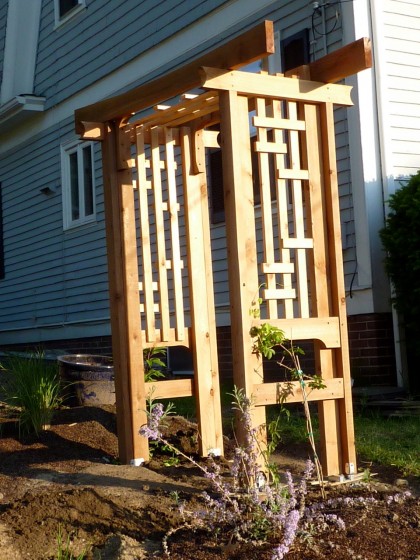
Remember a few days back when a tall, handsome garden gnome showed up in our yard and knocked together that arbor? Well, he returned, worked his gnomey-is-to-nub-me magic again and now the arbor is installed. Yay!

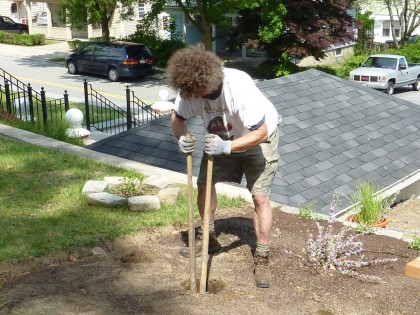
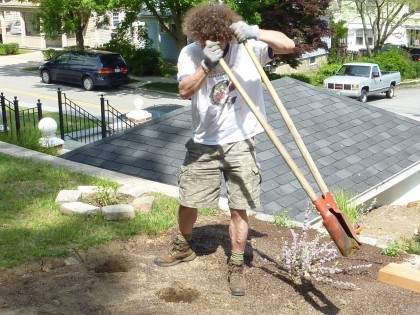
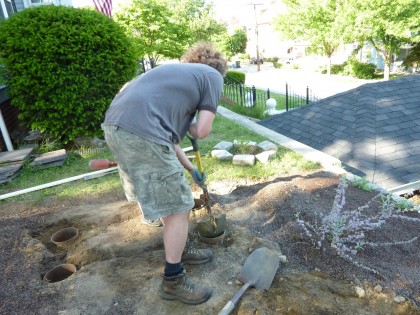
Graham worked up a sweat digging post holes 3′ down…

post hole digging

Note his precise motions into the hole. There was much repetition…

post hole digging, mo deepa

Holes primed, it was time for insertion. Of Sonotube. G-rated…

sonotube in the holes

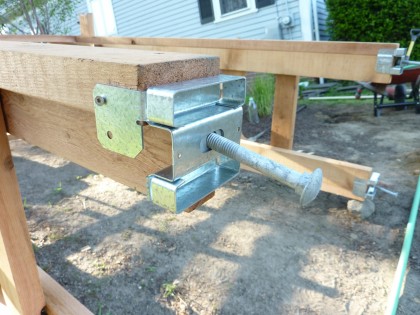
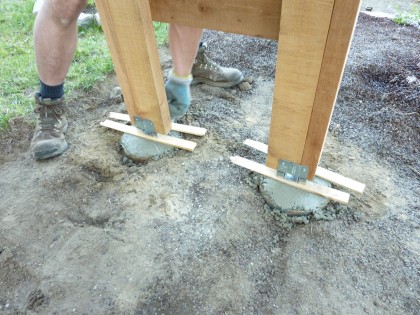
David added longish bolts to the ends of the arbor posts…

long bolts added to arbor posts

Graham whipped the concrete to a froth. Of a sort…

concrete mixing

Then, um, the holes were filled to the top with the stuff…

concrete in the holes

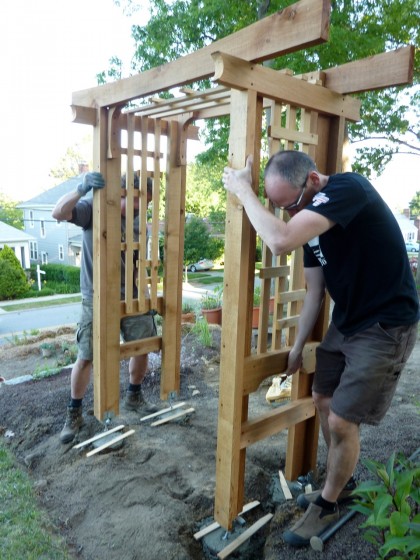
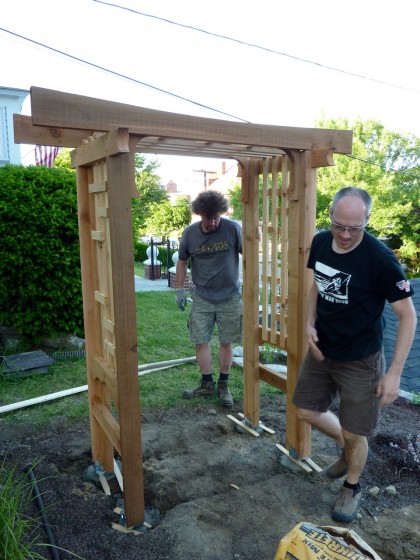
The boys set the arbor into the mixture. There was hardening…

setting the arbor in place

not going anywhere

And then everyone smoked a cigarette…

a job well done

Meanwhile, in the wings, my vines have been waiting…

passionflower in waiting

One of my passion flowers (passiflora cereulean) has already started to bloom. Look at that! Like a daisy in a grass skirt! Butterflies, bees and hummingbirds LOVE these. Native but not perennial here in New England, it seeds freely and returns year after year.

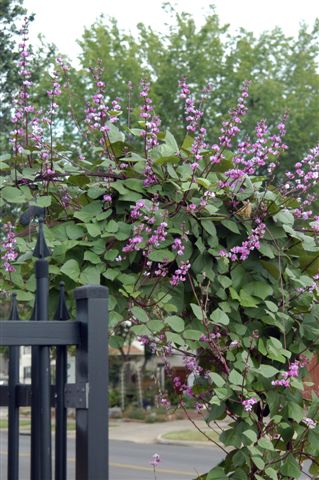
Also planting hyacinth bean vine, which starts looking really good in the heat of summer. The dark purple beans in the fall are what I really love. A nice companion for the passion flower and another great butterfly attractor…

hyacinth bean vine | dirtdoctor.com

hyacinth bean vine | dirtdoctor.com

And last but not least, as I’m always one to cram way too many plants into one spot, I have an akebia quinata ‘Shirobana’…

akebia quinata shirobana foliage | pendernursery.com

akebia quinata shirobana foliage | pendernursery.com

akebia quinata shirobana flowers | ubcbotanicalgarden.org

akebia quinata shirobana flowers | ubcbotanicalgarden.org

Only flowers for a few weeks, as I recall from my last garden (3 years ago!), but the foliage is bright green 3/4 of the year and has that Asian look I’m going for. I suppose if I were to plant just one vine it would be this one. Just really, really pretty and people always ask what it is.

So anyway, I’m thrilled to get the arbor up. And the next morning, no regrets.

the next morning, no regrets

how’s that curlex holding up?

Thursday, April 29th, 2010

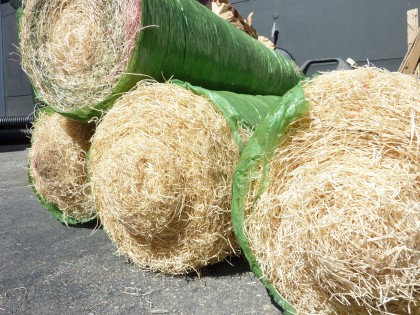
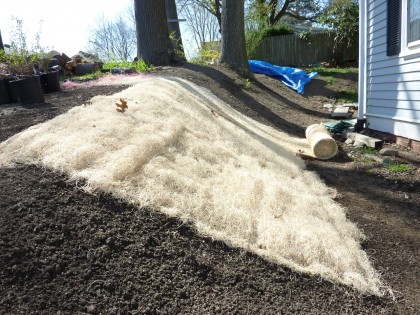
curlex rolls

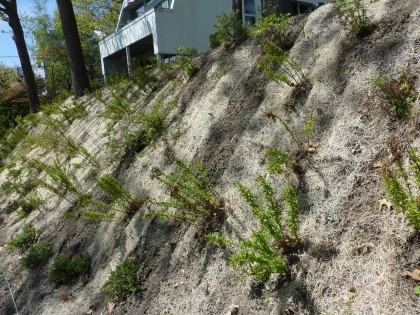
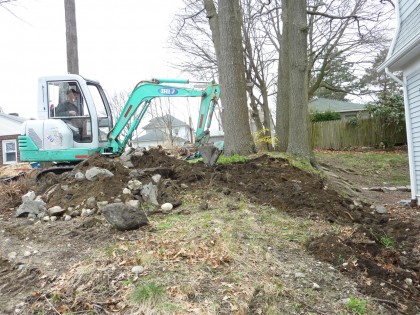
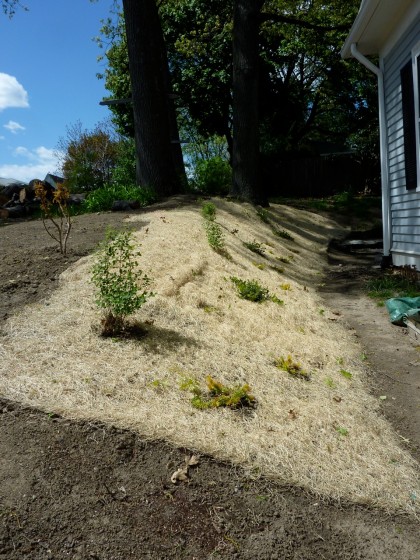
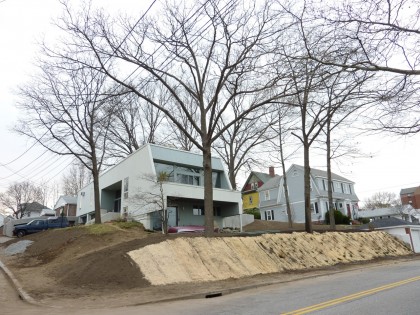
So the Curlex has been in place for a few weeks now. Has it kept our slope from washing away? I am pleased to report that yes, so far, it has successfully b**ch-slapped our erosion issues.

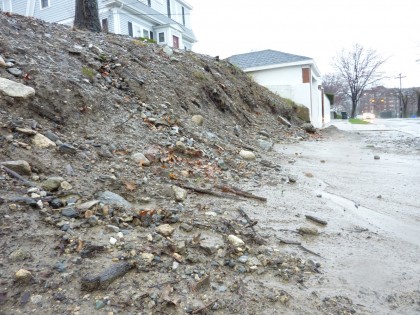
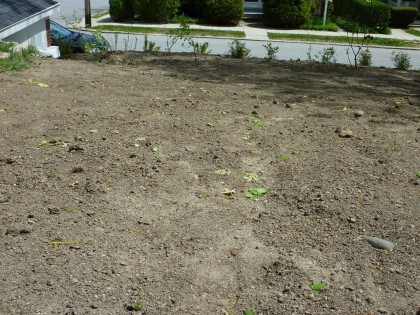
Here’s where we were on March 30 after all that flooding…

washouts on march 30

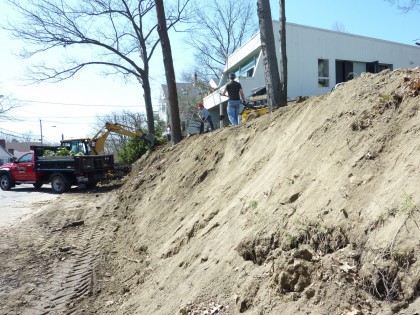
More soil was added during the first week of April…

new soil added in the first week of april

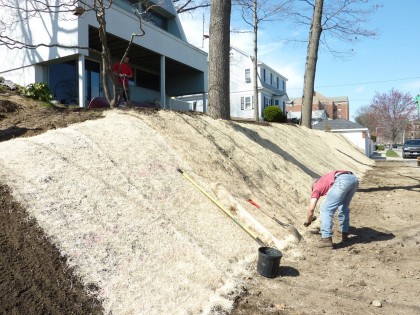
Then the Curlex erosion control matting was added and erosion control plants put in the ground…

slope fully curlexed

And here’s what it looks a few weeks later after planting and some fairly heavy rains…

dirt from above

No dirt under the matting has washed out. However, dirt from above (not held by the matting) washed down over it. Just a little. And no wonder, with no grass, very few plants and absolutely no mulch, the water just rushed down the slope and took some of our new topsoil with it…

up above, it’s all dirt

Very happy with the Curlex. I see a few weeds beginning to poke their heads through here and there…

weeds coming up thru curlex

I’ll have to put a stop to that immediately.

Remember the slope between us and our neighbor? The area where we found the lead levels so high and had the soil dug up and carted away?…

removing lead soil from other slope

Our lovely neighbors and I thought it would be smart to put down Curlex on this slope, too, before the spring rains washed all the new soil downhill…

adding curlex to the other slope

So I took care of that a few weekends ago and then started plugging in some plants sure to hold that slope back…

curlex and some erosion control plants added

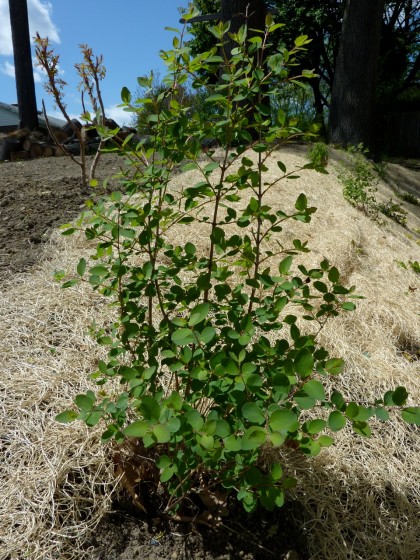
On the front slope, one of the native plants we chose was a Symphoricarpos var. albus (Common Snowberry), which produces big white berries in autumn. I figured that closer to the house it would be nice to have more color, so I chose Symphoricarpus x ‘Kordes’ Amythest (Coralberry)…

amythest coralberry

Not a native variety but it produces the most irresistible, insanely colored berries you’ve ever seen — good for the birds…

amethyst™ coralberry | colorchoiceplants.com

amethyst™ coralberry | colorchoiceplants.com

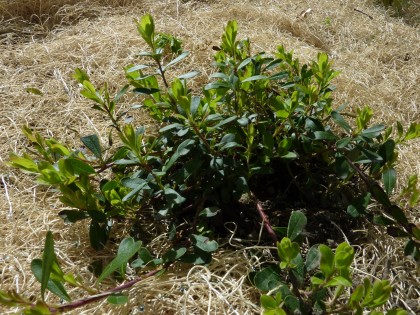
I also threw in a few native Arctostaphylos uva-ursi ‘Massachussetts’ (bearberry) like we have on the front slope…

more bearberry

Not only good for erosion control, it also produces bright red berries for the birds in the fall…

common bearberry | abnativeplants.com

common bearberry | abnativeplants.com

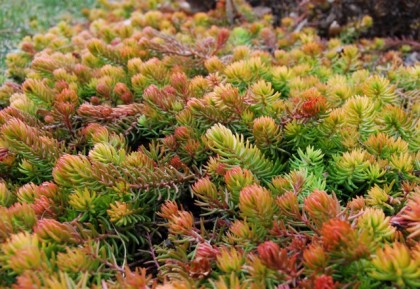
And for good measure, I thought I’d see if some of my brilliant chartreuse Sedum rupestre ‘Angelina’ might work here…

sedum angelina

Like all sedums, it’s a tough little stonecrop that covers the ground quickly and doesn’t ask for much care or much water. Flowers for the butterflies in summer. And in the fall, it takes on the most gorgeous pinkish-orange overtones that will look fab with the colorful berries on the plants around it…

sedum angelina | awaytogarden.com the BEST gardening blog EVER

sedum angelina | awaytogarden.com the BEST gardening blog EVER

I’m not done adding plants to the slope…

back corner still to be planted

Something ferny with a bluish or silvery cast would make a nice foil to the other shades going on. I’ll report back when I find just the right thing. In that far back corner slope starting at about the oak, I want to plant Rhus aromatica ‘Gro Low’ (Fragrant Sumac). I just discovered it during last week’s trip to the Brooklyn Botanic Garden…

fragrant sumac at brooklyn botanic

A native great for holding slopes that fills in quickly, is undemanding and drought tolerant, and offers flowers and catkins (food for birds) in the spring. In the fall, it turns flamey red…

fragrant sumac gro-low | finegardening.com

fragrant sumac gro-low | finegardening.com

What a showstopper. I haven’t found a local nursery that carries it, although there’s bound to be one. High Country Gardens has it, for sure. I think I may be able to use it under our dogwood out front as well.

For those of you have slopes like I do, I came across another great article on not-your-typical groundcover alternatives. Worth exploring.

*     *     *     *     *     *

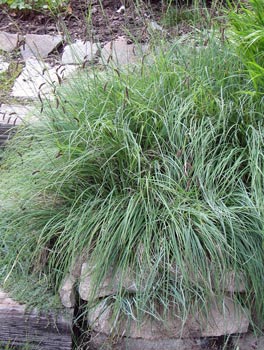
UPDATE: Okay, I’m having some luck in hunting for slope plants with blue foliage that can handle a mix of sun and shade. There’s Carex Glauca Blue Sedge

carex glauca (or flacca) blue sedge | bluestem.ca

carex glauca (or flacca) blue sedge | bluestem.ca

Or Carex Glauca (also Flacca) Blue Zinger

carex glauca (flacca) blue zinger | plantdelights.com

carex glauca blue zinger | plantdelights.com

Ferny, no. But they have a similar upright and then arching manner that make them strong contenders.

front slope done, check

Thursday, April 29th, 2010

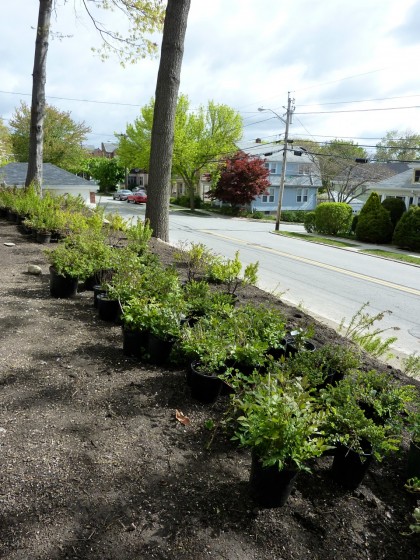
Just a few weeks ago, April 6 to be exact, the first round of planting our front slope left us two-thirds of the way done…

where we left off

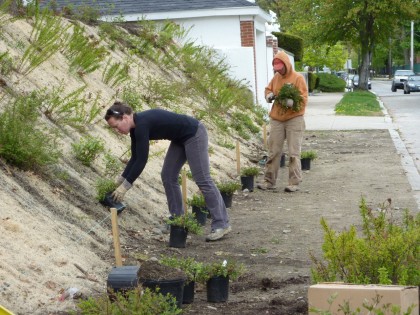
Yesterday, elves descended and finished up the planting. Yay! My friends Shiva and Ellen tackled the last third of the erosion zone using the same plants as the rest of it…

the plants arrive

Same story as before: Cut the Curlex. Dig a hole. Plant…

shiva and ellen slope planting

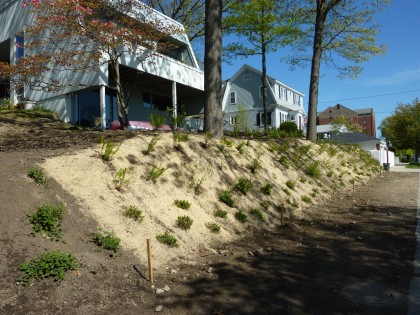
Later that afternoon, all done…

the slope, finito!!

Amazing how much greener everything is in just the last few weeks. The oaks leafed out, our pathetic little dogwood (doesn’t like being planted in the shade of an oak) is flowering and the plants in the slope have really taken off. Definitely looks like Spring.

And now my little garden pixies are gone… Elvish has left the building. Victory dance.

ellen’s victory dance

conflicted in kid-dom

Thursday, February 25th, 2010

Our friends are always asking if we’ve made progress in the kid’s room. No wonder. The move was two years ago, which means Bix has spent nearly half his life in a mess. So we tackled his room first, hoping to create a calm, fun place away from the remodeling storm. I like the result. But I’m also conflicted about it. Argh.

Starting with what we already had

Luckily, we moved in with most of the stuff we used, including mandatory KidKraft train table, some chairs, and the drawers and bookcases David built when Bix was a baby…
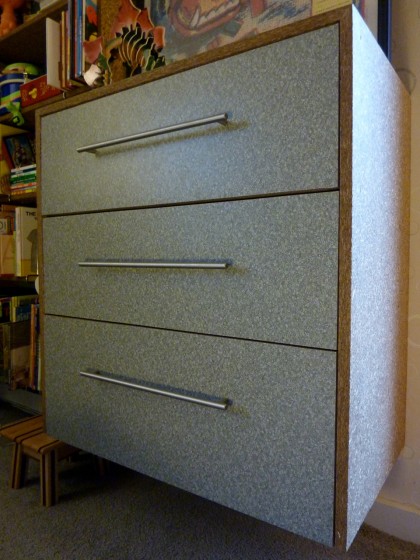
dresser

I see the drawers need a little readjusting but you get the idea. We used Sunflower Seed Board from Van Beek’s in Michigan. Here’s a closer look…
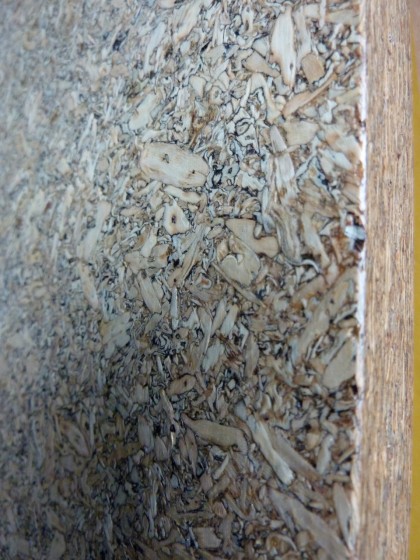
closeup of sunflower seed MDF

It’s an eco-friendly MDF made from pressed sunflower seed hulls. LEED-certified, no formaldehyde, no outgassing. Finished in a simple water-based poly. Makes us feel good.

David had made the drawer fronts using a laminate we thought was fun enough for a kid but easy to like as an adult…
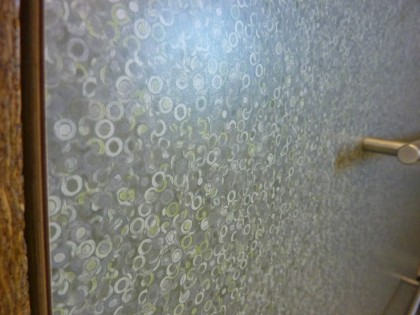
Formica in matte finish Beluga (#3697)

We debated about the environmental friendliness of laminate and decided that because drawers see a lot of grimy little fingers and can take a beating that the sunflower board can’t (without getting chipped, that is), it made sense.

Attack of the madwoman with a paintbrush

Before we could hang the furniture on the wall above the heaters, I had to scrape off the babyish wallpaper border that went all around the room, prep the walls and paint.
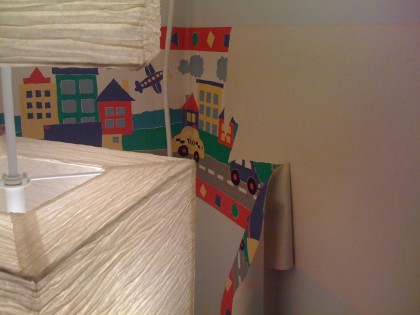
early room view 3

To encourage drawing, I decided on kid-height chalkboard walls around the perimeter. I taped off the space…
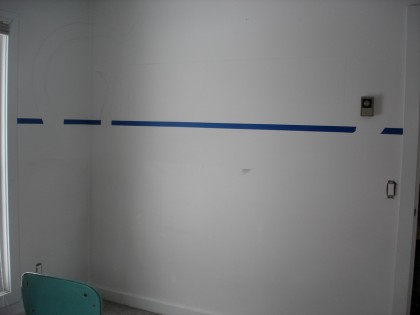
chalk board prep 1

Used a dab of caulk along the bottom of the painter’s tape for a nice, clean edge. Then filled in my lines with four or five layers of chalkboard paint to make it extra durable.
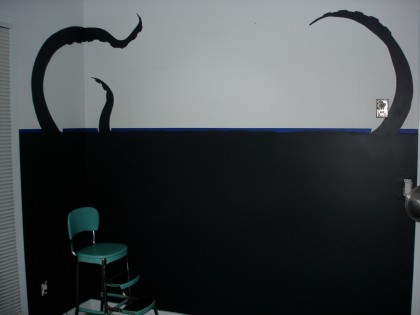
chalk board prep 3

I was hoping to tie the chalkboard to artwork we commissioned our friend Ryan Lesser to make a few years ago (click to biggify if you care to)…
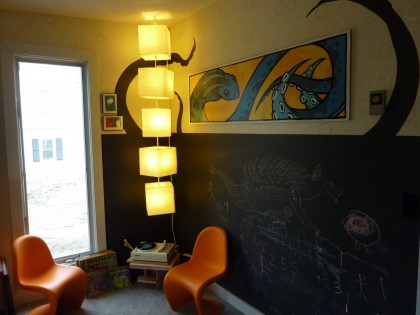

wide shot, finished chalkboard

creature

chalkboard finished

more artwork from Ryan Lesser

Those are a few more characters by Ryan.

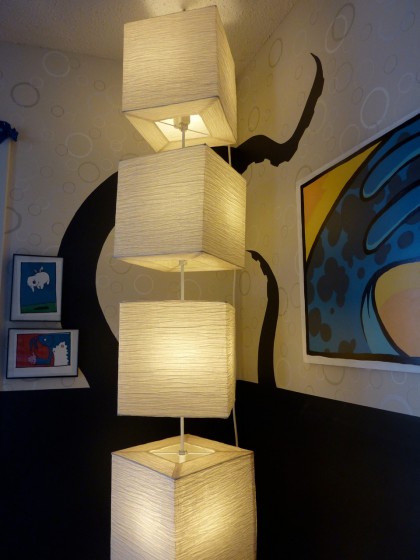
I brought the tentacles around the corner and over onto the adjoining wall behind the door…
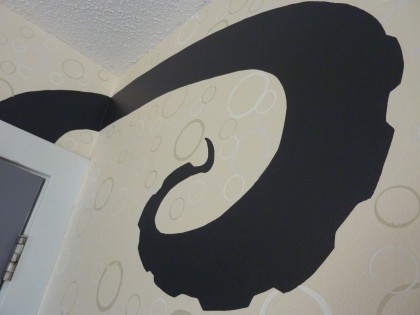
tentacles

I maybe went a little overboard carrying the “bubbles” look from the laminate onto the wall…

glossy bubbles on matte paint

I used high gloss paint in various tints of white (some bluish, some greyish, some super white, etc.) on top of a matte oatmealy white. The anal part: I used round container lids in three sizes, dipped them into the paint and then pressed them onto the wall. Looks good when the light hits it. David thinks it’s too busy. Just wait, it gets much busier.

Bunk bed in a closet

The dressers are more than adequate storage for the wardrobe of a 5-year-old — with plenty of room for toys, too. His closet was wasted space, so we decided it was a smart spot to fit a bunkbed with storage underneath. Great for sleepovers someday, or the occasional guest.

In order to be twin-bed length and last Bix well into his teens, we needed to make the space a little longer…
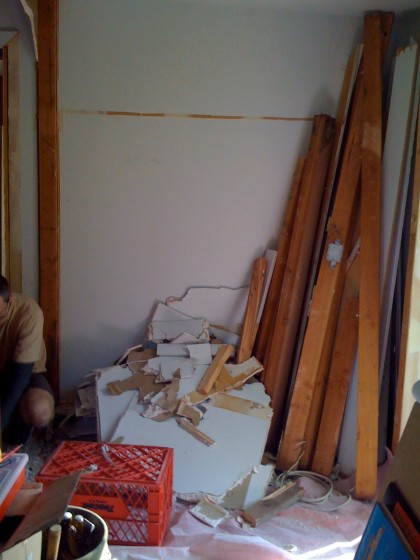
closet build-out

David extended the closet space by about 6″ and added some serious mass loaded vinyl sound-proofing to the walls. The occasional mid-construction reading break was called for…
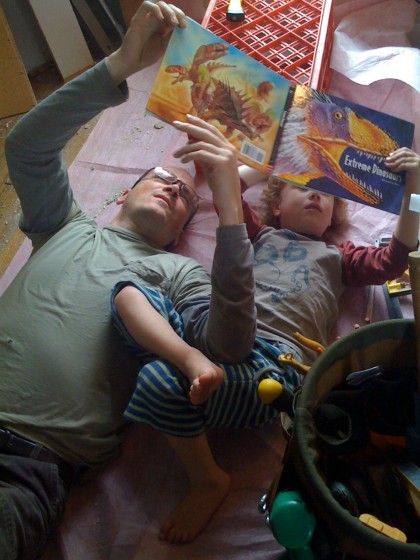
demolition break

Then he put in new drywall and spots for lights for both bunks.
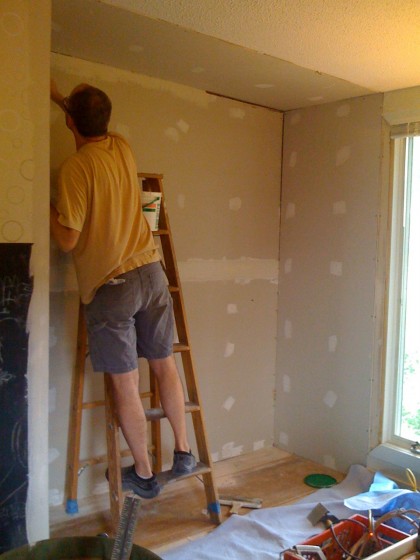
finishing the drywall

He drilled crazy long wood screws into the studs for extra support.
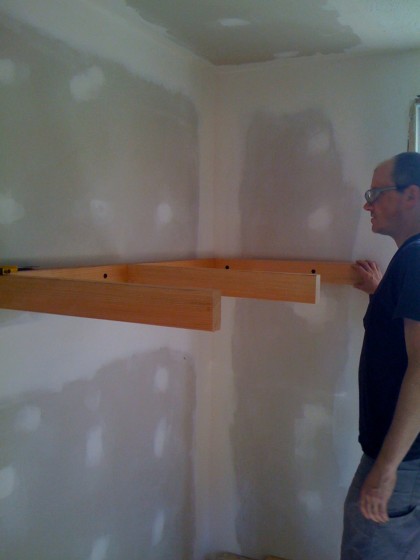
building bunk bed supports

Hang on a sec and I’ll show you the finished bed. Keep your pants on.

Paint overload

Building out the closet ruined  the edge of my paintjob. No biggie. Easily camouflaged with a little sanding and some paint in a contrasting pattern to trick the eye. I did a color study using various shades from around the room — Benjamin Moore zero-VOC Natura paint so I could feel reasonably okay about sticking to our eco-friendly principles…
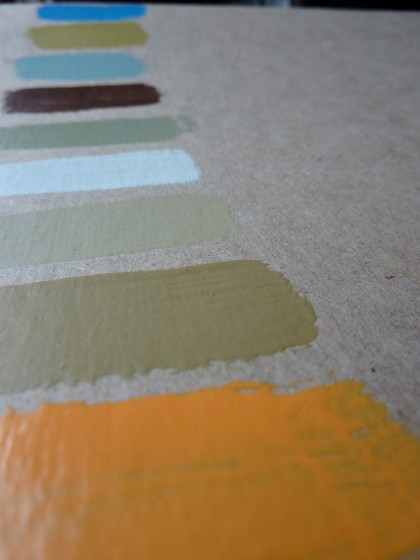
paint swatches

First, I taped off a floor-to-ceiling strip for magnetic paint (not so eco-friendly, I’m sure). The Ben Mo’ semi-gloss can go right over the top to dress it up, so I taped off cubes to echo the Ikea paper lamp hanging in the opposite corner…
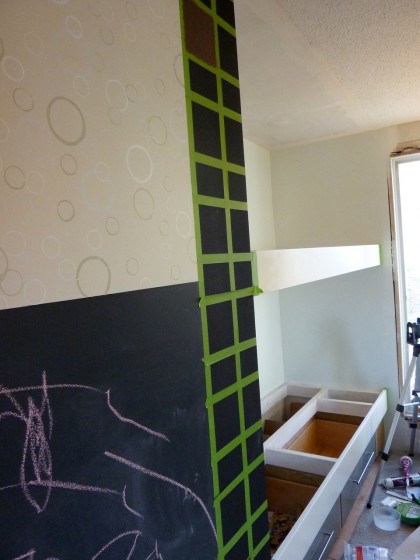
taping off the magnetic board

So the result?

bunk beds and magnetic board

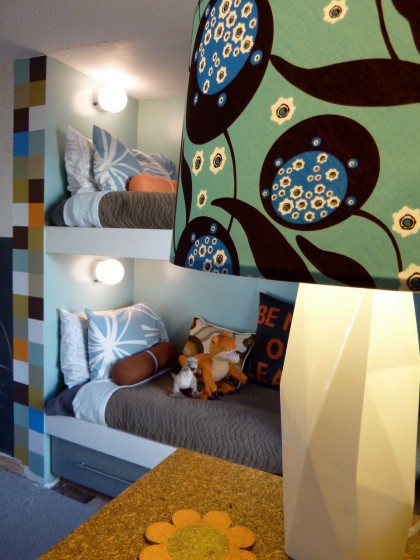
I matched bunk bed walls to the aqua in the bookcases. The magnetic strip brings in all the colors of the room. Recovered the shade of the West Elm lamp I picked up for half price. I’m liking how circles vs. squares turned out.
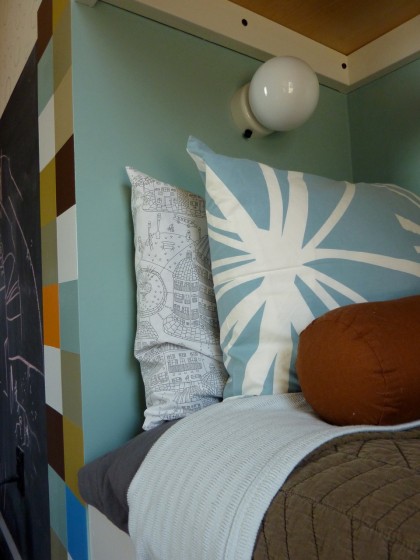
closeup on lower bunk

Aqua pillowcases from Area we already had. Added the illustratey one and cushy flannel sheets from Garnet Hill. Organic blanket and a quilt picked up at West Elm. Roll pillow half price from Unison. Sales rawk.
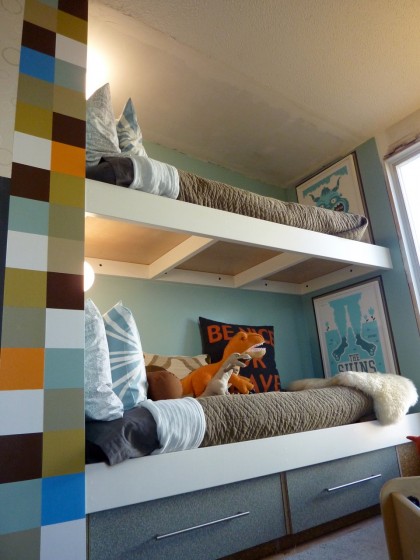
full shot bunk bed

The underbed drawers we stole from one of the dismantled dressers David made for Bix’s baby room. As Bix gets older, we could decide to pull out the bottom bunk and put in a desk. Or add a clothing rod under the top bunk. It’s a very flexible space. And the whole thing could easily become a closet again if need be.
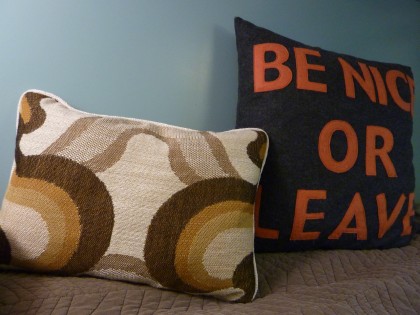
etsy pillows

Pillows from two great etsy sellers: Spruce Home who works in some great vintage fabrics and Alexandra Ferguson who uses 100% post-consumer recycled felt. A nice comfy back for a little storytime action.

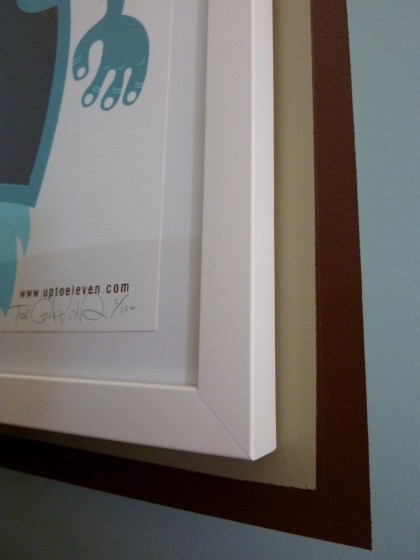
Shins “monster” art from Tad Carpenter...
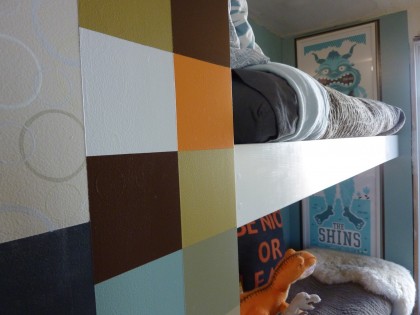
Shins monster

painted border around art

Such a paint addict — I thought it needed a border. As a side note, that’s not glass inside the frame. It’s plexi. Globe lights are also plastic and not glass. Just in case, ya know.

monsters in a barrel

Barrel found at PB Teen at a get-it-outta-here discount of 75% (years ago, sorry). So many uses but for now, all things stuffed.

On the way over to the book nook…
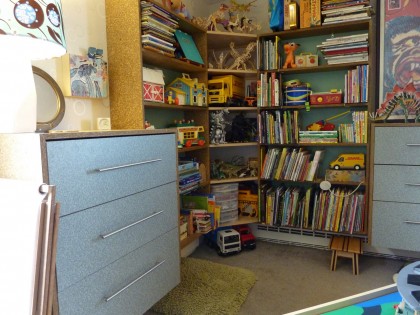
bookshelves viewed from bed

Trish Grantham painting

New painting by Trish Grantham and Frank Kozik figures from Kid Robot over the dresser.
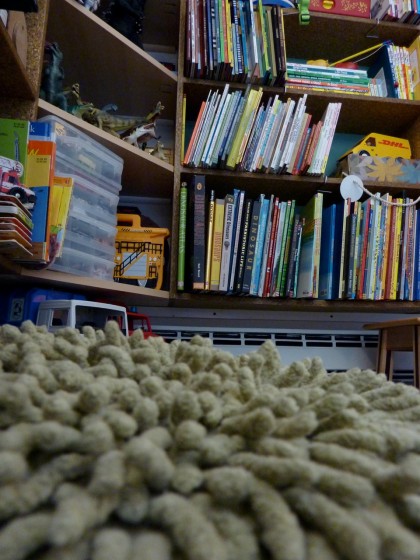
nice grassy pillow for sitting and reading

A grassy knoll pillow for reading, repurposed from the living area.
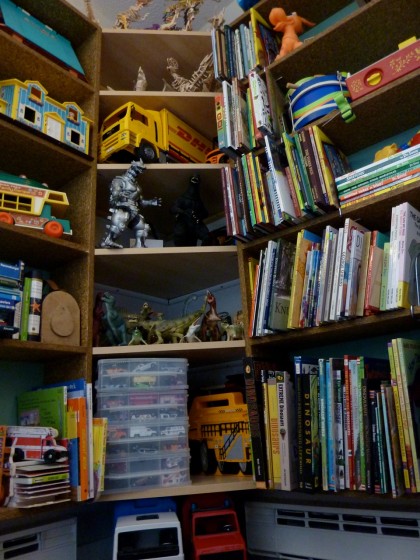
looking up at bookshelves

We bridged the space between bookshelves with cheap Ikea corner shelves, which added even more storage.
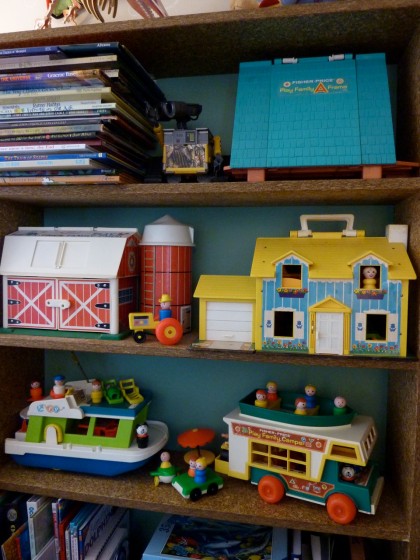
vintage Fisher Price “little people” toy collection

Vintage Fisher Price “little people” toys collection. Thanks, eBay. I always wanted an A-frame.

mechagodzilla and godzilla

Mechagodzilla and Godzilla — gifts from Bix’s friends “the Godzilla girls.”
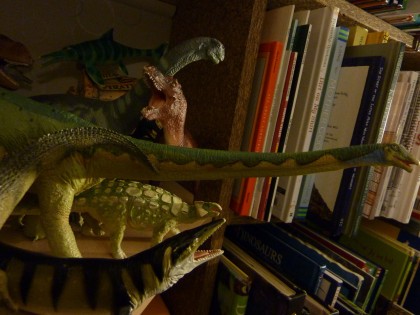
dinos on a shelf

Bix’s true love: his dino shelf.

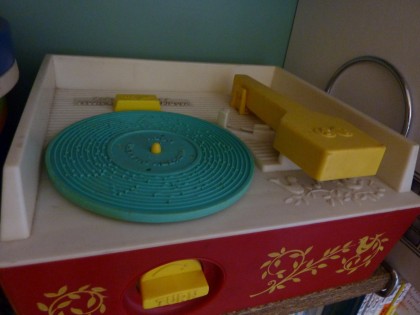
vintage Fisher Price record player

Vintage Fisher Price record player came with six “records.” Priming him to be a DJ from a very young age. eBay.
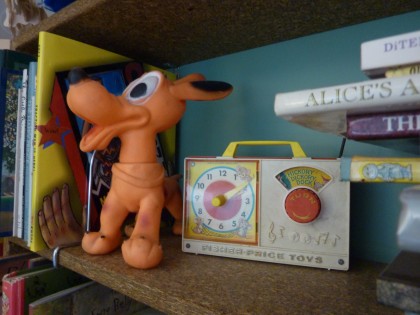
vintage Fisher Price “radio”

Ancient Fisher Price “radio” still works. eBay. I’m getting repetitive, sorry.

the Seuss section

The Seuss section.

’zilla feet, licensed by Toho

Godzilla feet from Toho for stomping through the house.
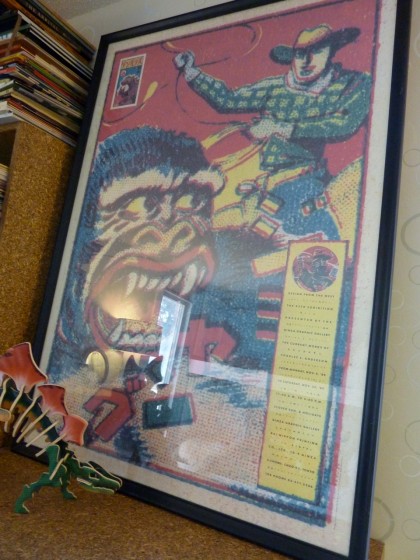
Charles S. Anderson poster circa 1990

On the other dresser, a leaning Charles S. Anderson poster hides a hideous air conditioner. Dated ’89, although I picked it up at a paper show in Houston years after that. It’s a French Paper sample Bix insists he must have in his room because up above King Kong…

Godzilla on King Kong/C.S. Anderson poster

there’s a tiny Godzilla. I cannot deny him.
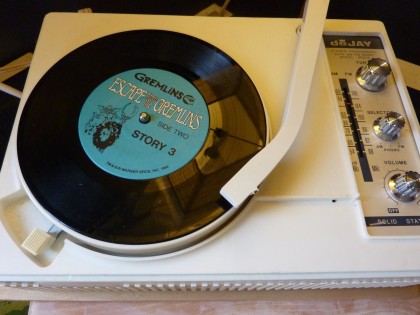
gremlins on the turntable

Gremlins on the crappy eBay turntable that came with about a zillion records to add to those we already had.
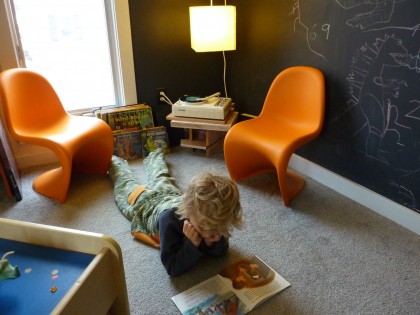
bix listening to records

And now we’re back to the corner where we started! Only now somebody’s appreciating the joys of vinyl. Good boy.

What’s left undone

Still to come: the ladder and top railing for the bunk bed, replacement baseboard and trim here and there…
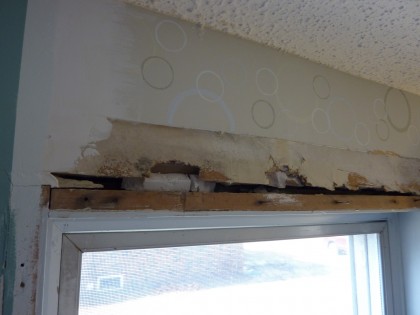
need new trim around the window

a wood ceiling (to cover the popcorn ceiling) and wood floor. Can’t wait to get rid of that hideous toxic carpet, too.

Why I’m conflicted

Had really hoped this room would be super “green,” seeing as it’s our child’s room. Sustainable materials, great.  Completely thrilled with the organic mattresses — beautifully made and comfy. Eco-conscious paints, very good, but so much paint, right? And it amazes me the shizzload of plastic in this room! On the one hand, much of it’s vintage — we’re keeping plastic out of the landfill, yay. On the other hand, it’s still plastic. Oy.

So I give myself an 85% on achieving my goals for Bix’s room. Granted, I’m a harsh grader.
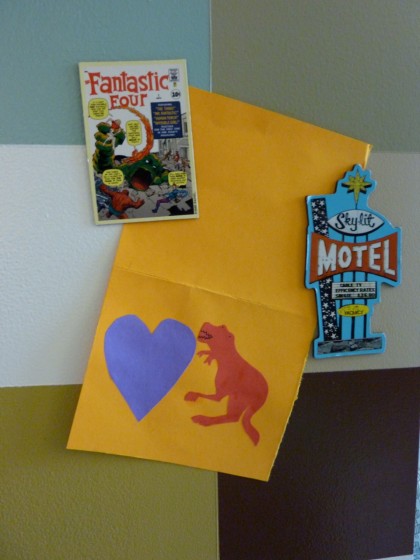
Valentine’s Day card from Orrin

Orrin made Bix a Valentine. So cute. Thanks, Orrin!
garden bones: the big reveal

Thursday, February 18th, 2010

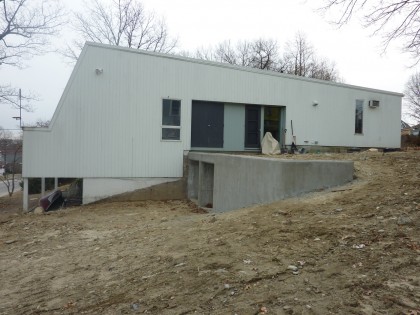
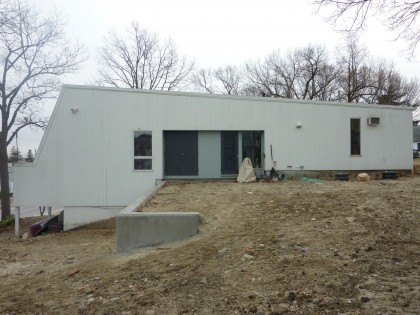
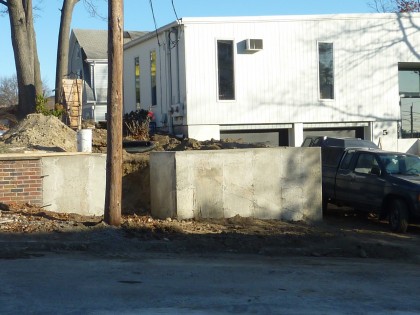
Retaining wall construction wrapped about two weeks ago. Let’s get right to the final results… As always, click to biggify.

final front view

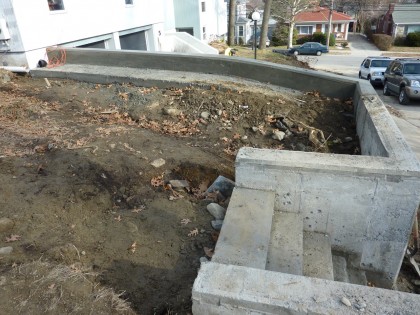
final back view

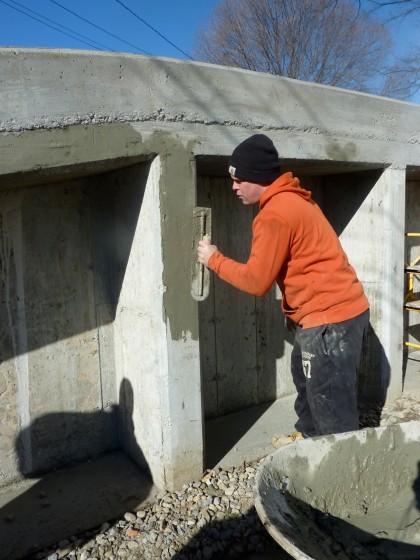
Very happy with how the walls look like they belong to the house — the mark of an architect. Irving would be thrilled. Thanks Markus Berger and Naomi Clare at Inside Out Design! Once the paint comes off the foundation, it should look even more seamless.  Doors still need to be built on the storage bays of the back wall. And when spring rolls around, plantings will soften the edges and add privacy.
The construction, chronicled

Want the nitty gritty? Read on…

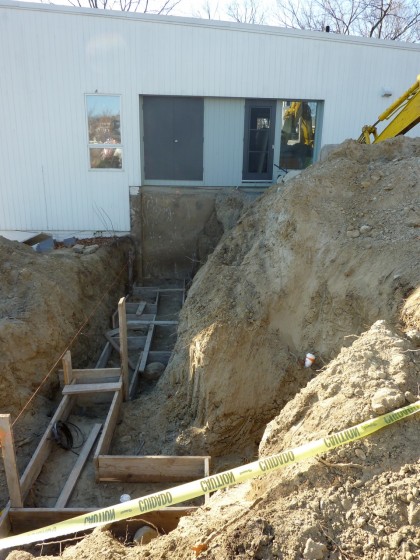
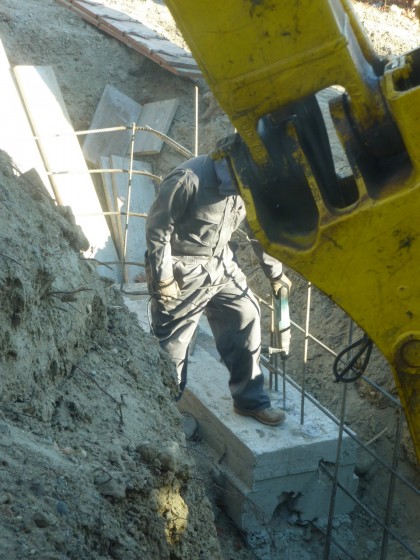
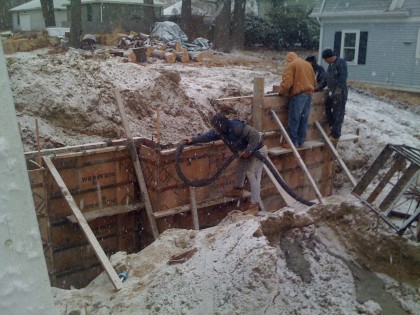
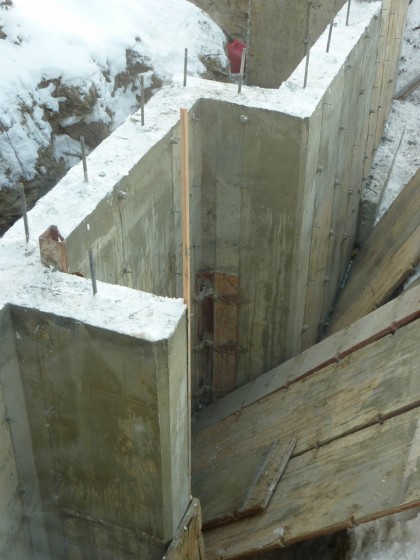
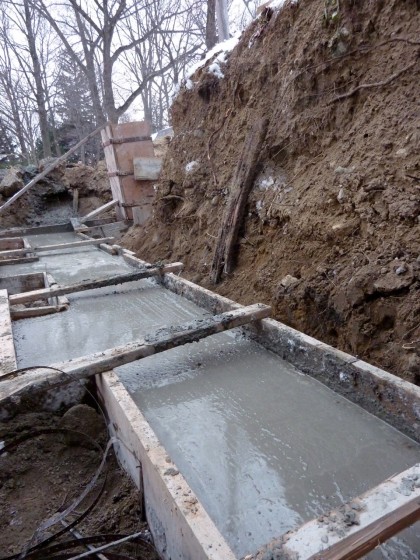
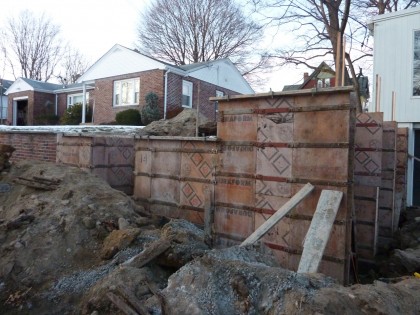
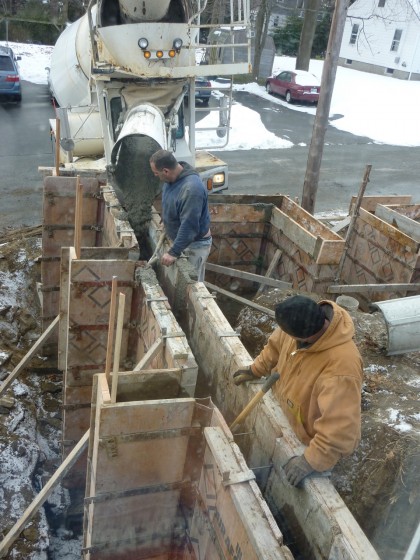
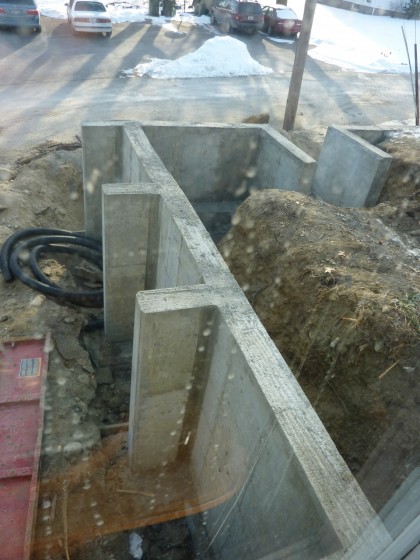
The retaining wall plans got done in November. The next step was getting bids from cement contractors. And tick tick tick tick tick, suddenly it’s December. Impending winter. This is Rhode Island, after all. Is building now really a good idea?

The contractor we settled on seemed to think it was. “Adjust the concrete mix to deal with the cold,” they said confidently in their thick Rhody accents. We were dubious. But our engineer, Erik Anders Nelson, was down with that. The city inspector was, too. So fine, then.

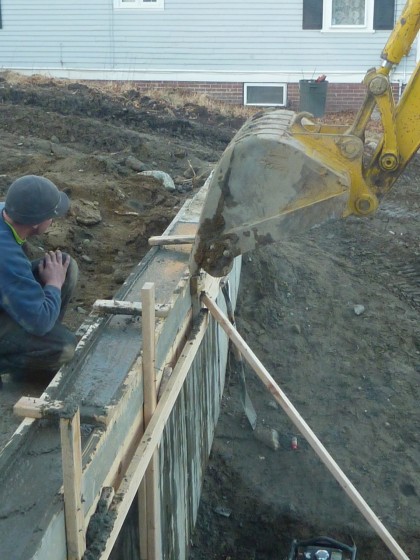
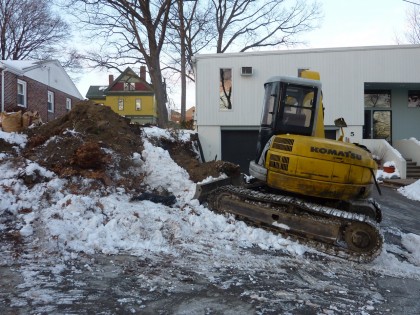
To start, we had to take out two trees in back that happened to fall directly in line with the placement of the retaining wall…

backwall 1

Sorry trees. I know it’s not much consolation but digging would have killed you. You’ll be replaced by something exquisite, I assure you.

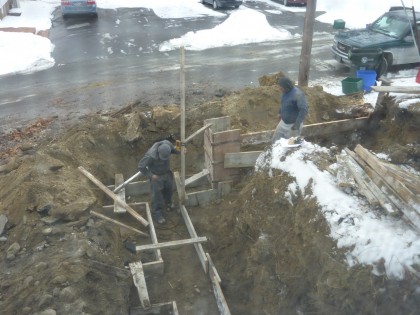
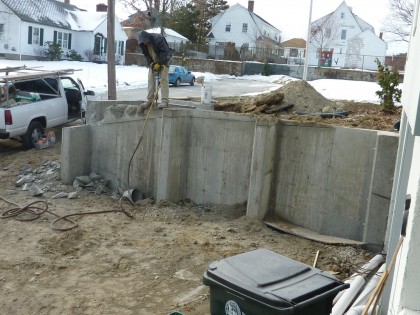
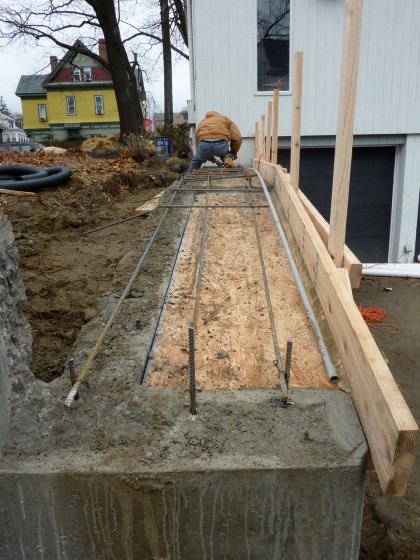
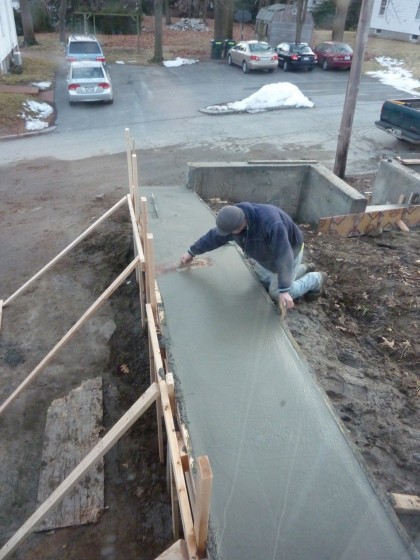
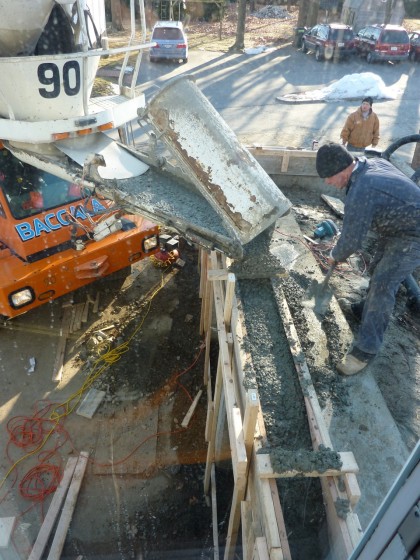
Digging started on December 15th. My Facebook friends weathered six weeks worth of almost daily posts on the progress. Highlights below. If you really want to get your geek on, you’re welcome to check out the full project from beginning to end, complete with angst and commentary.

Back wall:

back wall 2

back wall 3

back wall 4

back wall 6

back wall 7

back wall 8

back wall 9

back wall 10

back wall 11

back wall 12

back wall 13

back wall 14

Front wall:

front wall 1

front wall 2

front wall 4

front wall 6

front wall 7

front wall 8

front wall 9

front wall 10

front wall 11

front wall 12

front wall 13

front wall 14

front wall 15

front wall 16

front wall 18

front wall 19

Goodbye, rocky menace:

rocky menace

rocky menace gone

Four dumptruck’s worth of crappy stone, gone! Some of it…

rocky menace jr. in the neighbor's yard

ended up right across the street, in our neighbor’s yard! Glad someone can use it. We tried to give it away to any contractor who’d take it. No takers.

The ugly and unresolved:

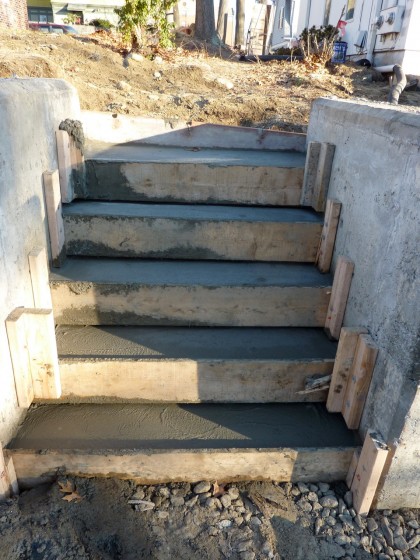
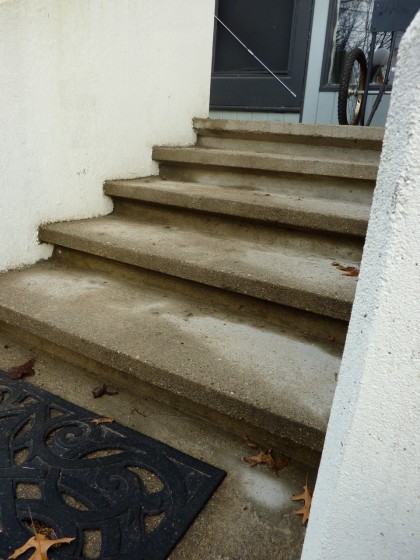
front wall stairs

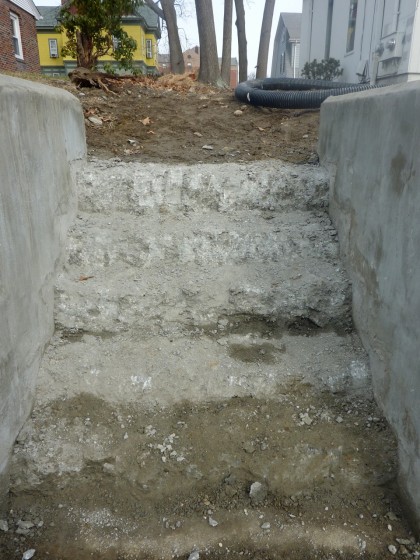
Drama with the stairs. The concrete crew couldn’t seem to make the detail consistent from step to step (5th photo down, after the jump). David had them rip it out… three times. Oy. Says he’ll be pouring the detail himself. Hallelujah.

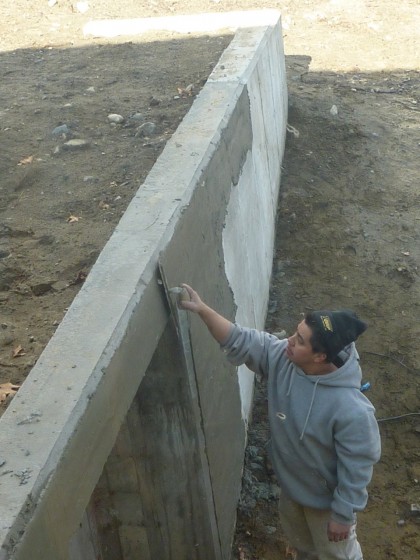
There’s also some debate about the stucco-ish finish. David thought he’d prefer it over the patchwork look of the concrete that resulted from multiple pours. Now he hates it. I could have lived with the bare concrete. Oh well.

Consider yourself caught up. Next step: adding skin to the garden bones. Epic look at ideas tomorrow!

garden bones: the design

Wednesday, February 17th, 2010

Our yard yearns to be a garden. Sadly, it’s more like a ski jump. Without walls to tame the slope, nothing can get planted and the yard is basically unusable. The hardscaping really is the skeleton for any landscaping to come. Here’s the down-and-dirty decision-making for retaining walls.

What to build them out of?

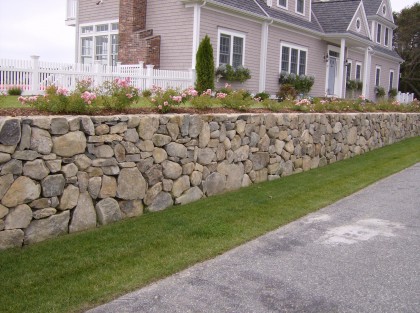
We briefly entertained the idea of replacing our rotting timber retaining walls with stone. True to New England, yes…

traditional stone wall | earthandstonecapecod.com

traditional stone wall | earthandstonecapecod.com

But not in keeping with the style of the house. And because of the height we need, we’d still require concrete and rebar and whatnot to keep them from toppling over.

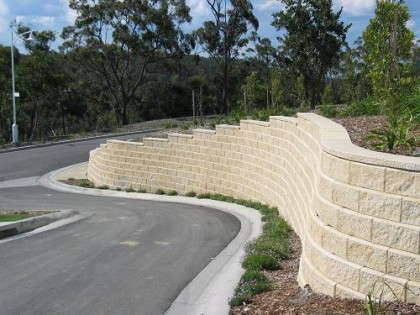
We talked to contractors about keyed block…

keyed block retaining wall | allanblock.com

keyed block retaining wall | allanblock.com

Absolutely the fastest, easiest, cheapest alternative. You see keyed block used in Lowe’s and Home Depot parking lots — a lot. Maybe that’s why it’s just not for us.

Those two choices eliminated, we took a closer look at what we have to work with. Both retaining walls actually touch the house’s concrete foundation… they’re kind of an extension of the house out into the landscape. When you think of it that way, it just makes sense to go with concrete as the wall material. Easy choice.

How should they look?

We want to echo a few design details from the house to tie the walls in visually…

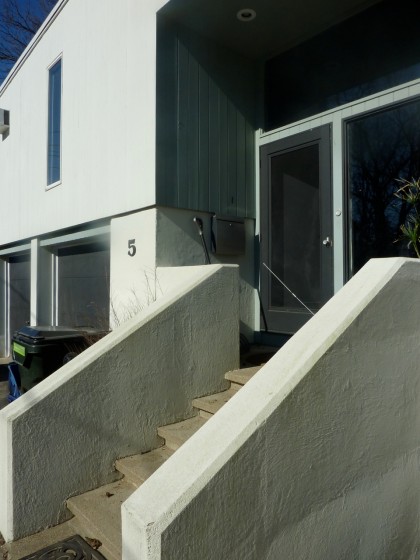
angled walls

Angle. We want the driveway wall to pick up on the walls of our front steps.

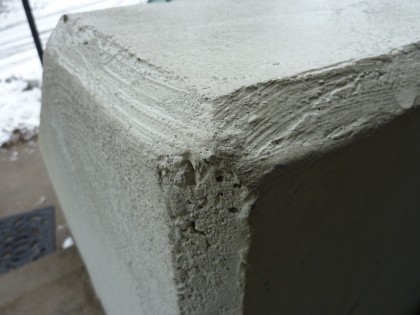
wall detail

Beveled edges. We want this detail everywhere.

We want to build some function into the concrete walls — why not, right? In front, that means wood storage. Out back, small tool storage. We also wanted easy access to the yard from the front, which means adding steps…

step detail

Any new concrete steps need to look like the original ones.

Who’s perfect to help?

In the hunt for help on the interior remodel, I was lucky to come across Markus Berger, president of Inside Out Design and assistant professor of interior architecture at RISD. He’s daring. Talented. Loves our funky house. Understands our passion for modern. Great reasons for him to work with us on plans for the inside — and outside, on the retaining walls. Naomi Clare is his able assistant. Love her.

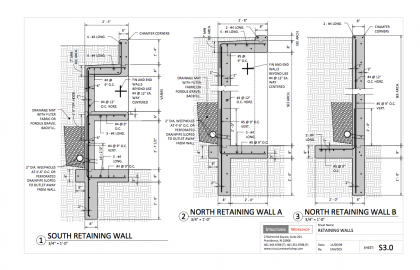
Both walls are well over 4′ tall. In Providence, that means you need an engineer to cover structural requirements and get your project approved by the city. Markus hooked us up with Erik Anders Nelson — an extremely clever engineer working at Structures Workshop, also an adjunct professor at RISD.

Got plans?

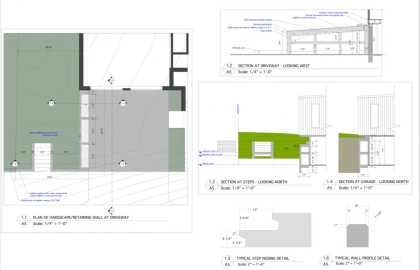
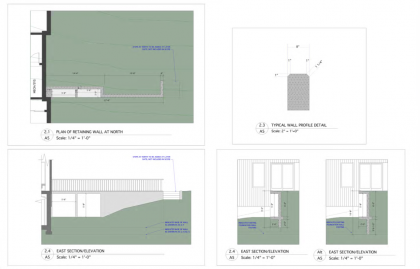
Heck yeah, we got plans! I’ll cut to the chase, since we’re playing catch-up anyway… Click the images to biggify.

Design for the front wall:

front retaining wall | Inside Out Design

Design for the back wall:

back retaining wal | Inside Out Design

Engineering plans:

engineering detail, both walls

engineering plan, back wall details

Actual walls up next! Bear with me, we’re almost caught up.

gondola rides, $1

Tuesday, February 9th, 2010

The short version of this post: Dog devours couch. Couch becomes a project. Project goes exceedingly well. Refinishing and upholstery, awesome. Couch doesn’t fit in new space. Waah.

And now, for the longer version.

The couch before

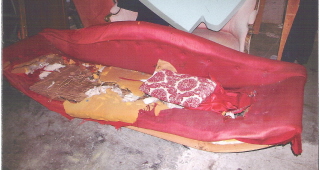
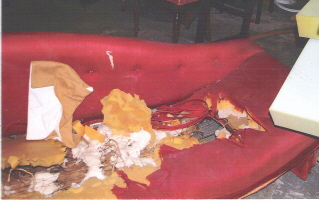
What an upset greyhound can do to a couch

The couch, before

Poor, poor couch... devoured

Glorious, vintage danish modern couch, turned into bits of shredded foam by Rocketdog while we were on vacation and the housesitter was out. Not something she did on a regular basis, thank gawd. She passed on about a year and a half ago, poor pookie. We miss her.

But back to the couch…

This baby was an antique store find picked up for a mere $600 — well worth it when the original fabric was intact. I always intended to recover it, so once the dog had her say I figured it was time. Had a furniture doc strengthen some wonky joints. Refinished the wood myself with a very tedious wet-sand and oil process. Then I picked out some fabric and left the frame with Richard, an able upholsterer.

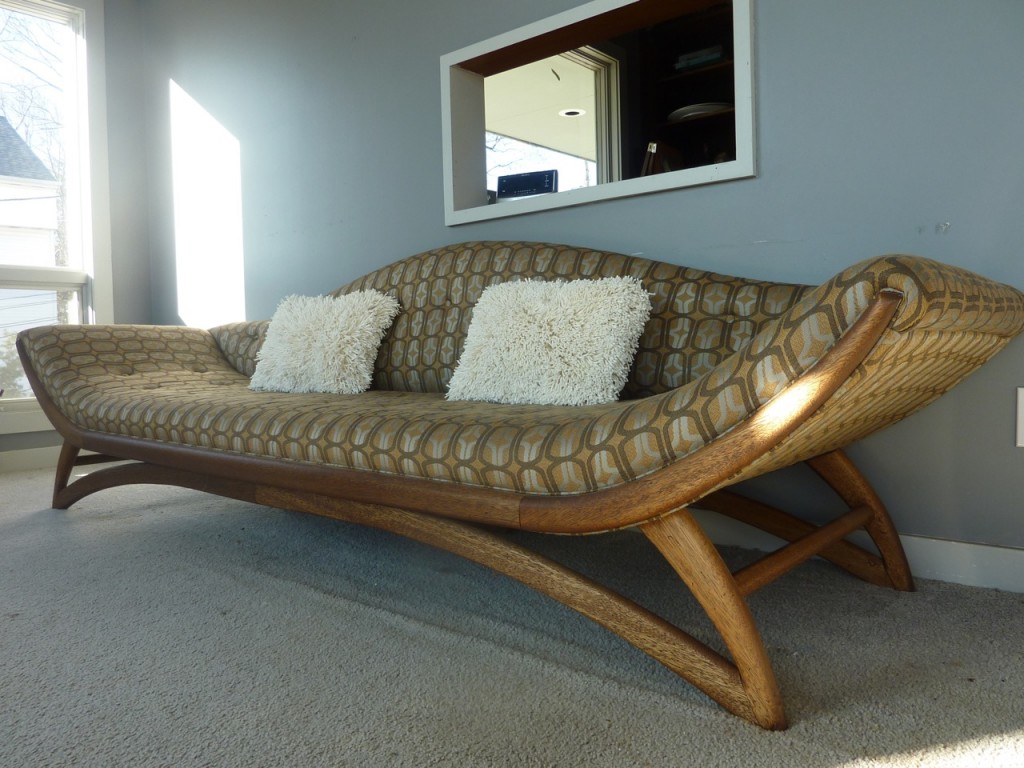
Ta-daaaa! Click the pic to bigify. It’s impressive.

couch in all its glory

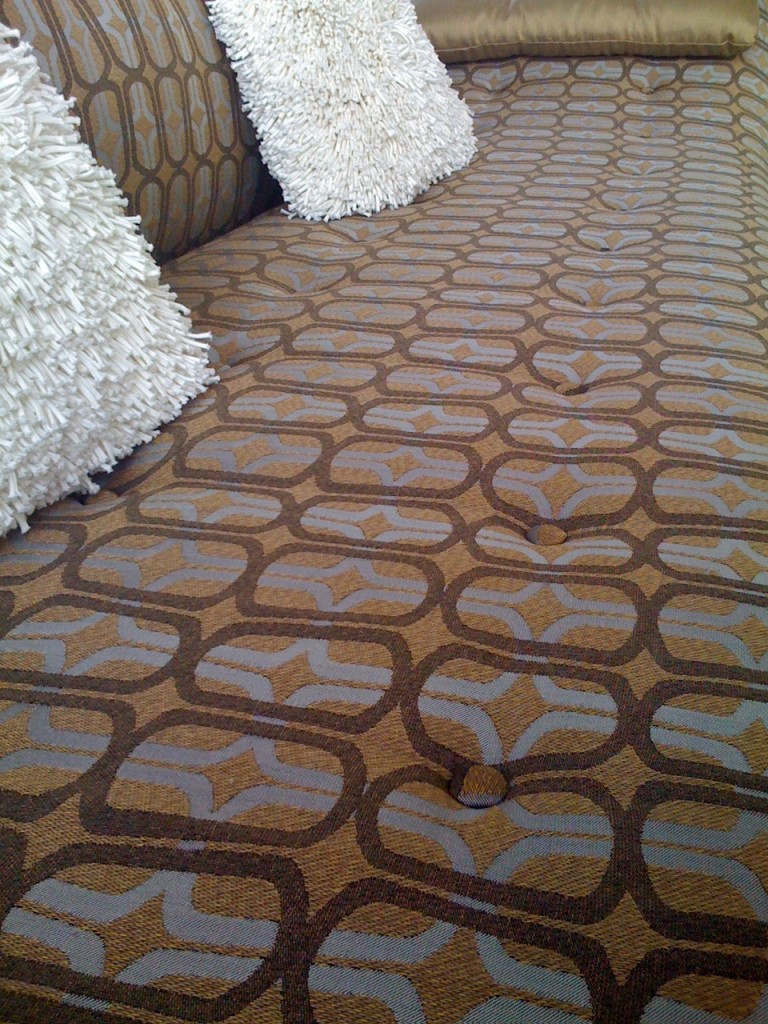
A 9′ behemoth of a couch that screams gondola. Who wants to go for a ride… anyone?

9 feet of fabulous

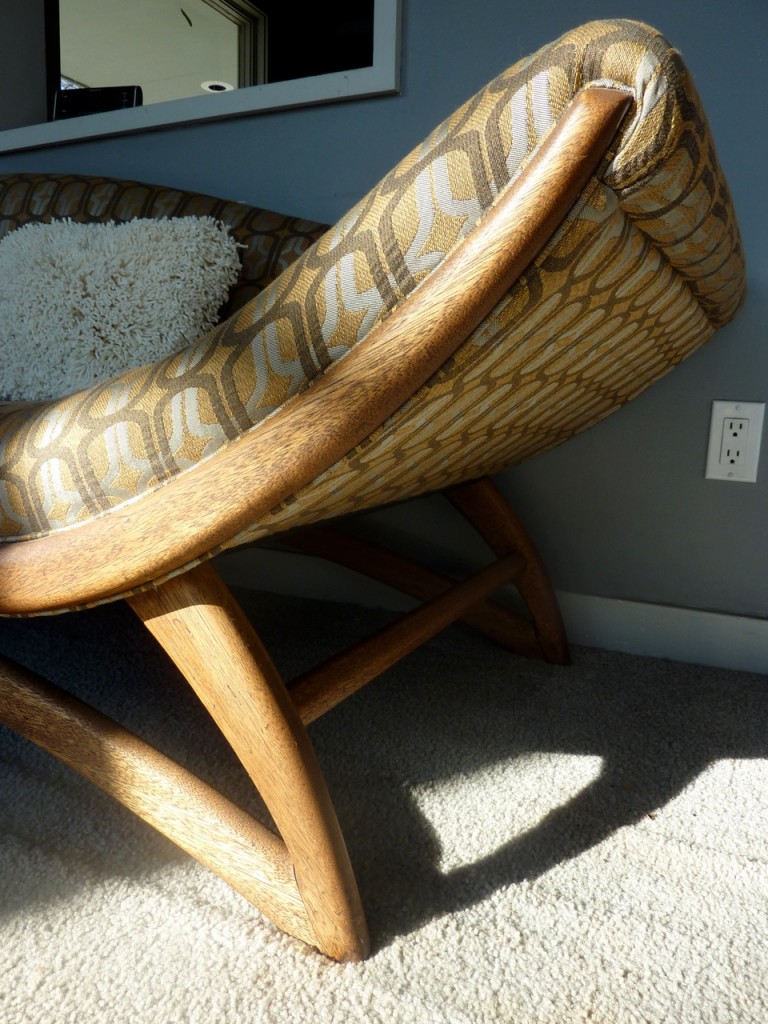
The sexy curves now get the attention they deserve. And in spite of my novice refinishing, the wood glows like it never did before.

ooh la la

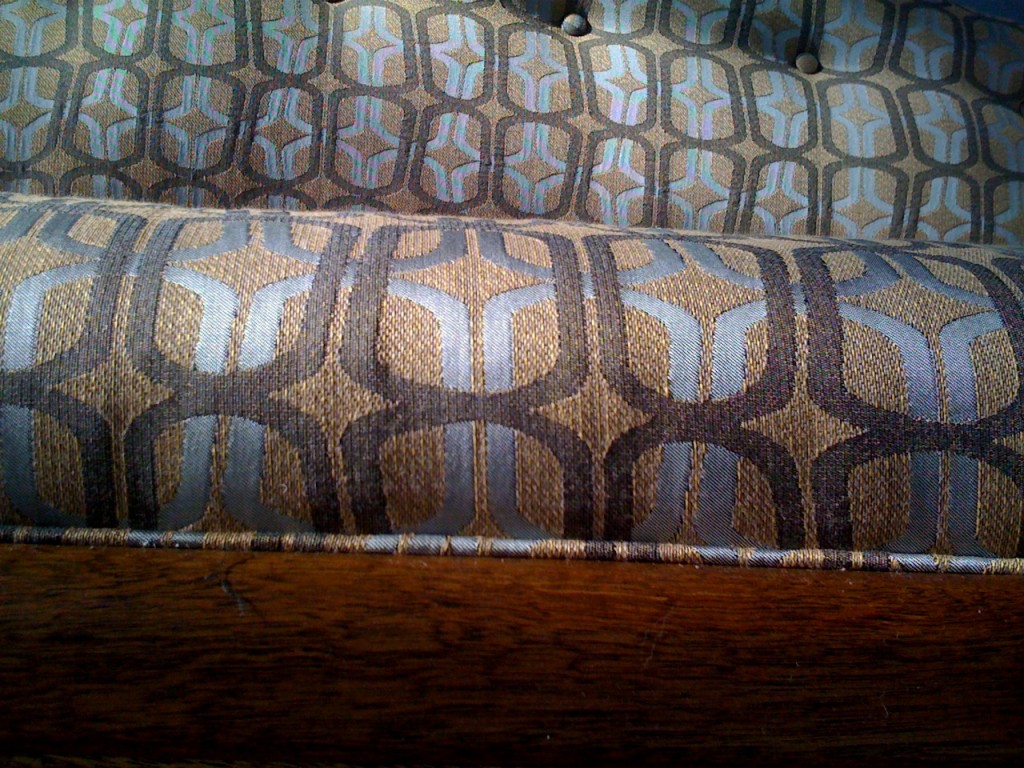
And that fabric! So yum. Robert Allen Loop Around in Bark. I took a chance on a bold pattern. Slightly nubbly but with a sheen here and there when the sun hits it… sometimes it looks silver, sometimes pale blue.

ooh, shiny!

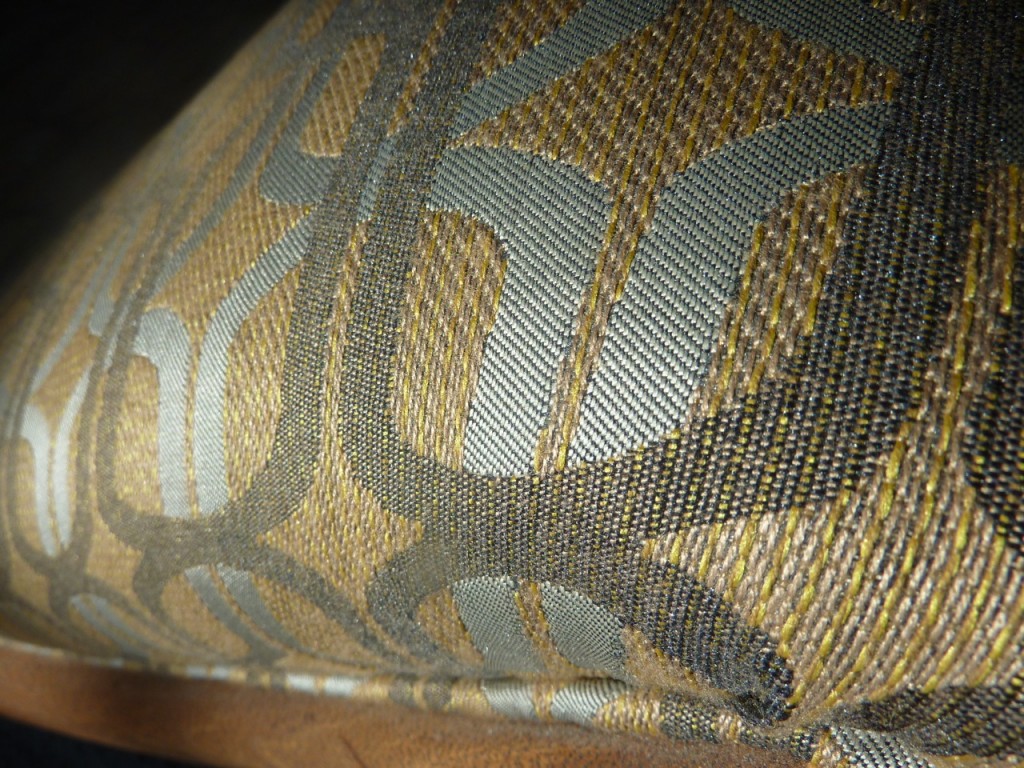
If you look close, you can see that there’s actually no silver thread. The sheen comes from the interplay of white and black weave. Love the warm yellowy gold woven in there with the brown. Lovely. A touch-me upholstery-weight fabric — you should really click the photo to see it closeup.

closeup on the texture

Okay, done swooning.

As I said before, I absolutely love how this project turned out. However, I started this ages ago, well before we started talking with an architect about how to make the most of the small living space in our new house (more on that another time). Yes, everything in the livingroom will change. And at 9′, this couch is just way too long to put anywhere. What to do, what to do?!

For now, I’ll just cover it with a sheet and try not to gaze upon its fabulousness.

dear sweet Rocketdog