Archive for the ‘projects’ Category

projects update: built-ins + butterflies

Thursday, August 2nd, 2012

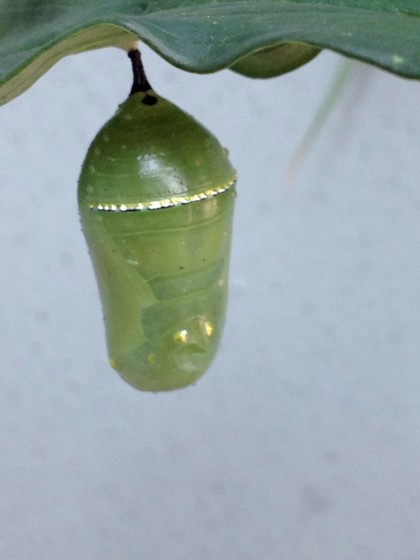
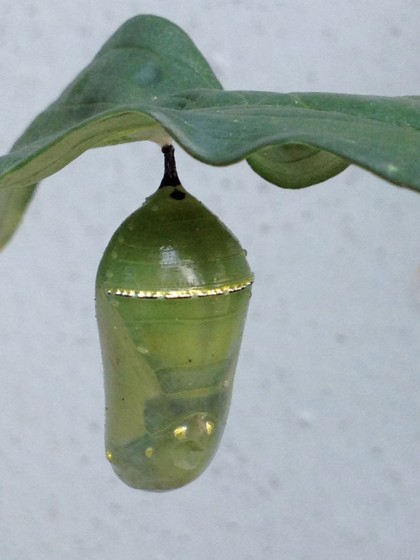
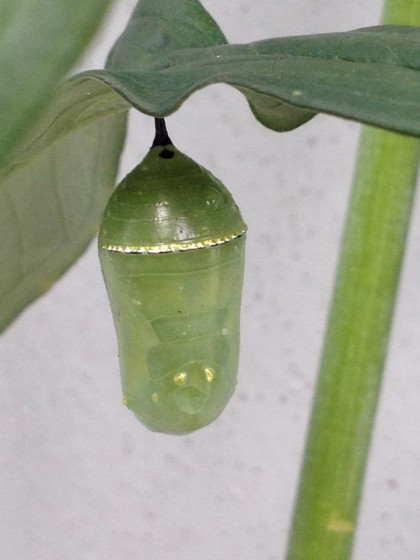
Let’s see… when we left off on Day 9, it was almost time for our monarch butterfly to bust out of her chrysalis, fan us with her awe-inspiring wings and flutter on out of here. So what’s up?

DAY 10

monarch pupa: day 10


DAY 11

monarch pupa: day 11


DAY 12

monarch pupa: day 12


So much for the 10-day cycle. Ever waited for a cat to have kittens? It’s kind of like that. I go outside and check the chrysalis throughout the day. When something happens I’ll let you know.

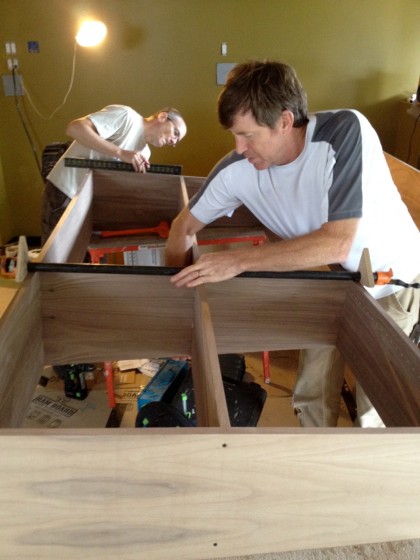
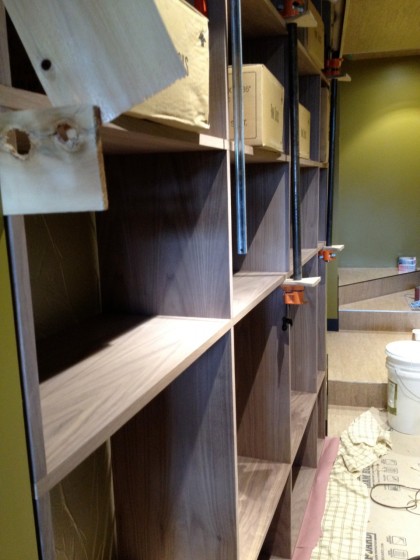
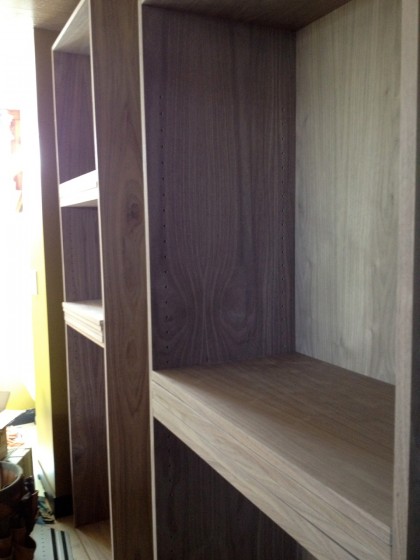
In other news that might actually be news, David and Joe are downstairs banging out the built-ins. Here’s your sneak-peek…

built-ins: joe and david at work


built-in: record rack


built-ins: bookcases and whatnot


Once they’re in, David can tell you all about them. Also waiting in the wings: our murphy bed hardware. So there’s that to look forward to, as well.

One last note: the wallpaper decision has been made. I’m saving it as a surprise. All will be revealed with the fullness of time.


redecking almost done did

Thursday, July 12th, 2012

Happy to report that the deck is ALMOST DONE! My handsome contractor shares the redecking details of the last few days…

——————————————————————————————-

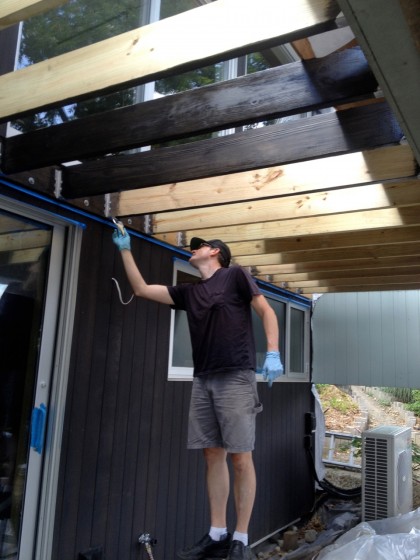
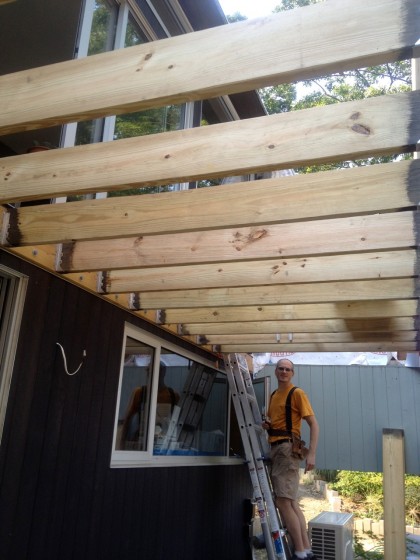
Once the joists were in, I stained them to match the siding

david staining the joists


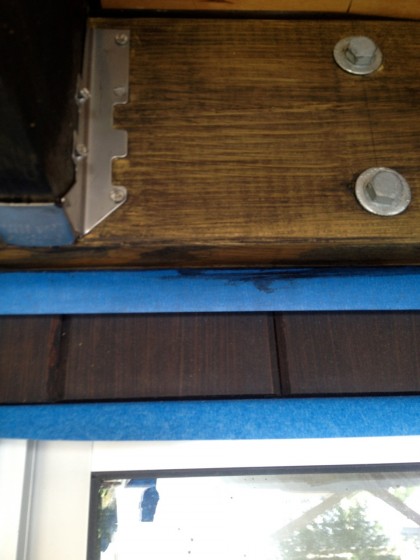
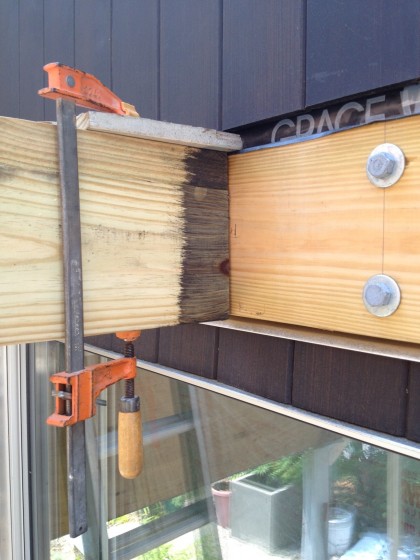
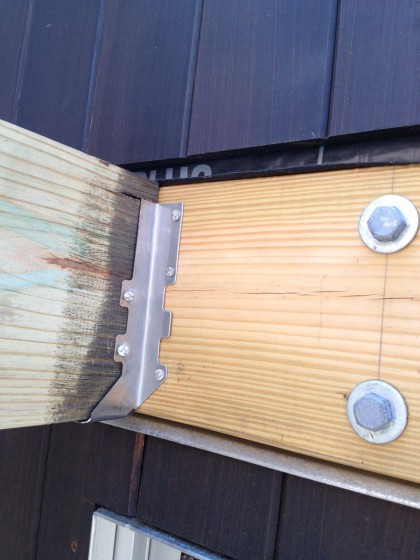
I brushed the same Sikkens we used before on all the exposed, pressure-treated wood. The stainless joist hangers and the lag bolts in the ledger board really pop against the stain, matching the aluminum flashing around the doors and windows…

joist hangers and lagbolts match the flashing


Guess we can remove that paint tape pretty soon, eh?

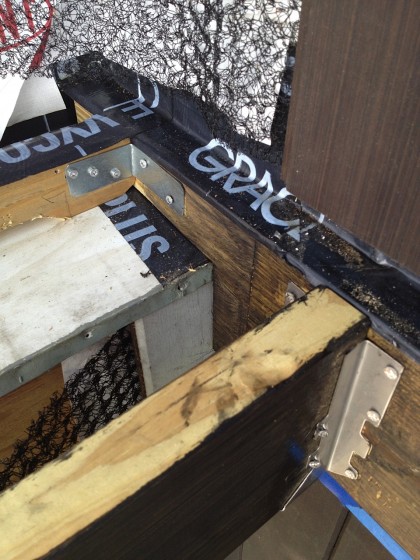
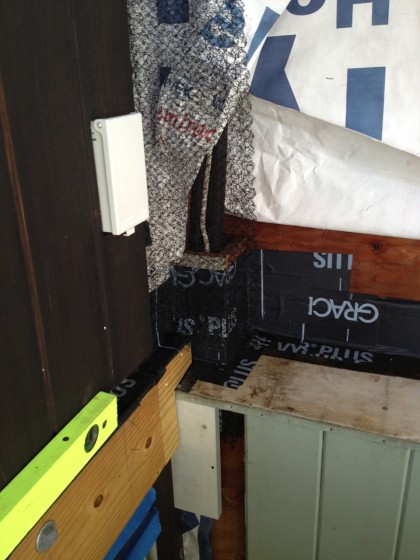
Joe, the  Water Barrier Police, made the magic happen with ice and water tape, aluminum flashing and house wrap to keep water out for years to come…

redecking2


More of the same at the other end of the deck with the added complication of installation around the heating/cooling lines…

more waterproofing around the complicated bits


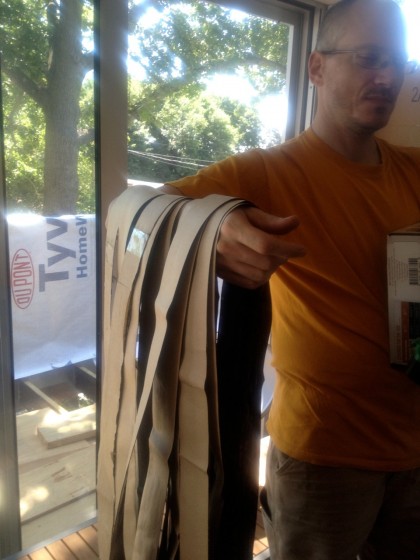
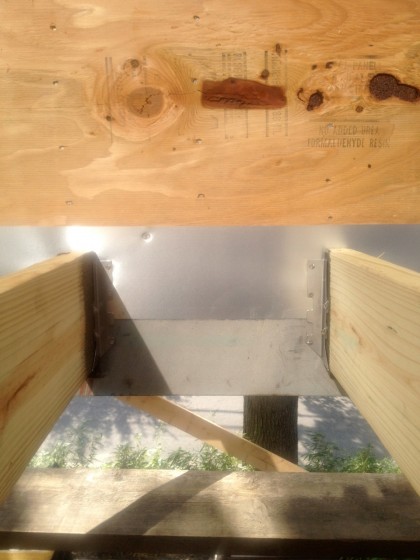
Water sitting on top of the joists, or trapped between the back of the deck boards and the top of the joists can slowly rot the wood. Although we’re using hidden fasteners, they can still provide an avenue for water to enter the joists and rot them. Don’t want that, so Joe cut a bunch of snow and ice tape strips for the top of each joist…

waterproof tape strips


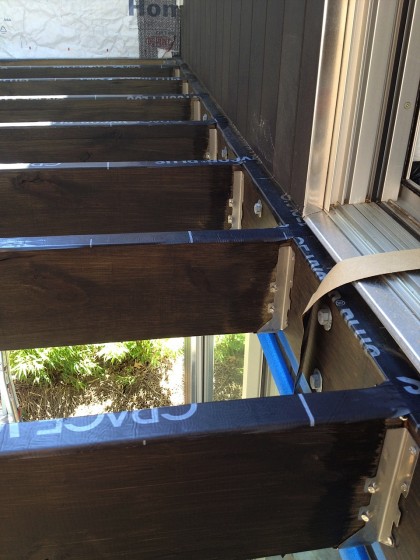
That should keep water off the top of the joists and seal around any fasteners to keep water out…

waterproof tape strips on top of joists


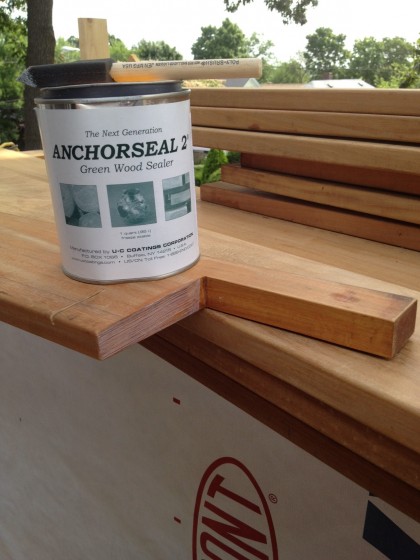
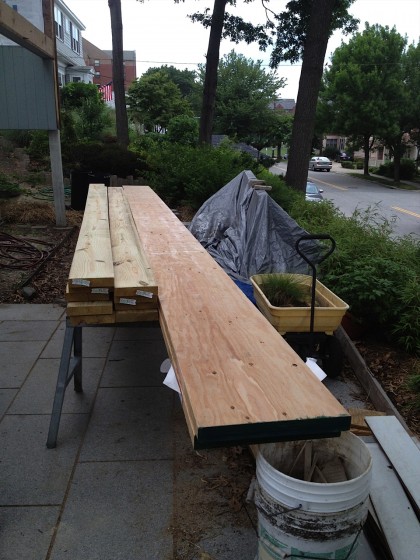
For the deck boards, we chose a wood called Garapa Gold, which is 30% heavier than mahogany and twice as hard. Sort of a poor man’s ipé or teak. It weathers to a nice silvery grey with no maintenance needed — my kind of deck. That means we’ll leave it untreated except for sealing all cuts against moisture penetration…

anchorseal sealer for the freshly cut ends of the deck boards


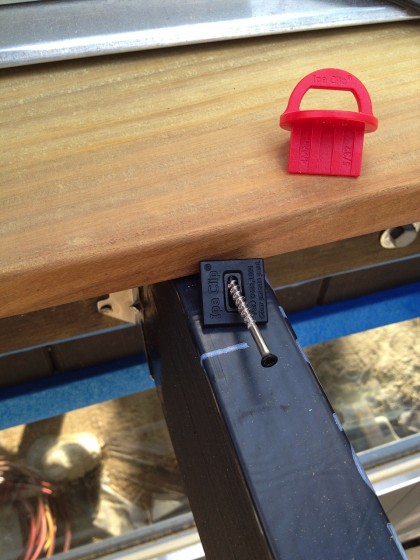
After all that moisture-blocking prep, the deck board installation could finally begin. I mentioned hidden deck fasteners earlier — Ipe Clip makes them. That black clip slips in a slot you cut into the edge of the deck board with a biscuit joiner (sorry I didn’t capture an image for you)…

ipe clip closeup


Then the screw (head conveniently painted black for us already) goes through the little metal insert in the clip at a 45 deg. angle like so…

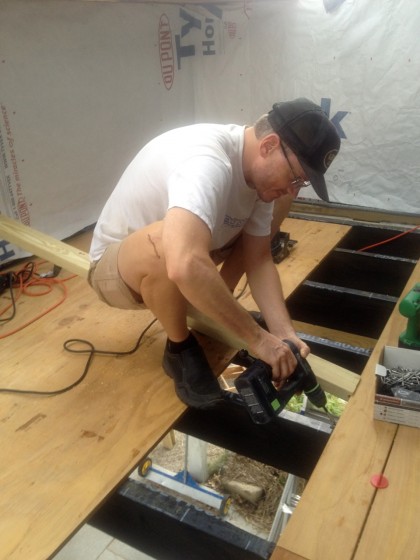
installing the boards


That round red thing is a spacer that keeps the boards evenly apart as we go. The next board gets slots cut in the edge and slips onto the first row of clips, then stuff happens to the new edge, same clips and stuff junk and whatnot. If you’re interested in the installation details, the whole process is here:


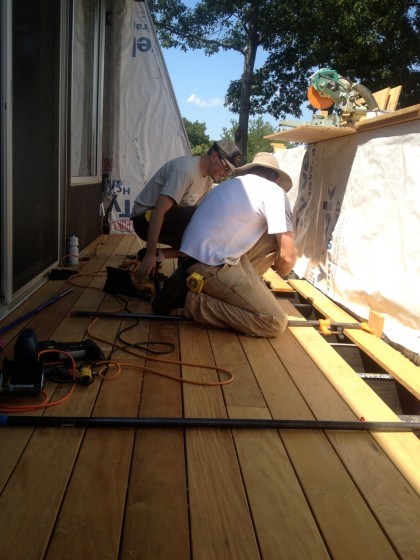
Needless to say, we powered through the deck board installation today in spite of the sweaty 90-degree heat…

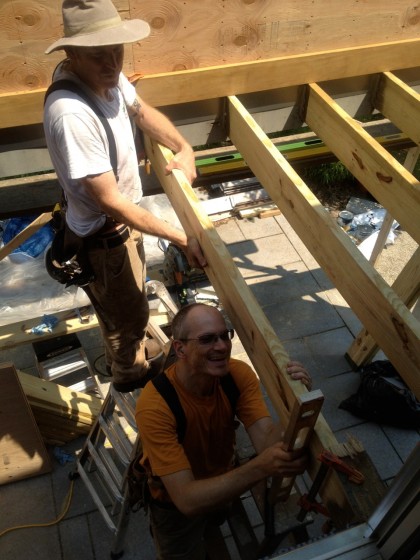
david and joe nearing the end


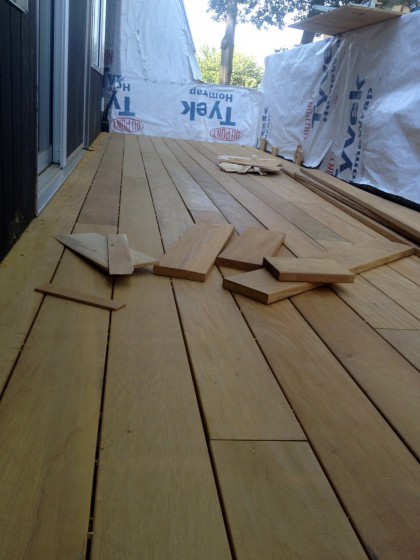
A few bits left to make it DONE done but it looks pretty fantastic, right?

almost done done


And 100% more usable than it has been for the last six months!

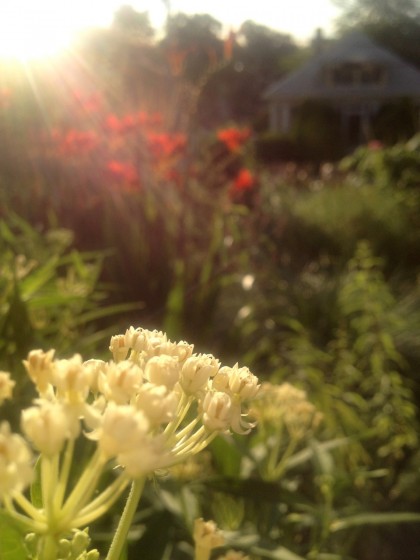
the urban meadow at dawn

Tuesday, July 10th, 2012

dawn: crocosmia ‘lucifer’


dawn: echinops ‘blue globe’


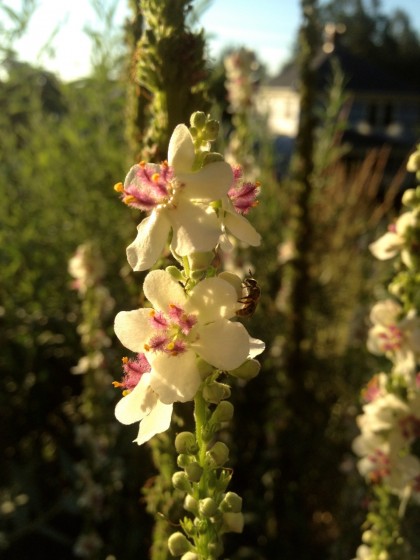
dawn: verbascum ‘album’


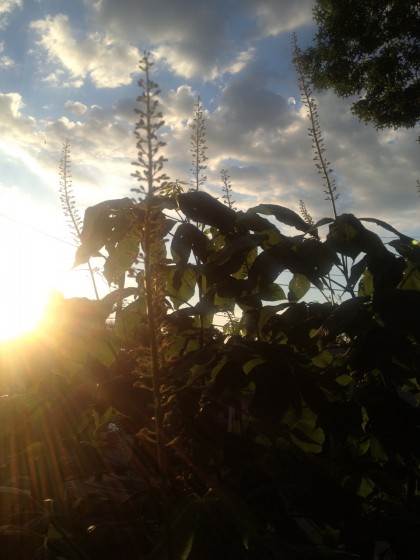
dawn: aesculus parviflora (bottlebrush buckeye) blooms about to open


dawn: filipendula ‘kakome’ (meadowsweet)


dawn: miscanthus ‘morning light’... appropriately enough


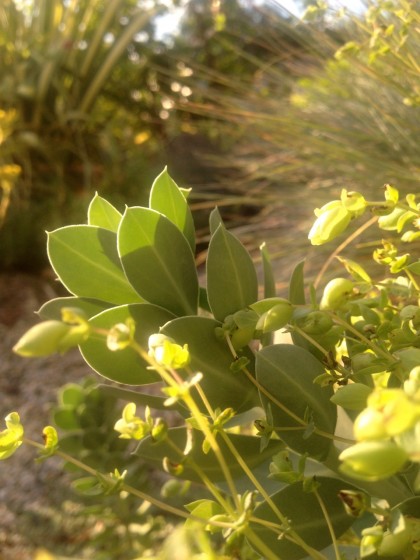
dawn: euphorbia myrsinites (donkeytail spurge), origanum ‘amethyst falls’ (ornamental oregano) about to bloom and festuca glauca ‘elijah blue’ (blue fescue)


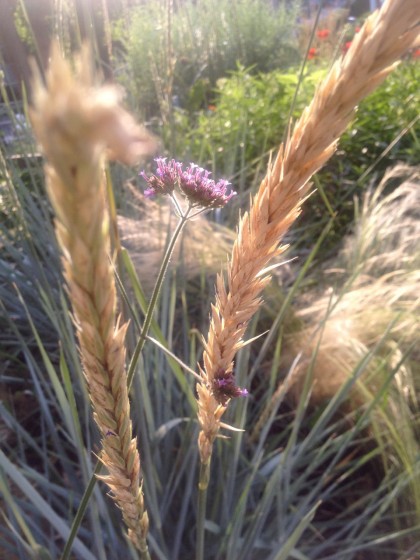
dawn: elymus arenarius ‘blue dune’ (blue lyme grass),  nassella tenuissima (Mexican feather grass) and verbena bonariensis


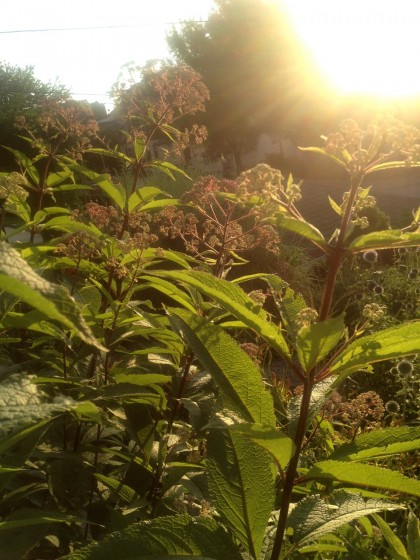
dawn: eupatorium maculatum (Spotted Joe Pye Weed)


dawn: aesclepias tuberosa ‘ice ballet’ (butterfly weed)


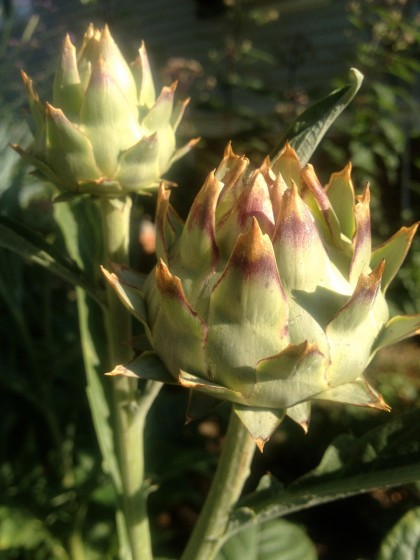
dawn: cynaria cardunculus (cardoon) about to open

redecking: joist and merriment

Monday, July 2nd, 2012

On Friday, shenanigans and the deck rebuild continued. The man with the plan fills us in on what he and Joe are up to out there…

——————————————————————————————-

redecking: squaring and leveling joists


Next up on the deck is the installation of the 2″ x 8″ joists. Joe and I angled them 1/4″ away from the house to ensure that water will drain away rather than sit on the deck boards.

A scrap of wood clamped to the top holds one in place so a joist hanger can be nailed…

redecking: joists getting nailed


The joist hangers are made of 316 stainless steel, as are the nails. Designed for use near salt water, they’ll never rust. We’ll stain the joists to match the stain on the siding and to cover their pressure-treated green. You can see we already stained the ends so that we don’t have to cut in around the hangers…

redecking: steel joist hangers


We installed aluminum flashing to cover the joint between the new plywood and the old cedar…

redecking: metal strip


Flashing tape will be added at the top to ensure that water stays out of the joint.

With the joists all up we can do a little weather proofing and then start applying the decking. The deck material we’ll be using is Garapa Gold, installing it with a system of clips which will leave no visible fasteners and no pathway for water to enter and rot the decking or framing. Cool stuff.

Well, that was a full day’s work. Joists all in! And it’s beginning to look like a deck again…

redecking: joists all done


redecking revisited

Thursday, June 28th, 2012

I mentioned the other day that it’s time to get back to the deck. Holding true to our ADHD remodel strategy, David and Joe are at it again. David will tell us what’s going on out there.

————————————————————————————————————————————

We finally got going on the deck again. It took a while to get the building permit and then everybody’s schedules had to align. Also, the planets.

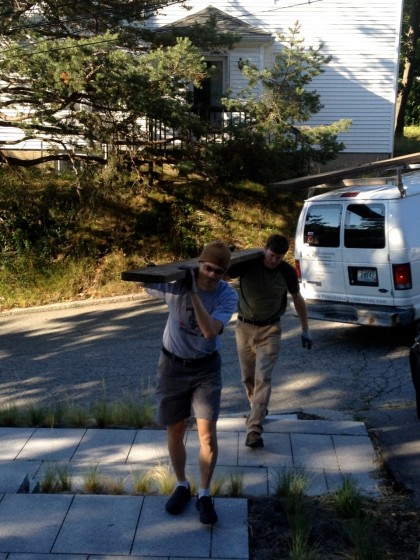
On Monday we took delivery of the pressure-treated 2’ x 8” deck joists and two 16” x 1-¾” LVL beams that will make up the load-bearing portion of the new deck…

redecking1


Then we raised up the two LVLs close to where we needed them…

redecking2


We cut them to length, set them in place, made sure they were level and then screwed them together with #14 x 2-⅜” beamers in rows of three every 16”. That’s a mouthful to say and took a while, but it’s a big, strong beam now…

redecking3


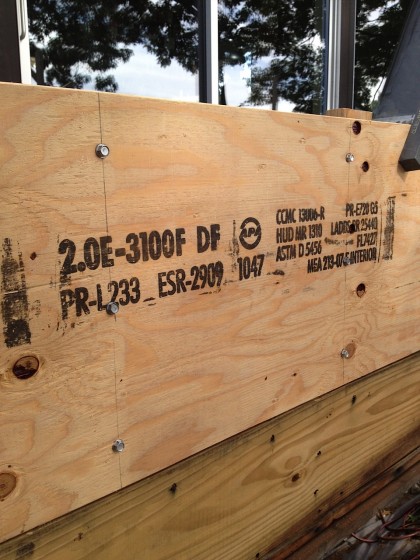
“2.0 E – 3100F DF” means something about how much it will deflect (sag). In other words, strong stuff!

redecking4


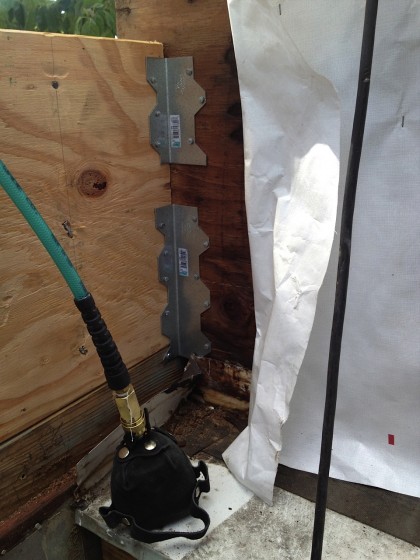
We nailed the inside of the beam with 12d galvanized nails in rows of three offset 8” from the beamers on the other side. Then we set the beam in place and attached it to the existing end walls with these brackets and galvanized joist hanger nails…

redecking5


This wasn’t part of the engineering design but it only took a couple of minutes and didn’t cost much. You can’t build things too stiff! At least in small residential projects.

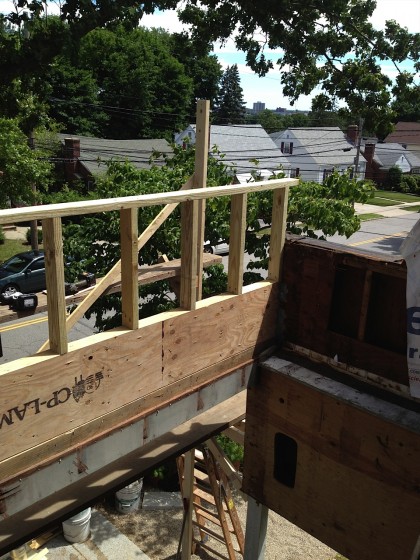
Then we built a wall on top of the beam out of pressure-treated 2” x 4”s…

redecking6


The new assembly sits on top of the old 2” x 12” beam which is still supported by the three posts. We left all that in place, making the job much simpler. Once the entire deck is done, we’ll jack it up a pinch, install the steel and then remove the posts. [Here’s the engineer’s plan for making it possible to cantilever the deck as the architect originally intended.]

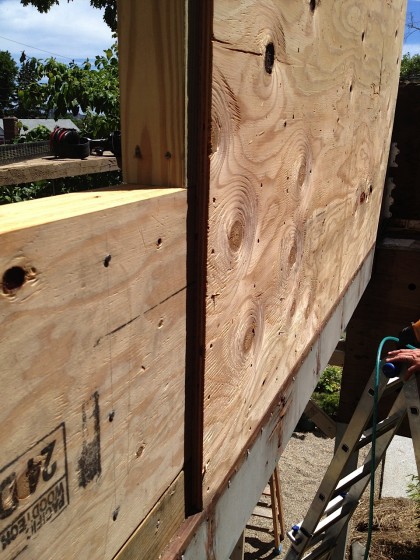
A layer of ¾” CDX plywood, nailed every 6” with 8d galvanized ring-shank nails, ties all the different components together into one monolithic entity…

redecking7


Plenty more to do out there. Expect another report soon!

scenes from the woodshop

Tuesday, June 26th, 2012

I met up with David at Tim’s graciously provided woodshop yesterday to figure out the size and location of fingerpulls for the bathroom cabinet doors and drawer fronts. It’s a small detail but one we want to repeat on built-ins that will go upstairs as well.

We explored several design options (you can see a few on my no-hardware cabs Pinterest page, if you like) and settled on a slim rectangular notch. David mocked them up in paper…

fingerpulls laid out on the cabinet doors and drawer fronts


Minimal. Nothing to jut out into the small space. Echoes the slim rectangular tiles in the bathroom. So there you go, one more decision down.

In other news, David and Joe started setting up the scaffolding in anticipation of rebuilding the deck…

david and joe about to set up the scaffolding


The deck rebuild has been on hold since March. Excitement ensues.

scenes from the woodshop

Tuesday, June 19th, 2012

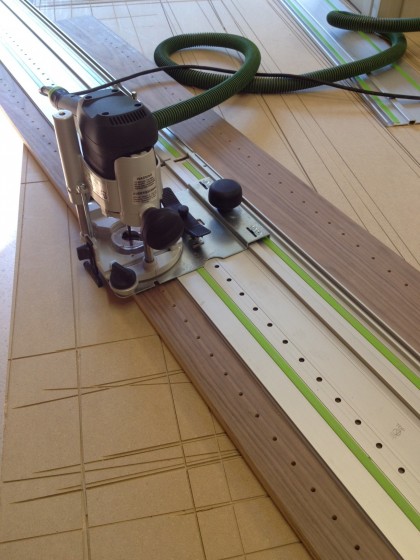
David says the bathroom cabinet has been drilled for future usefulness…

cabinet being drilled for shelf holes


The man himself explains:
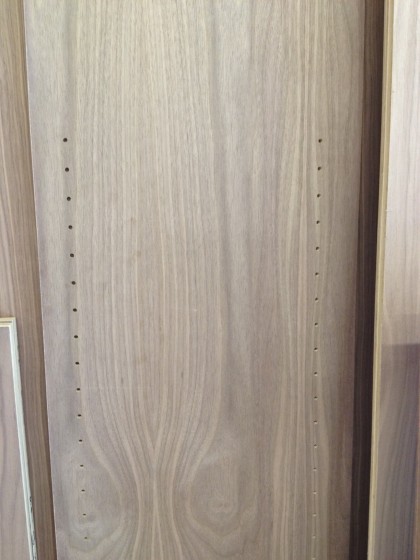
“Those wacky Europeans, they came up with this 32mm system. A series of 5mm holes are drilled 32mm apart a set distance from the front edge of the sides of the cabinet. A parallel row is drilled some multiple of 32mm back from the first row at the back of the cabinet. The holes can be used for door hinges, drawer slides or shelf pins. An ingenious way to make easily customizable cabinetry!”

cabinet drilled for shelves


That is all.

the front hill, revealed

Friday, June 15th, 2012

So. The front hill. Yes, it’s finally planted! Shall I whisk you back in time before I show you how it looks now?

When we moved in, the yard looked like this (biggify to see the full ugly)…
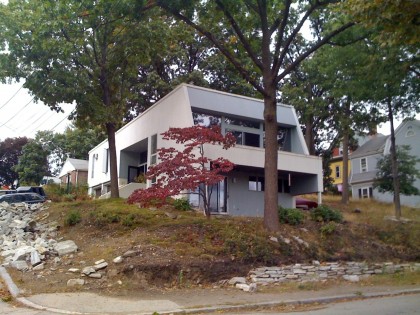
the hill when we moved in, complete with massive pile of crappy stone


Since then, the stone was hauled away — you can see the freshly built retaining wall now along the driveway…
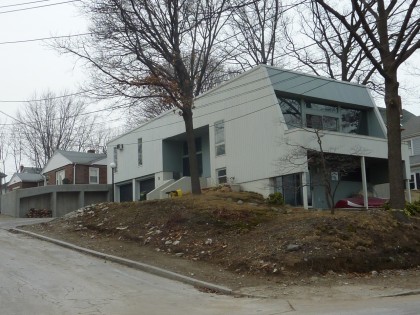
stone taken away


The messy oak tree out front was removed and replaced with three Japanese cedars last fall…
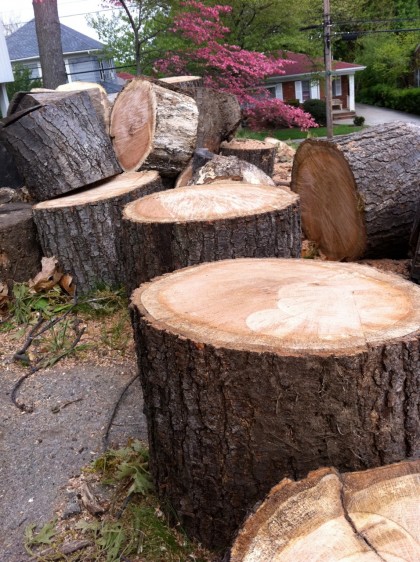
oak tree remains in may 2011


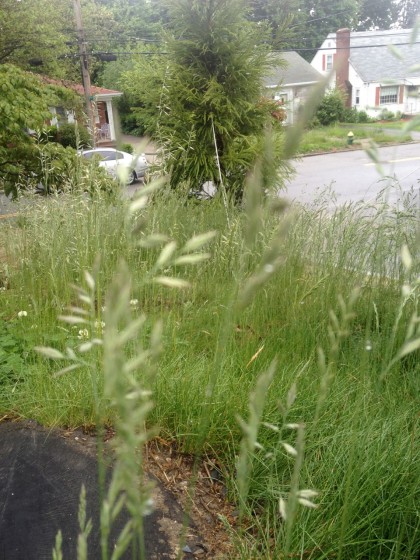
And the tenacious 3′ tall weeds…

weeds weeds weeds


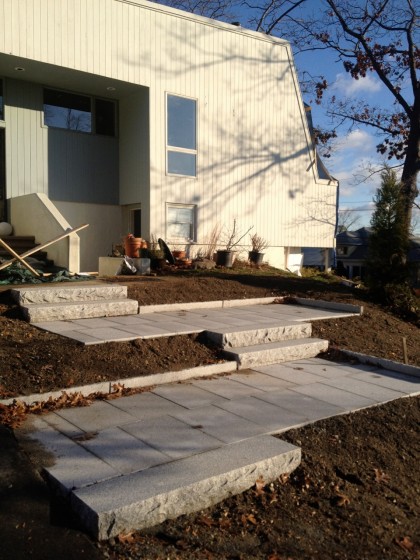
Yeah, I dug those up. Then last December, the front walkway was put in…
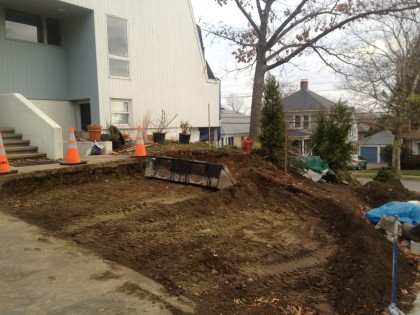
destruction in december


walkway done in december 11


Once that was done, I added a truckload of soil…
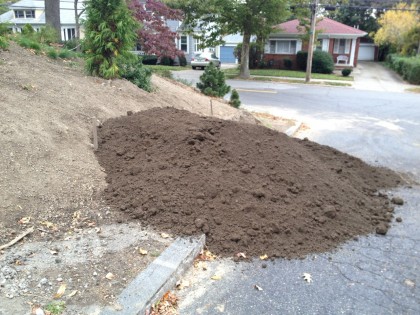
added soil


…  and sculpted the hill to my liking, creating a series of flat strips to slow the runoff. Just me and a shovel.

And once that was done, I added Curlex erosion control blanket (like we did on the other hill) to hold the slope. You can probably spot the flattish areas if you biggify…
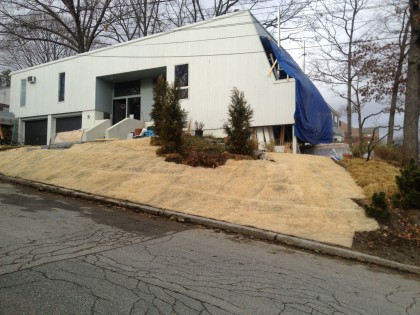
erosion control added in december 11


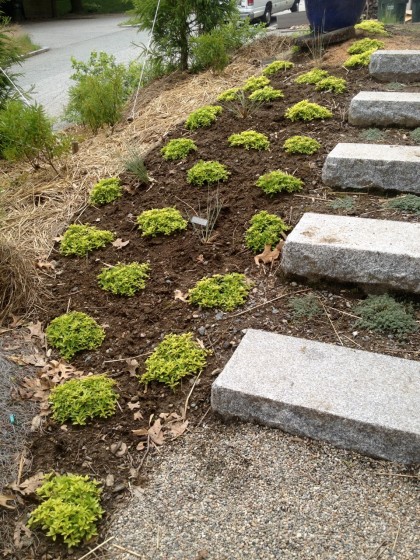
During the winter, I made plant choices plants for this dry, south-facing hillside. I went with mostly Mediterranean and hardy, xeric, native plants that wouldn’t mind the rocky, sandy soil, wind and summer heat —  grasses and perennials that will grow up into a bee/butterfly/hummingbird meadow. The closer to the house, the tighter, more regimented the layout. The farther away, the looser, more organic the layout.

In March, I started shoving the shrubs I’ve been saving into the ground. Then the boxes of plants for the front hill started arriving from various online sources…
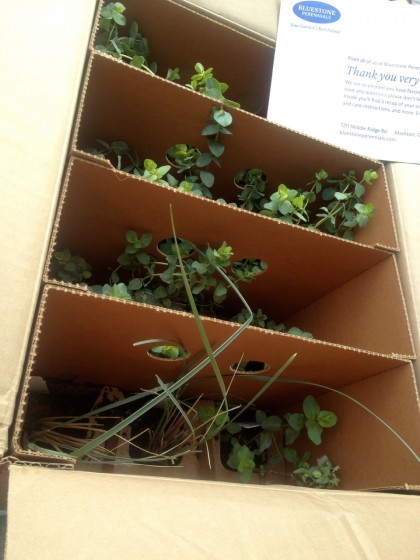
 

live plants begin arriving!


Shiva stopped by in April to help lay out the Nassella tenuissima (Mexican Feather Grass)…
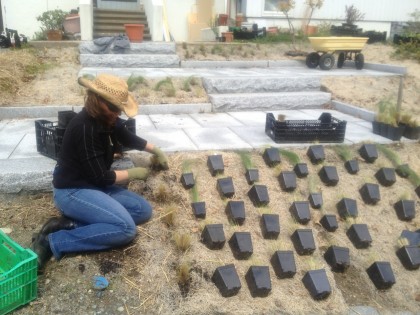
shiva helps lay out the 85 nassella tenuissima in april


After that, I became the Mad Planter, popping plants in the ground at every opportunity. Then Shiva and Natasha came and helped with the final push…
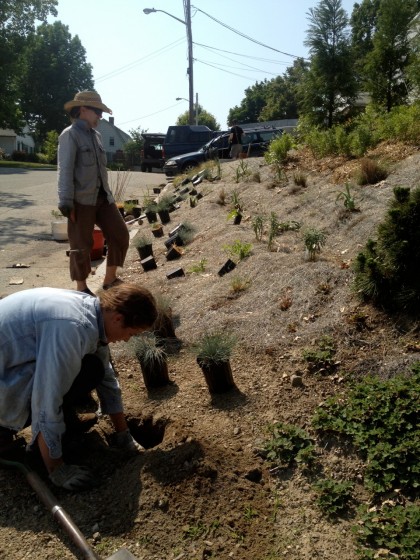
shiva and natasha help out in may


Thank goodness because if they hadn’t I probably wouldn’t have finished until July. I’m guesstimating but there are probably around 400 plants in. I should do a final count.

Although this is about as anti-climatic as a Mad Men end-of-season episode, here’s the not-so-big reveal (again, you might want to biggify):
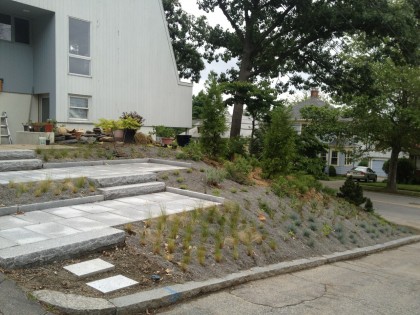
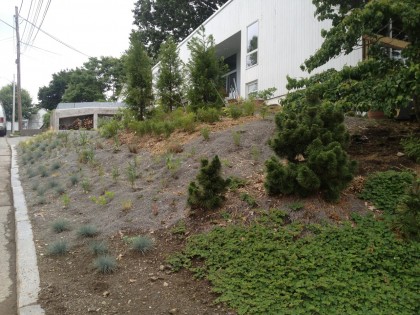
front hill, view 1


front hill, view 2


Except for a few holdovers from pots, the plants are all tiny and won’t look like much the first year. If they grow in like my meadow out back, next summer you’ll see a huge difference.

In the meantime, have a closer look at a few bright spots…
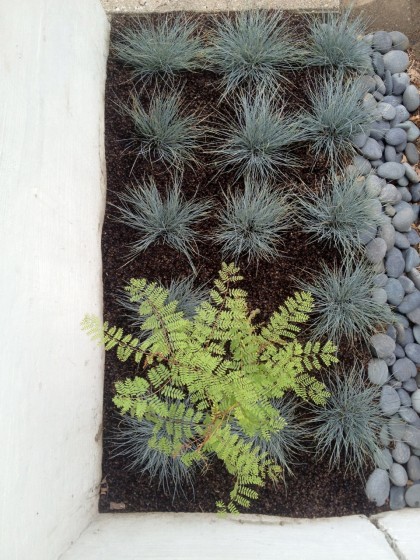
festuca glauca ‘elijah blue’ and caesalpinia gilliesii (yellow bird of paradise) next to the front steps


origanum ‘aureum’, helictotrichon sempervirens ‘sapphire’ (blue oat grass) and thymus pseudolanuginosus (wooly thyme)


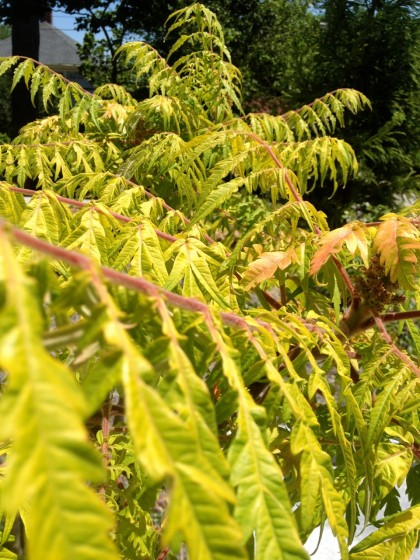
rhus typhina ‘bailtiger’ (tiger eyes sumac)


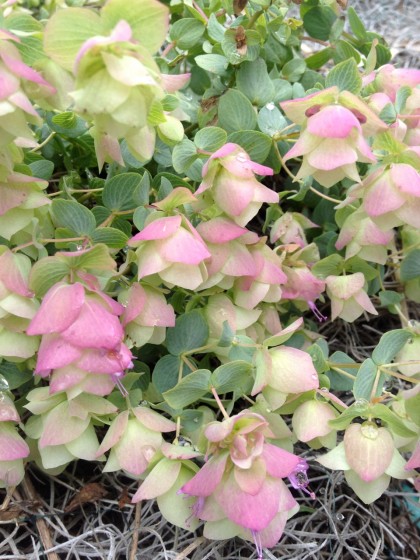
Origanum rotundifolium ‘kent beauty’ (ornamental oregano) just beginning to bloom


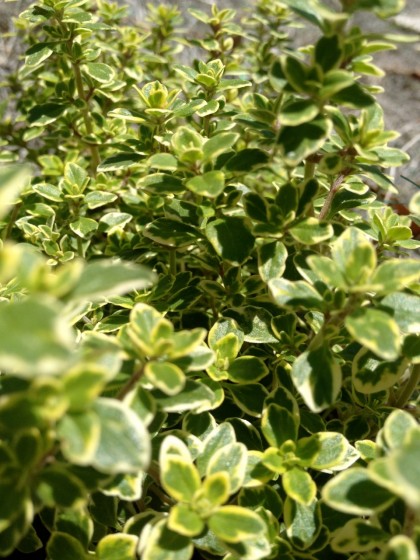
thymus x citriodorus (lemon thyme)


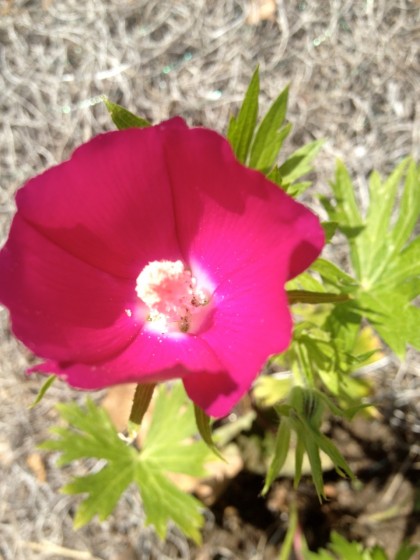
the first callirhoe involucrata (purple poppy mallow) bloom


For those who care, below is a list of what you’ll find on my front hillside. For  visuals, pop up my Pinterest plant menu page…

Grasses

Bouteloua gracilis ‘Blonde Ambition’ (Blue Grama)

Festuca glauca ‘Elijah Blue’ (Blue Fescue)

Helictotrichon sempervirens ‘Sapphire’ (Blue Oat Grass)

Nassella tenuissima (Mexican Feather Grass)

Panicum virgatum ‘Ruby Ribbons’ (Switch Grass)

Schizachyrium scoparium ‘The Blues’ (Little Bluestem)

Sporobolis heterolepis (Prairie Dropseed)

Groundcovers

Origanum vulgare ‘Aureum’ (Golden Oregano)

Origanum rotundifolium ‘Kent Beauty’ (Ornamental Oregano)

Rosmarinus officianalis ‘Prostratus’ (Creeping Rosemary)

Rubus pentalobus (Creeping Raspberry)

Thymus × citriodorus (Lemon Thyme)

Thymus lanuginosus (Wooly Thyme)

Perennials

Agastache ‘Ava’ (Hummingbird Mint)

Amorpha canescens (Leadplant)

Amsonia hubrechtii (Threadleaf Bluestar)

Callirhoe involcrata (Purple Poppy Mallow)

Eryngium yuccafolium (Rattlesnake Master)

Gaura lindheimeri ‘Whirling Butterflies’

Geum trillium (Prairie Smoke)

Lavendula x intermedia ‘Grosso’

Petalostemon Purpureum (Purple Prairie Clover)

Rosmarinus officinalis ‘Alcalde’ (Cold Hardy Rosemary)

Rosmarinus officinalis ‘Arp’ (Cold Hardy Rosemary)

Salvia pachyphylla ‘Blue Flame’ (Giant Purple Sage)

Verbascum nigrum ‘Album’ (Mullein)

Verbena bonariensis (Tall Verbena)


Shrubs

Baptisea lacteal (False White Indigo)

Buddleia alternifolia ‘Argentea’ (Silver Fountain Butterfly Bush)

Caesalpinia gilliesii (Yellow Bird of Paradise)

Comptonia peregrina (Sweetfern) — to echo the sweetfern we used on the other hillside

Rhus aromatica ‘Gro-Low’ (Fragrant Sumac)

Rhus typina ‘Bailtiger’ (Tiger Eye Sumac)


Trees

Cornus florida (American Dogwood) — the one and only thing original to the hillside!

Cryptomeria japonica ‘Yoshino’ (Japanese Cedar)

Pinus thunbergii ‘Thunderhead’ (Japanese Black Pine)


Succulents, Yucca and such

Euphorbia niciana x nicaeensis ‘Blue Haze’ (Cushion Spurge)

Euphorbia myrsinites (Donkeytail Spurge)

Euphorbia characias ssp. wulfenii ‘Shorty’ (Cushion Spurge)

Hesperaloe parviflora (False Red Yucca)

Sedum rupestre ‘Angelina’

Orostachys iwarenge  (Chinese Dunce Cap)
 

scenes from the woodshop

Wednesday, June 13th, 2012

David reports in again from Tim’s remote Smithfield woodshop with visual proof of progress. Right now, it’s all about edge taping the walnut cabinet parts.

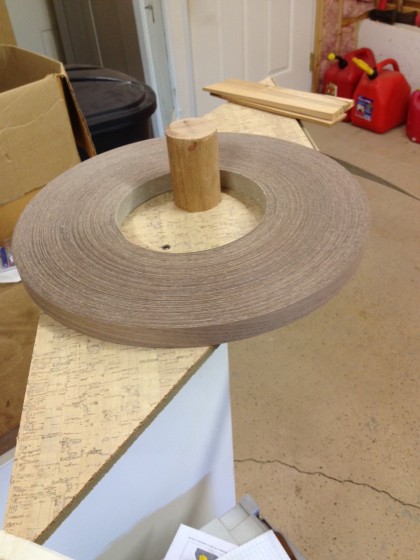
First, he rigged up an edge-taping management system…

David’s DIY edge tape dispenser


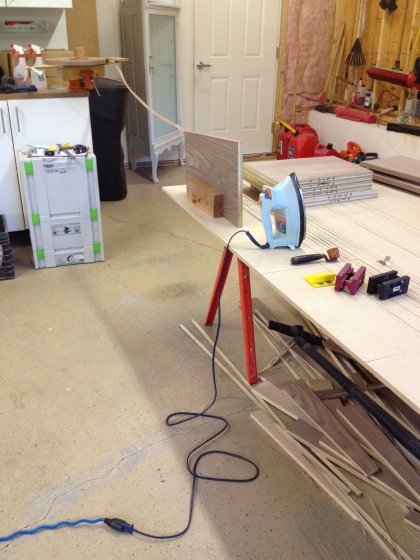
Then he whipped up a way to hold the cab parts steady…

let the edge taping begin!


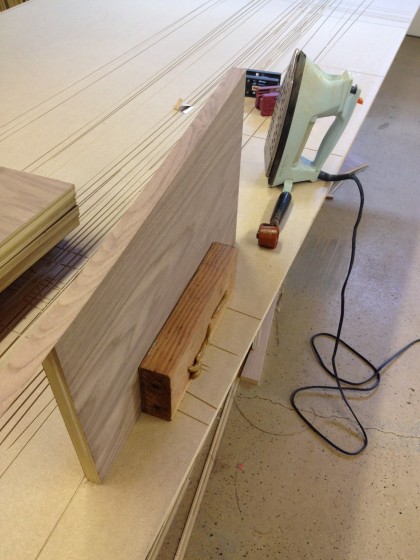
Then he applied heat…

and the edge tape goes on


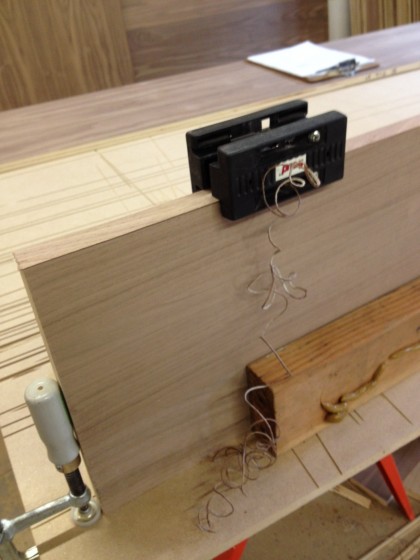
Trimmed off the excess…

trim off the excess


And VIOLA! Edge taped.

finished panel edges


scenes from the woodshop

Thursday, June 7th, 2012

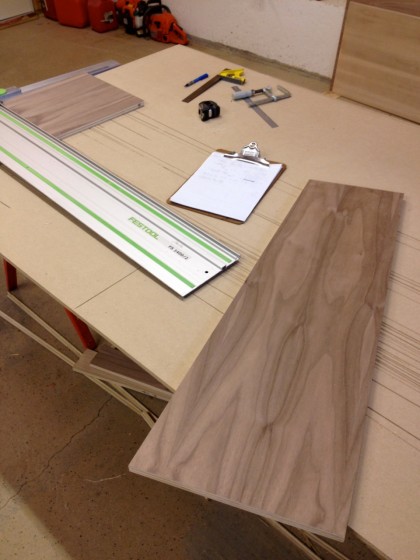
David sends us progress updates from Tim’s woodshop.

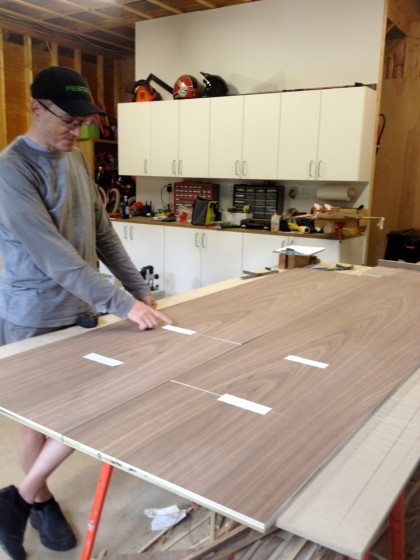
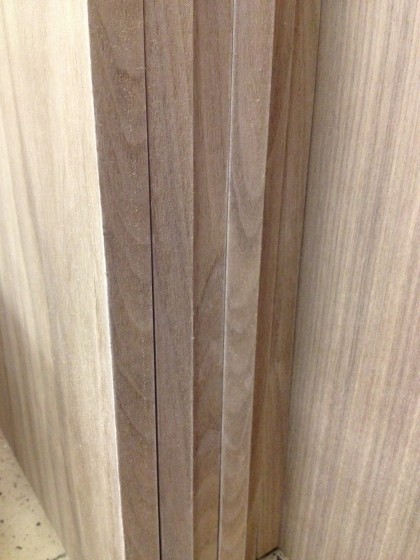
The walnut, cut and labeled…

scenes from the woodshop: walnut cut and pieces labeled


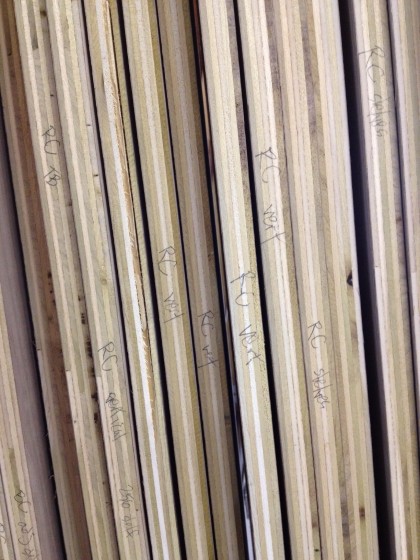
Pieces selected for the office area built-ins…

scenes from the woodshop: for the office area built-ins


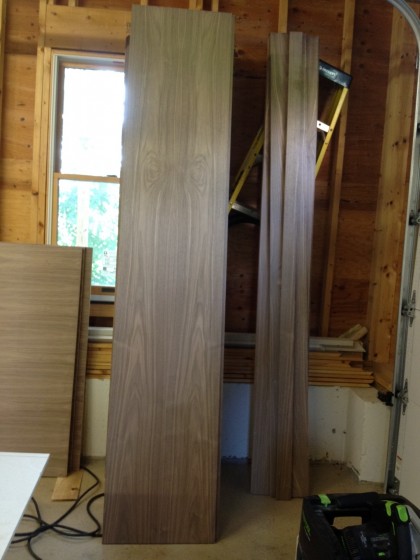
And pieces for the bathroom cabinet…

scenes from the woodshop: for the bathroom cabinet


More news as it comes in!