Archive for April, 2010

drawing in the dirt

Tuesday, April 13th, 2010

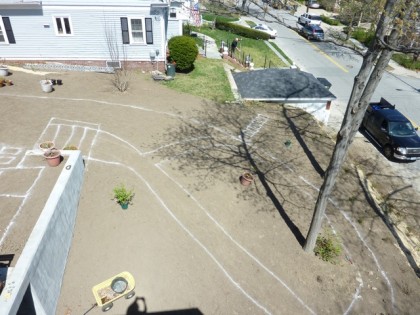
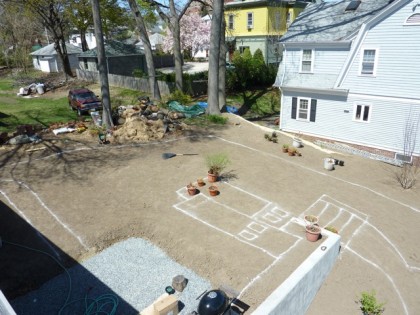
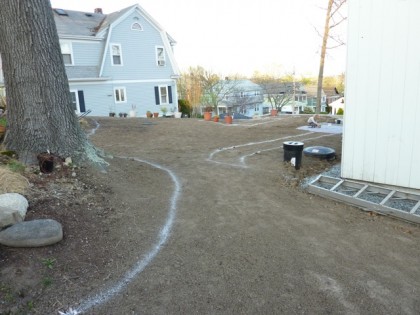
Remember that spray chalk? I finally used it to mark out the bulk of our future hardscape, lawn, garden beds and paths. From the roof, you can see how the yard looks way less daunting mapped out. Plus it gives me a guide for where to plant my largest shrubs and trees.

Shall we walk? Cross the patio and take the steps over the small pool… (click to biggify)

view of the yard from roof | patio area

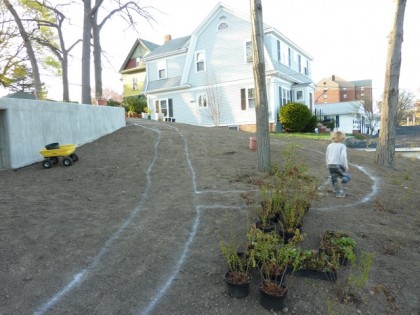
Then head down the stairs with Bix to the area below the retaining wall…

bix runs down stairs

Wander down a few paths through what I picture as a lush, green jungle that will layer in some privacy from the street…

view of yard from the roof | area below patio

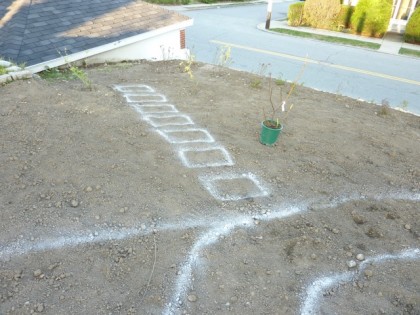
Take the stepping stones through the far corner bed to smell the flowering currants

stepping stones in the far corner bed

It’s rough, but I think you begin to get the picture… Bix sure does.

bix running down path

Now that the lawn area up top is mapped out, we can seed it…

view of yard from the roof | top of yard

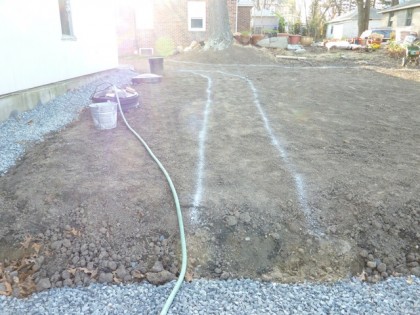
This part of the yard over by the water collection tank stays shady the entire day, so no grass here. Just shade lovers to hide the manhole covers and a gravel path to take you around to the side yard…

future gravel path

Once we get the grass seed down, I’ll start the garden beds over here…

view from the side yard

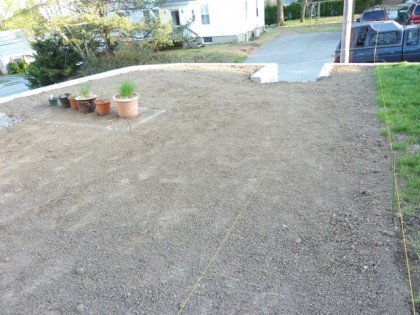
Still firming up exact dimensions in the veggie area but there will definitely be raised beds (to form a barrier that keeps kids from toppling off the retaining wall) to the left and low (4′ high) espaliered fruit trees down the property line on the right…

view of garden zone

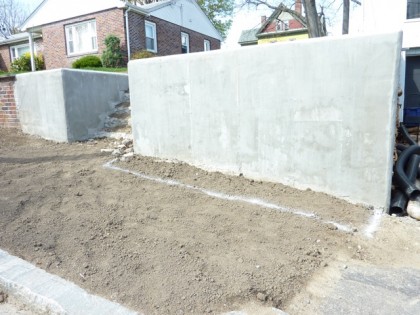
While we’re at it, this side of the retaining wall faces south…

view of front retaining wall

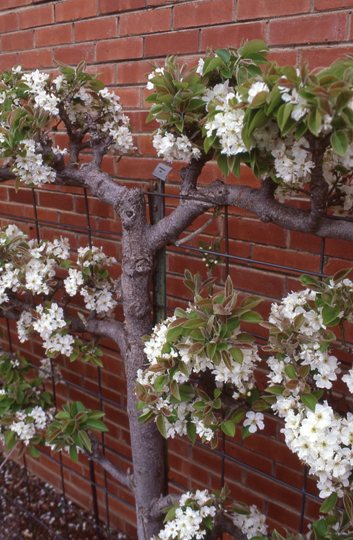
… which makes it perfect for an espaliered asian pear. You know, like this…

espaliered asian pear | tulsagardencenter.com

espaliered asian pear | tulsagardencenter.com

This is the food zone, after all. And yes, I’m greedy. I plan to take advantage of every last inch of it.

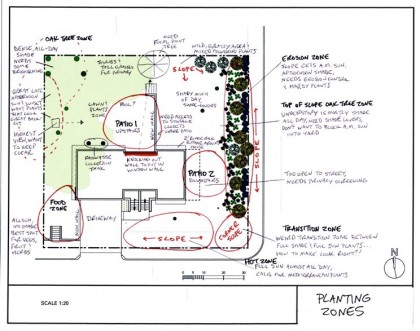
Speaking of zones, remember my planting zones?

planting zones

Now that the beds are roughly out, I’ll be heavy into planning what plants go where according to zone. I love this part!

half full or half empty?

Monday, April 12th, 2010

Pleased to report that we are now HARVESTING RAINWATER!

Just to remind you, here’s the view inside the tank Thursday night before the rain:

tank completely empty

And here’s the view on Saturday after an inch of rainfall:

tank half full

So look at that! Just one inch of rain collected off our roof filled the tank about 2.5′. The highest the water can rise is 4’6″ where the overflow pipe starts channeling water out into the overflow trench. Not bad! (The floaty stuff is plastic shavings… don’t worry, we skimmed those off.)

David has a grand plan to hook up a solar-powered pump to the tank, but until then we’re using a cheapo submersible sump pump…

david installing pump

With the garden hose hooked up to the pump and the whole contraption in hand, David slowly dropped it down into the tank…

david submerges pump

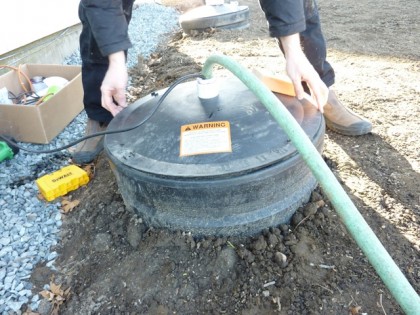
He made sure the hose and electrical cord were threaded through the top of the manhole cover, of course…

david closes tank

Then we plugged in the cord and turned on the hose…

first water from our tank

And voila! We can now water with rain! *touchdown dance*… *fist pump*… *chest bump*

and yet another tile idea

Friday, April 9th, 2010

Just got the April Anthropologie catalog in the mail and of the many wonders it contains, the one that makes my heart flutter the most is something they don’t sell…

anthropologie, page 5, april 2010 catalog

The tile! It just reminded us that to trim costs, we could always create our own unique mosaic tile pattern in the two entryways rather than buy something readymade. Would be fun to take one of Irving Haynes’ paintings, for instance, and turn it into 8’x5′ and 4’x2′ tile “rugs.”

tile closeup

I know, I’m clearly obsessed. I made that obvious here and here. Just wait ’til we get to the bathrooms. Consider yourself warned.

inside the whale

Thursday, April 8th, 2010

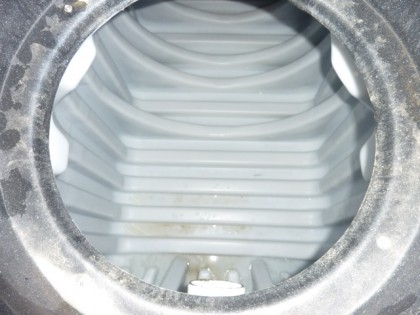
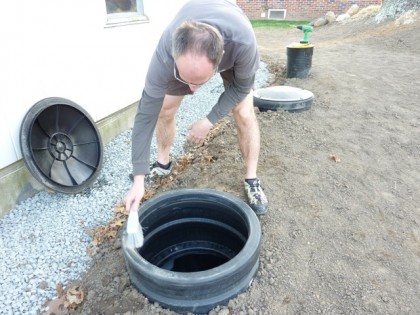
Ever wondered what it would look like to be swallowed by Moby Dick? Follow me inside our 1,700 gallon water collection tank…

water collection tank from above, manhole cover removed

going inside the tank

inside water collection tank

With rain in the forecast tonite and tomorrow, David thought it would be a good idea to double-check the tank

david checks the tank

The downspouts are hooked up, the filter is in and the overflow piping is connected, buried and ready to go. So we can finally start collecting our first rainwater. Let it pour!

downright seedy

Thursday, April 8th, 2010

Our regionally specialized grass seed just arrived!

seed is here

Guess it’s time to rent a spreader and a roller and get our other side always greener growing. Now how do we keep the birds from devouring all the seed? I read that I should put stakes in the ground and tie shiny streamers to them that blow in the breeze to scare birds away. Even if it works, which seems unlikely, no squirrel will fall for that.

seed labels

Mmmmmm, Zodiak Chewings. Sounds like something a squirrel would adore.

busta slope!

Tuesday, April 6th, 2010

Can I just start with the incredible view from my backyard across my neighbors’ yards towards Providence College?

springtime view of neighboring yards

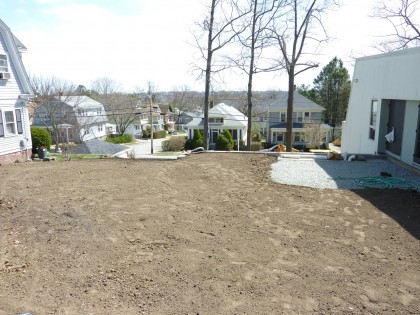
Spring is suddenly busting out of her halter top! It’s like a botanic garden back there, which makes our dirtscape look all the more desolate…

dirtscape

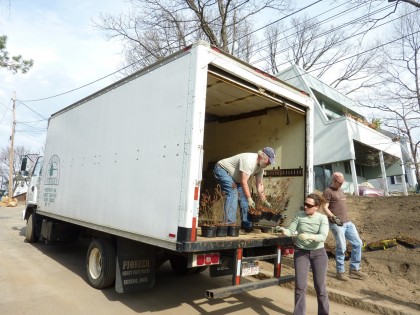
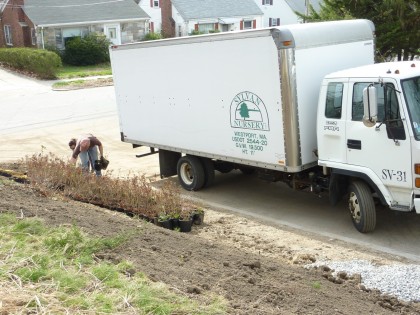
That changed somewhat on the front slope today. The truck from Sylvan Nursery pulled in at around 9 this morning and dropped off our plants

sylvan truck arrives

Shiva and Rich offloaded 199 in all…

plant lineup

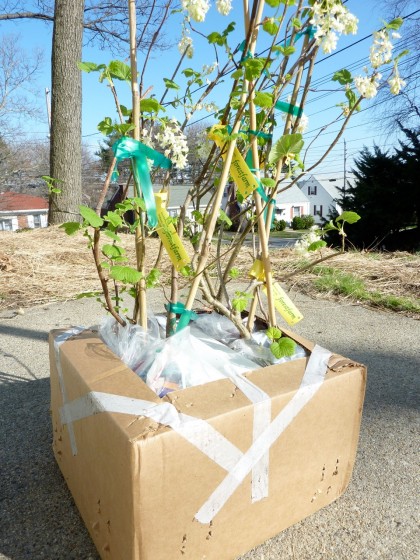
The four flowering currants arrived from Forest Farm just a few days ago — flowering!

flowering currants — arrived in the box, flowering!

Today’s arrivals are also showing signs of spring. The cute little bearberries are blooming…

bearberry in bloom

And the yellowroot plants are fully in flower already…

yellowroot in flower

And the heavenly scented sweetferns will soon unfurl…

signs of sweetfern fronds

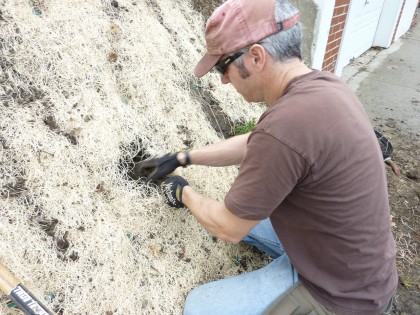
Shiva and Rich started getting things in the ground right away, first cutting holes through the Curlex matting so they could dig holes for the plants…

digging thru curlex

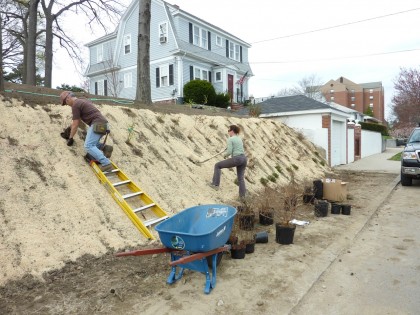
They made their way through most of the plants today…

slope progress

By the end of the day, I’d say they probably made it about two-thirds of the way across the 100-foot stretch…

the slope at the end of day

They literally stopped traffic all day. So many rubber-neckers curious to see the transformation, I guess. Or Rich and Shiva busting out of their halter tops.

Tomorrow, Shiva and our friend Ellen will finish up and determine how many more plants we’ll need to fill out the space nicely. I can’t wait to watch this happy hillside transform as things grow over the next year. Thanks to everyone who helped to make this happen!

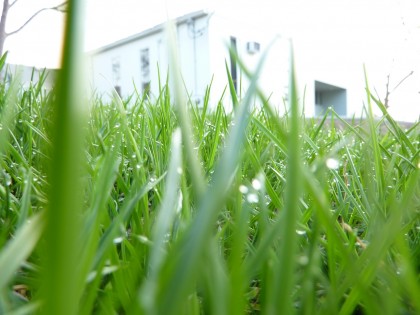
smokin’ grass

Tuesday, April 6th, 2010

A small portion of our new yard will be reserved for grass. What do I know about grass seed? Nada. But I do know the people at University of Rhode Island Turf Grass Program have researched everything for me, so all I have to do is dig up the right information. Here’s what I’ve found out so far.

the lawn next door

There are two kinds of grass categories in the U.S.: cool-season grasses of the North and warm-season grasses of the South. We’re cool! Who knew?

The most successful lawns are made up of not just one kind of seed but a variety that combine multiple strengths. We’d like to end up with a lawn that requires relatively low water usage and chemical-free maintenance while taking a beating from a 5-year-old.

You can customize your seed mix to fit your specific site situation. For us, that means seed that covers a mix of sun and shade.

There are a number of websites where you can customize your seed mix. The one we’re going with is the Seed Super Store. They also offer an option to plug in your zip code and, whether you need seed for lawn or shade, get a seed mix recommendation. For my area, it recommends:

SS5000: This outstanding sunny mixture combines three superior Kentucky Bluegrass varieties with our best fine fescue and perennial ryegrass to produce a lush, dark green lawn. Contains equal parts of Midnight, Bedazzled and NuChicago bluegrass, and Zodiac chewings fescue and Amazing GS perennial ryegrass.

The URI Master Gardeners’ site claims this sunny mix is “basically a URI #1 with improved varieties,” which assures me the Seed Super Store people know what they’re doing.

Like they say, it’s always greener on the other side of the fence. With any luck we’ll be the other side.

________________________________

A few bookmarks for this post:

Green Acres: A great article from This Old House on lawn seeding, with insight from a URI professor of plant sciences.

Turfgrasses recommended by URI for Rhode Island… or get recommendations for where you live from your cooperative extension office.

Another source for Best seed choices for Rhode Island.

Organic Landscaping site by Harvard’s Facilities Maintenance Operations: I can’t overstate how amazing their recent dedication to organic landscaping practices is (Fall ’09) — including its many, many lawns. A fantastic resource for landscaping without chemicals and how to create compost and compost tea for healthier soil, turf and plants.

Excellent organic landscaping how-to video featuring Harvard’s program, as seen on This Old House.

day 4: savage, savage love

Monday, April 5th, 2010

Well, now they’ve gone and done it, those Savages. They left us with the most pristine dirtscape I’ve ever seen. If we f**k this up, it’s completely our fault.

soil closeup

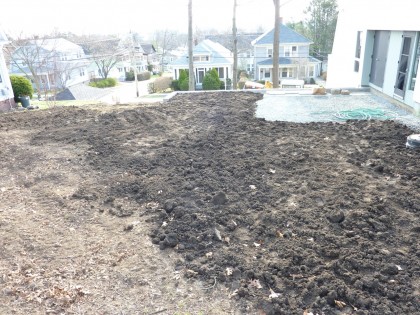
92 yards of loamy, composty goodness. Raked out and ready to receive grass seed and plantage. Which needs to happen immediately.

So a quick rundown of what happened today:

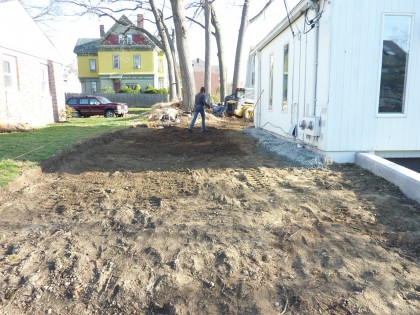
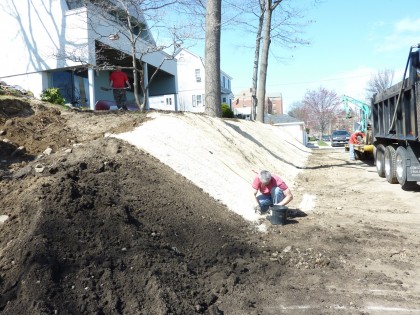
Adam dug out the 8′ or so of icky street frontage ground in front of our new retaining wall…

digging in front of the retaining wall

[I’m sure he’d like me to note that he wasn’t operating the mini excavator while on his cell phone.] Now that some nice loam is put down, we’ll be seeding this with grass to connect with our neighbor’s bit of turf…

new grass area

Rich secured a few more strips of Curlex on the front slope just in time for the arrival of the plants tomorrow morning…

more curlex

And Mr. Savage not only got rid of the dirt ramp put in to move equipment up the hill…

hill patching

He also improved on what was originally there by getting out the last of the rocks and smoothing out the irregularities with loam…

slope view in front of entry

We’ll use that pile of crushed stone somewhere else, I’m sure. The last of the rhododendrons got sent merrily on its way to its new home at Rich and Story’s house…

another rhodo goes bye bye

I started marking out where the raised beds will go in the veggie garden…

veggie zone view

But mostly I just stood around looking dumbfounded at our new, virgin yard…

view out back

view uphill

view from street

view straight on

I’m gonna miss me some Savages. They packed up all their toys and took them away…

packing up

Think I can get them to come back and do the inside of the house?

day 3: a whole new yard

Sunday, April 4th, 2010

What a difference a day makes! It really does look like we have a whole new yard.

Yesterday morning began with the arrival of a tri-axel filled with Smithfield Peat’s finest screened loam/compost mix. Impressive. The Savages broke out the big guns…
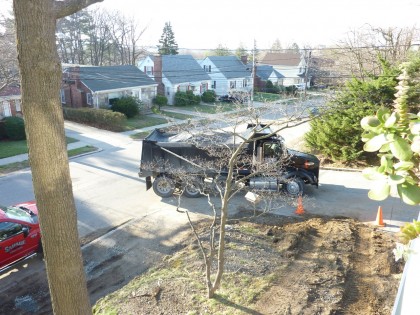
tri-axel truck arrives full of loam

7:30 am, Adam starts with a little more grading out back with the mini excavator…
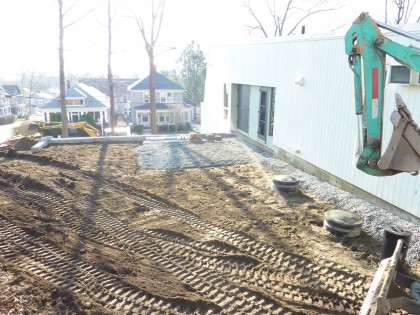
7:30 am grading begins

You can hardly even tell the water collection tank is there. Well, except for the giant manhole covers and the filter, of course. We’ll remove one of those covers and screen it all with plants soon enough…
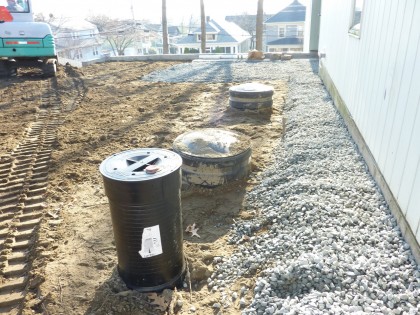
water collection manholes

For future reference, David marked down where the overflow piping and other underground bits of the system are hiding. Probably a good idea…
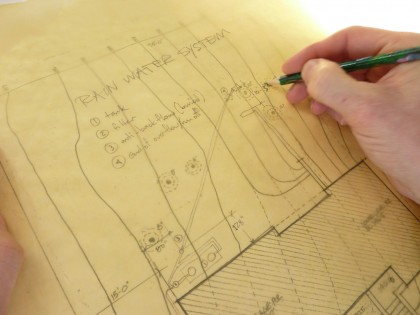
rain collection diagram

The veggie zone got raked out…

ready to spread compost in veggie zone

… then the loam was brought in and spread with the bobcat. So rich, it looks like brownie mix…
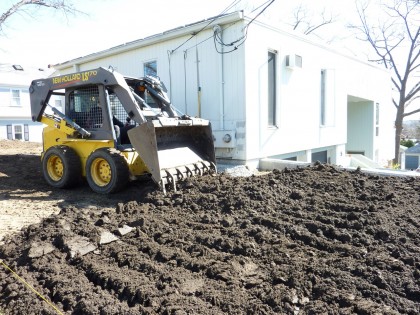
loaming veggie zone

Our plants are going to be soooo spoiled…
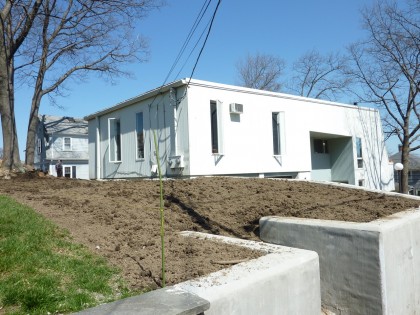
finished veggie zone

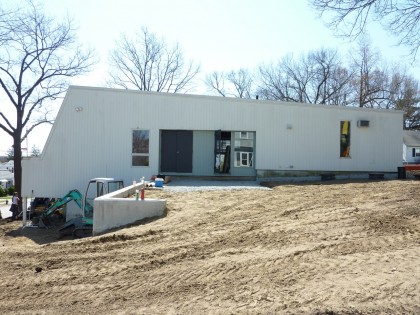
Rich and Mr. Savage perfected the grade out back so that water would flow away from the house and down the slope…

getting the grade right so water will drain

Then it was ready for loam…

back ready for loam

Which  Adam had spread in no time…

backyard with loam

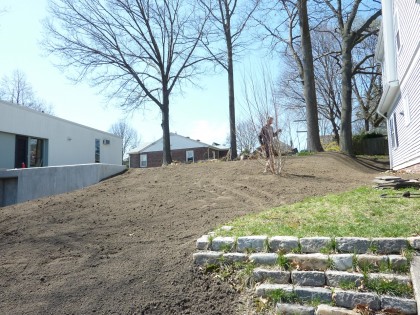
Ever since we moved in, I’ve been looking forward to finding a new home for five fairly young rhododendrons. The last owner must have put them in hoping to add privacy to the downstairs patio area… which is ridiculous for several reasons. One: those suckers take forever to grow, so there wouldn’t be privacy screening for at least another decade. And Two: they planted them practically on top of each other and way too close to the pathway — hard to believe looking at them now, but these will be monsters when they finally reach 12′ tall and 12′ across…

row of rhodos

So Mr. Savage dug them up for Rich to take home with him. Plant them and love them, Story!

bye rhodos

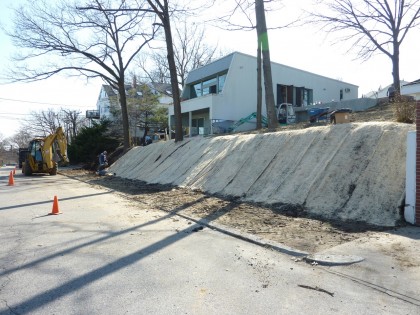
Mr. Savage added a little soil and smoothed out the eroded slope along the road…

adding to slope

… the entire 100′ foot length of it. Wow, that looks incredible!
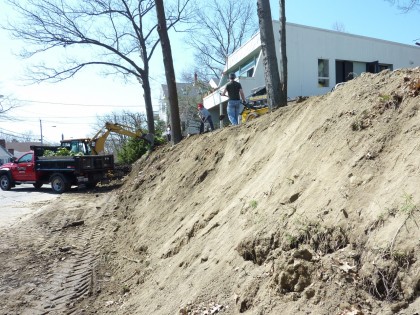
slope prepped and ready for curlex

Then Rich and Shiva dug a shallow trench along the top of the slope where the biodegradable Curlex erosion control matting will be secured…
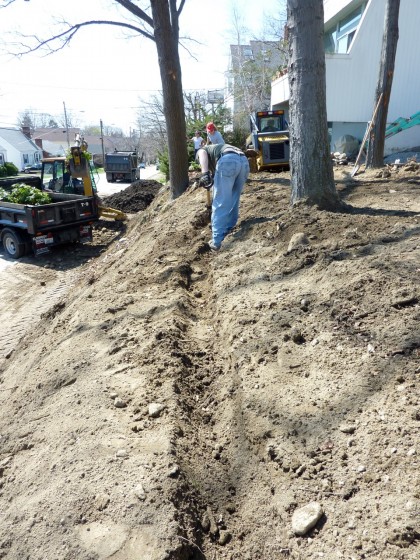
digging the trench up top

That was a lot of digging…

top of slope trench

Then the two of them rolled the Curlex down the slope…
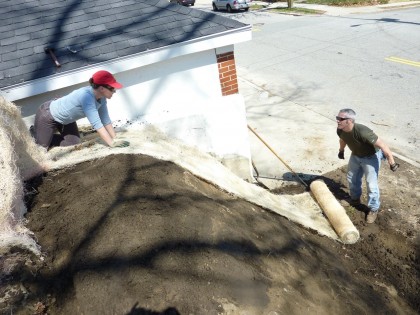
first roll of curlex

… and secured it with our natural, biodegradable staples at the top and bottom.
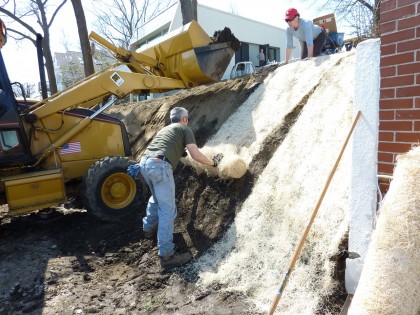
second roll of curlex

Up the hill, down the hill, up the hill… and so on. Thanks, Rich!
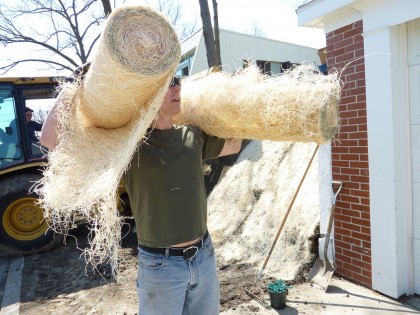
two more rolls

sixth roll of curlex

closeup curlex

twelfth roll of curlex

By late afternoon, the slope was completely transformed. The Curlex won’t break down for three years, which is plenty of time for plants to get established. Speaking of which, the plants arrive this Tuesday…

end of rolls

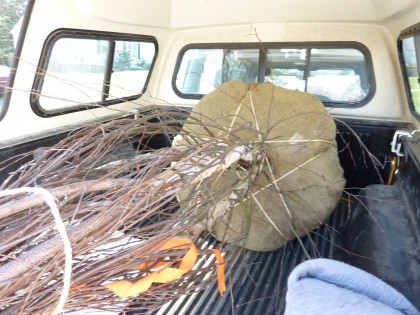
Meanwhile, David made a trip to Sylvan Nursery in Westport, MA, to pick up our focal point tree for the backyard…

tree in truck

Doesn’t look like much in the truck…

tree arrives

After months of deliberation, I finally settled on a Betula nigra Cully Heritage River Birch. Yes, I considered many other gorgeous options — Perrotia Persica (Persian Ironwood),  Stewartia Pseudocamillia (Japanese Stewartia), Fagus Sylvatica Tortuosa (Tortuous European Beech) and Cercidiphyllum Japonicium (Katsura or Caramel Tree), were top contenders. But the size and multi-trunked habit of the Heritage Birch was just right. I’ve been stalking just such a tree in a neighborhood where I run. This is what it looked last last summer…
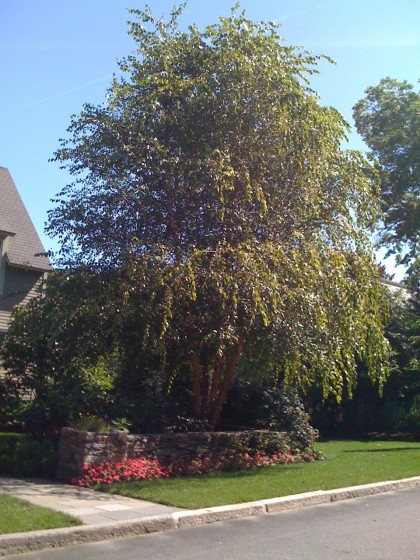
heritage cullen birch

The peeling bark is really something…
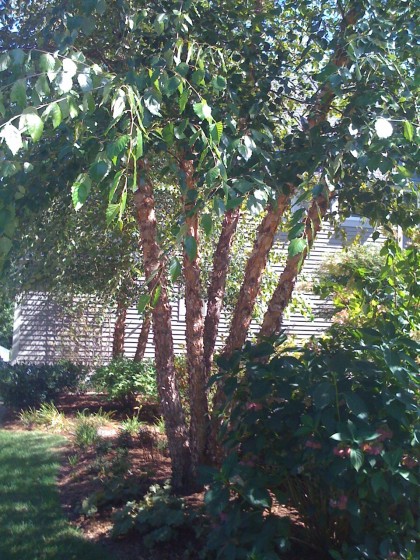
birch bark closeup

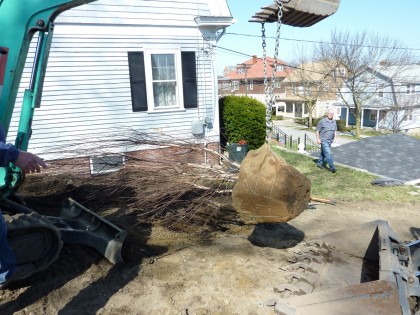
So with the help of Adam in the bobcat, Shiva, David and Rich got the tree up the slope…

tree wrangling

… and hoisted it into the hole..

putting tree in hole

And, voila! Landscaping has officially begun. Thanks to Shiva and Ellen for making the tree-sleuthing trip to Sylvan last week to find the perfect specimen for us. It’s gawgeous!

tree planted

Birches grow quickly, so this should fill out nicely in no time. Will look lovely from the living area…
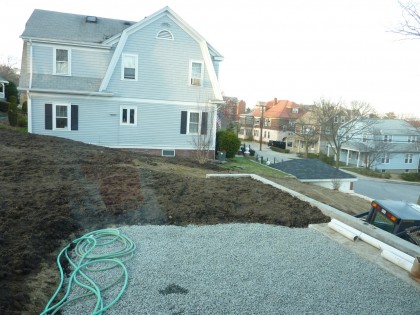
goodnight yard

Thank you so much Savages. You rawk!
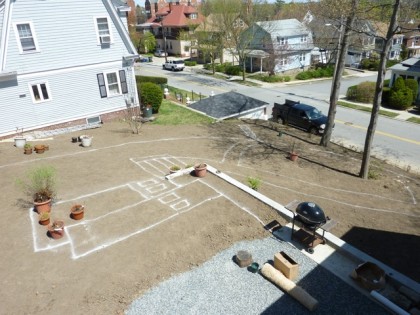
savage trucking

day 2: major progress

Friday, April 2nd, 2010

Who needs Good Friday when you can have Amazingly Awesome Friday, like we had today?

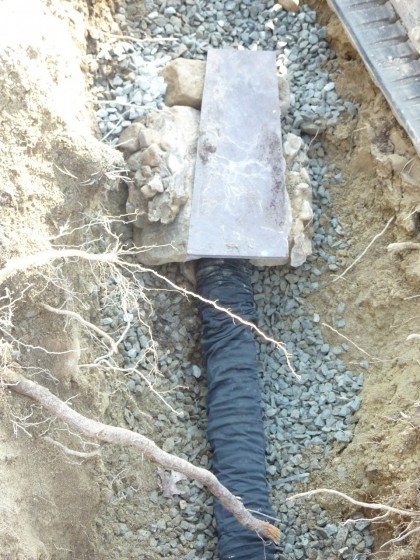
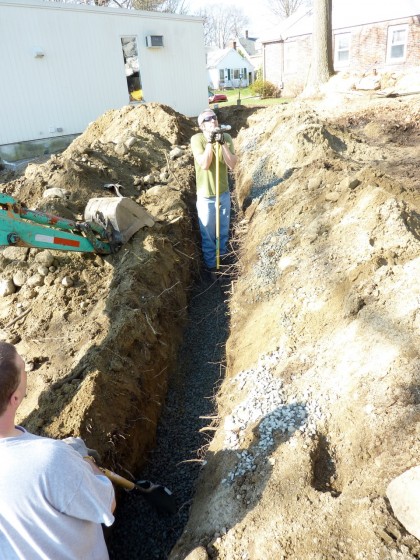
First things first. David finished plumbing the rainwater collection system, connecting the anti-backflow valve and laying the overflow pipe into a bed of gravel in the trench that was dug yesterday. Looks crazy, doesn’t it?

water collection overflow piping for runoff

Then the overflow piping got covered in crushed stone and the trench was backfilled with dirt…

gravel atop overflow

The piping trench alongside the house got brought back up to grade with dirt…

side yard and veggie garden soil spread

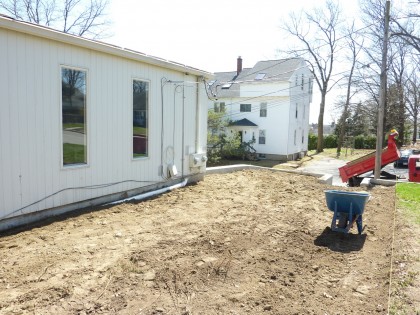
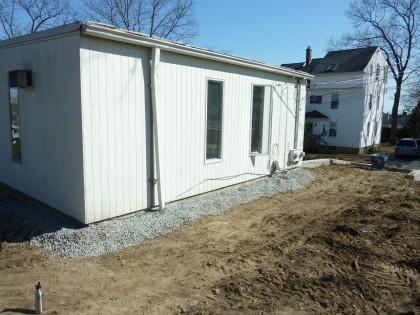
Then the gravel bed for that 2′ buffer around the house got spread. Eventually, we’ll add galvanized steel edging to hold and define it, then this buffer will get topped off with smooth, black beach pebbles (3rd house down at link for example)…

gravel buffer added on side yard

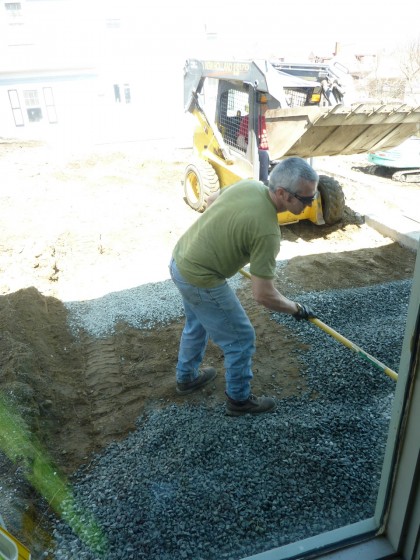
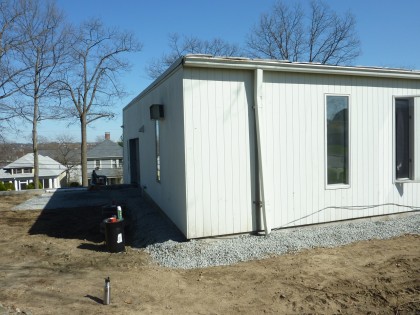
At the back of the house, the patio area was readied for a bed of crushed stone…

gravel

Crushed stone was spread to about 6″ deep today. This will form the bed for the concrete strips to be poured some day in the not too distant future…

gravel gets spread for patio bed

The world’s most awesome worker bees raking out all that gravel…

patio and backyard buffer gravel get spread

Have I mentioned lately how much I love you guys?

full buffer view

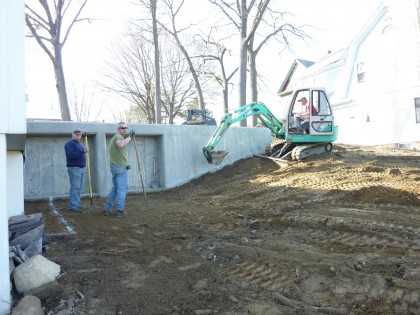
With the upper level done, the boys moved down to the storage area under the patio and dug that out a few inches in preparation for tomorrow’s loam arrival…

storage zone gets prepped

And with that, the day was done.

Tomorrow, a tad more grading, loam spreading and erosion control matting will get secured to the front slope. See you then!