drumroll plz… the color choices

February 14th, 2012

Well, the day is here — the day we commit to colors. Here’s how it went down.

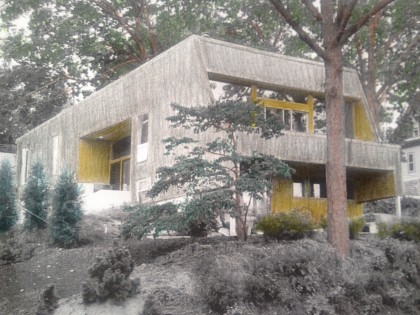
David decided that once he finishes adding insulation to the outside of the house there won’t be enough of our existing redwood to go around the enlarged envelope, so he ordered cedar. How will we deal with the natural color differences in two kinds of wood on a single house? Easy. The existing redwood will get pulled from all the inset areas and get used on the main envelope. The new cedar will go on the insets.

And how will that look? Well, I went back to my initial color exploration and got out the colored pencils.

How lo-fi.

And approximate.

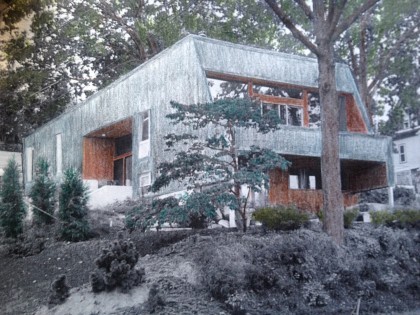
Some of you liked the bold color approach, so I tried this… Grey on the outside and a plant-inspired gold-green on the inside. Would take some courage but I kinda dig it…

grey and color


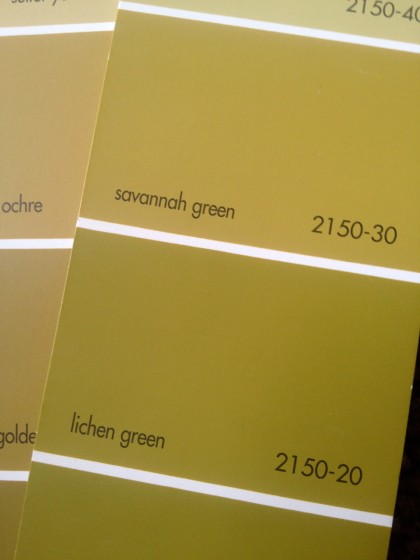
Not a neon green but a green with a Dijon-y tone to it. Along these lines…

goldy green paint swatches


Grey on the outside and brown (natural wood color) on the inside. Safer but not loving it…

grey and brown


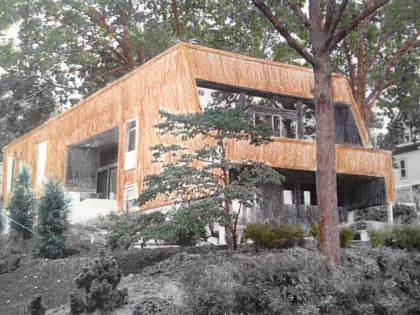
I always pictured the house as grey, but another option was brown (natural wood color) on the outside and dark, dark grey on the inside. I liked this better…

brown and grey


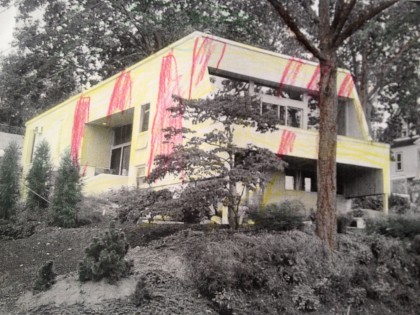
Bix, of course, lobbied for his choice…

yellow and red candy-striped


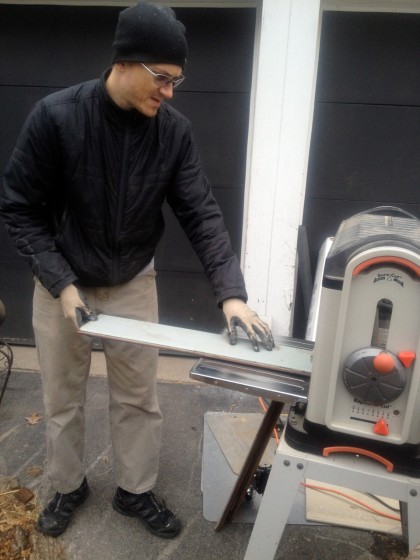
At this point we thought we might want to see the grain of the redwood through whatever shade we chose for the main body. So David planed the paint off a few of the boards that were removed from the deck-end of the house to see what shape the wood is in…

paint removal


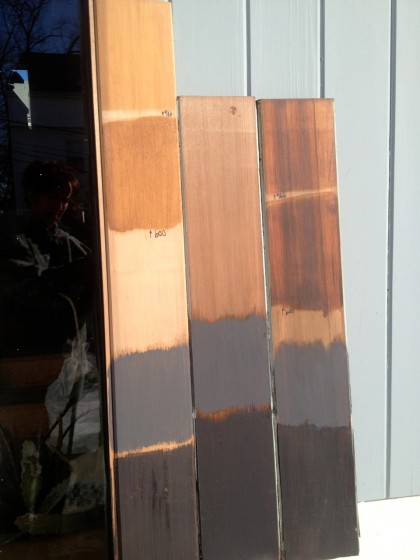
Then off we went to Adler’s paint department with 40-year-old redwood and new cedar in hand to try out stains. Here’s what the first color tests looked like…

color tests on redwood and cedar


New cedar on the left. Original redwood on the right. The dark grey at the bottom is too dark for the exterior. We don’t want to live in a black box. The lighter grey is okay. But how about the way that clear stain really brings out the richness and character of the redwood? Why hide that?

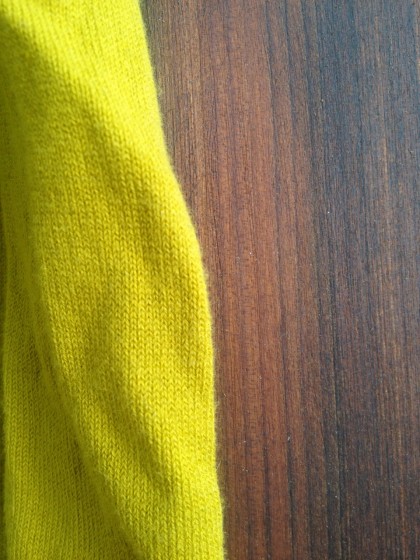
Sidetrack… Just for yucks I tried the gold-green against the wood color to see if that might still work for the insets…

wood and gold green


Okay, my sweater’s way too bright in the sun but you get the idea. David, however, was not convinced. So gold-green was eliminated. (I’ll be resurrecting some version of it as an interior paint color.)

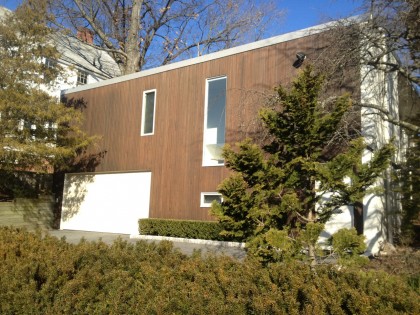
There’s a modern house on my running route that’s a decent example of a real wood-look exterior…

another modern in providence


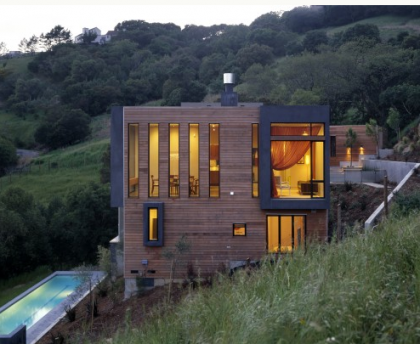
Don’t love the off-white as a contrast choice for us but what about dark, steely grey or even black? It’s a little more dramatic without being show-offy…

Walden Residence by House + House Architects | houzz.com http://bit.ly/wLom0q

Walden Residence by House + House Architects | houzz.com http://bit.ly/wLom0q


Once you add grey/black, white works nicely (perhaps for our foundation if we can’t figure out how to take it back to its original concrete-grey)…

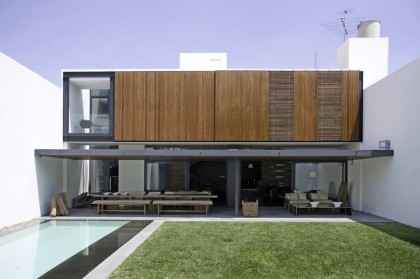
Casa Ro by Elias Rizo Arquitectos | archdaily.com http://bit.ly/yMXFse

Casa Ro by Elias Rizo Arquitectos | archdaily.com http://bit.ly/yMXFse


So I guess that’s it then.

On the main body, glorious redwood — stained clear to show its awesomeness.

A dark, almost black stain on the insets.

And white at the base assuming (and it’s a pretty good assumption) that we can’t bring it back to a bare concrete state.
 

this won’t end well

February 13th, 2012

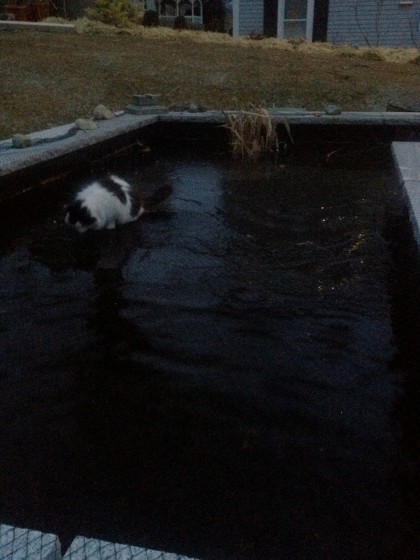
Bambino at dawn, caught exploring the newly formed ice. And following the fish around …
bambino on ice at dawn


sad trombone

February 10th, 2012

Hey, I’m not ignoring you, I swear! I’ve been without my trusty laptop for a few days and am eagerly awaiting its return from the Apple Store. Hoping today is the day… I feel so naked without it.
up to our knees in cedar

February 7th, 2012

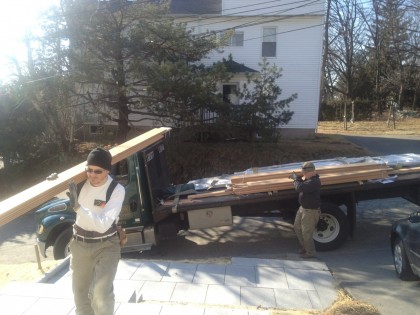
Liberty Cedar arrived today and dropped a load…

delivery from liberty cedar


… of cedar.

This means that siding the still tarped-over deck-end of the house is imminent. Which also means we need a final decision on exterior color. Like now. Argh.

plants + math, the big finale

February 6th, 2012

A few weeks back, I posted the first two Doodling in Math videos — a fascinating look at spirals and Fibonacci numbers in nature. This time we finally get an answer for why plants grow the way they do. (If you haven’t seen these yet, I recommend starting with Part 1)…

PART 3


I should have doodled more in math class.


after 8 wks of pondering

February 2nd, 2012

Remember way back at the beginning of December when Land Design Associates was working on the front walkway? While here, they also dealt with this ugly crack in the concrete that I showed you before…

crack in front of steps


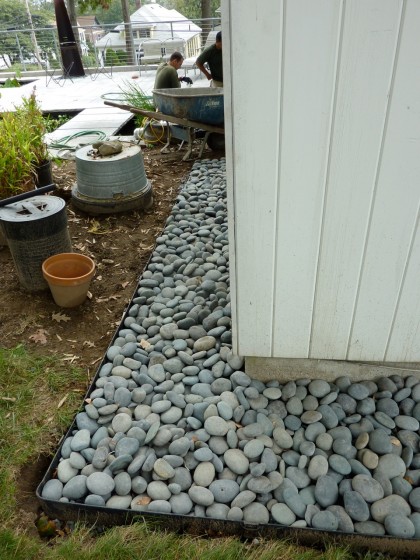
Yep, that one. There was much conjecture about what we would do about it. After considering the options, David settled (surprisingly) on the idea of insetting beach pebbles like the ones we have around our house…

our beach pebble border


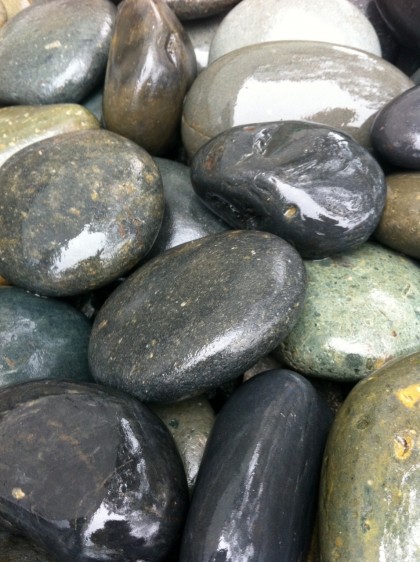
They look pretty nice when you clean the dust off…

beach pebbles up close


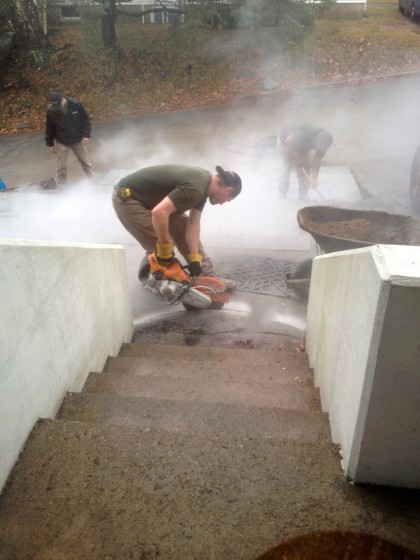
So we crossed our fingers and let the boys go at it. There was an impressive display of dust…

concrete getting scored


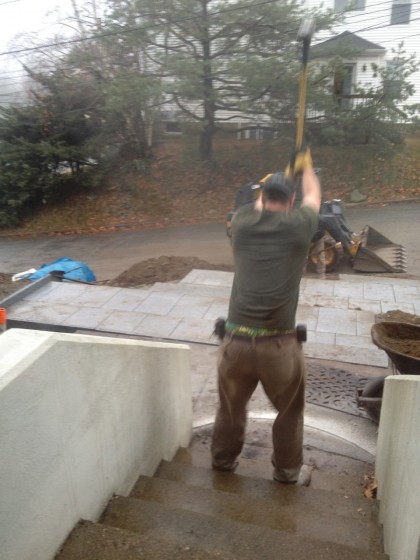
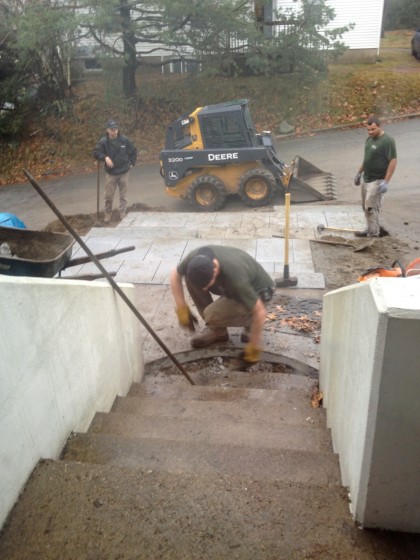
An incredible amount of sledge hammering…

concrete getting pounded


The prying up of amazingly stout concrete…

prying up the concrete


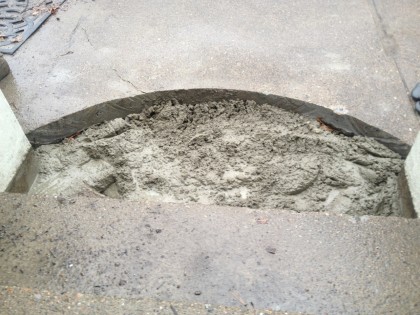
And eventually there was a welcome mat-sized spot to fill with new concrete…

getting filled with new concrete


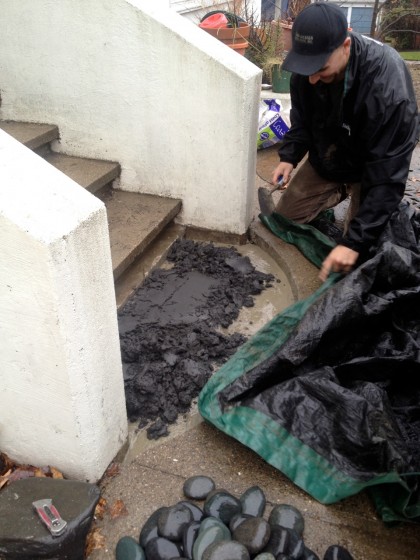
Topped off by concrete with a dark stain to match the beach pebbles…

topping off with stained concrete


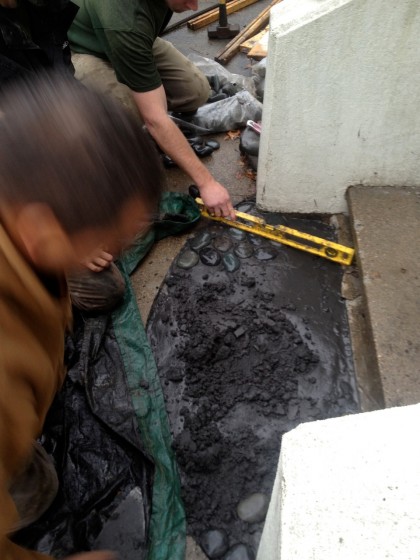
Followed by the beach pebbles themselves, getting their tops as level as possible…

leveling stones


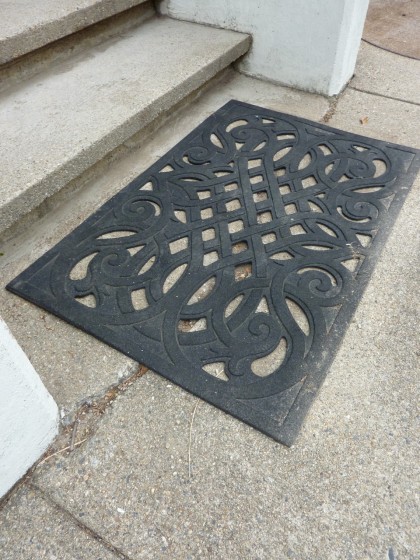
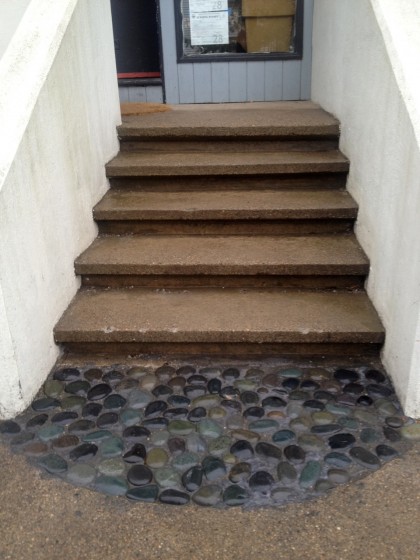
Then, voila! Beach pebble welcome mat where there once was a crack!

stone welcome mat finished


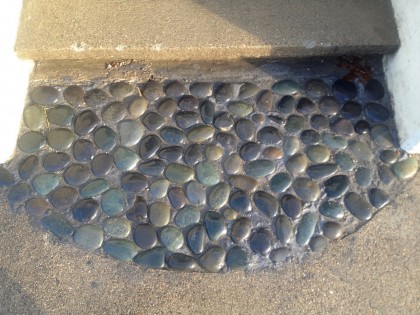
So it doesn’t look too bad, right? I mean, sure, it’s a little gloppy in spots (especially along the front curve. But in theory we can rough that out.)

a closer look


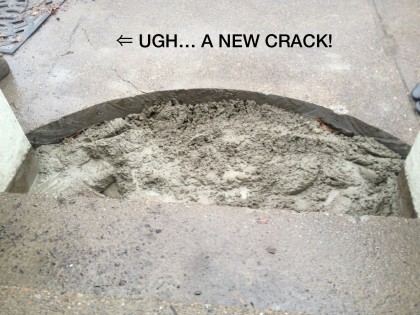
However…

ugh, a new crack!


I just couldn’t deal.

All that sawing and pounding action took its toll, I guess. Granted, the new crack is much smaller than the old crack. But water will work its way in over time and freezing and thawing will surely make that crack bigger. Yay.

I’m not going to think about that.

LA LA LA LA LA LA LA LA LA LA…

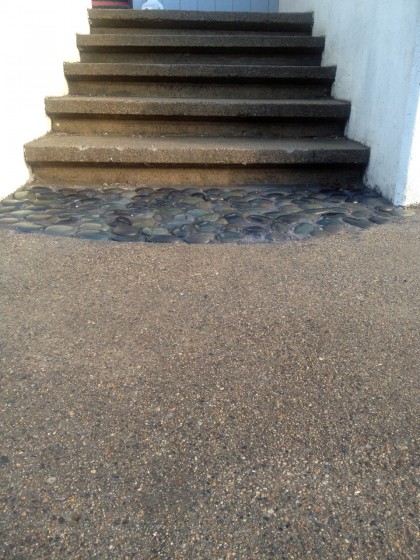
hmm, not too bad i guess


oh the horror

February 1st, 2012

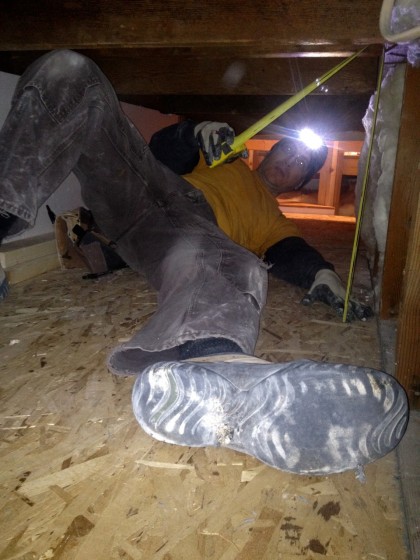
Joe, don’t go into the light!

joe, don’t go into the light!


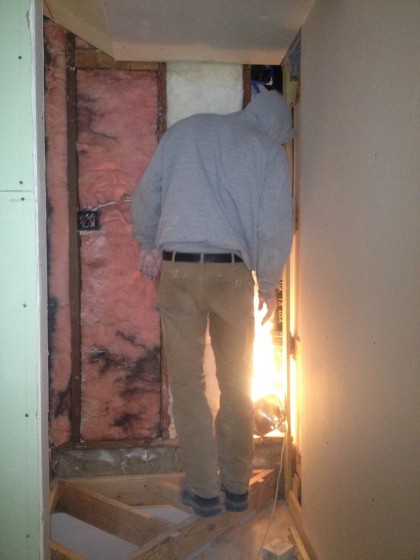
David, look out for the people under the stairs!

david trapped under the stairs


Or you might call this entry Insulating and Sheetrocking in all the Hard Places You’ve Been Avoiding.

nothing much to report

January 27th, 2012

Not much going on the last two days. Remodeling paused but hopefully picking up again on Monday. Did I mention we’re just days away from the one year anniversary of getting our building permit?

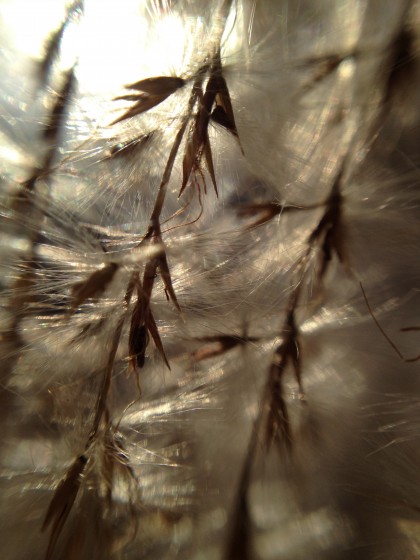
In the meantime, I went outside and tested that macro lens I got David for his iPhone. Wow…

seeds on my miscanthus sinensis ‘morning light’


Super closeup of the seeds on my Miscanthus sinensis ‘Morning Light’ — in the wind, no less. Nifty. Looks like I’ll be stealing that lens from David frequently.

fisheye! fisheye!

January 25th, 2012

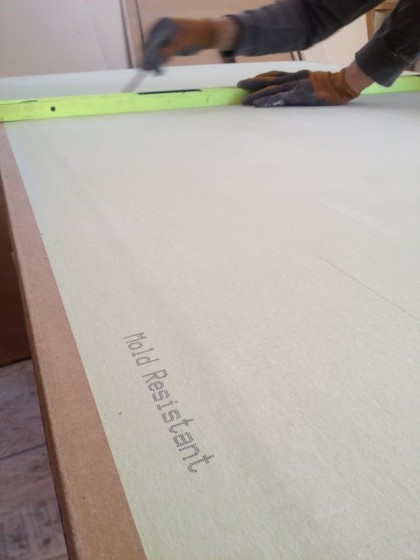
The sheetrock saga continues but it’s closing in on the end. Today the QuietRock got sliced and diced some more…

trimming the QuietRock


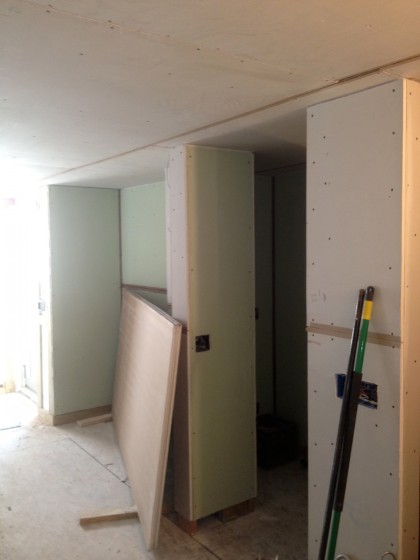
The inset that will house the future desk and built-ins is done now…

desk area sheetrocked


See that pillar wall there with the boards leaning up against it? Can I just quickly remind you that this was the spot where the new concrete and new column went in last spring?

Just behind that, the wet bar is fully clad now. As are all the living area walls. The only bits remaining are in the bathroom and under the stairs.

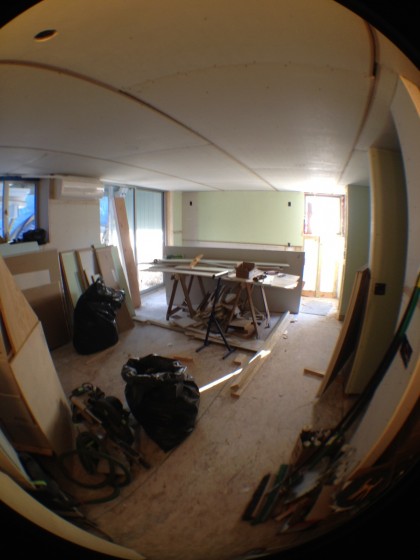
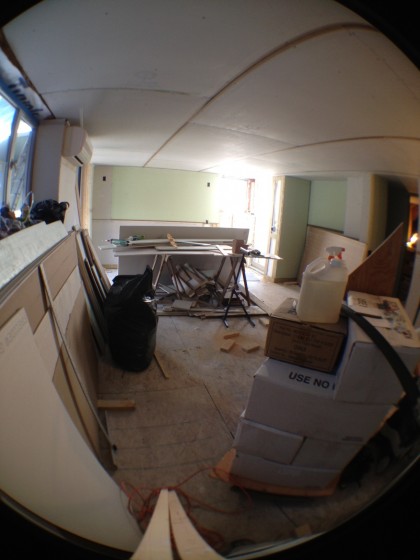
Which leads us to this:  fisheye views of downstairs…

fisheye view 1


fisheye view 2


I got David this awesome olloclip for Christmas — it’s has quick-connect fisheye, wide-angle and macro lenses for iPhone 4 and 4S. So fun!


almost over the wall

January 24th, 2012

Hard to believe but it’s a balmy 52 degrees out in January (the snow is melting like mad) and sheetrocking of the walls downstairs should be done today!

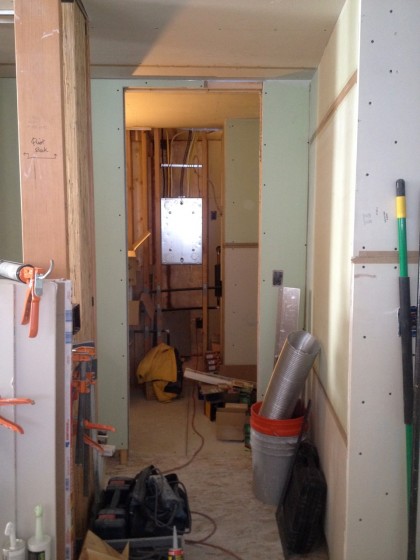
The bathroom actually looks like a room now. Remember what it looked like just a few days ago? The short hallway you enter to get to it is almost done…

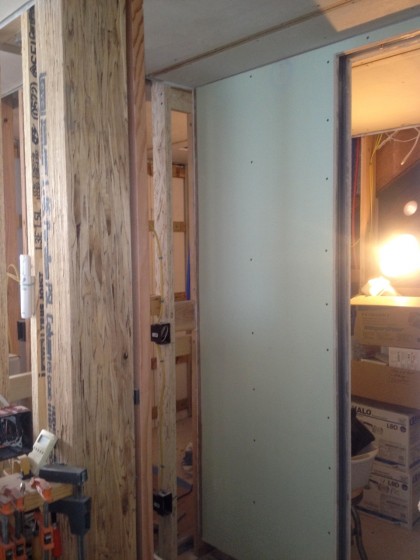
hallway to bathroom


To the left you can just begin picture the future wet bar in the alcove…

alcove for the wetbar


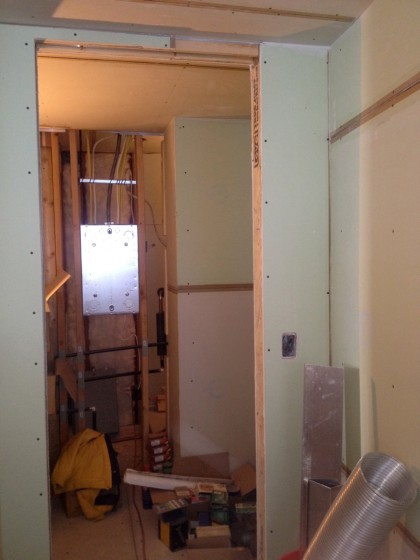
And now there’s the actual doorway to the bathroom instead of just framing…

bathroom doorway


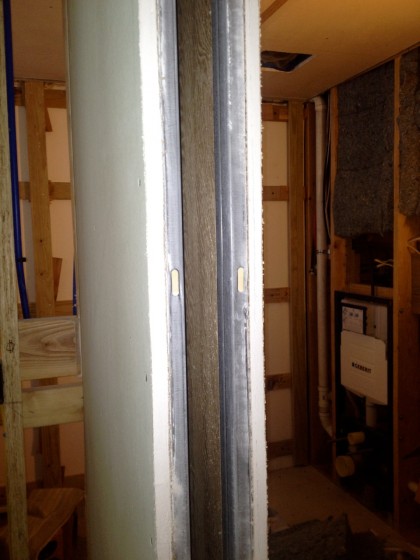
On the left side of the doorway there’s slot to tuck in a pocket door…

space for bathroom pocket door


Since it’s a small bathroom we wanted as much usable space as possible. A swinging door just didn’t make sense in here.

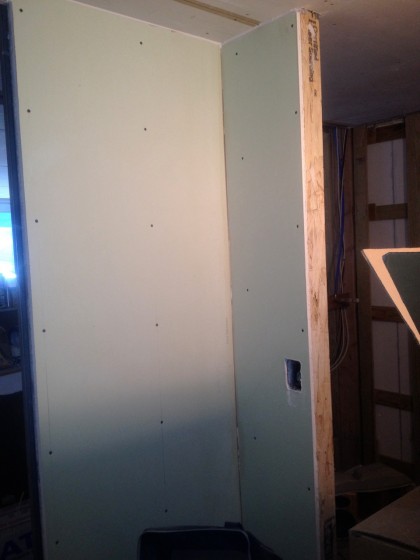
Step inside and you’ll see the entry wall is sheetrocked now…

bathroom entry wall


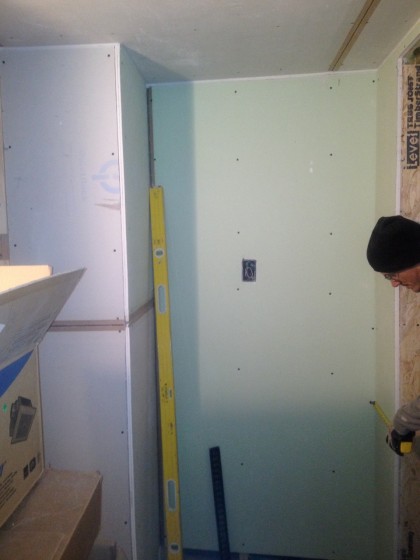
The bathroom wall adjacent to the shower (that’s the shower in the shadows on the right) is also sheetrocked…

bathroom wall adjacent to shower


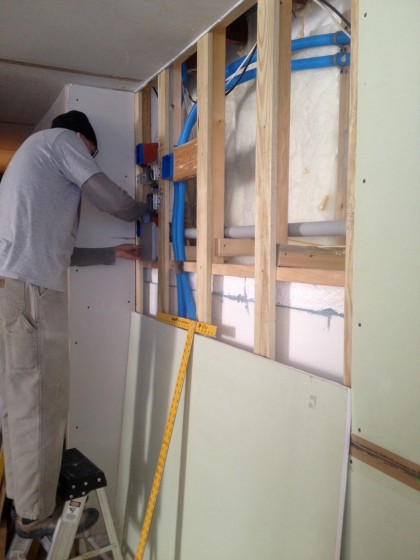
More to come. In the meantime, David and Joe are busy trimming and fitting and pounding away…

david finishing up a wall


Lookin’ good, boys!