floored yet again: rubber cork

January 11th, 2012

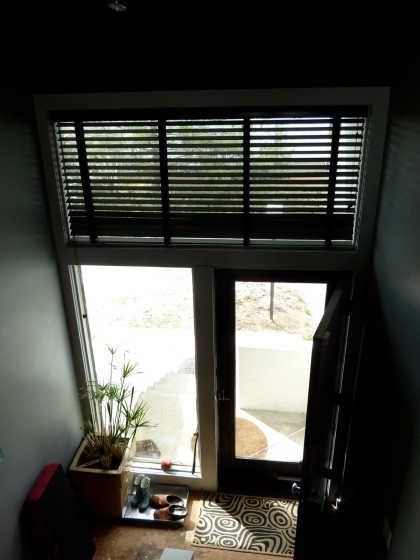
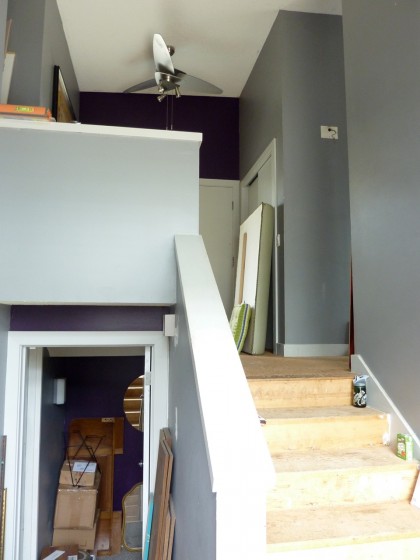
More than once, we’ve discussed flooring for our entryway. That’s this area here with the lovely particle board floor…

remod wants | entryway


We’ve been round and round possibilities to go with the cork we’re using as our primary flooring. We’ve looked at terrazzo tile. We’ve looked at concrete tile. I thought we’d settled on this, but now David and I are revisiting the subject.

This is why we’re noncommittal: Initially we hoped the cork would work everywhere, including the entryway. It’s durable. It doesn’t mind when water’s tracked in. But when it comes to stairs…

remod wants | entry stairs


… the nosing on the risers would have to be wood or metal. Not the worst thing, I suppose, but that’s when we decided to consider tile. A tile riser with a tile nose is a more cohesive look. Of course, it would be noisier than cork. And colder. Which is why now we’re also considering this: rubber cork.

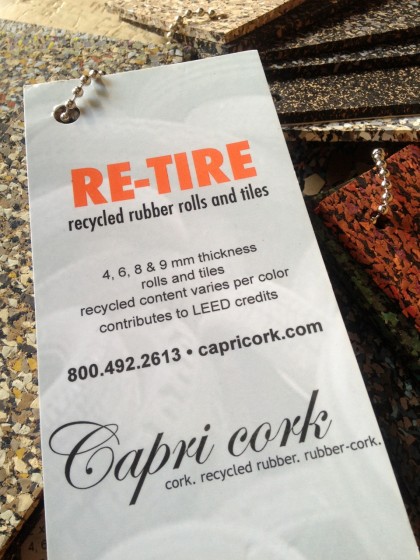
capri re-tire


After much web surfing and multiple calls to flooring dealers, a Capri Rubber Cork rep called and pointed me toward Rustigian Rugs in Providence. David and I dropped in to see samples.

We like that Capri’s Re-Tire Medley collection combines recycled tire waste, post-industrial rubber waste, virgin rubber and post-industrial cork waste. Slip-resistant, sound absorbing and it contributes to LEED points. Nice!

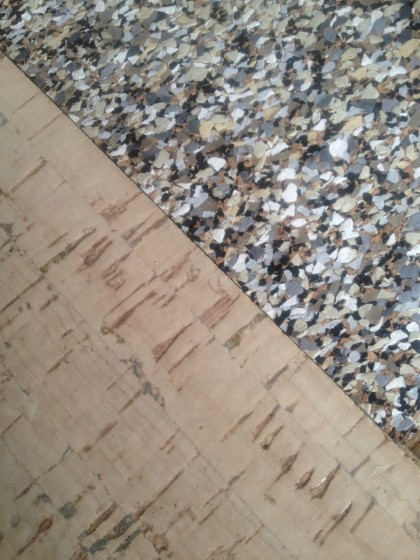
The Peppercorn sample plays well with our cork sample…

capri re-tire peppercorn


Kinda looks like terrazzo, doesn’t it?

Still undecided. Like cork, rubber requires separate nosing — although steel or aluminum would look pretty sweet with the steel cable railing we’re planning. It runs about $11 a sq ft and a minimum order is 200 sq ft. (Or we could just use the cork everywhere after all?)

It also requires an acrylic or urethane finish coat available from Capri. I optimistically assume the sealer would encase that heady scent of eau du tire factory. One can only hope.
plants i’m digging for spring

January 10th, 2012

Thought I’d do this post for those of you who haven’t found me on Pinterest yet. Have been flipping through spring catalogs as they arrive and dog-earing things that catch my eye. This is what I’m drawn to so far…
 

FROM HIGH COUNTRY GARDENS

Stachys lavandulifolia Pink Cotton Lambs Ear

stachys lavandulifolia Pink Cotton Lambs Ear | highcountrygardens.com


Rosmarinis officinalis ‘Alcalde Cold Hardy’   COLD HARDY!

Rosmarinis officinalis ‘Alcalde Cold Hardy’ | highcountrygardens.com


Lavendula stoechas ‘Purple Ribbon’  (Spanish Lavender)

Lavandula stoechas 'Purple Ribbon' | highcountrygardens.com


or maybe this one?

Lavendula stoechas ‘Madrid Blue’ (also Spanish)

Lavandula stoechas 'Madrid Blue'  | highcountrygardens.com


Monardella macrantha ‘Marian Sampson’   Freaky!

Monardella macrantha 'Marian Sampson' | highcountrygardens.com


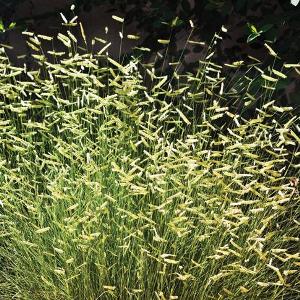
Bouteloua gracilis ‘Blond Ambition’ (Blue Grama Grass)

Bouteloua gracilis ‘Blond Ambition’ (Blue Grama Grass) | highcountrygardens.com


Salvia greggii ‘Wild Thing’  Love the one I got last year so much I must have more.
Salvia greggii 'Wild Thing' | highcountrygardens.com


Euphorbia ‘Blue Haze’

Euphorbia 'Blue Haze' | highcountrygardens.com


Hesperaloe parviflora Perpa ‘Brakelights’   A red yucca!!

Hesperaloe parviflora Perpa ‘Brakelights’ | highcountrygardens.com


Pterocephalus depressus (Carpeting Pincushion Flower)

Pterocephalus depressus (Carpeting Pincushion Flower) | highcountrygardens.com


FROM BLUESTONE PERENNIALS

Monarda ‘Lambada’   whoa. that’s a bee balm?!

Monarda ‘Lambada’ | bluestoneperennials.com


Euphorbia polychroma ‘Bonfire’  the machines killed most of mine.

Euphorbia polychroma ‘Bonfire’ | bluestoneperennials.com


Tricyrtis ‘Blue Wonder’ Toad Lily  love. need a few more of these.

Tricyrtis ‘Blue Wonder’ (Japanese Toad Lily) | bluestoneperennials.com


FROM WHITE FLOWER FARM

Veronicastrum virginicum ‘Fascination’ (Veronica)

Veronicastrum virginicum ‘Fascination’ (Veronica) | whiteflowerfarm.com


As catalogs roll in, you can expect more updates. I’ll cover vines in another post. Don’t want to wear out my welcome, ya know.

————————————————————————

FYI: have been thrilled with many a plant purchased online from the companies above and I’ll buy that way again, fo shizzle.

yeah, i said butt splice

January 9th, 2012

David will now pick up where I left off last week.

—————————————————————————————-

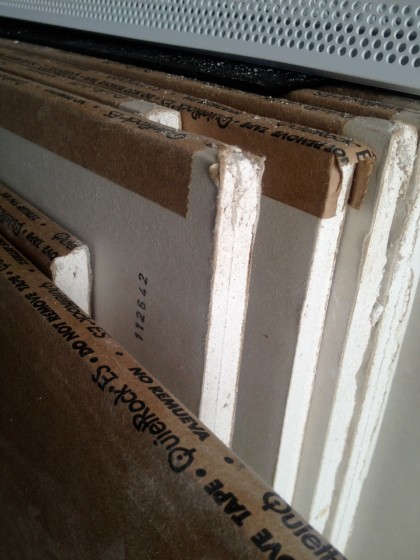
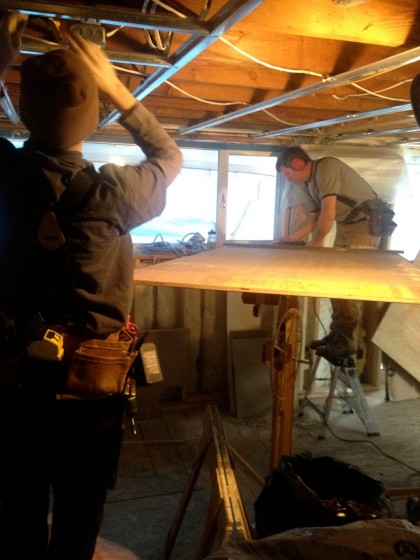
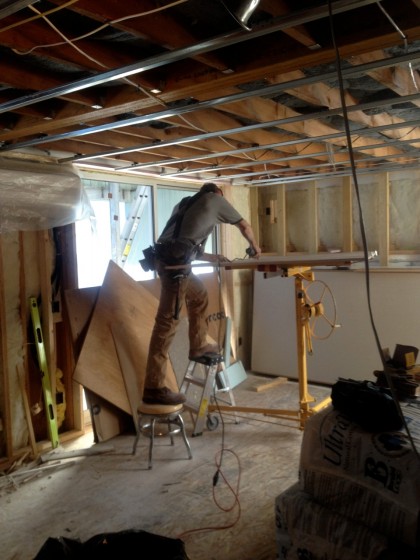
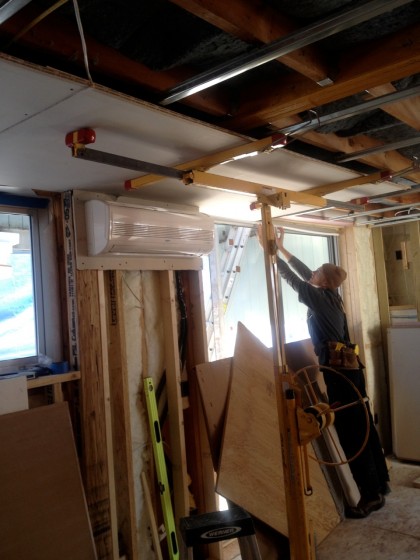
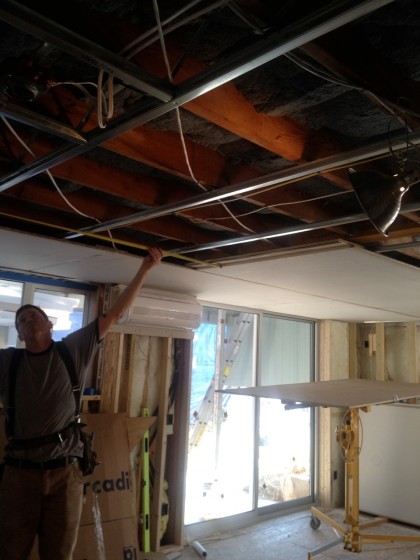
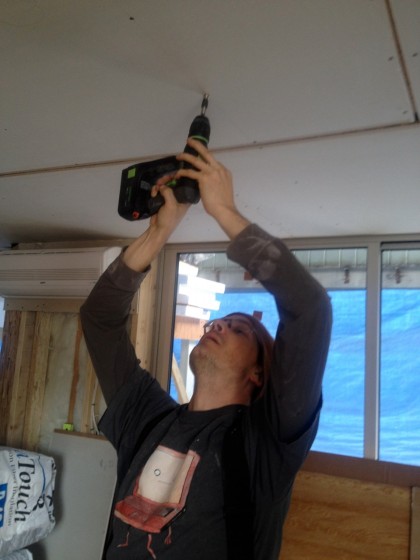
So Joe and I got a bunch of gyp board (aka sheetrock or drywall) hung on the downstairs ceiling. As Brook pointed out, it’s a ⅝”-thick product called QuietRock. I chose it specifically for its soundproofing, noise-reducing qualities as the downstairs will eventually be our entertainment area. We don’t want to hear action movie blasts and techno beats through the floor upstairs.

Quietrock is made up of (from front to back): paper, ⅜” gypsum, a layer of a non-hardening viscoelastic glue, ¼” gypsum and paper. It’s still a Type-X fire-rated product but has much better sound dampening characteristics than standard ⅝” gyp board. It also differs from standard sheetrock in having a paper-wrapped long edge which is not removed upon installation….

paper edge on short side


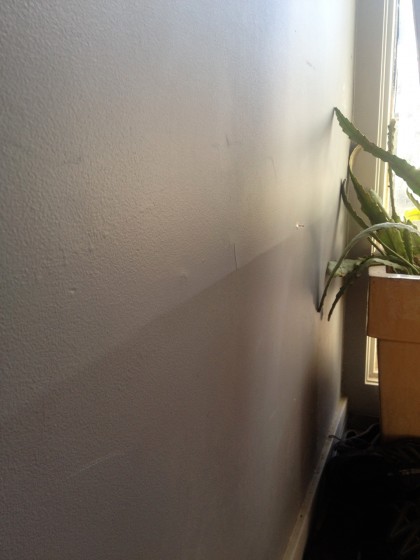
No matter what kind of gyp board you use, there’s a trick to getting a really flat wall or ceiling with it. The long edges come from the factory with a taper that allows for the thickness of the joint compound and tape you’re going to add, so that the separate pieces of gyp board become one monolithic, smooth mass. But the short edges have no taper and if left to their own device will make a visible hump when taped. You see this all the time. Here’s a typical wall in our house…

bad tape job


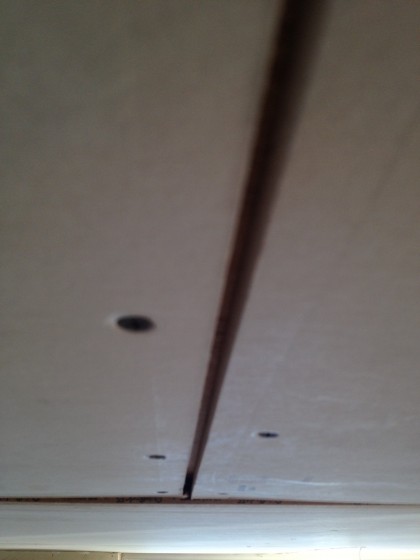
The solution, if you plan ahead, is to buy one of several products that screw to the back of the adjoining pieces to pull their edges into a taper. Failing that foresight (ahem, I did it again), you can make your own butt splice —  that’s what Joe and I did. Butt splice: splice the gyp boards together with another board behind the gap where they butt up against each other.

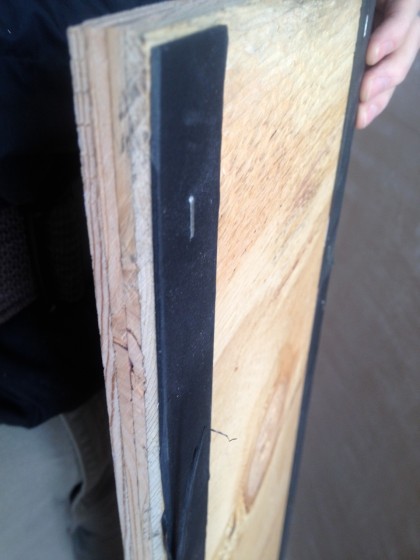
To make the butt splice, first I picked up  1/16″ mat board at my local art shop. Then I cut it into 1″ strips and stapled it to plywood planks (same thickness as the drywall, sized 9-1/4″ wide x an inch shorter than the length of the joint) along both long edges…

mat board stapled to plywood


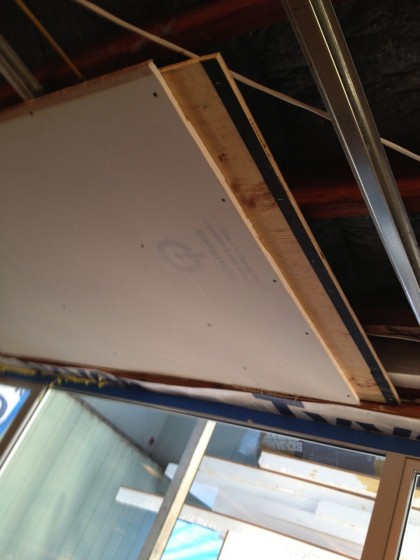
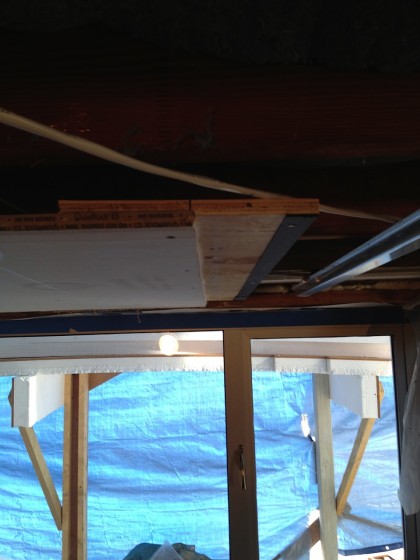
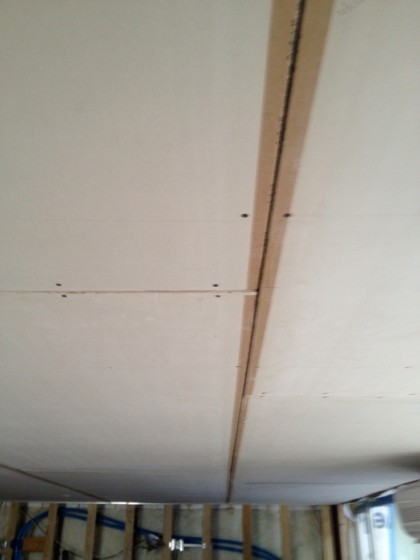
As each sheet of QuietRock went up, we screwed the finished splices to the backside like so…

ceiling detail shot


ceiling detail shot 2


As the two pieces of gyp board are screwed to the plywood along their edges, they flex upwards slightly along the screw line…

where boards butt pulls up to a taper


That creates a tapered edge which will take tape and compound just like a factory taper. Voila! Super smooth ceiling or wall! Tape and compound still to come…

QuietRock all spliced up


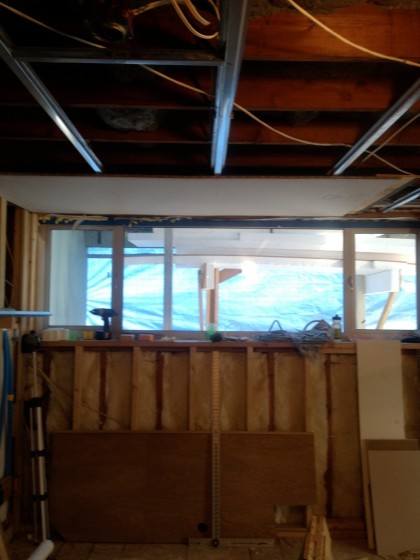
But first, we have to finish the rest of the ceiling and walls.

[FYI, the process we used above is Fine Homebuilding’s butt splice tip in action. Thanks, FH!]


and… ?

January 5th, 2012

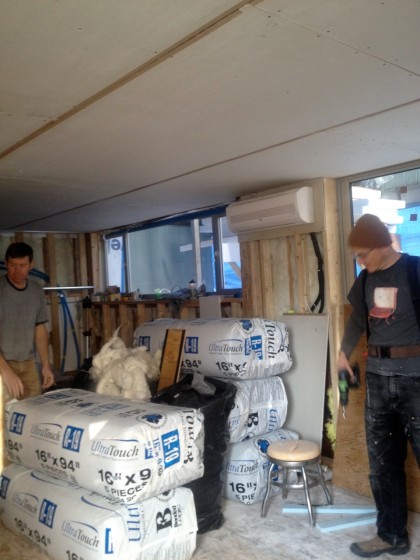
So how’s it going with the sheetrock installation today? David can give you the pro’s point of view in another post. I just want to show you how quickly the construction zone is starting to look pulled together.

This was the scene this morning…

this morning


Then the first sheet of Quietrock went up…

quietrock on ceiling


Followed by sharp objects cutting into sheet goods…

cutting the second sheet


And another sheet went up…

another sheet goes up


And then another…

and then another


And so on, with tools and such…

tools and such


And then lo and behold, it suddenly looks like a ceiling!

yup looks like a ceiling


There was more to it than that, of course. The Magic Man can fill you in on the construction details. The Layman-type Girl (that’s me), is pleased. Thanks, Joe and David!

it’s here! it’s here!

January 4th, 2012

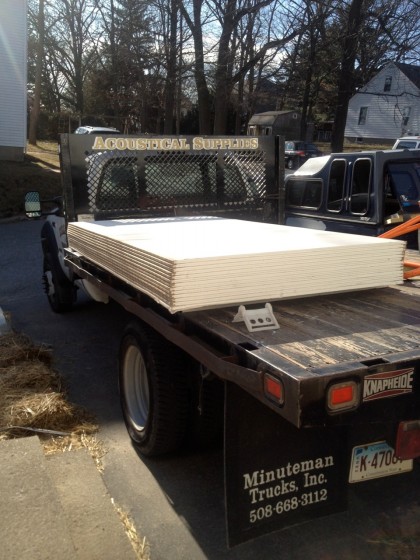
The QuietRock drywall from Acoustical Supplies, she has arrived…

sheetrock


The boys were halfway through unloading when I shot that. Goes up tomorrow. I have it from credible sources that today was all about prep.

ZZZZZZZT!

January 3rd, 2012

electrical hazard sign


Just kidding. Hey, we passed our electrical inspection. YAY! Also passed our plumbing inspection and building inspection. Now that the powers that be have given their official nods of approval, the walls can finally get closed up. Sheetrock arrives tomorrow morning. Onward…

cuz that’s how we roll

December 30th, 2011

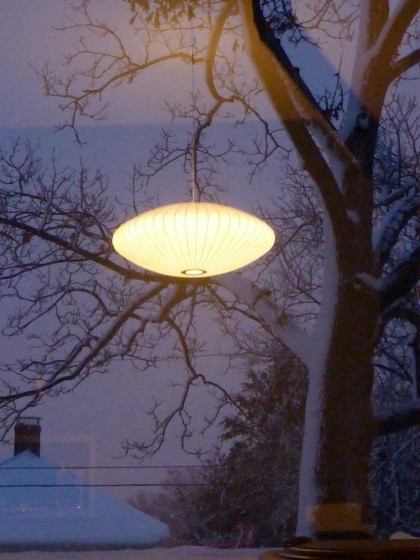
Why is there a Nelson Saucer Lamp hanging from our oak tree?

nelson lamp in our tree


It’s just the reflection of the pendant light on our picture window as the sun was setting. Shot in January of 2011. (Snow!)

course correction

December 30th, 2011

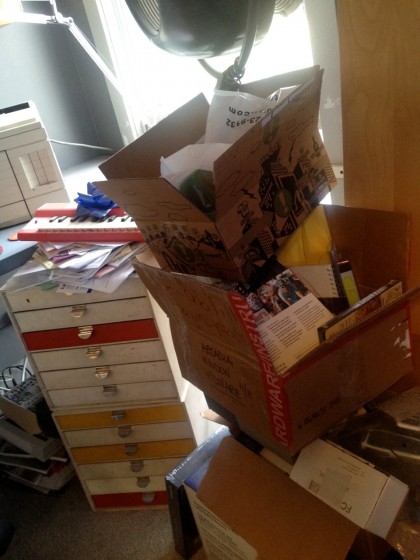
Lest you think our recent fanciness outside the house is any reflection on the state of the inside, please let me remind you of what it’s like to walk through chez remod. The mess is still brewing. Well… more like festering.

There are the stacks of boxes by David’s desk…

mess mess


And the construction debris and whatnot in the hallways…

mess of construction


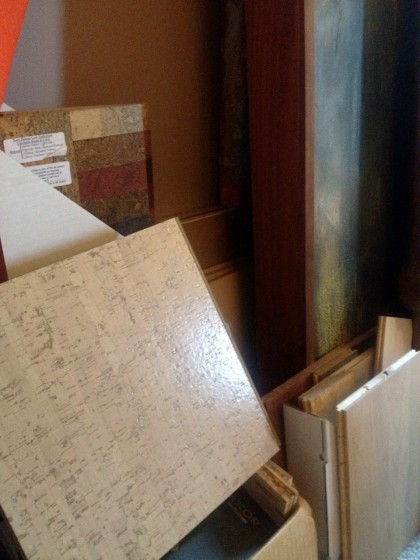
And the flooring samples piling up…

mess of samples


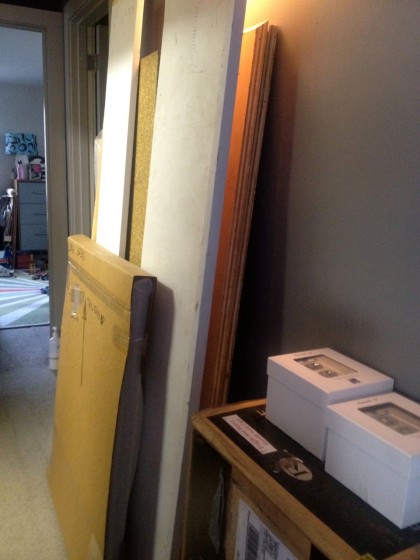
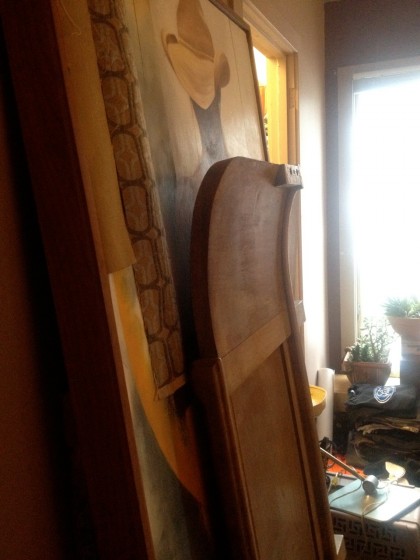
And the art and furniture bits leaning up against the walls…

mess in the bedroom


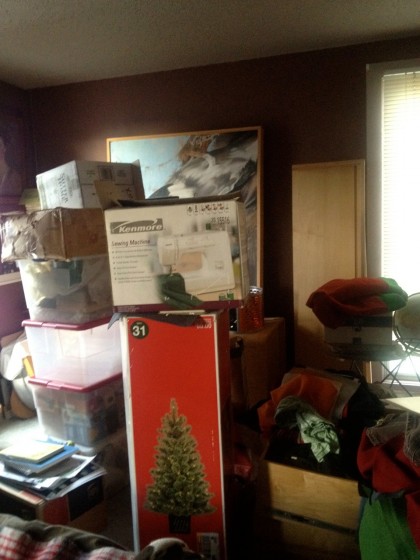
And it’s impossible to get around the bed for the drawers and storage boxes that got pulled out of the attic for Christmas…

mess of boxes


So there. The end of 2011 and it’s still a disaster in here. Oh well.

back to the front

December 29th, 2011

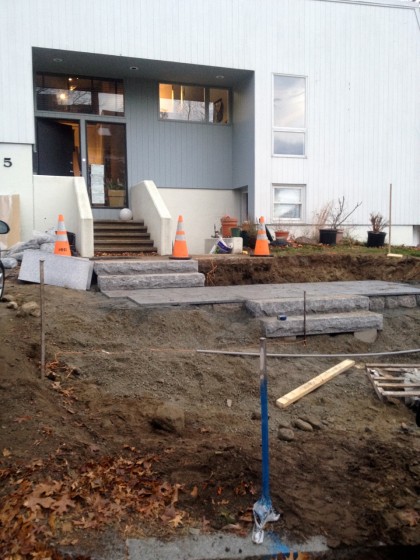
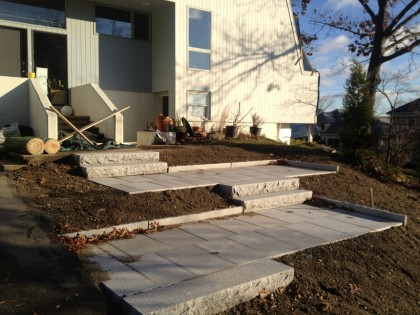
Well, we did it. Managed to squeeze one final outside project into 2011: the front walkway. I didn’t feel strongly about having one but David did, so we enlisted Jim Egan at Land Design Associates to create something that would tie to the rest of the hardscaping he’s done for us.

Here’s what Jim came up with…

fronthill_initialdrawing


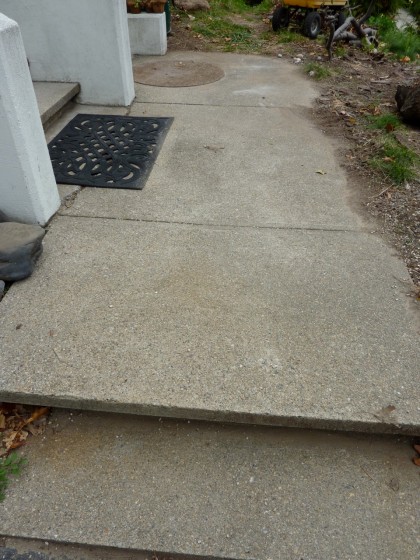
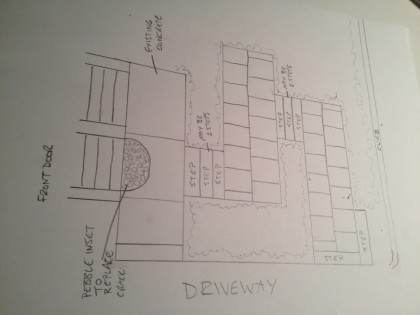
Basically three terraced levels with steps in between. In his drawing, the top level (far left) shows the original concrete walk that fronts our concrete entryway steps and walls being replaced with granite. That’s this area…

fronthillwalk


There was also talk of facing the concrete steps and walls with granite but that just doesn’t make sense. I think the concrete is integral to the design of the house. And there’s nothing wrong with any of it other than that stupid crack (under the black mat in the photo) at the bottom of the steps. So we’re keeping it as is and adding below it down to the street level. We realize that a granite walkway will never match the old concrete but think we can make it work.

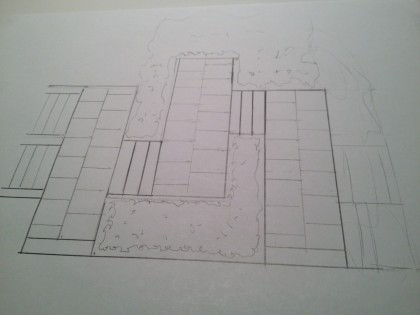
So, our slight revision to Jim’s initial idea looks something like this (click to biggify)…

fronthill2 | rough drawing


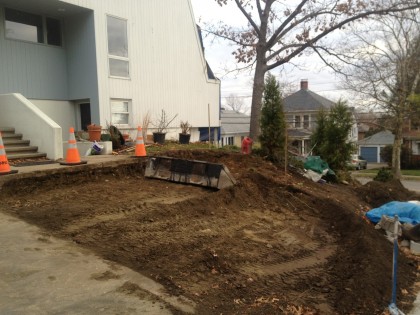
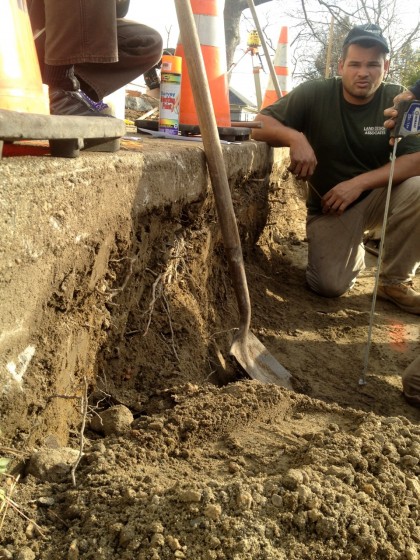
The crew came and made short work of it. First they dug out the hillside and leveled out bases for the two terraced parts of the walkway…

fronthill1


That involved moving a lot of soil…

fronthill3


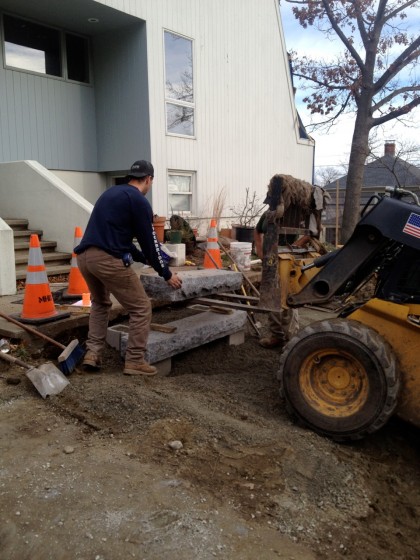
I added a good amount of that soil to other parts of the slope after they left, shovel by shovel, and then sculpted it as I saw fit. But I digress. The crushed base went down and the steps were heaved into place…

fronthill4


Then the first granite terrace went in…

fronthill5


Followed by the second terrace…

fronthill6


And Bob’s yer uncle!

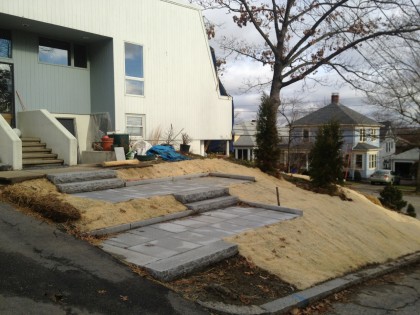
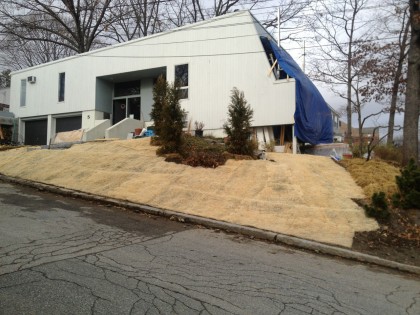
We’re left with a hillside of disturbed soil and it’s too late in the season for plants to take root. So once again, I staked biodegradable Curlex down to hold the dirt in place…

fronthill7


fronthill8


I rolled erosion control blanket and pounded stakes until almost midnite in a mad rush to beat the ground freezing the next day. But it’s done now and I won’t touch it again until April. Looks much better, no? Remind yourself what it used to look like.

And the crack? I’ll show you another time.


every time a window closes

December 26th, 2011

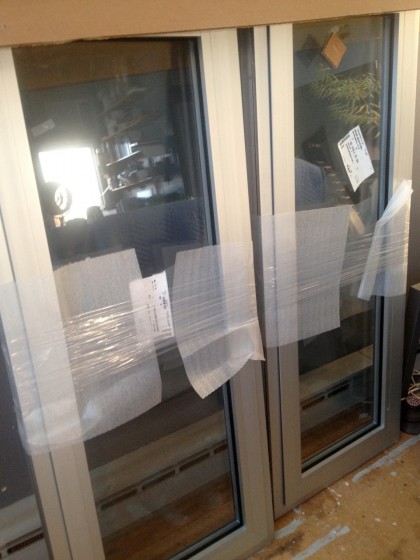
… a door opens. That’s what they say, right? So a few weeks back, it may have looked like all the windows were in and we were set for the winter. But no. These two hopper windows have been waiting in a corner…

window1


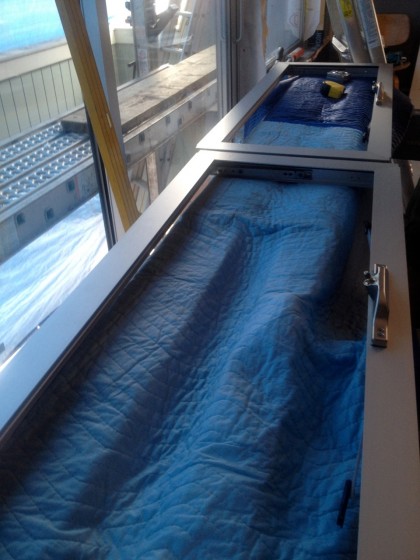
Christmas week, David and Joe finally unwrapped them (Thank you, Santa)…

windows


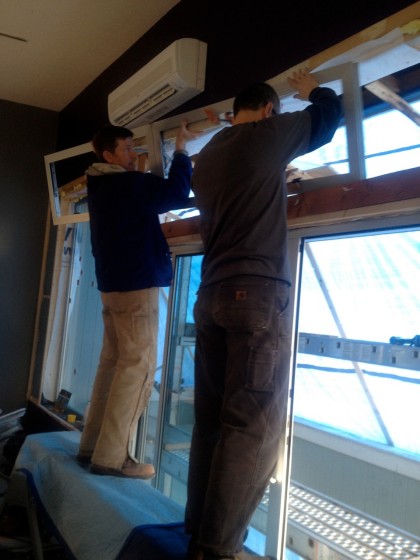
… and fitted them in over the upstairs sliders where they belong.

windows2


Now the living area is much, much warmer. Bonus: we no longer hear the constant flap flap flapping of the blue tarp. I can’t wait until said tarp is gone and a trip to the livingroom no longer feels like a visit to the bottom of the deep blue sea.

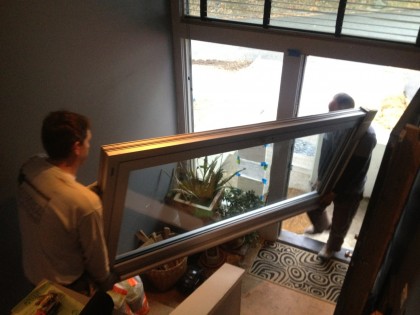
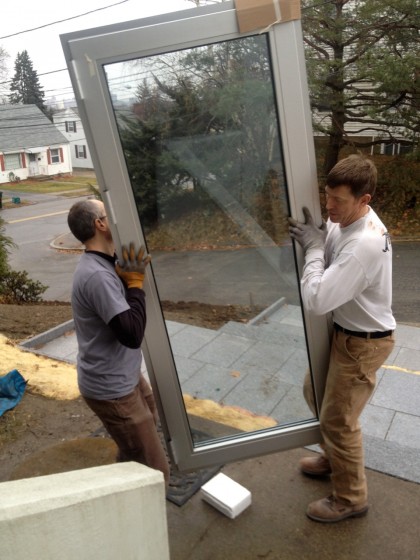
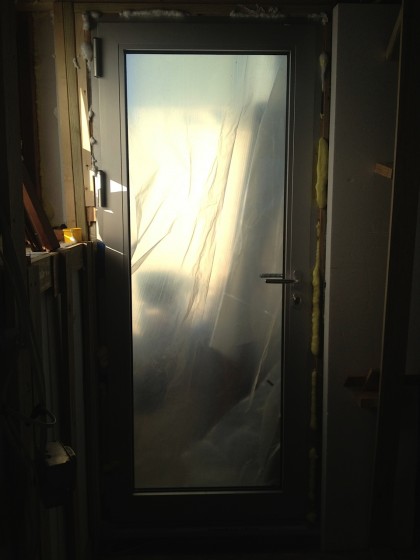
While the boys were at it, they also tackled installing the new and incredibly heavy aluminum door downstairs. But first they had to get it there…

door1


door2


Here’s where David takes over:

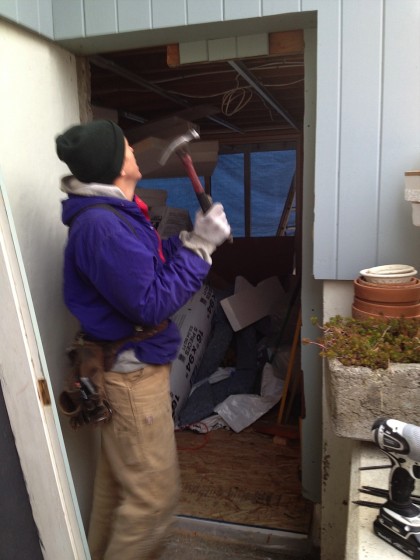
First we had to remove the old door and its associated framing (which was pretty funky, it must have been installed at 4:20 on a Friday). Once we had that corner of the house open we realized the beam was sitting on just two 2x4s, one of which was split. They missed an opportunity to land the beam on that foundation wall on the left side of the opening here…

door4


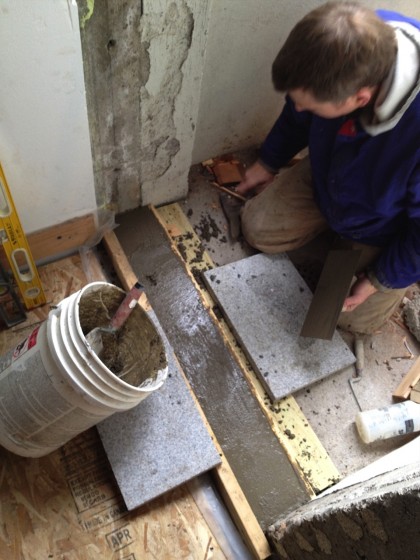
The concrete under the door was packed in under the old door in a haphazard way, so we replaced that too — remembering to use a bonding agent between old and new concrete so they’d stick together…

door5


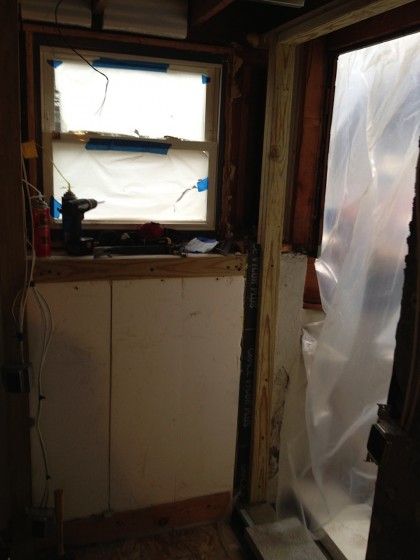
We put super tape between the new door framing and the foundation walls, and used treated lumber for good measure…

door6


The old concrete work is pretty funky, so it took some serious shimming to get the door plumb and square. Then I filled the remaining spaces with low-expanding foam. That will look much cleaner when the walls get finished…

door7


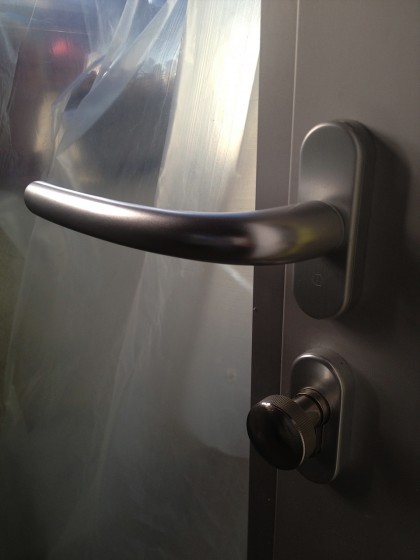
The door hardware is German and super smooth…

door8


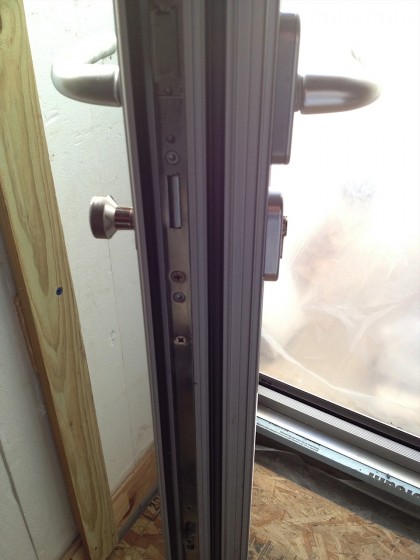
The locking system will take some getting used to. The lever throws the bolt and also four pins that lock the door along its whole length. …

door9


Supposed to be storm proof or something — with the right glass, which we didn’t opt for since we don’t live in Florida.

Looks hot, doesn’t it? Our front door will be replaced, too. In the fullness of time, of course.