Posts Tagged ‘garden’
other people’s gardens
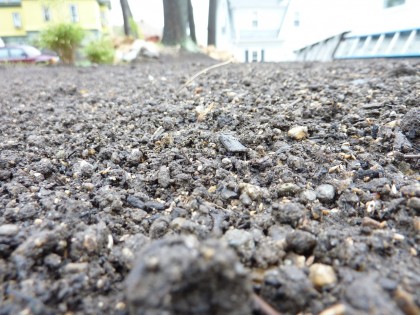
Monday, May 3rd, 2010how long ’til grass?
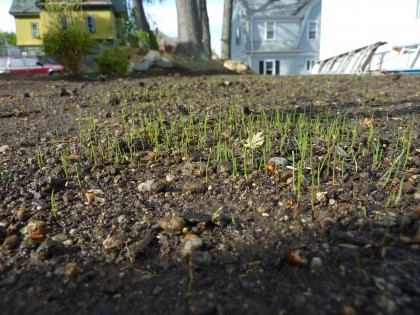
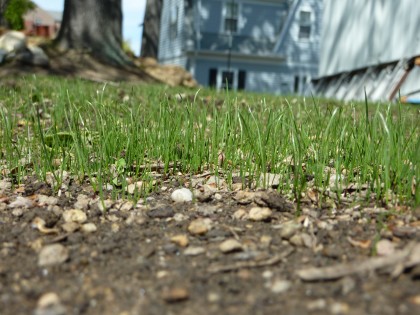
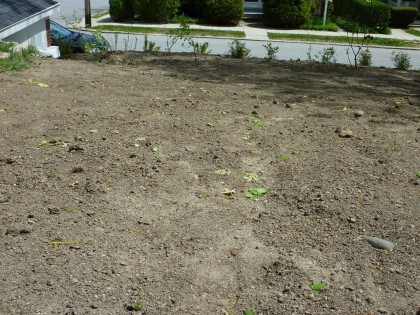
Friday, April 30th, 2010waiting. waiting. waiting. waiting. waiting. waiting. waiting. waiting. waiting. waiting. waiting. waiting. who wants to wait with me… anybody?
DAY 7…
DAY 14…
DAY 21…
Getting there. Come on, grass!!
how’s that curlex holding up?
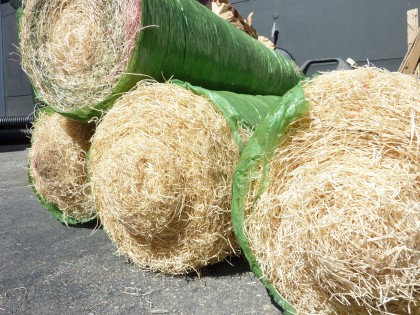
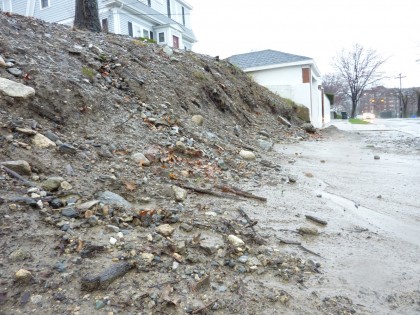
Thursday, April 29th, 2010So the Curlex has been in place for a few weeks now. Has it kept our slope from washing away? I am pleased to report that yes, so far, it has successfully b**ch-slapped our erosion issues.
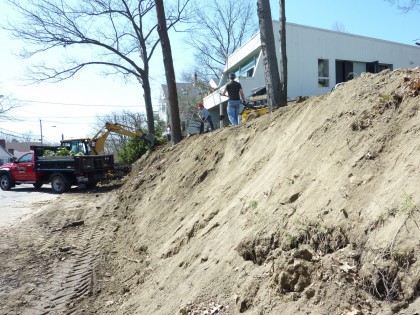
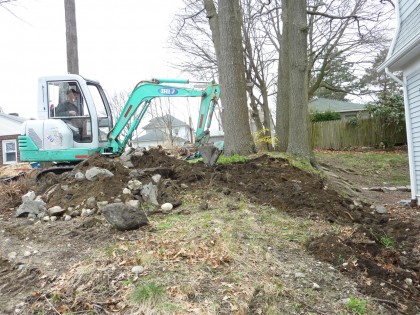
Here’s where we were on March 30 after all that flooding…
More soil was added during the first week of April…
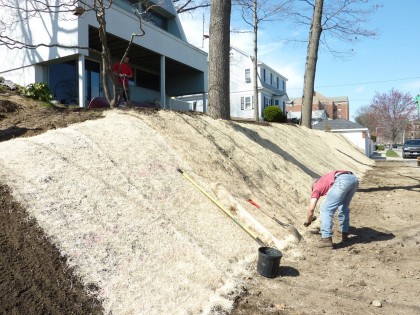
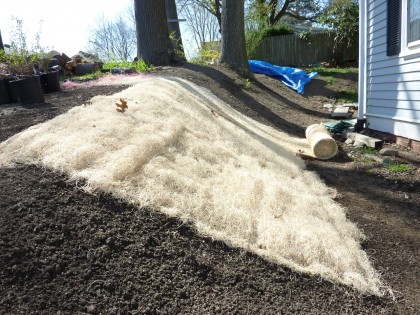
Then the Curlex erosion control matting was added and erosion control plants put in the ground…
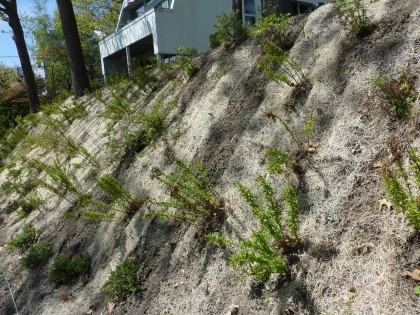
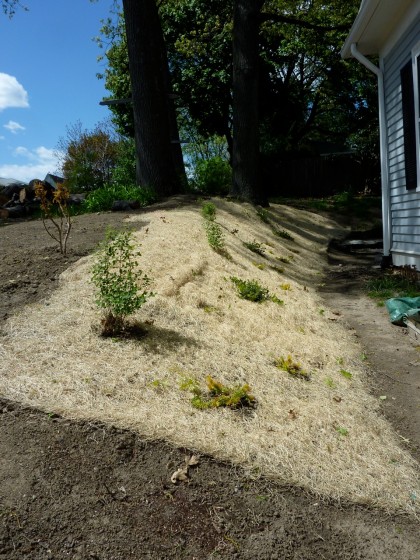
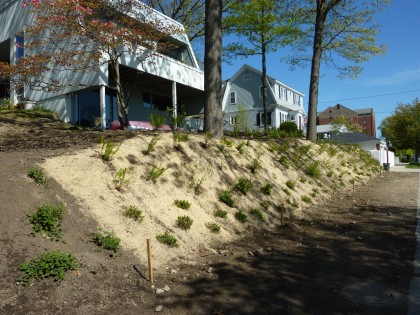
And here’s what it looks a few weeks later after planting and some fairly heavy rains…
No dirt under the matting has washed out. However, dirt from above (not held by the matting) washed down over it. Just a little. And no wonder, with no grass, very few plants and absolutely no mulch, the water just rushed down the slope and took some of our new topsoil with it…
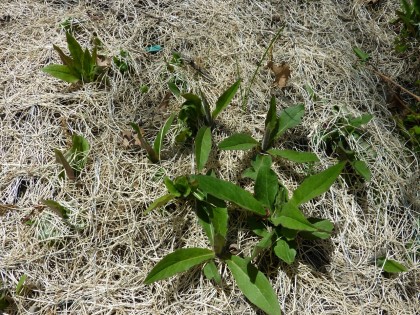
Very happy with the Curlex. I see a few weeds beginning to poke their heads through here and there…
I’ll have to put a stop to that immediately.
Remember the slope between us and our neighbor? The area where we found the lead levels so high and had the soil dug up and carted away?…
Our lovely neighbors and I thought it would be smart to put down Curlex on this slope, too, before the spring rains washed all the new soil downhill…
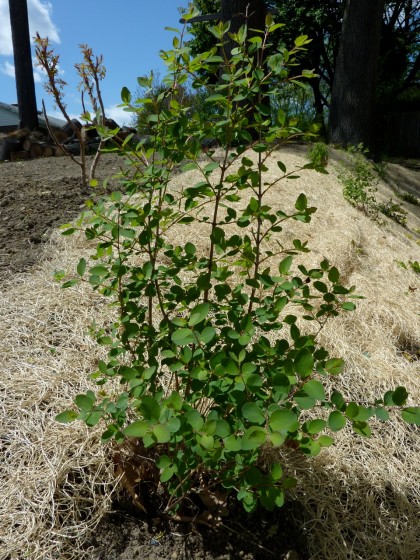
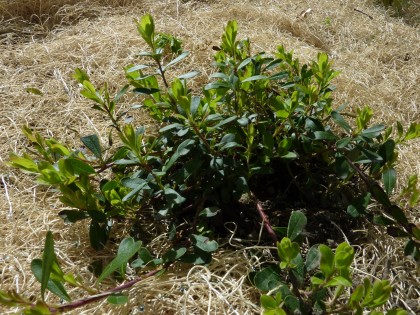
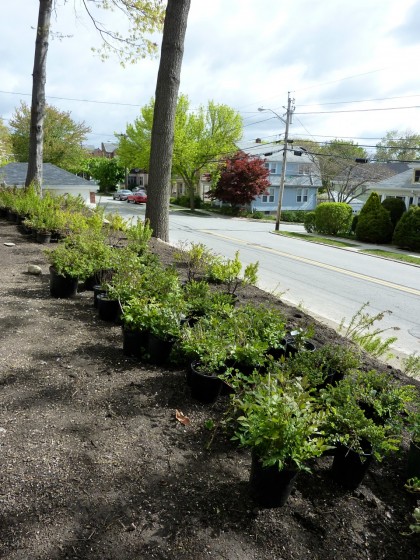
So I took care of that a few weekends ago and then started plugging in some plants sure to hold that slope back…
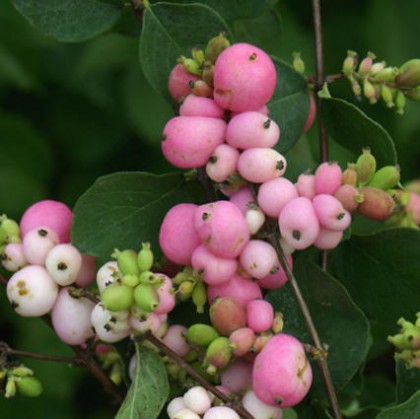
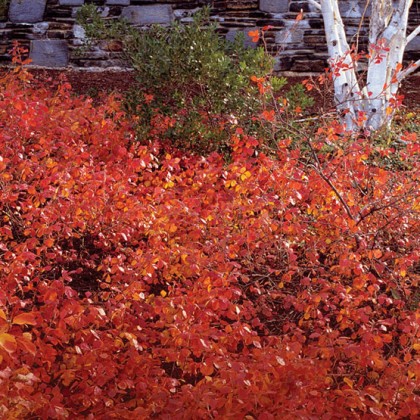
On the front slope, one of the native plants we chose was a Symphoricarpos var. albus (Common Snowberry), which produces big white berries in autumn. I figured that closer to the house it would be nice to have more color, so I chose Symphoricarpus x ‘Kordes’ Amythest (Coralberry)…
Not a native variety but it produces the most irresistible, insanely colored berries you’ve ever seen — good for the birds…
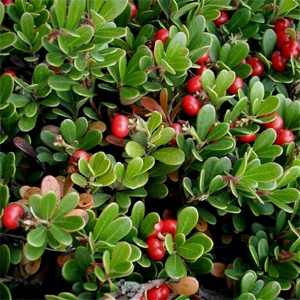
I also threw in a few native Arctostaphylos uva-ursi ‘Massachussetts’ (bearberry) like we have on the front slope…
Not only good for erosion control, it also produces bright red berries for the birds in the fall…
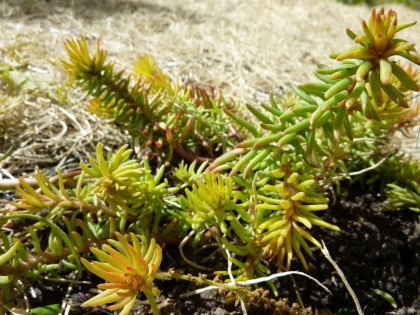
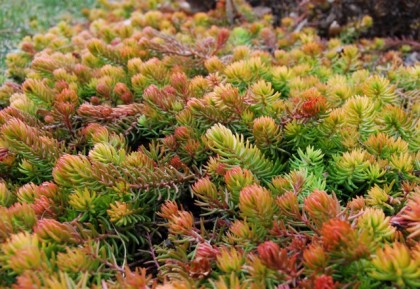
And for good measure, I thought I’d see if some of my brilliant chartreuse Sedum rupestre ‘Angelina’ might work here…
Like all sedums, it’s a tough little stonecrop that covers the ground quickly and doesn’t ask for much care or much water. Flowers for the butterflies in summer. And in the fall, it takes on the most gorgeous pinkish-orange overtones that will look fab with the colorful berries on the plants around it…
I’m not done adding plants to the slope…
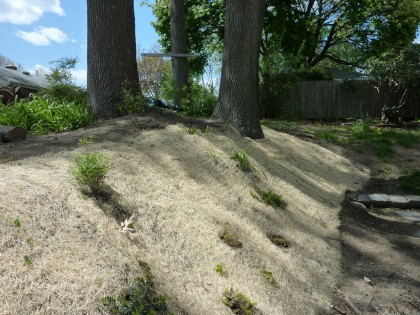
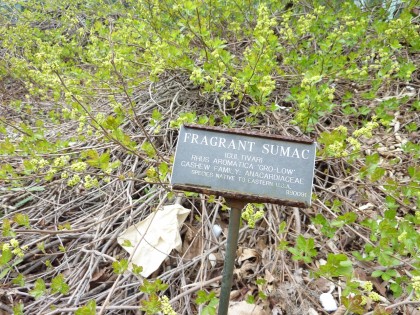
Something ferny with a bluish or silvery cast would make a nice foil to the other shades going on. I’ll report back when I find just the right thing. In that far back corner slope starting at about the oak, I want to plant Rhus aromatica ‘Gro Low’ (Fragrant Sumac). I just discovered it during last week’s trip to the Brooklyn Botanic Garden…
A native great for holding slopes that fills in quickly, is undemanding and drought tolerant, and offers flowers and catkins (food for birds) in the spring. In the fall, it turns flamey red…
What a showstopper. I haven’t found a local nursery that carries it, although there’s bound to be one. High Country Gardens has it, for sure. I think I may be able to use it under our dogwood out front as well.
For those of you have slopes like I do, I came across another great article on not-your-typical groundcover alternatives. Worth exploring.
* * * * * *
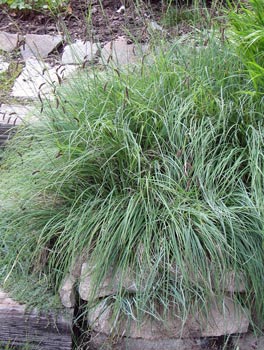
UPDATE: Okay, I’m having some luck in hunting for slope plants with blue foliage that can handle a mix of sun and shade. There’s Carex Glauca Blue Sedge…
Or Carex Glauca (also Flacca) Blue Zinger…
Ferny, no. But they have a similar upright and then arching manner that make them strong contenders.
front slope done, check
Thursday, April 29th, 2010Just a few weeks ago, April 6 to be exact, the first round of planting our front slope left us two-thirds of the way done…
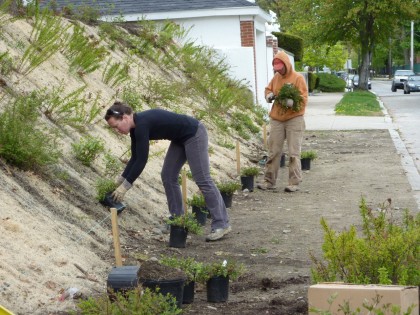
Yesterday, elves descended and finished up the planting. Yay! My friends Shiva and Ellen tackled the last third of the erosion zone using the same plants as the rest of it…
Same story as before: Cut the Curlex. Dig a hole. Plant…
Later that afternoon, all done…
Amazing how much greener everything is in just the last few weeks. The oaks leafed out, our pathetic little dogwood (doesn’t like being planted in the shade of an oak) is flowering and the plants in the slope have really taken off. Definitely looks like Spring.
And now my little garden pixies are gone… Elvish has left the building. Victory dance.
apiary field trip
Monday, April 26th, 2010David and Coryndon’s bee class made a bee-line (sorry, I had to) out to Smithfield, RI for a visit to Beehavin’ Apiary this past weekend. I’ll let David tell you all about it…
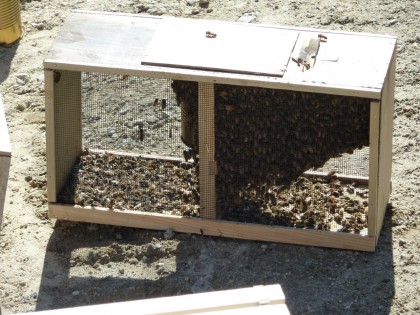
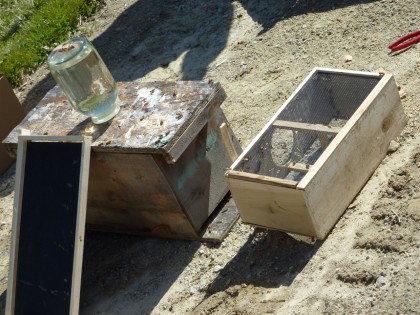
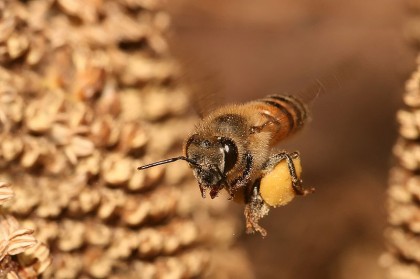
My bee class was invited to watch a demonstration on how to transfer a package of bees into a hive at a local apiary. The package above was developed in the early 20th century as a way to distribute bees by mail. Bees can only live a couple of days without food or water and in the days before the interstate highway system, U.S. mail was the best way to get bees quickly to their new homes.
The queen is in a small wooden box inside a metal can in the lid of the package, she needs to be protected from the other bees for the first several days, until they get to know each other.
The lid and can are removed and the lid temporarily replaced over the opening.
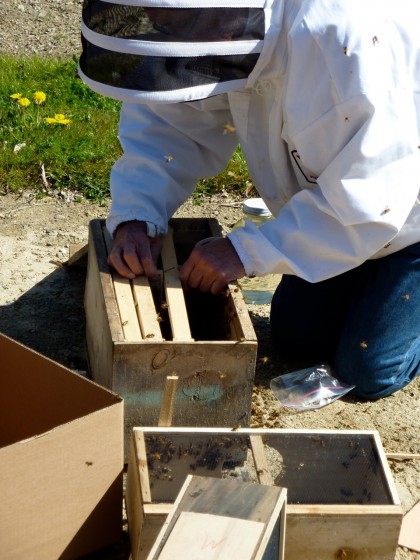
The queen’s box is placed in the center of the new hive, it has a sugar candy plug in the end which the bees will eat through, at first they want to get at her to kill her but over the course of eating their way in to her, they will become accustomed to her smell and by the time they free her it’s one big happy family in the hive.
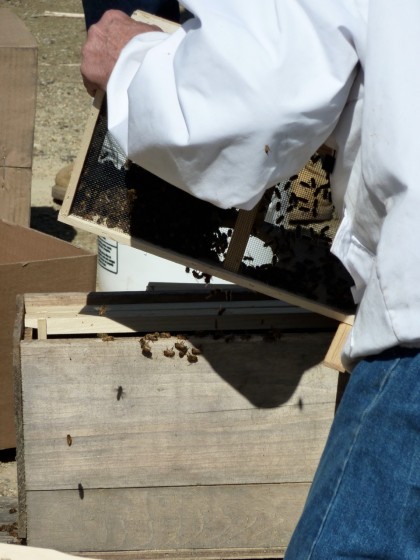
Once the queen’s box is in place, the bees in the package are dumped gently into the hive. They recognize it immediately as a great place to start a home and move right in.
The hive will need to be fed a 1:1 mixture of sugar and water (in the glass jar) until nectar is flowing in the flowers surrounding the hive. The hive shown here is called a nuc (short for nucleus) and only has five frames in it, it’s a kind of temporary hive.
Some bees wil be reluctant to leave the package so it’s left open near the hive entrance for a day or so. In two days it will be time to check that the queen has been released, if not she’ll need to be freed by hand. And then she will lay eggs — up to 1,500 per day!
spring at brooklyn botanic
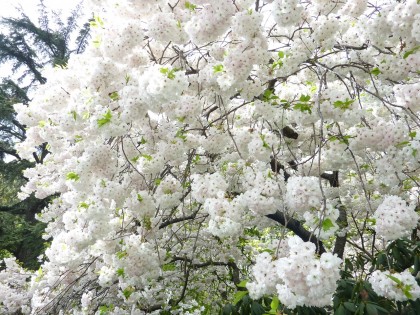
Friday, April 23rd, 2010PVD-NYC-LAS. What a crazy week! Looking back on it I must say the absolute best part of it all was a trip to the Brooklyn Botanic Garden. It’s a must whenever we’re in town. Last weekend was the height of the cherry blossoms. Springtime in New York never looked more incredible… (as always, click to biggify)
Hanami is April 3 through May 2 and “celebrates the Japanese cultural tradition of enjoying each moment of the cherry blossom season.” It’s truly magical…
Wish we were there this weekend for Sakura Matsuri, which closes out the month-long festival. Instead, I’ll be getting dirt under my fingernails here at the homestead. Can’t exactly complain about that.
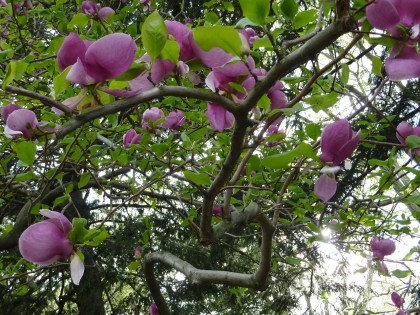
Also a riot of blossoms: the magnolias. Their perfume is intoxicating…
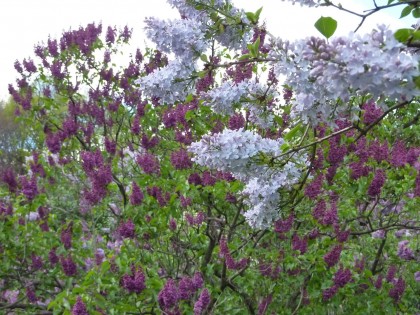
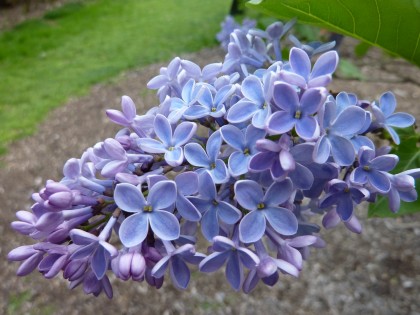
And the lilacs. A huge field of them — and so many different varieties!
The French cultivars seemed to have the best smell. I think I sniffed my sniffer off…
Closer to the ground, the grape hyacinths and euphorbias looked amazing. What a great combination of shades…
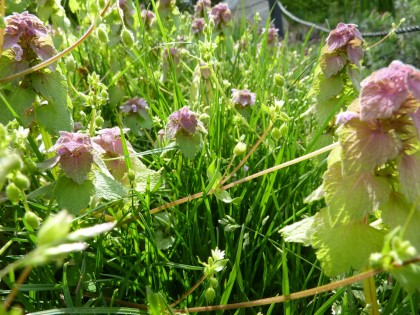
And these little minty looking guys with pink heads. Anybody know what these are? So cute. I need some of these…
The jonquils and epimediums look great together. My epimediums are just starting to pop in Providence…
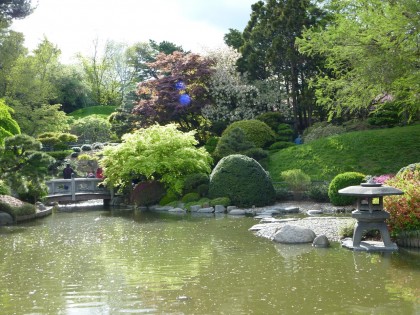
Between the foliage of the Japanese maples and the azaleas just starting and the cherry trees in full bloom, the Japanese garden was bursting with color…
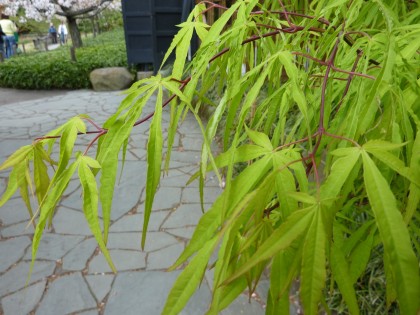
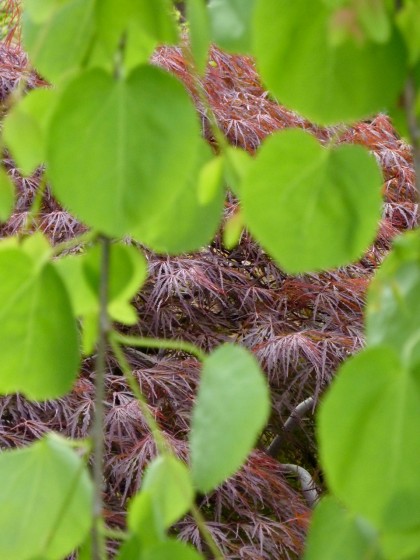
I’ve been researching Japanese maples so I geeked out over this linearlobum (also called threadleaf). Love the bright green against the red bark…
Currently considering adding a Crimson Queen Japanese maple — it’s a dissectum. Here’s one at BBG viewed through a Weeping Katsura…
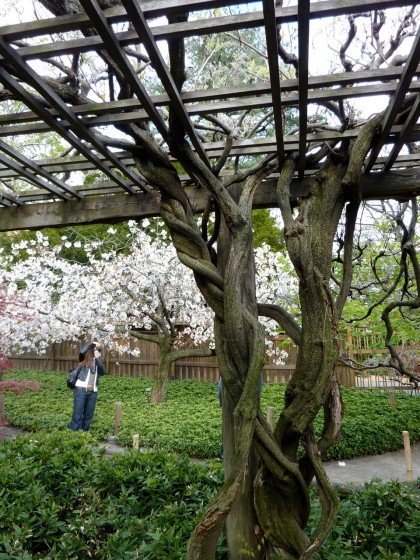
Can’t forget the wisteria. Some of the vines were still bare. Their gnarly structure looks so great all year. I might even love that more than the flowers…
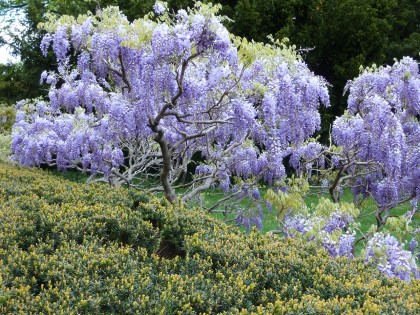
Some of them were already in bloom, though…
In May, this place is insane with scent of wisteria. Heady stuff. If you haven’t been to Brooklyn Botanic, go around Mother’s Day. It’s fantastical.
the burbs and the bees
Friday, April 16th, 2010David’s first bee class was last night! He gives us a download…
- http://en.wikipedia.org/wiki/Honey_bee
I went to my first bee class last night with my friend Coryndon down at CCRI in Cranston. The burbs.
The teacher has been involved in beekeeping since the mid-’70s and teaching classes about bees for about ten years, mostly at local agricultural schools. This is the first general-populace course he’s taught. Apparently there’s a big increase in interest lately. Good for the bees!
It was the first of six three-hour classroom sessions, I learned some basics like:
- Kept honeybees are a species first domesticated by the Egyptians.
- Bees eat nectar and pollen.
- Rhode Island is far from an ideal place for commercial beekeeping.
- Queen bees can live as long as five years but workers just live a few months.
- Bee space is 1/4″ to 5/16″, if you leave a bigger gap between parts inside your hive the bees will build honeycomb in it, and if you leave a smaller gap the bees will seal it shut with propolis.
Bees are wicked cool. I already knew that.
We’re looking forward to having a hive or two, even though we may not get much (or even any) honey from them. For us, it’s more about the support of our bee friends than hopes of harvesting honey. Honey production really depends on what the bees find to eat, and whether that’s enough for them to make any extra as the average hive needs about 80 pounds of honey to make it through the winter. 80! See — I actually learned something in class last night.
I’ll let you know how the rest of the classes go.
drawing in the dirt
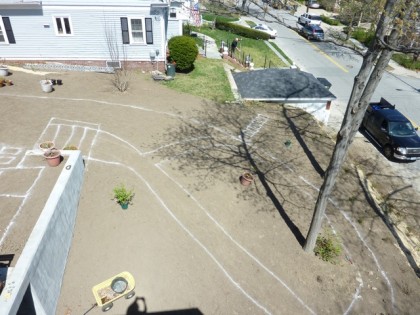
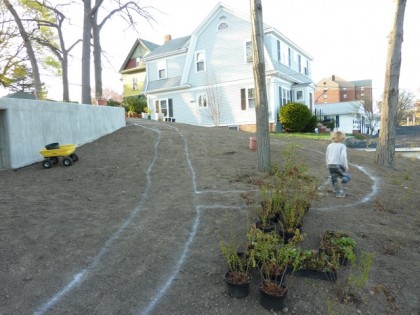
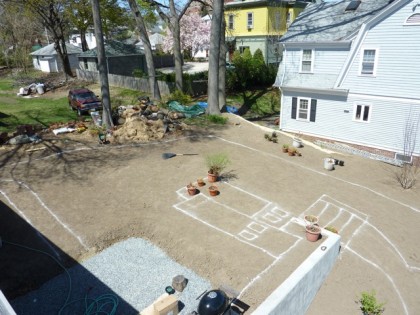
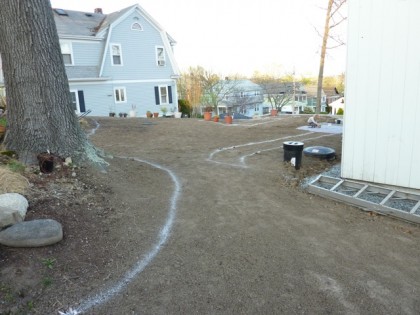
Tuesday, April 13th, 2010Remember that spray chalk? I finally used it to mark out the bulk of our future hardscape, lawn, garden beds and paths. From the roof, you can see how the yard looks way less daunting mapped out. Plus it gives me a guide for where to plant my largest shrubs and trees.
Shall we walk? Cross the patio and take the steps over the small pool… (click to biggify)
Then head down the stairs with Bix to the area below the retaining wall…
Wander down a few paths through what I picture as a lush, green jungle that will layer in some privacy from the street…
Take the stepping stones through the far corner bed to smell the flowering currants…
It’s rough, but I think you begin to get the picture… Bix sure does.
Now that the lawn area up top is mapped out, we can seed it…
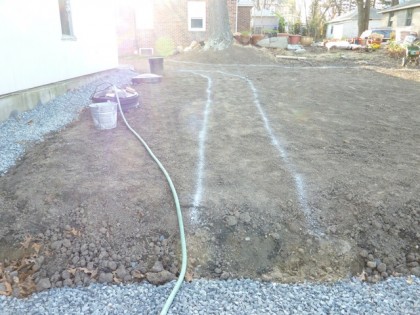
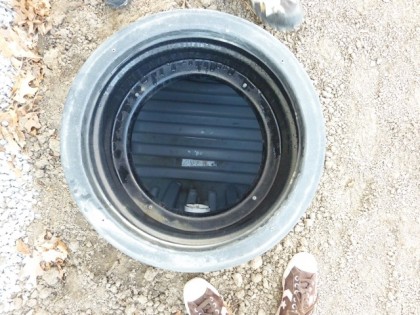
This part of the yard over by the water collection tank stays shady the entire day, so no grass here. Just shade lovers to hide the manhole covers and a gravel path to take you around to the side yard…
Once we get the grass seed down, I’ll start the garden beds over here…
Still firming up exact dimensions in the veggie area but there will definitely be raised beds (to form a barrier that keeps kids from toppling off the retaining wall) to the left and low (4′ high) espaliered fruit trees down the property line on the right…
While we’re at it, this side of the retaining wall faces south…
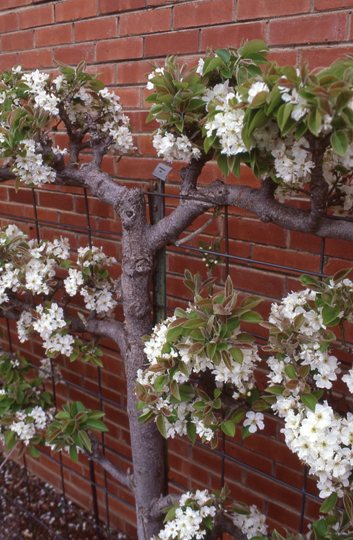
… which makes it perfect for an espaliered asian pear. You know, like this…
This is the food zone, after all. And yes, I’m greedy. I plan to take advantage of every last inch of it.
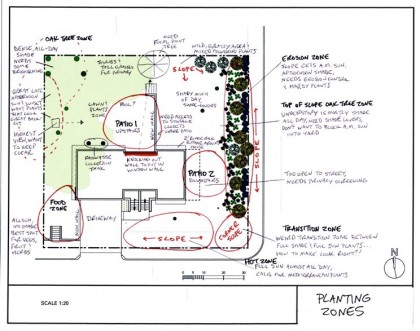
Speaking of zones, remember my planting zones?
Now that the beds are roughly out, I’ll be heavy into planning what plants go where according to zone. I love this part!
half full or half empty?
Monday, April 12th, 2010Pleased to report that we are now HARVESTING RAINWATER!
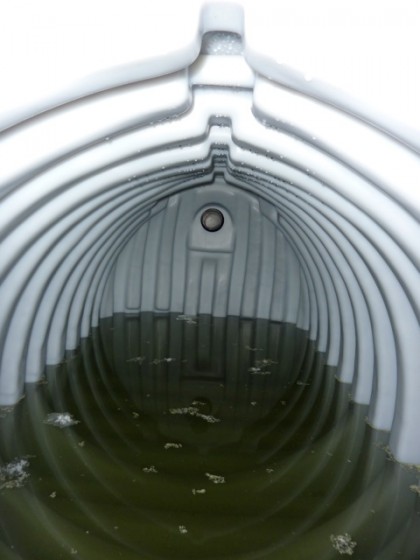
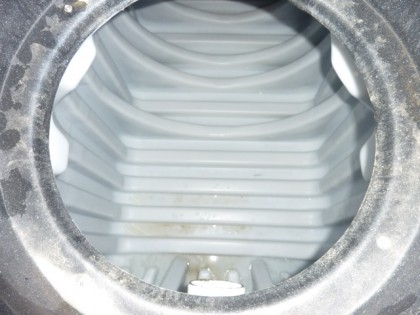
Just to remind you, here’s the view inside the tank Thursday night before the rain:
And here’s the view on Saturday after an inch of rainfall:
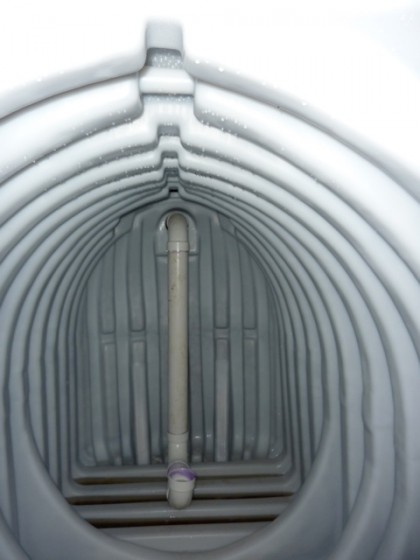
So look at that! Just one inch of rain collected off our roof filled the tank about 2.5′. The highest the water can rise is 4’6″ where the overflow pipe starts channeling water out into the overflow trench. Not bad! (The floaty stuff is plastic shavings… don’t worry, we skimmed those off.)
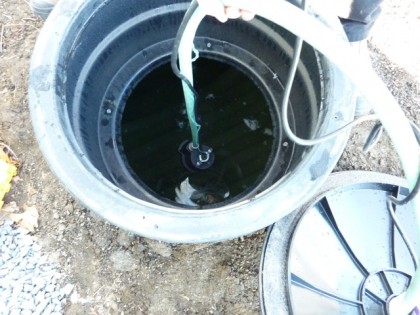
David has a grand plan to hook up a solar-powered pump to the tank, but until then we’re using a cheapo submersible sump pump…
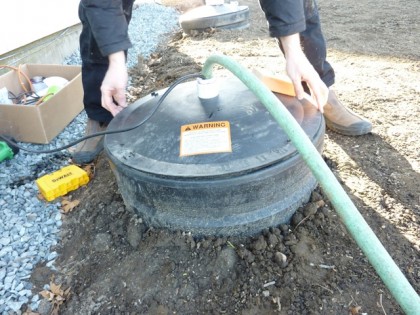
With the garden hose hooked up to the pump and the whole contraption in hand, David slowly dropped it down into the tank…
He made sure the hose and electrical cord were threaded through the top of the manhole cover, of course…
Then we plugged in the cord and turned on the hose…
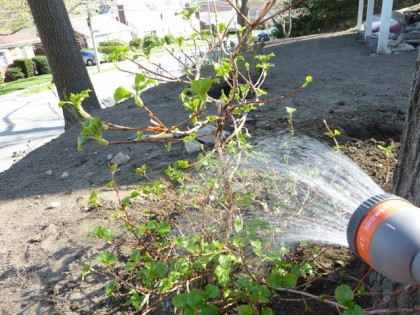
And voila! We can now water with rain! *touchdown dance*… *fist pump*… *chest bump*
inside the whale
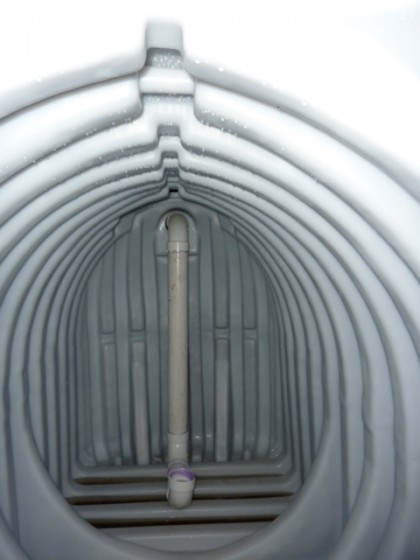
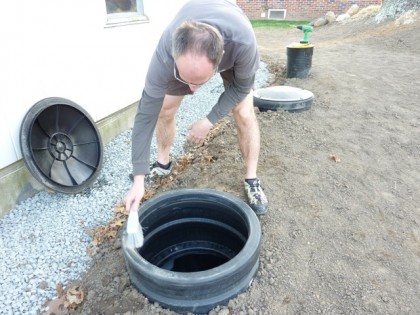
Thursday, April 8th, 2010Ever wondered what it would look like to be swallowed by Moby Dick? Follow me inside our 1,700 gallon water collection tank…
With rain in the forecast tonite and tomorrow, David thought it would be a good idea to double-check the tank…
The downspouts are hooked up, the filter is in and the overflow piping is connected, buried and ready to go. So we can finally start collecting our first rainwater. Let it pour!
