hotted up

November 28th, 2011

Let’s talk briefly about how we’re going to heat our house. Currently, we have electric baseboard heat. It’s actually fairly efficient — it converts about 95% of the electricity into heat. But we’re investing in something even more efficient — and, key to a small house like ours, it allows us to use all the wall space that’s currently taken up with heaters.

So what is this wonder of which I speak? Officially known as an air-source heat pump, you may have heard it called a “mini-split.” Chances are you’ve seen one as the A/C-only units are popular in restaurants. This is the Sanyo unit we’ll be using (comes with a handy-dandy remote)…

KMHS0772-48857444 via sanyo.com


If you want a really good explanation of why it’s more energy efficient, you should read this. So our new heat pump was installed a few days ago…

hvachookup


With some aesthetic changes and the elimination of the dark purple paint, eventually that mildly unattractive white rectangle above the window will disappear from view. We hope.

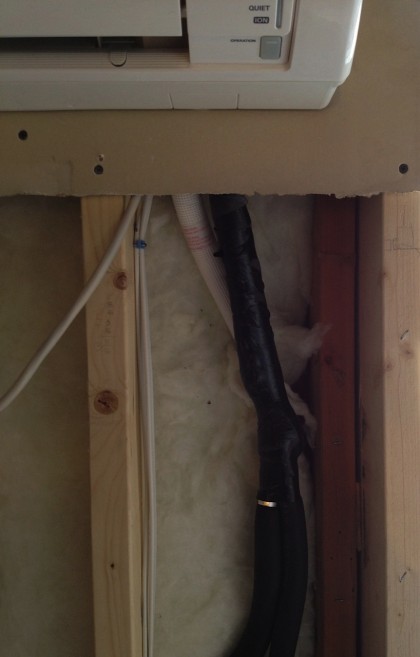
There are two refrigerant lines, the electric cable and a small PVC drain line for any condensation that forms in the summer or in winter when the unit is in defrost mode. The connections run down inside the double wall…

hvac1


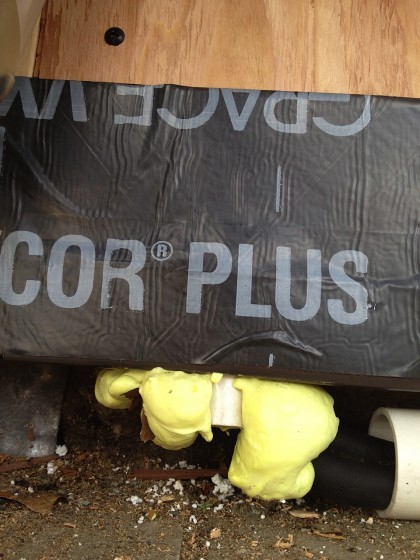
The hoses exit outside where they travel inside a piece of PVC over to the compressor…

hvac2


I’ll clean up that expanding foam and seal a piece of metal flashing over the hole to maintain our water and air infiltration integrity, and to keep out 4- and 6-legged vermin.

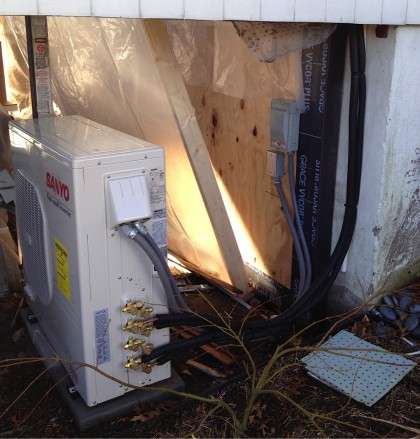
An outside unit (the compressor) takes heat out of the air and pumps it into refrigerant which is circulated through pipes to the indoor unit (in summer the process is reversed)…


hvac4


The compressor is relatively small considering it provides 32,000 BTUs of heat — and 34,000 BTUs of cooling. It can support up to four connections. We’ll be using just two: a 9,000 BTU unit downstairs and a 24,000 BTU unit in the upstairs living area. Each is connected to the compressor with two copper refrigerant lines wrapped in black foam insulation, and a 3-wire cable carrying electricity to the fans in the inside unit. The wire also carries signals from the inside units back to the compressor telling it whether to send heat or cooling, and how much to send. The compressor has a variable-speed DC motor which can run faster or slower as needed to suit demand. This makes it much more efficient than a simple on/off compressor.

Now that our electrician has made all the wiring connections, RAM Mechanical (our HVAC installer extraordinaire) will return to double-check the refrigerant connections for leaks. Before they left, they filled the hoses with nitrogen under pressure. If the pressure has dropped over the last week they’ll know something is amiss. Hopefully this is just a precaution and later this week we’ll have heat! In a month or two we’ll compare our past electric bills to the current ones and know just what we’re saving with the new system.

fyi on the a/v yo

November 25th, 2011

My home audio specialist and A/V club president, Mr. Bettridge, now brings you this public service announcement.

———————————————————————————————-

As long as the walls are open, I’m taking advantage of this opportunity to run all the wire we’ll ever need — I hope. So what does that include? Funny you should ask.

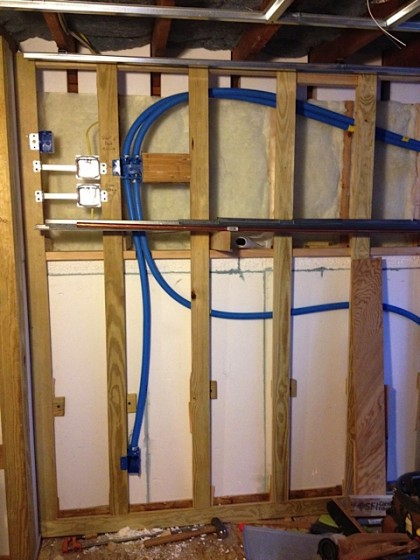
To connect the front left, right and center speakers, and the sub-woofer to the A/V cabinet, I ran 1” ENT conduit. Electricians call it Smurf tube because of its Smurfy blue color. Its real name is Electric Non-Metallic Tubing. It’s a flexible pipe that’s easy to install, easy to connect and easy to pull wire through.

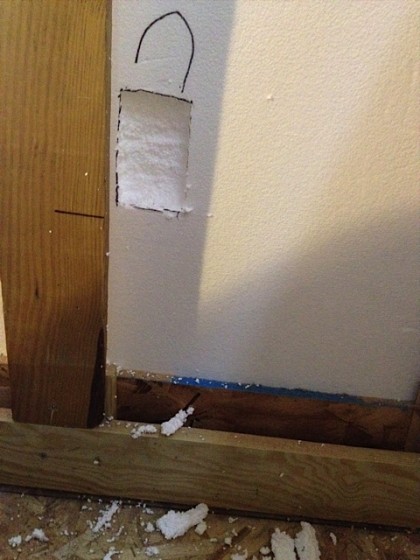
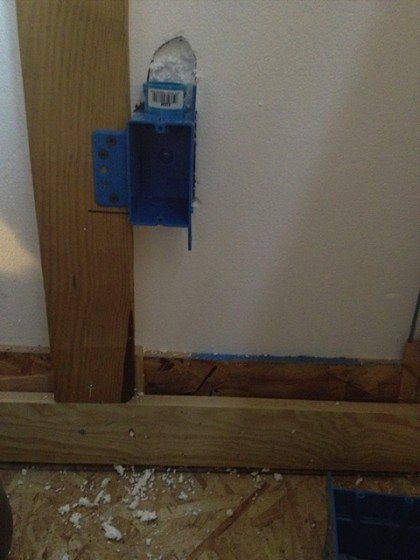
First, I traced the boxes onto the 3” foam insulation…

electric1


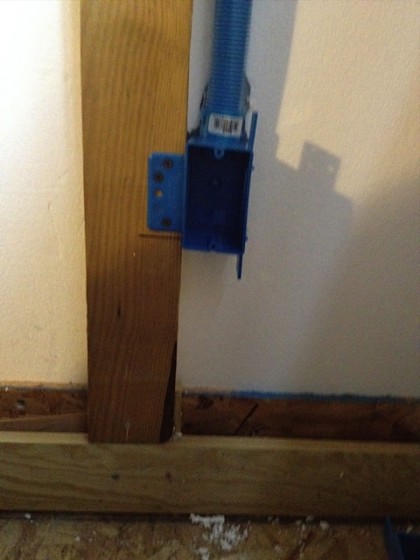
The box is mounted and a connector snaps into the box…

electric2


And the ENT simply pushes in to the connector. Easy peasy (although blurry)…

electric3


The four runs will enable us to experiment with different speaker wire at will, with everything hidden neatly behind the sheetrock — which I will be adding soon…

electric4


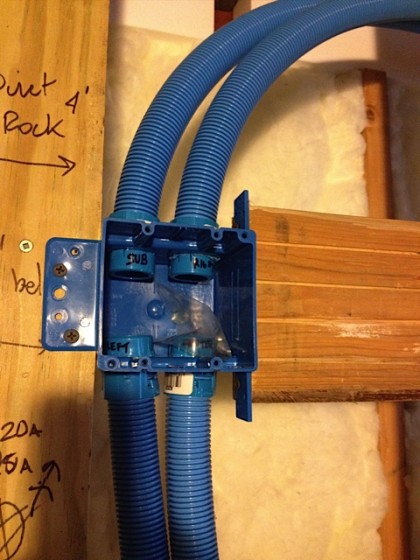
It’s a good idea to label everything to simplify things when you run your wire. Ya never know…

electric5


Joining this 4” square box (also known as a 2-gang box) in the A/V cabinet will be:

  • Two dedicated 20-amp electric circuits to provide plenty of power for 7.1 channels worth of amplification and the rest of the A/V gear.
  • Connections for in-wall speaker wire to the rear and rear surround speakers.
  • CAT-6 data wire to allow connection to a music server and the internet.
  • RG-6 quad-shield coaxial cable to carry cable TV, as well as TV and radio signals from an antenna (remember those?).
  • A 1-½” conduit that will allow running an HDMI cable to the TV. Most wire can have connectors installed after the wire is run to its destination but increasingly complex connections require wires to be factory terminated. Rather than burying the wire in the wall and hoping nothing ever damages it, or that the wire doesn’t become obsolete, I opted to run a conduit large enough to pull a complete HDMI cable and hopefully whatever cables replace HDMI in the future.

Hopefully all this will enable us to take advantage of current and future technologies without having to open up the walls or surface-mount wire.

our own TARP plan

November 23rd, 2011

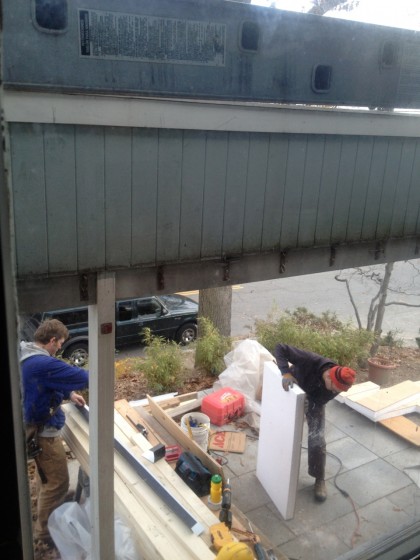
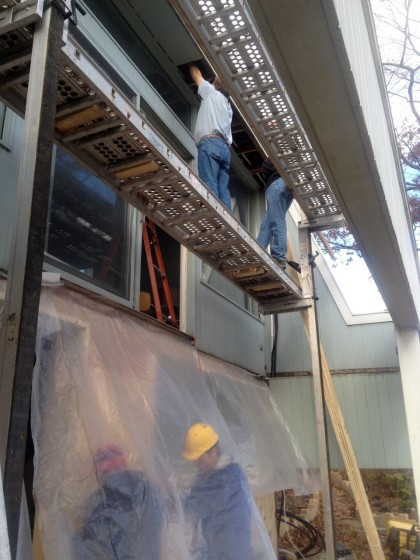
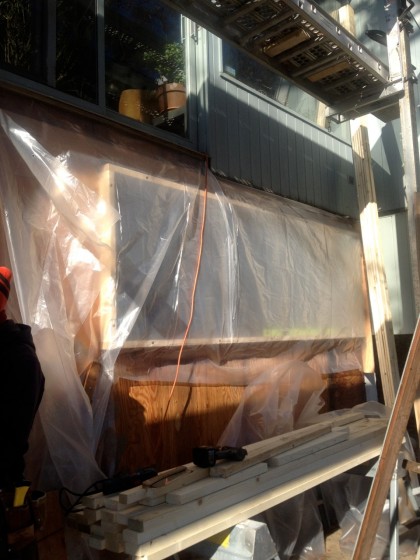
Rain and wind today. But will David and Joe let that stop them? Heck no. Those clever boys figured out a way to work in a bubble…

tarp from across street


So what are they doing under there?

tarp from underneath


Good question. They’re really too busy to tell me. The missing slider that leads out to our missing deck is probably a good clue. The living room is very cold, so if you drop by be sure to wear a coat.

monday update

November 21st, 2011

Ooh, more construction than deconstruction today! Tell us how it went, David…

————————————————————————————–

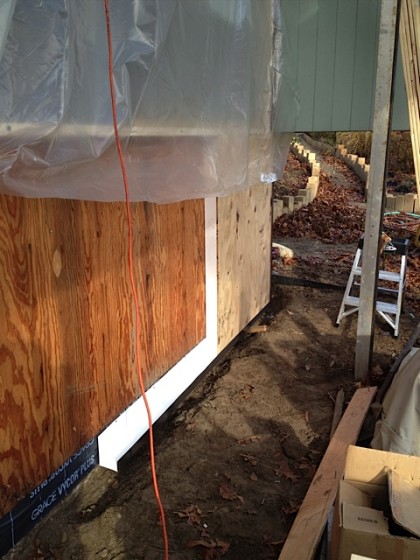
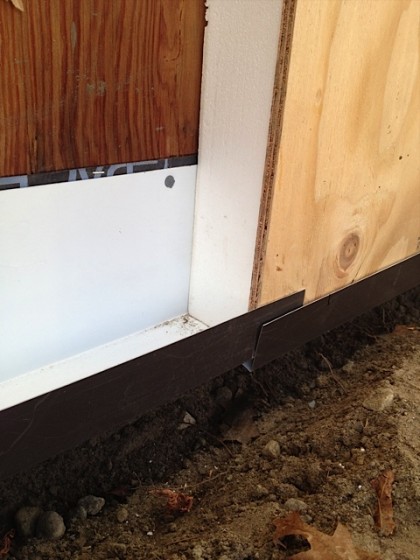
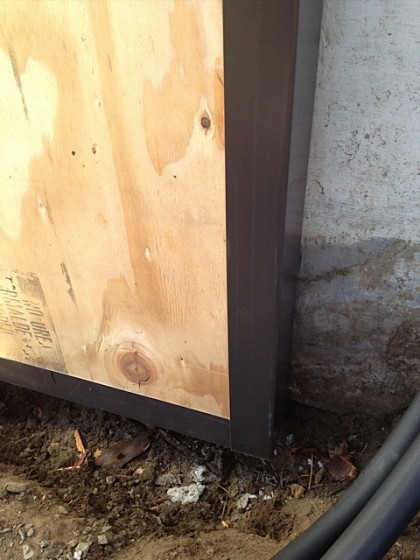
Today Joe and I started putting the end of the house back to together. First we caulked the uneven joint between the concrete slab and the old plywood sheathing and applied ice and water barrier (a special super-sticky sealing tape). Joe bent up some aluminum into a J-shape which we attached to the old sheathing with a bead of caulk and nails. Then we cut pieces to fit from the 3” foam/plywood panels…


monday update


… and slipped them down into the channel.

monday update 1


They got attached to the existing 2” x 4” framing with 5” screws. The aluminum protects the foam and plywood from attack by water, ants and termites…

monday update 2


We ran the aluminum up the sides of the new foam/plywood sheathing at each end of the wall…

monday update 3


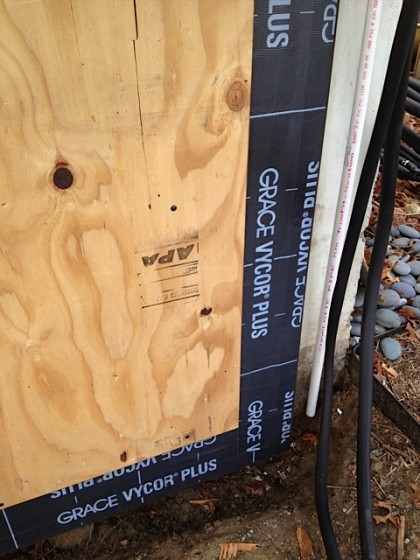
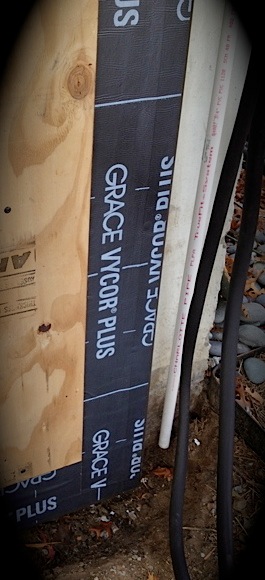
Then we taped the aluminum to the new sheathing with more ice and water barrier…

monday update 4


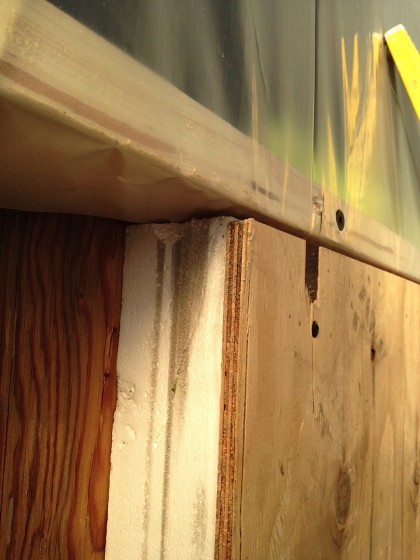
Here you can see why we added 2” x 4” frames around the window and door openings…

monday update 5


… we had to bring them out to the new face of the house, even with the new 3” foam/plywood sheathing!

Once the whole two-story wall has the foam/plywood layer applied, we’ll cover it with a vapor barrier. Then a layer of special breathable mesh goes on which allows air to dry the back of the siding and then the siding can go on. Whew.

Those two black hoses you see trailing down the wall…

monday update 6


Those and the white PVC pipe are part of the new HVAC system which also went in today. More on that later. Man it was hectic upstairs and down…

monday update 7


In a good way.


fish goo and molasses

November 20th, 2011

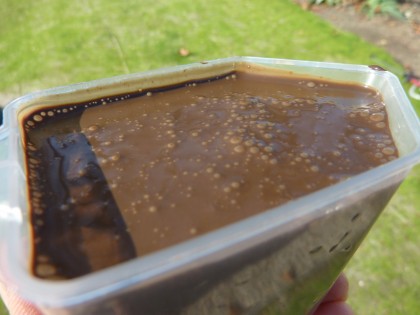
What do you suppose that smells like, fish goo and molasses? It doesn’t smell great, I can assure you of that. However, your lawn and your soil love it. So today, I opened up this container (*engage gag reflex*)…

fish goo container


Initially I was going to mix up my own compost tea to give the baby lawn a much-needed end-of-season feeding. Don’t worry, URI horticulturists tell me it’s okay to feed the lawn until around Thanksgiving. (Do you think I do anything without researching it to death first?)

But in the interest of getting it done at the last minute, I hunted down this Aggrand Natural Based Fertilizer. Already made. Cost just $8.95 for a 32 oz bottle (covers 5000 sq ft). 100% natural! Between the koi pond and the kid, I’m not about to add chemicals.

Yum…

fish goo in a cup


The best news: the recipe is almost exactly what I’d use to make my own compost tea. So what’s in it? Hydrolized fish solubles (menhaden salt water fish, to be exact), kelp, bloodmeal, sulfate of potash — oh, and molasses to help create a literal microbe orgy in your soil. Apparently this will lead to better soil structure, which leads to deeper, denser roots and healthier grass.

There’s nothing much to it. Measure it out. Add water. Spray…

fish goo in the sprayer


And then, good gawd, smell the stank. It’s the stank of green.

————————————————————————————-

Handy bookmarks:

– Harvard’s landscaping is now organic, yours can be, too. Build your own tea brewer to feed your lawn at home.

– And create your own compost tea for your lawn or trees.

– Need a visual? How about a video.

Yes, I’ve posted these before. These links still rock.


friday update

November 18th, 2011
So what’s the word on this chilly, windy day, David?
———————————————————————————–
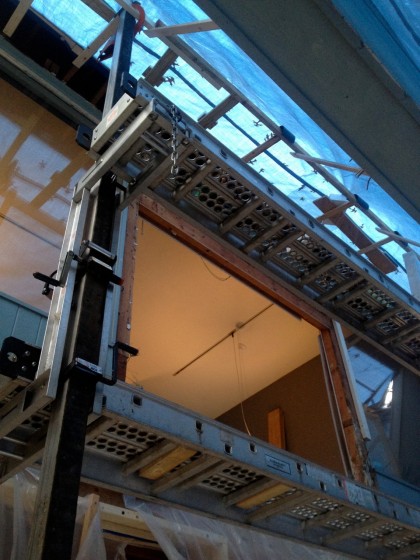
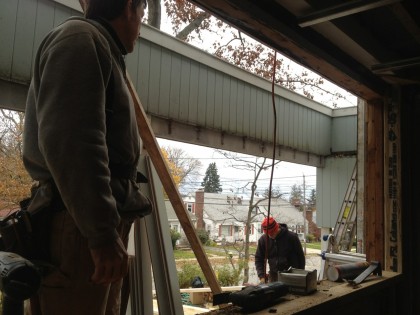
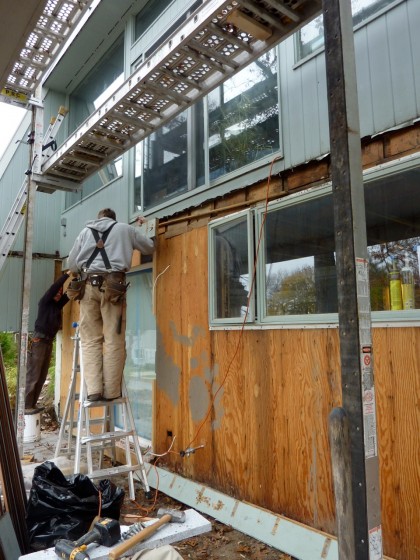
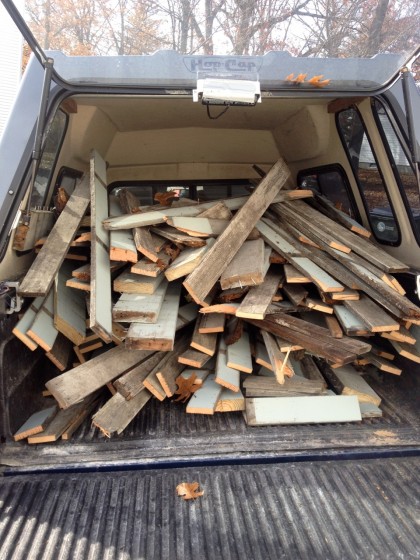
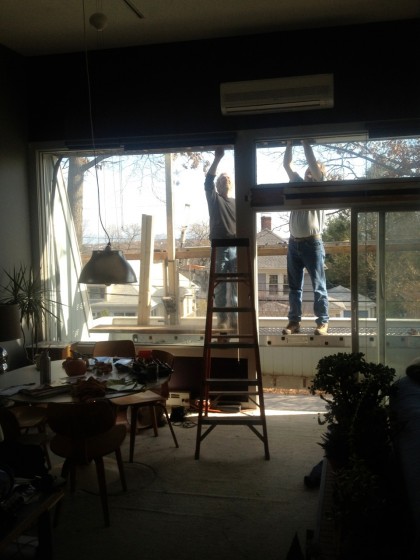
Yesterday Joe and I pulled off the vertical beveled tongue and groove siding. Then we pulled off the ledger board that held up the deck…
friday update 1
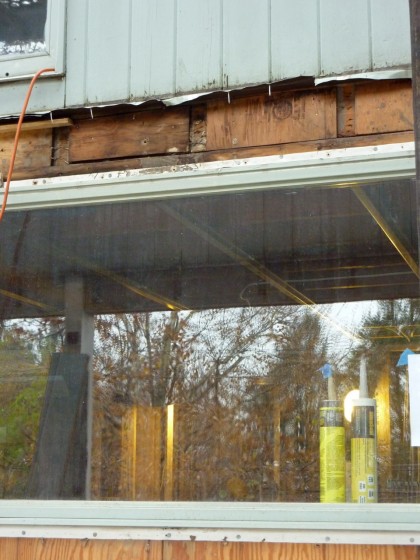
Behind was evidence of the old deck system that was replaced in the early ’80s. The house wasn’t very well sealed, which explains the dark spots on the wood there — that’s the beginnings of rot. Plus, the tar paper was not continuous and the detail around the big window was odd….
friday bad window detail
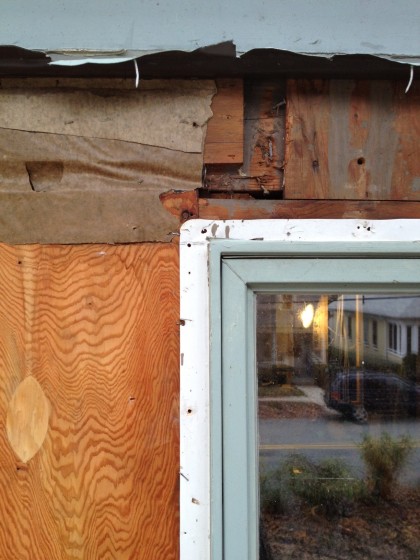
We pulled the window out…
friday update 2
… and then installed the new window opening on the outside of the old sheathing.
friday update 3
friday update 4
Next up? Insulating. Then the same procedure on the BIG windows and the slider in the living room. Oy vey.
what are the boys up to today?

November 17th, 2011

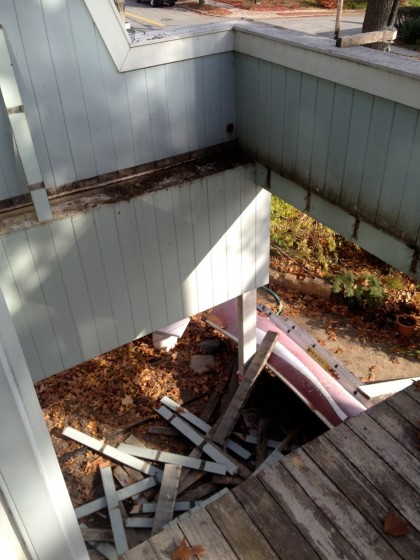
Started on Tuesday. Two days later, David and Joe are busy out there again. Our redwood siding is coming off. Take a look…

deck project on thursday


More later.

undecking EOD

November 15th, 2011

Where do rotting wooden deck boards go when they die?

deck headed to the dump


The dump, duh. Unfortunately, not much salvageable here.

undecking

November 15th, 2011

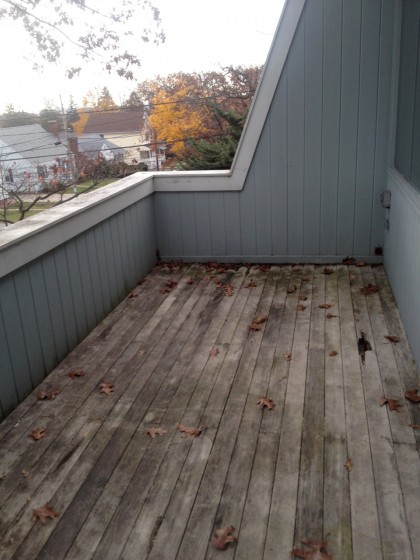
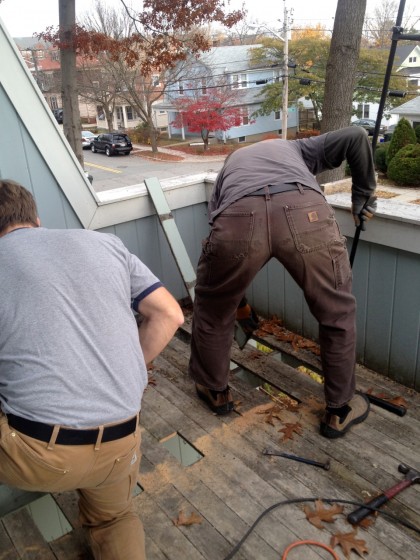
I mentioned ages ago, waaaaaaaaaaay back, that the floorboards of our deck are rotting away…

deck | before shot


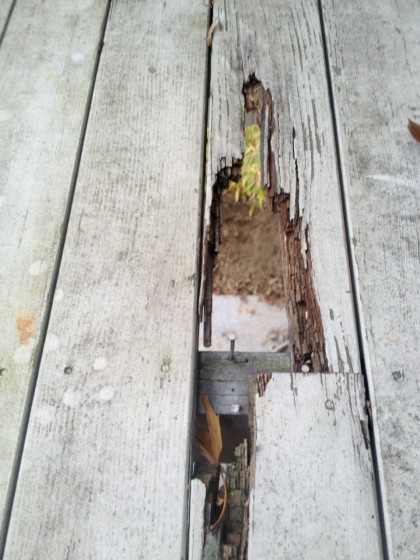
Is that a hole on the right there? Why, yes, it is…

deck | the hole


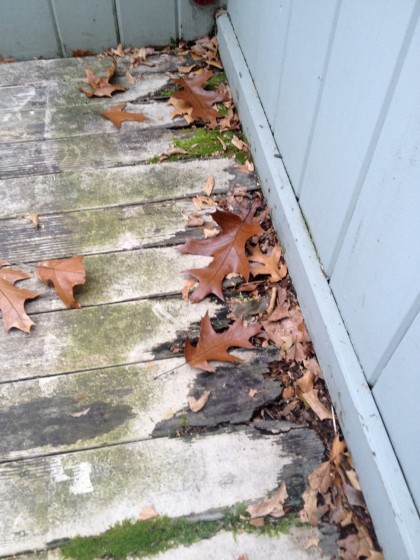
Other spots are getting pretty squishy…

deck | rot


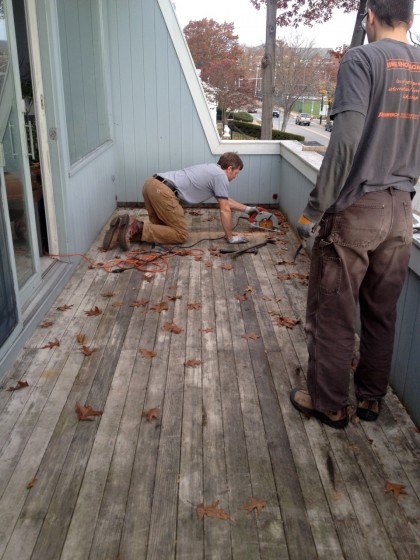
So this morning, Joe and David are deconstructing the deck…

deck | sawing


deck | pulling up the boards


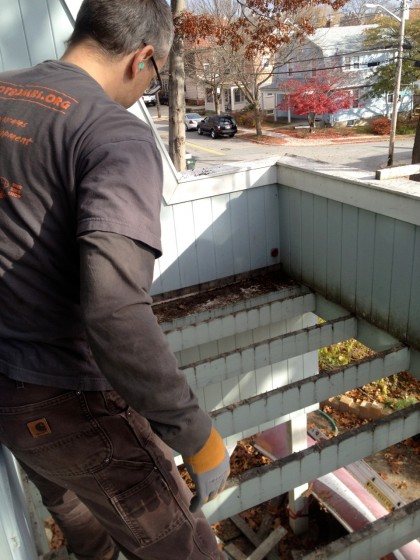
deck | see-through!


deck | bye bye old boards


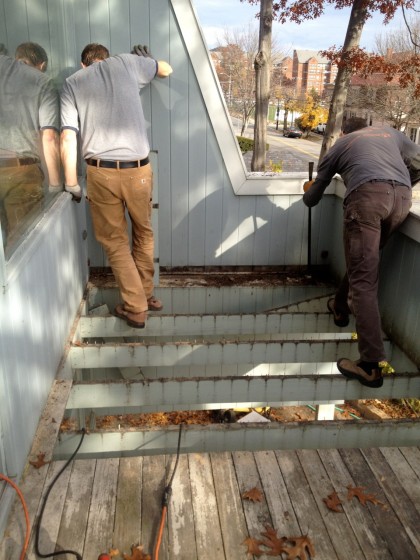
You may be asking yourself, hey, isn’t this…

deck | bottomless


… just one more distraction from all that work that needs to happen downstairs?

The answer is actually no. Windows for whole front of the house — upstairs and down — are coming soon, which means the siding will have to come off and the walls get insulated. The deck is in the way. So new deck gets us new windows!

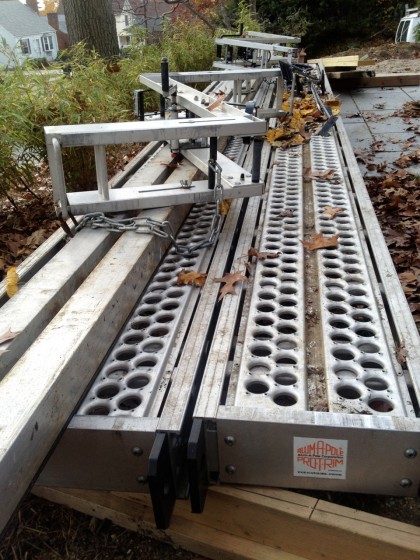
In the meantime, the staging awaits…

deck | staging


can’t avoid it any longer

November 13th, 2011

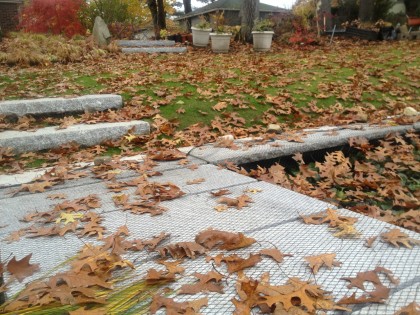
The leaves are suddenly departing the trees…

leaves are finally fallish


That’s a net over the koi pond to keep out the fallen. Now where is that grass I planted? I swear it was here just a moment ago.