Posts Tagged ‘steel’

baby steps

Tuesday, July 6th, 2010

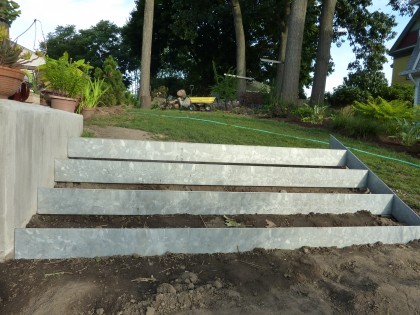
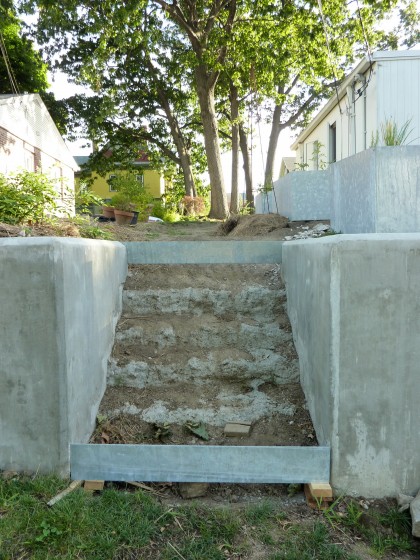
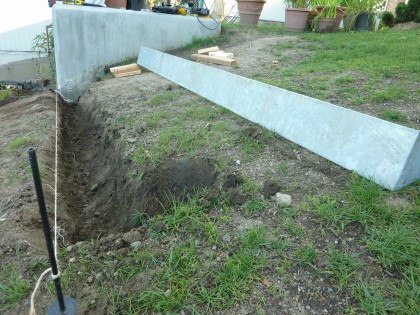
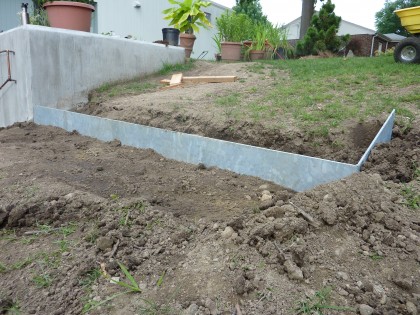
A very hot 4th of July weekend but David managed to make a little progress on our new steel steps out front and in back. Four of the six risers are now in by the back concrete retaining wall…

stair risers by back retaining wall

Still waiting for Rhode Island Welding and the hot dip galvanizer to remake the two that were too short.

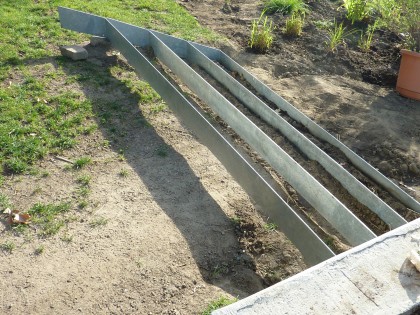
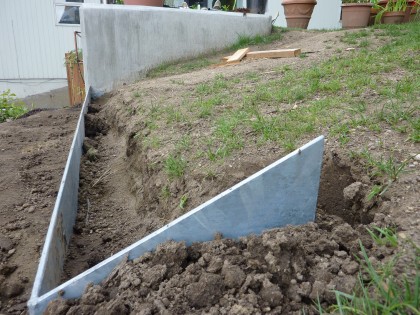
As you can see from behind…

stair risers from behind

… we’ll have to do some regrading on that hillside so the stairs won’t be hanging there in space, a la Stairway to Heaven. Once the last two risers are in, we’ll take care of that. And order the pea gravel to fill the steps and the paths. So close!

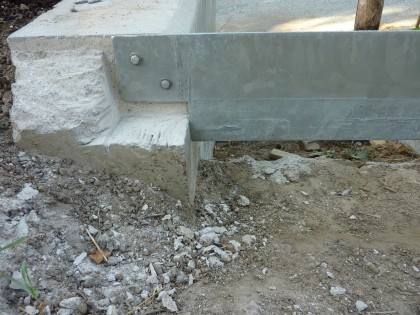
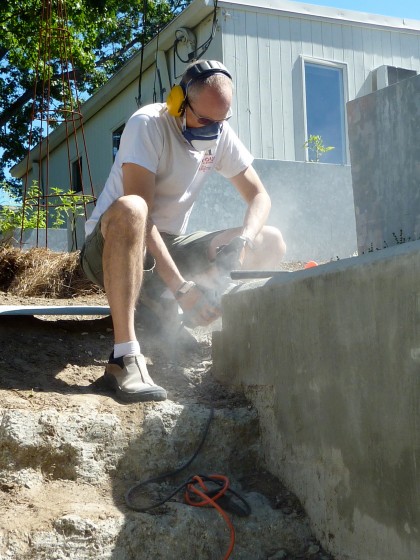
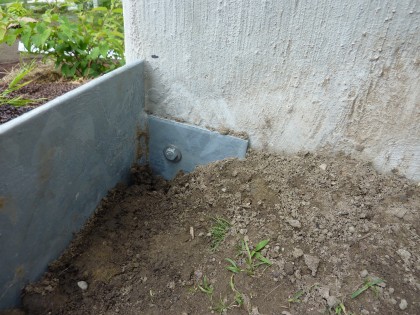
Meanwhile, out front by the veggie garden there was much chipping away of concrete in order to make the wonky ends of the walls line up so that the top riser could be squared up and bolted in…

a peek at those veg garden stair riser bolts

Risers are now in top and bottom on the stairs of death…

stair progress in the veggie garden

Many more left for David to tackle. Now where did I put my whip? Hmm…

stair fixie update

Thursday, July 1st, 2010

In progress! Those concrete stairs of death that lead up to the veggie garden are finally getting their makeover. Steel risers added soon…

david on the stair fixie

much mo’ betta

Wednesday, June 30th, 2010

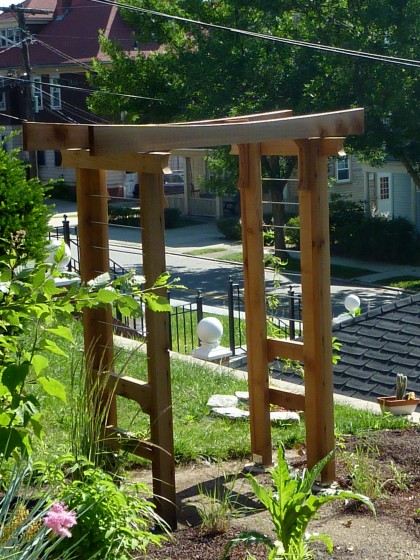
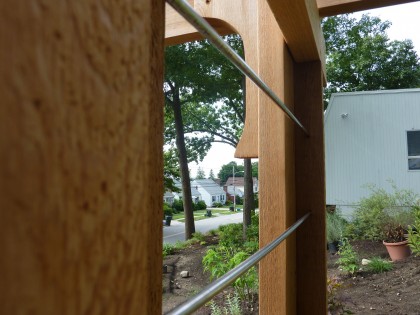
Sunrise on the cedar arbor with its new stainless steel rods. Was definitely the right decision. Just needs the vines to get growing…

love the new arbor now

What it used to look like.

modding the Asian arbor

Tuesday, June 29th, 2010

About that arbor I ordered…

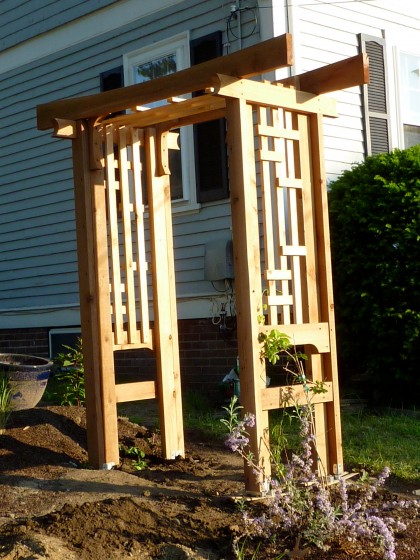
arbor just after it was installed, avec trellisy bits

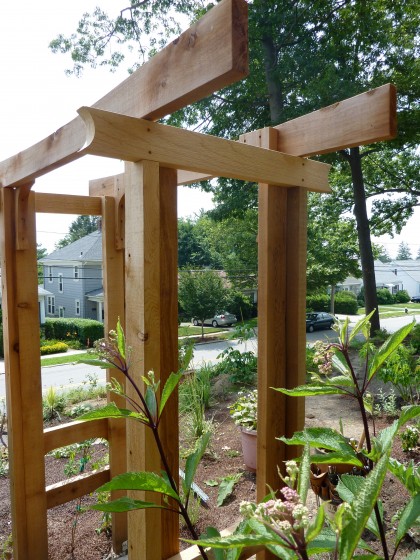
Yup, that one. Love the Asian influence. Hate the unnecessary busy-ness that detracts from the simplicity of the form. I blame the traditional trellis bits up the sides and across the top. Not a big deal — it can be simplified. First, you pull those trellisy bits off. You are so outta here…

trellisy bits are so outta here

See, looks better already!

a clean slate

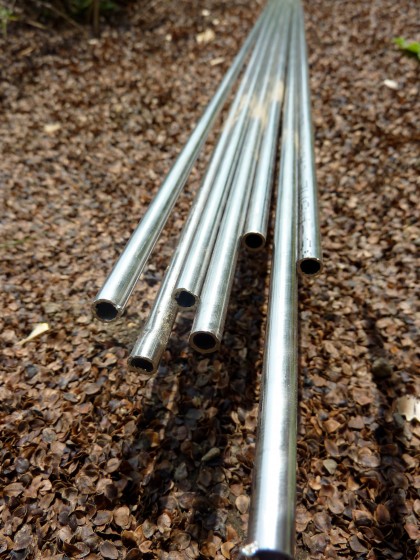
Then you take the .25″ OD (outside diameter) x .028″ wall T-304/304L stainless steel tubing you ordered from onlinemetals.com to fit where the ugly wood trellis was…

steel rods

Why steel rods? Strong. Minimal. Modern. They tie in with the steel going on elsewhere in the landscape now. And steel and cedar look great together, duh.

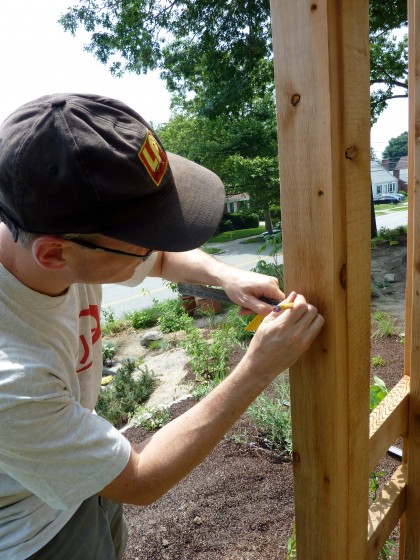
You measure and mark equal distances for the tubing, then drill a hole wide enough to insert it…

measure twice!

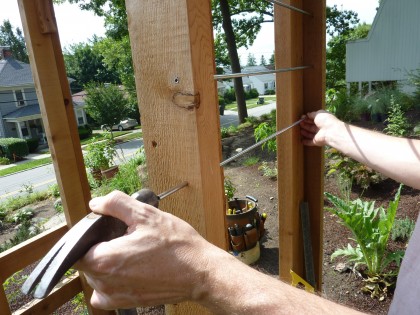
Then you hammer the tube into the hole. The tubing will cut itself into the cedar in the opposite post (where you marked it).

apply hammer liberally

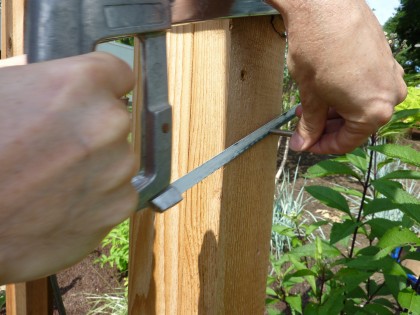
Saw off the excess rod…

saw off the excess steel rod

You countersink the rods so they’ll sit just below the surface of the cedar rather than flush, leaving you room to wood putty the holes for a cleaner look…

countersink the rods

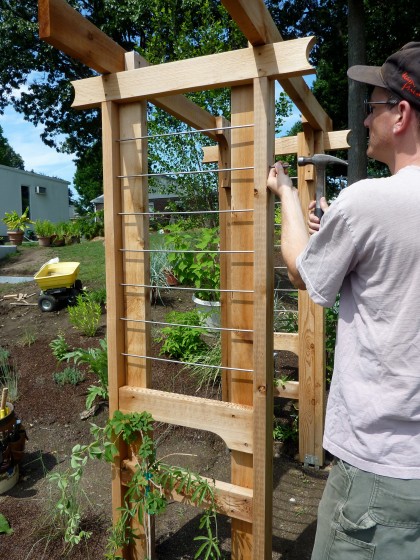
And the next thing you know, your arbor looks much, much nicer…

all done except the top!

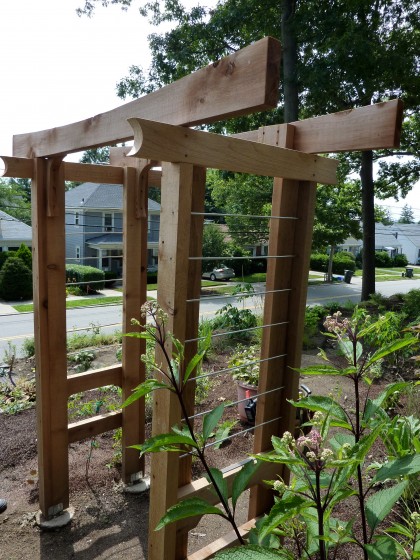
The simple steel bars fade into the background. With the offending wooden trellis mess gone, the focus is on the architecture of the uprights and the upswept Japanese torii pieces across the top of the arbor. Essentially, a torii symbolizes that you’re stepping into an inner sanctuary or sacred place. Welcome to our garden, neighbor!

Steel bars still need to get installed across the top, but I really love how it’s looking…

steel rod closeup

Thanks, David! You rawk.

one step at a time

Monday, June 28th, 2010

Retaining wall, check. Hot dip galvanized steel risers for the stairs that go at the end of the retaining wall, check. Time to put them in, um…  Actually, after a fair amount of digging and cursing at the rocks, David did manage to get the first riser in.

first riser dug for stairs

first riser in ground

bolted to the wall

visions of things to come

Unfortunately, the risers are a little wonky along the length — which makes them practically impossible to put in straight without a fight. So the remainder went back to Rhode Island Welding to be put through their heavy-duty roller and unwonkified.

Oh, and then it turns out that they made two of the risers 2′ too short! So now two new ones have to be made and then sent to the galvinizer. Another three weeks. Oy.

the roots of a veggie garden

Thursday, June 24th, 2010

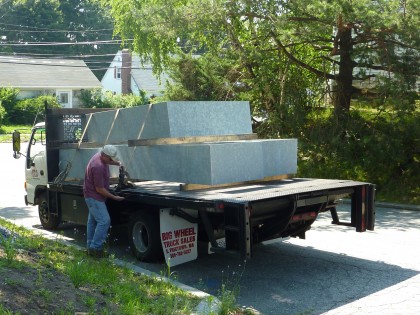
Progress! Our hot dip galvanized steel planter boxes and stair risers were delivered by Rhode Island Welding just a few days ago and our buddies at Savage Trucking helped us set them in place. Here’s all the heavy metal action you missed out on.

Rhode Island Welding drove up with our load of steel…

the boxes arrive

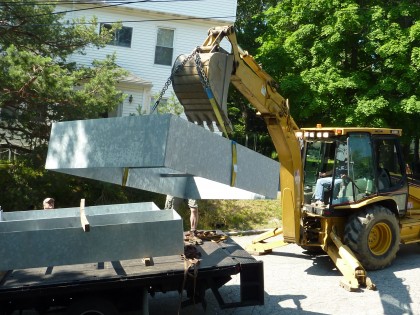
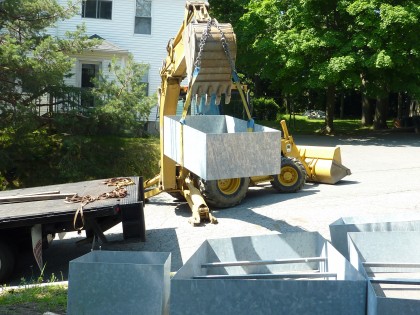
The Savages unloaded everything with their big digger…

boxes come off the truck

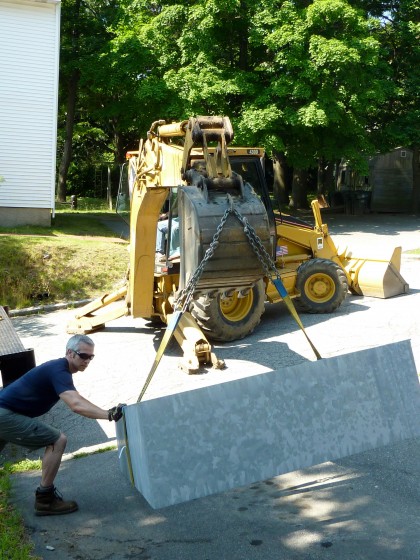
Rich helped maneuver the boxes into the driveway…

gratuitous beefcake shot of rich

It required a little layout to make sure everything pieced together correctly. Figuring out which end was “up” was a little challenging…

laying them out in the driveway

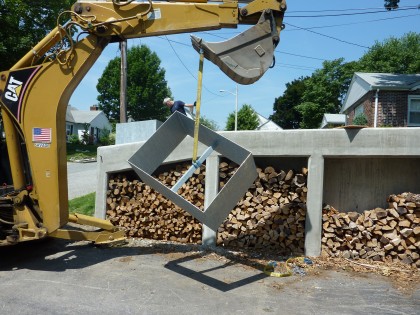
Then the boxes were hoisted up to the top of the retaining wall to their new home…

hoisting them up

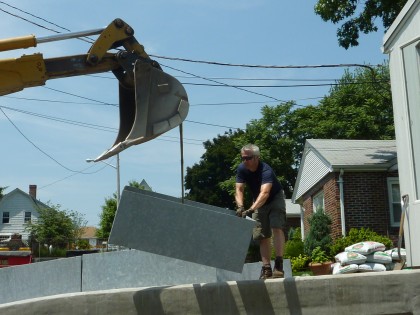
Each box was constructed to fit the angles of our crazy slope, so they had to be fitted together just right — like the pieces of a puzzle.

setting them in place

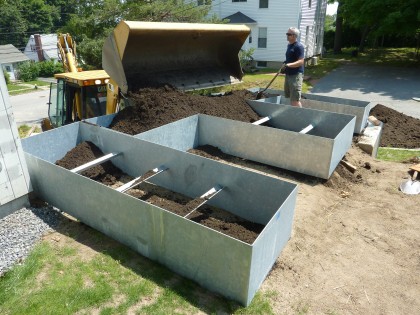
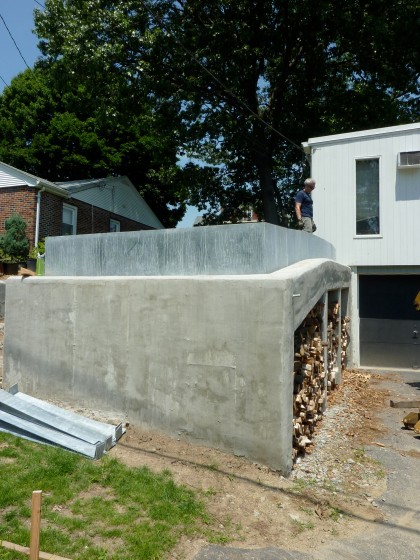
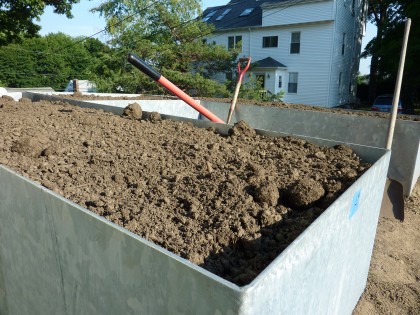
Once everything was in place, Smithfield Peat delivered 7 yards of planting soil — 60% compost, 40% screened loam, per my request. Since the backhoe was still there, we were able to avoid lugging the soil up the slope shovel by shovel. You rock, Savages!

adding soil

They’re a little bit taller than I’d pictured, but all in all the new steel boxes look awfully pretty…

boxes from across the stree

And they’ll probably last longer than I will.

ready for planting!

Ready for planting! Our tomatoes will be thrilled.

anticipation, galvanized

Thursday, June 17th, 2010

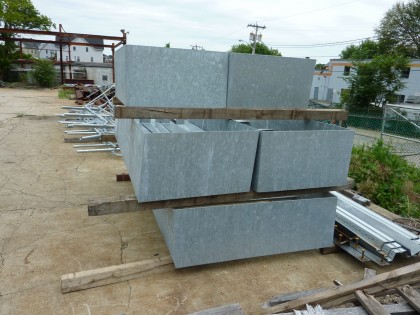
Our brand-new hot dip galvanized steel planter boxes waiting at Rhode Island Welding…

steel in waiting

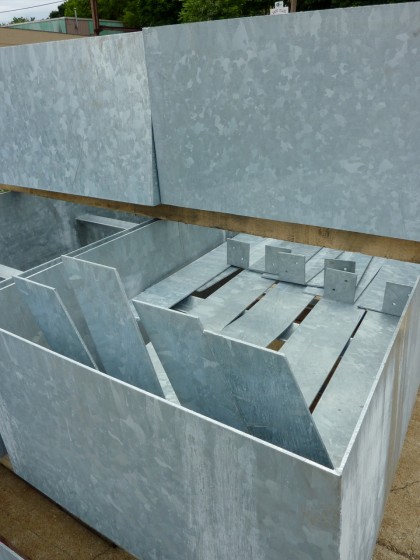
And the risers for the stairs…

hot dip galvanized steel risers

Men with big toys required to move these. Savages to the rescue! Man, I love those guys.

hardening our hardscape

Wednesday, June 16th, 2010

So we haven’t talked hardscape in a while. Let’s. Remember how I like to dream big? No? Maybe this will refresh your memory…
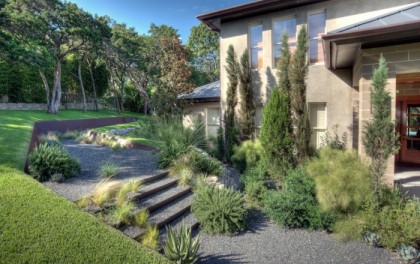
d-crain corten steps | d-crain.com

d-crain corten steps | d-crain.com

Not so long ago, I confessed an unrequited love for Corten steel in the garden, like those steps backfilled with gravel. Gawgeous. Minimal. Streamlined. Perfect in a modern landscape. [Shot from above and many more examples on D-Crain’s site. And Andrea Cochran’s site. And Lutsko Associates’ site.]

With visions of steel in my head, I did a little research and learned that Corten lasts a long time in a Mediterranean climate — like in sunny California. Less so in New England with its damp, cold winters. The patina from the corrosion is what makes it appealing. But the rust can bleed onto other surfaces, including our brand-new concrete retaining walls. And burying the steel in the ground speeds up corrosion. So is there a way to make steel last longer, considering the investment?

The answer is hot dip galvanized steel. Hot dip? what the heck is that, you say? The steel is “… immersed in a kettle or vat of molten zinc, resulting in a metallurgically bonded alloy coating that protects the steel from corrosion.”

Zinc. Hmm. The American Galvanizers Association claims it’s sustainable — the zinc itself is 100% recyclable and the hot dip process protects steel for 50 years. 50 years! That’s a long time! That pretty much convinced me hot dip galvanized over Corten. So this is where we’ll be using it:

For steel planter boxes in the veggie garden area at the top of the retaining wall that runs along our front driveway…
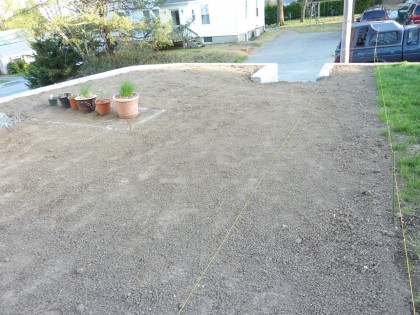
veggie garden area

The layout (click to biggify)…

raised beds layout and dimensions

For risers on the steps up to the veggie garden that currently look like this…
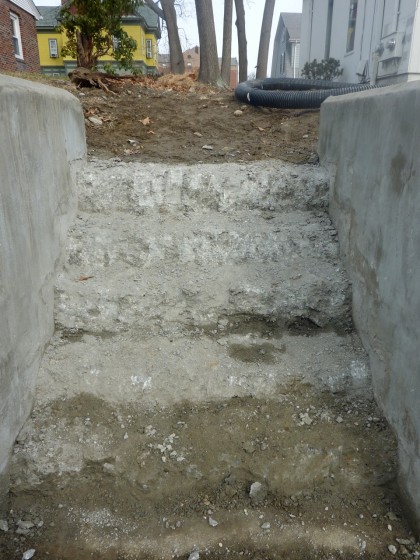
concrete stair disaster

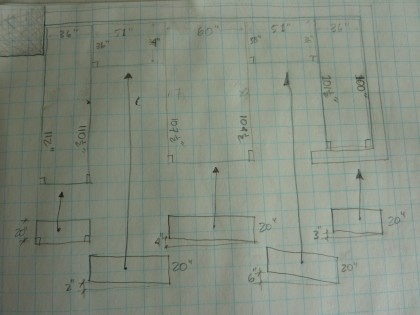
Ugh. The concrete crew just could not get them right. We talked about repouring them ourselves. But then we decided the raised beds would be made of steel and it just seemed easier to make the risers out of the same material and backfill with gravel. So that’s the plan…
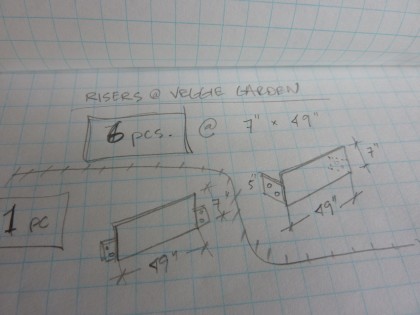
dimensions for steel risers for the veggie garden stairs

Which is perfect, because out back we want a full set of steel stairs at the end of the other retaining wall. Remember when I drew that?…
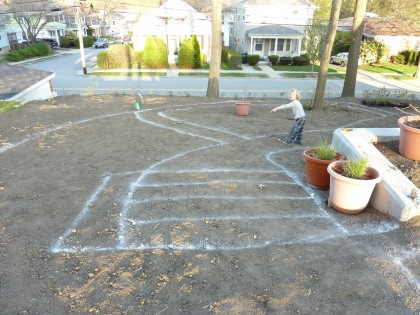
layout for stairs next to wall out back

Now imagine the chalklines in steel and backfilled with gravel. Looks nice, doesn’t it?

So the drawings went over to Rhode Island Welding a few weeks ago. They constructed the boxes and the stairs and then sent them off to a galvanizer in Massachusetts.

Expect to see the result — soon!