Posts Tagged ‘koi pond’

rats

Wednesday, April 27th, 2011

And double rats. The pond liner dude showed up two days in a row only to claim he can’t put in the liner. Now he says Friday. Or maybe Saturday.

He also says he’s not going to hold up our project. Yup. Not holding it up at all. We’re just putting the entire yard on hold until he can make it happen. And so we return to pond inaction. *sigh*

pond action

Monday, April 25th, 2011

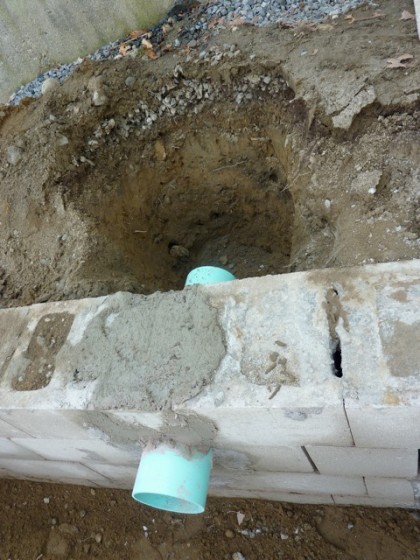
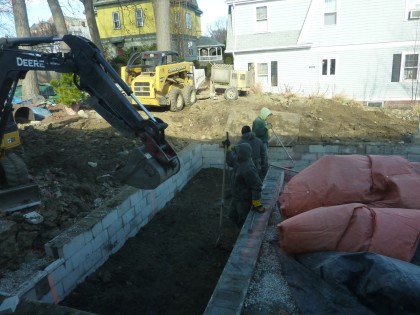
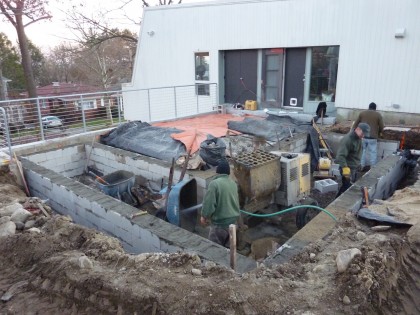
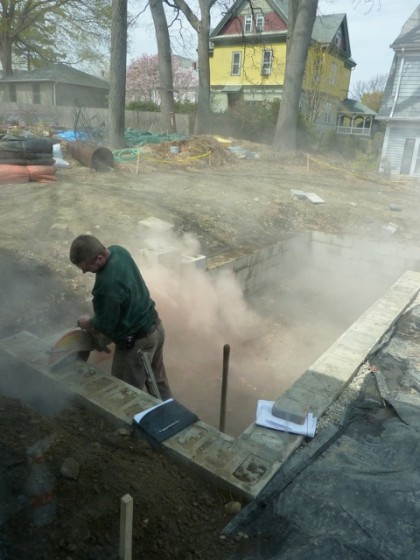
Yep, it’s happening. The pond is finally coming together. Yay! On Friday, the thermal blankets came off and the intake pipe for the skimmer went in. First, the cinder block wall had to be cut…

cutting the wall to make a notch for the intake

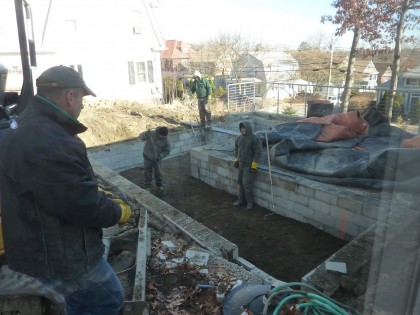
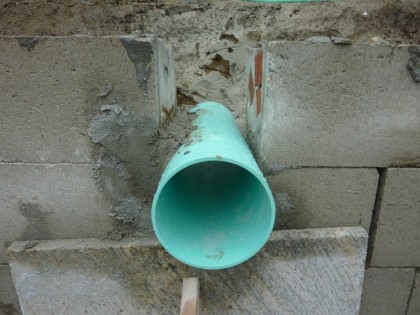
Then the pipe got cemented in and left to harden up over the weekend…

the intake to the skimmer gets cemented into place

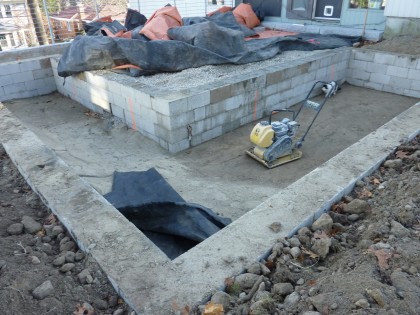
Today, more cement went in. This baby’s not going anywhere…

more cement

Eventually that pipe will connect to the pond filter and pump. More on that when I have something to show you.

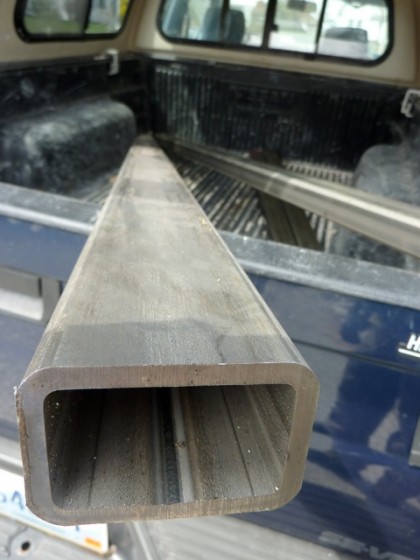
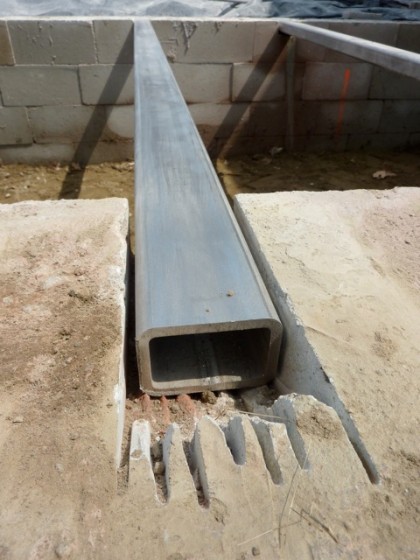
With specifications from the engineer, RI Welding was able to make the steel supports that will hold the two bridges across the pond. In case you’re wondering, yes, that’s a 1/4″ wall of Type 304 stainless steel (whatever that means)…

the steel arrives

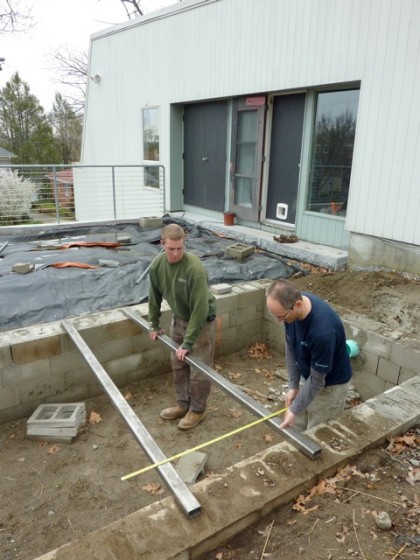
This afternoon we decided on the placement of the bridges…

the steel bridge supports get placed

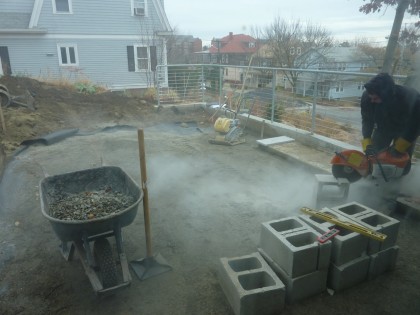
After much noise and cement dust, the walls were notched to hold the steel in place…

the steel supports get their own special notch

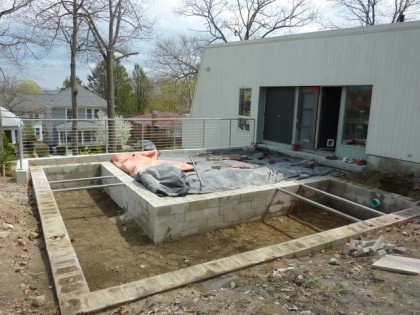
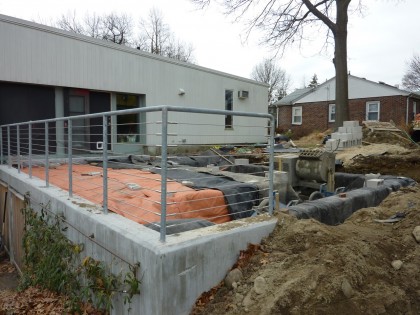
Tomorrow, the flexible pond liner will go down with the steel supports right on top of it. With the steel in, you have a pretty good idea of what it’s going to look like when it’s finished…

a hint of pond to come

I wonder if we’ll have a pond and patio ready for celebrating Cinco de Mayo? Probably too much to hope for. But I’ll keep some limes handy anyway. You know, just in case.

progress you’ll have to imagine

Thursday, March 31st, 2011

Sorry, still no ability to post photos. Argh. Hoping this is resolved soon. In any case, here’s what you haven’t really been missing…

  • No decision on windows yet. And man oh man, that really needs to happen soon.
  • The first orders for bath fixtures for downstairs have been placed. This is a good thing. Means we can soon schedule the plumber to do the rough-ins.
  • Bar sink and faucet ordered. Just need to settle on a mini fridge so we have proper measurements.
  • We were pondering tankless water heaters because they take up so little space. But the expense and the not-ready-for-primetimeness of tankless means we’ve decided to go with a heat pump/hybrid water heater set-up. More on specifics another time.
  • The electrician is lined up to get the downstairs moving. Yay!
  • Need to order the cork for the downstairs floor and ceiling soon. Soundproofing materials for the ceiling decided on.
  • We’ve gone round and round on the wood we’d like to use on all the built-ins in order to simplify finishes and create continuity throughout the house. And the winner: FSC walnut. Surprise! I thought it might be bamboo. First room to set the tone for the rest of the house: the downstairs bath. Would have preferred to start with the living area and work our way down but oh well.
  • Speaking of built-ins, we better decide which Murphy bed system to go with for our fabulous new guest accommodations downstairs — lots of time spent researching. More on that another time.
  • Trip to Ann Sacks coming up again soon so we can finalize a tile order. Two selections made. Guess I’ll have to show them to you later.
  • After countless phone calls, David finally located someone to help design the HVAC system and a house scientist (no, really) to help us with insulation and house sealing details. What does it mean exactly? Hopefully it means the downstairs walls can go back in soon. I’m sure David will do a post on this someday.
  • My floating steps across the koi pond: no go. Waah. Redesigned as plank bridges. The engineer has provided his calculations for the steel. Rhode Island Welding is down to do the project and the metal is ordered.
  • The remainder of the pond and the patio is… uh… slow to move forward. The liner, the pump, yadayada. All the details still a little hazy. The schedule, disappointingly non-existent, and here it is the beginning of April.
  • Made my first plant purchase of the year last week: three miscanthus giganteus via eBay. This means gardening season has begun!

Oh yeah, it’s snowing. Ha. Ha. April Fool’s on us.


how to walk on water?

Sunday, March 20th, 2011

It’s officially the first day of Spring! Which means it’s time to get the outdoor projects moving again. Tomorrow we’re meeting with Jim Egan of Land Design Associates for the first time since early December. Up for discussion: how to get across the koi pond.

Let me refresh your memory. This is where we left off with the pond in December, with walls in and the bottom tamped down…
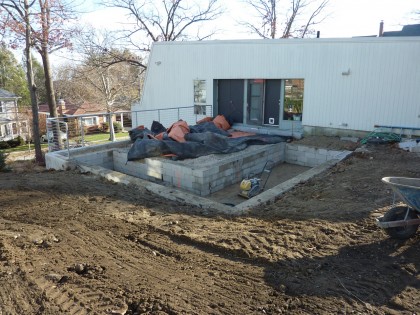
the pond as we left it

This is the original plan for the pond, with “floating” steps across the water on both sections of the L…
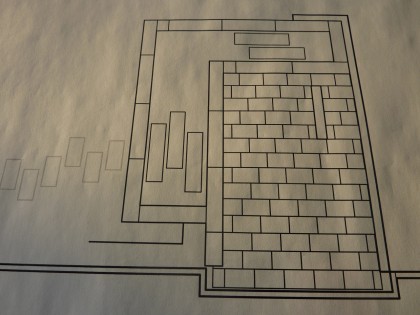
the original plan for the koi pond

They’d look something like this only only slightly staggered and in granite planks rather than concrete…
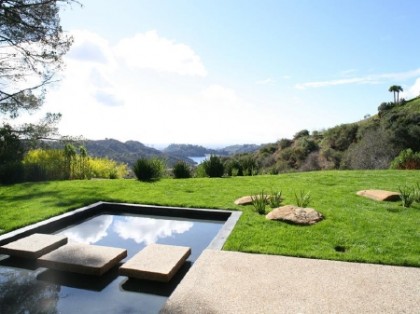
Singleton Residence, Richard Neutra | luxist.com

Singleton Residence, Richard Neutra | luxist.com

But how the heck do you make that a reality? The Neutra pond looks like it has a concrete bottom. In which case it likely has concrete piers underneath the stepping stones for support, like this…
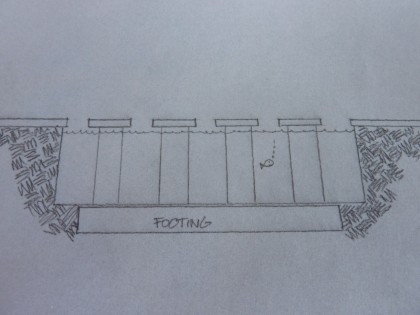
pond | steps on piers

Our pond will have a flexible EPDM liner, so piers won’t work. Intrusions into your liner = leaks.

So if we can’t support the stepping stones from below, we have to support them somehow across the width of the pond. You could attach them to a steel rail bridge, keeping in mind that you want the stones flush with the top of the wall…
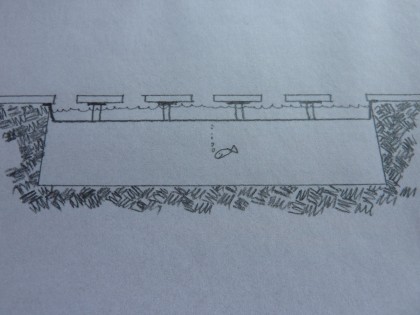
pond | steps on rails

But that makes it difficult to stagger the steps as Jim did in the original drawing. There’s also some question about how many rails we’d require to carry the load and what the maximum overhang of the rock could be based on its flexural strength.

Floating steps are my first choice. But if they turn out to be too complicated or too expensive to make, I now have a third approach I could live with. While flipping through the pages of this amazing tome

True Life | Steven Harris Architects

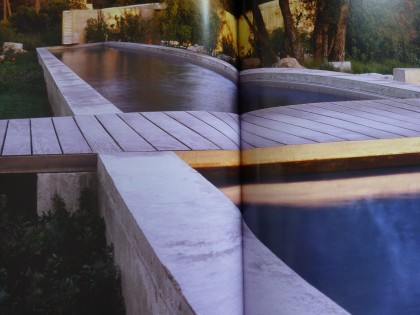
I spied this bridge…

pond: a wooden bridge

As you can see, the wood planks are fixed to steel rails that are inset into the concrete, which in our case would be the granite cap that will top off our cinder block walls. No floating steps but still pretty minimal.

Love that look but the bridge wouldn’t necessarily have to be flush with the top of the wall. It could also rest on top of the stone cap. I’d be okay with that. I guess we’ll see what the consensus is tomorrow.
snow day!

Monday, December 27th, 2010

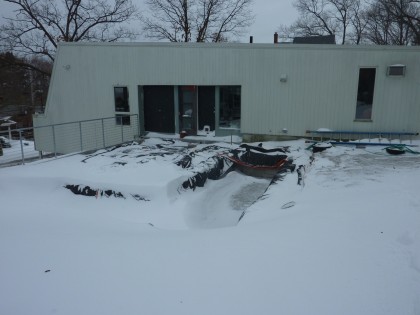
Hope you had an excellent holiday. It’s finally looking festive here. The first and likely last blizzard of the season arrived last night. The forecast said 21″ but we only got 12″. 50 mile an hour winds left us with bare spots and crazy 4′ drifts…

winter wonderland + construction zone = watch out!

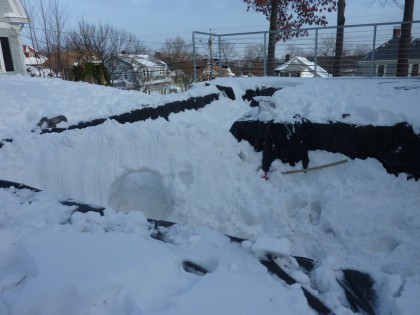
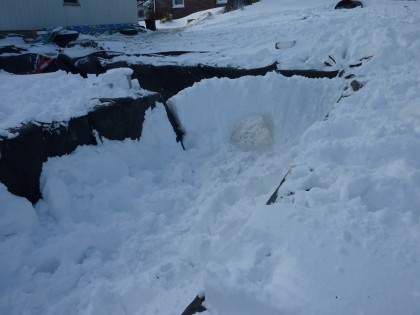
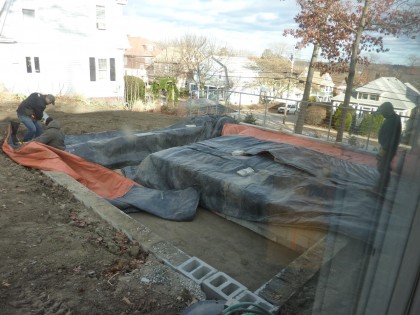
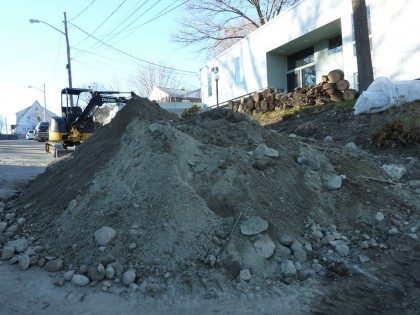
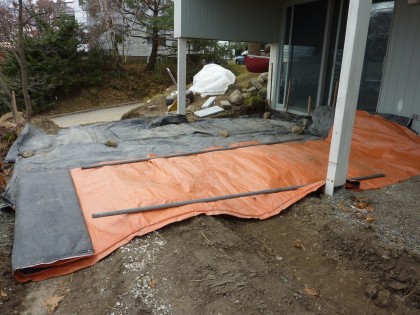
Oh, in case you were wondering: yes, a foot of snow on top of the slippery, polypropylene thermal blankets on our construction zone makes for hazardous footing. The good news is that even though the patios are on hold until spring, we found an excellent use for the pond in the meantime…

pond of snow

Snow tunnels!

pond of snow

Hope you’re out there having fun, too!

snowy wreath

patios: day 6

Monday, December 6th, 2010

brrrrrrrrrrrrrrrrrrrrrrrrrrr!!! 23 degrees this morning and it barely reached freezing today. Brisk wind didn’t make it any warmer, that’s for sure. Still, the Land Design Associates crew was here at 8 a.m. with their woolies on.

With temps this low, they couldn’t do anything involving concrete. Installing the flexible pond liner is a no go too as apparently it gets brittle below freezing. That made it a clean-up day instead.

Fill went in around the backside of the pond walls…

day 6 backfill

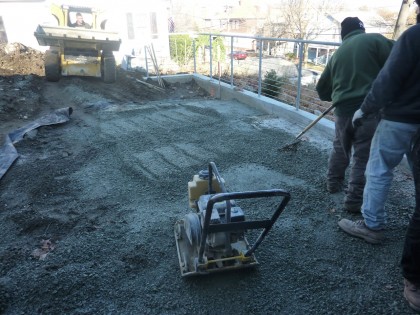
The floor of the pond was raised up some with base, raked to level, tamped down…

day 6 boys at work

day 6 eod

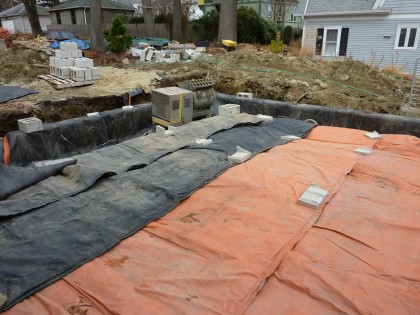
Piles of soil were leveled out and the yard was graded back to something manageable. Then the pond and patio area were covered in thermal blankets again to keep the ground pliable…

day 6 thermal blankets

The stone pavers can’t go onto the patio until the pond liner is in and the coping around the edge of the pond is installed. Soooooo… looks like we’ll have a wait for the temps to rise before much more can be done up top. There is, however, a chance the lower patio may go in tomorrow.
Shall we  consult the Magic Eight Ball to see what it has to say about that?

——————————

Day 5

Day 4

Day 3

Day 2

Day 1

patios: day 5

Sunday, December 5th, 2010

So our patio project is really hardening up. heh heh. See all that cement?
day 5 cement

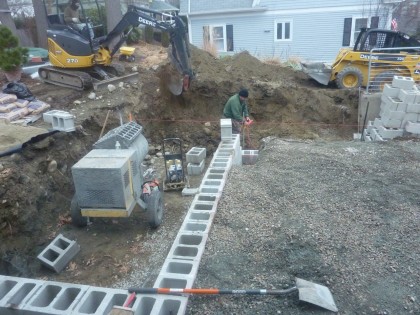
It’s now in our backyard. Day 5 was all about finishing the walls of the koi pond. That entailed a lot of cement…

day 5 cement day

And a lot of ensuring that lines were squared up and things were level…

day 5 getting the walls level

And a lot of yard guts being moved out of the way and into the street…

day 5 yard guts

What does that mean for the plants in the margins of the yard?

day 5 poor cardoons

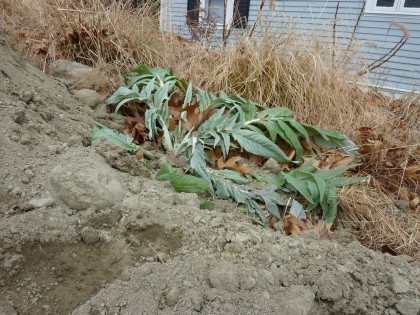
Let’s just say I’ll be digging out the cardoons and the euphorbias and yadayadayada.

It never made it out of the low 40s today. Brrrrrrrrr. But in spite of the cold those boys powered through the walls. Look at them go!

day 5 what a difference a day makes!

day 5 view from the corner

With the temps dropping down into the 20s at night, the crew decided to break out the thermal blankets on the newly poured walls and upper patio area…

day 5 thermal blankets

As well as the lower patio…

day 5 lower thermal blankets

That was a long Saturday’s worth of progress. Nothing going on here on Sunday. Except more hardening. And maybe I’ll get out there with a shovel to see if I can find my poor plants. Sorry plants!

————————

Day 4

Day 3

Day 2

Day 1

patios: day 4

Friday, December 3rd, 2010

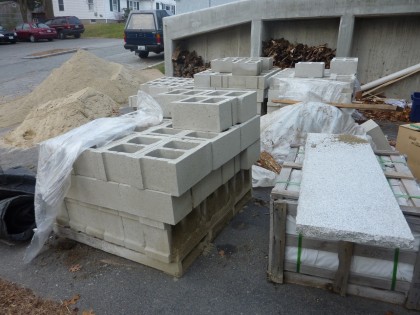
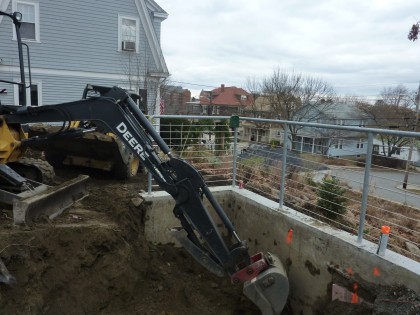
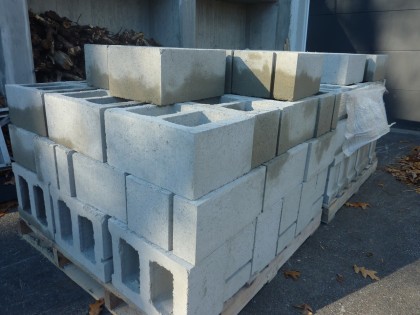
I swear we’re not building a pyramid. Really. Even though our full driveway says otherwise. No room for cars here. It’s full of sand. Cement block. Cement block. Cement block…

day 4 driveway full

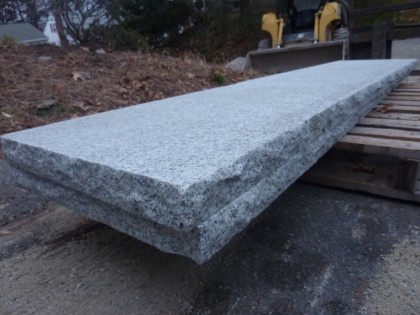
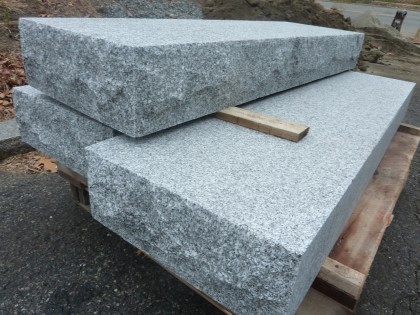
Oh, and the granite strips that will eventually create the border of the pond…

day 4 stone strips

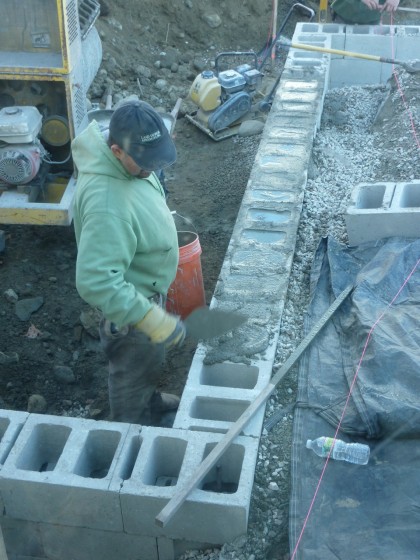
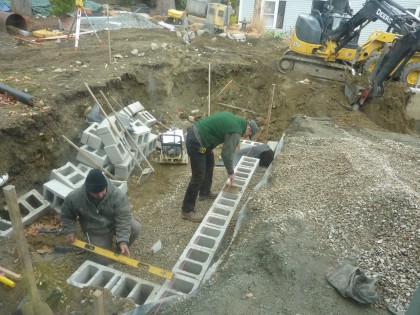
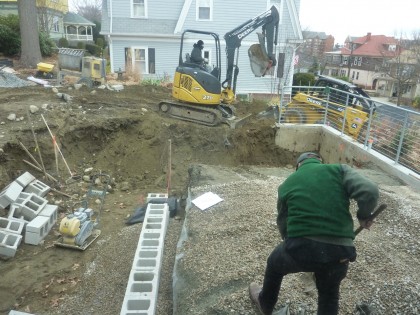
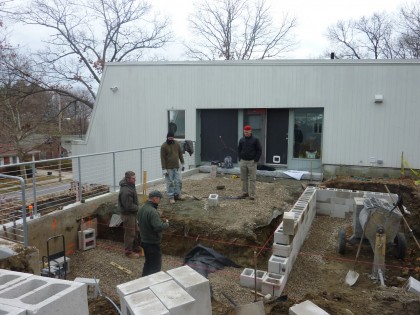
This morning the Land Design Associates boys started forming the walls of the pond. Those cement blocks were leveled and stacked and leveled and stacked, etc. Rebar pounded into place…

day 4 building walls

Remember how they’re out there designing The Island of Patio? Might help to look at the layout again. The pond wraps around two sides of the patio, with steps across the koi pond on both sides…

the winner!

So they started digging the top part of the L today…

day 4 digging the other side

Now you can really begin to understand why I’m calling this The Island of Patio…

day 4 one big L

Easier to see what it’s going to look like it you view it from the outside edge…

day 4 patio as island

Island! Cue the Hawaiian music. Easy to see why they’re going to need all those cement blocks, eh?

day 4 more walls

At the rate they’re whipping through this project, this thing might be done next week. omg, a project that might actually be done! Hard to imagine. It hurts my head. Ouch.

————————

Day 3

Day 2

Day 1

patios: day 3

Thursday, December 2nd, 2010

The Land Design Associates crew was hard at work making the magic happen out there today. A quick rundown…

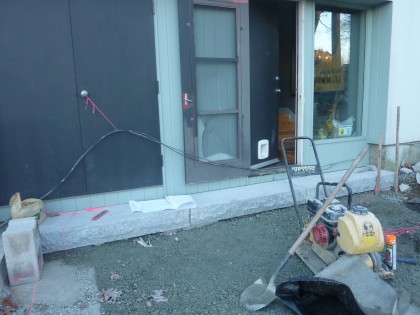
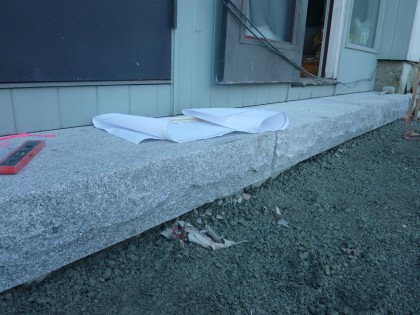
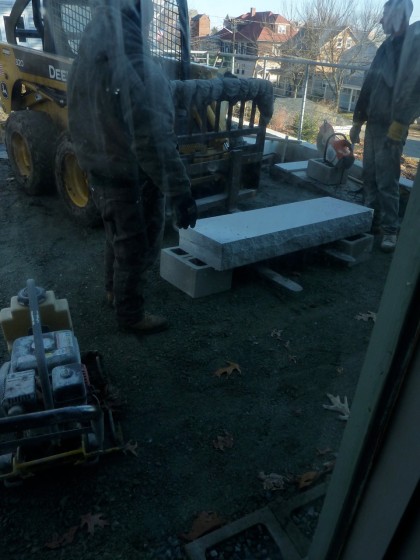
The 5′-long granite steps got hauled up the hill and readied for installation…

day 3 first step comes up the slope

Some trimming. Some pounding. And voila! We have a step…

day 3 steps goes in

18″ deep to match the width of the stone pavers that will soon go in. It’s gonna be a little crazy having an actual step instead of the tree stump we’ve been using…

day 3 closeup on steps

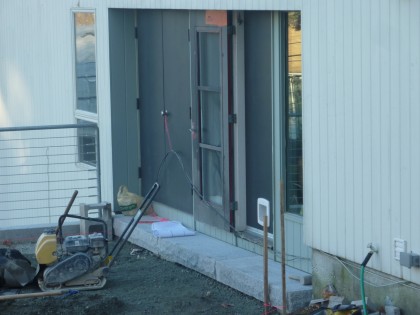
Minimal. I dig it. Can you picture it with our future wall of glass? Looks good, right?

day 3 steps from a distance

Further down the hill, the crew marked out the lower patio and prepped it for pavers…

day 3 lower patio prepped

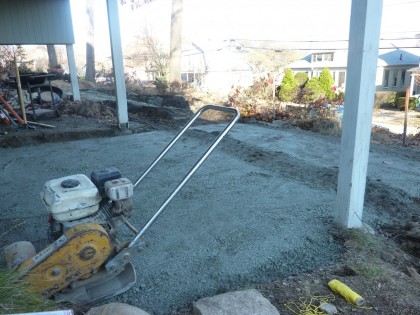
Back up top, the big patio had more base material added and tamped down…

day 3 more patio prep up top

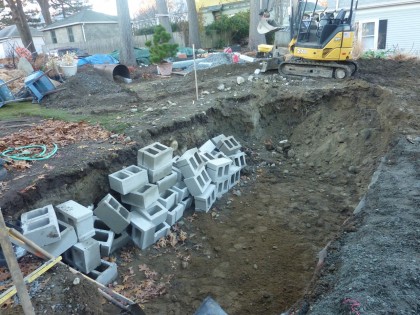
A massive load of concrete blocks arrived. These will eventually form the walls of the pond. Don’t worry, they’ll be hidden by the rubber pond liner…

day 3 concrete blocks

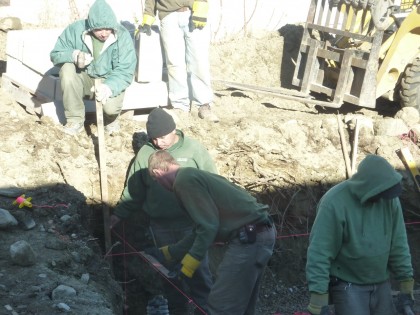
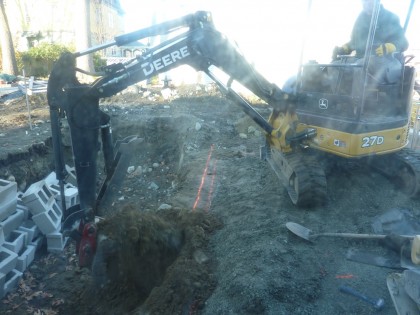
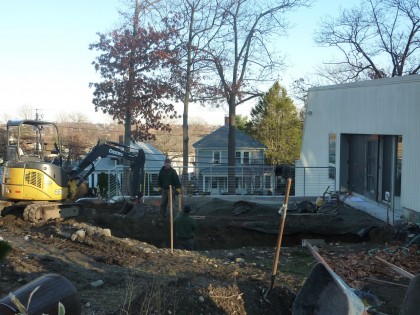
The blocks started making their way out back as the boys dug out the pond a little bit more…

day 3 soil removal

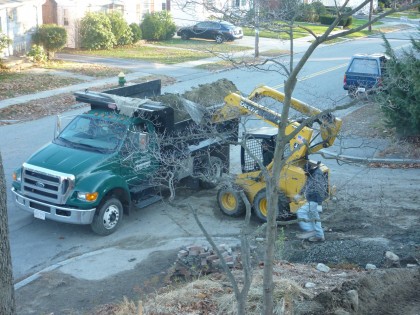
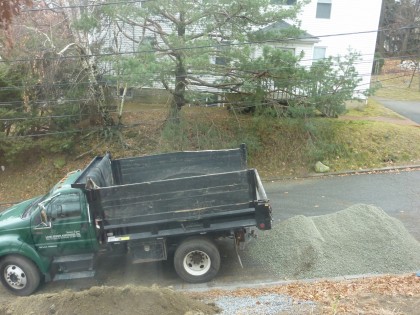
Which means truckloads of soil leaving our yard again…

day 3 haul it away

Can you believe the size of this thing?!

day 3 man that’s deep!

The finished pond will only be 2′ deep, so my luxurious giant pool is really just a pipedream…

day 3 giant pit

Giant pit, however — we got that. Yup.

————————

Day 2

Day 1

patios: day 2

Thursday, December 2nd, 2010

As I write this, the rain is blowing past the windows. Sideways. At about 50 mph. Luckily the Land Design Associates crew nailed everything to the ground. Including our cat — where is she? The boys got a lot done before the rain that arrived. Let’s see…

The 5′ long x 18″ wide x 7″ tall granite pieces arrived for the back step…

day 2 stone steps arrive

Cement blocks were trimmed to create a foundation for the granite steps…

day 2 cutting concrete blocks

Then they got set in place and filled with crushed stone…

day 2 step base

The pond got dug out a little bit more….

day 2 the trench

If you look closer, you can see where the rainwater collection tank’s overflow pipe got cut…

day 2 broken drainpipe

Oopsie. S’okay. We knew that might happen, seeing as its placement runs right below the pond area…

rain collection diagram

Luckily it’s an easy fix. Not a problem.

Meanwhile, more patio base material arrived…

day 2 more crushed stone

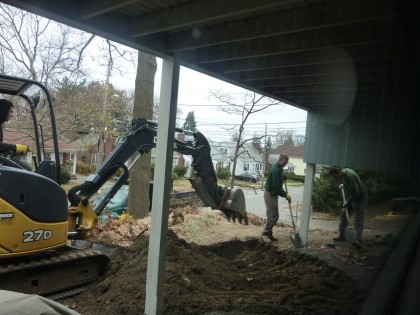
And the crew turned on the heavy machinery again to start excavating the lower patio…

day 2 lower patio

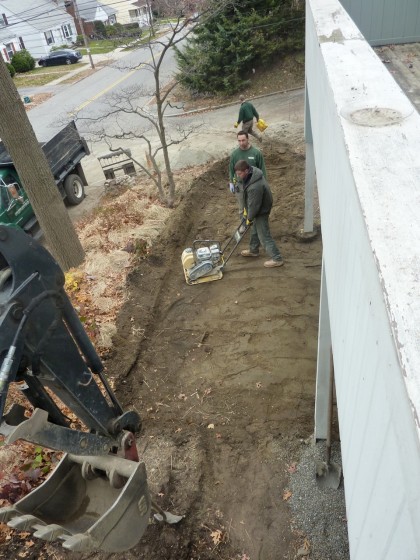
They got it level and tamped it all down right before the skies let loose…

day 2 tamping lower patio

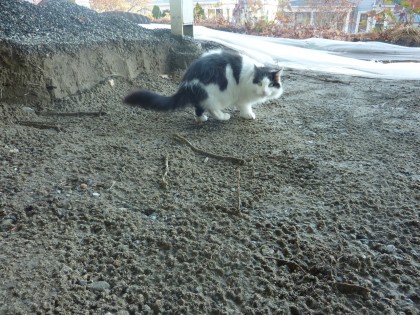
And then Mother Nature told everyone to go home. Except us. We were already there.

day 2 Bambino, there you are!

Found the cat.

————————

Day 1