Posts Tagged ‘construction’

how to walk on water?

Sunday, March 20th, 2011

It’s officially the first day of Spring! Which means it’s time to get the outdoor projects moving again. Tomorrow we’re meeting with Jim Egan of Land Design Associates for the first time since early December. Up for discussion: how to get across the koi pond.

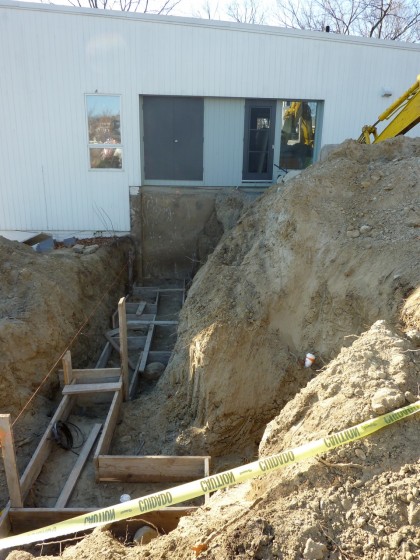
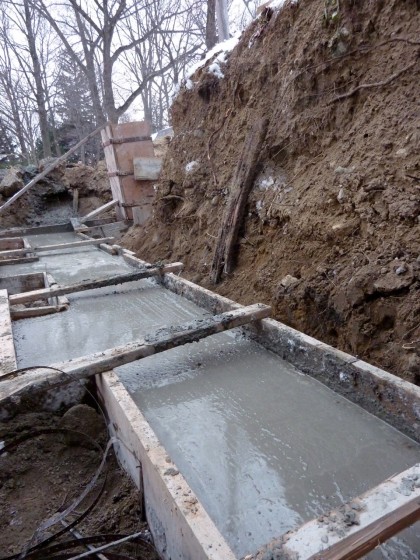
Let me refresh your memory. This is where we left off with the pond in December, with walls in and the bottom tamped down…

the pond as we left it

This is the original plan for the pond, with “floating” steps across the water on both sections of the L…

the original plan for the koi pond

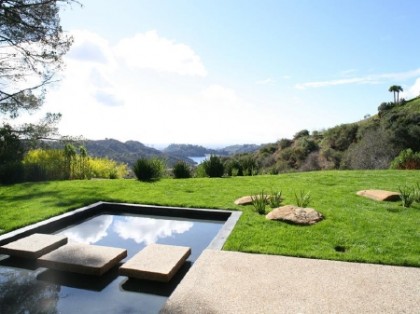
They’d look something like this only only slightly staggered and in granite planks rather than concrete…

Singleton Residence, Richard Neutra | luxist.com

Singleton Residence, Richard Neutra | luxist.com

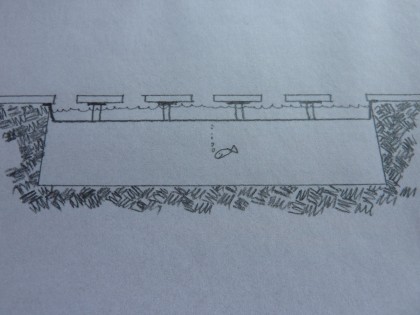
But how the heck do you make that a reality? The Neutra pond looks like it has a concrete bottom. In which case it likely has concrete piers underneath the stepping stones for support, like this…

pond | steps on piers

Our pond will have a flexible EPDM liner, so piers won’t work. Intrusions into your liner = leaks.

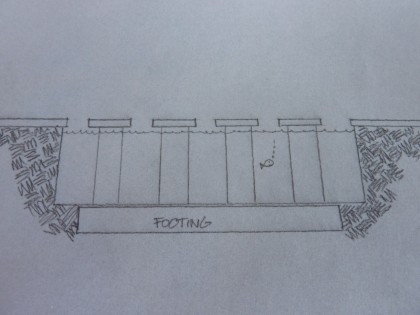
So if we can’t support the stepping stones from below, we have to support them somehow across the width of the pond. You could attach them to a steel rail bridge, keeping in mind that you want the stones flush with the top of the wall…

pond | steps on rails

But that makes it difficult to stagger the steps as Jim did in the original drawing. There’s also some question about how many rails we’d require to carry the load and what the maximum overhang of the rock could be based on its flexural strength.

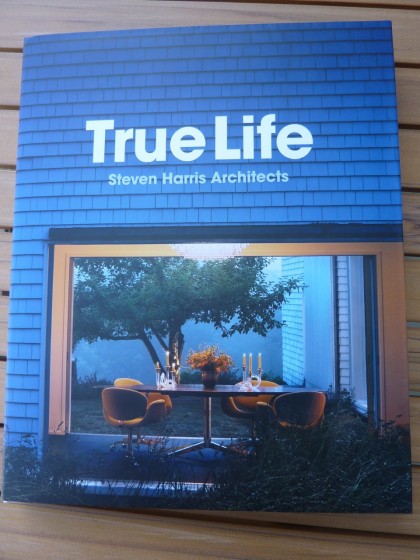
Floating steps are my first choice. But if they turn out to be too complicated or too expensive to make, I now have a third approach I could live with. While flipping through the pages of this amazing tome

True Life | Steven Harris Architects

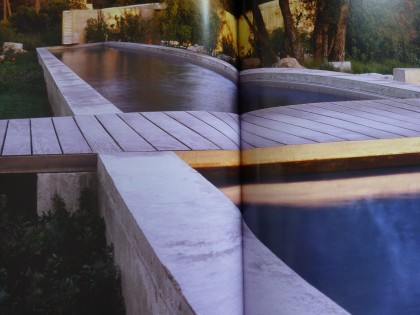
I spied this bridge…

pond: a wooden bridge

As you can see, the wood planks are fixed to steel rails that are inset into the concrete, which in our case would be the granite cap that will top off our cinder block walls. No floating steps but still pretty minimal.

Love that look but the bridge wouldn’t necessarily have to be flush with the top of the wall. It could also rest on top of the stone cap. I’d be okay with that. I guess we’ll see what the consensus is tomorrow.
wed progress report

Thursday, March 3rd, 2011

As the concrete footing continues to harden up downstairs, what have David and Joe been up to? Apparently plenty. I’ll let David tell you in his own words what the heck’s going on down there.

*          *          *          *          *

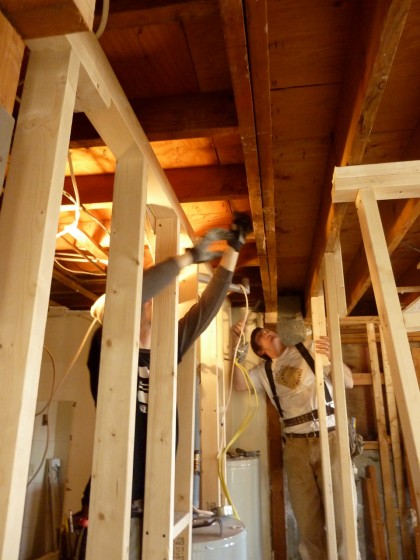
Today Joe and I cleared the way for one of the two beams going in downstairs. The existing framing wasn’t going to cut it. It was a double 2×10 sitting mostly on top of a wall, with only about a 3′ span over the hallway. First Joe built a temporary support wall to pick up the load so we could remove the wall under the beam…

pr2

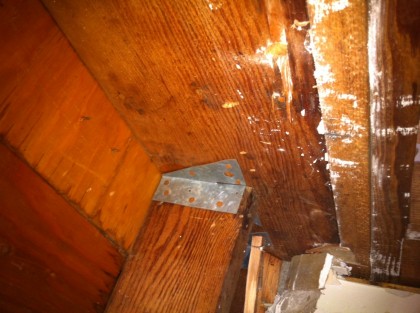
Then we removed all the vintage (and upside-down looking) joist hangers…

wed4


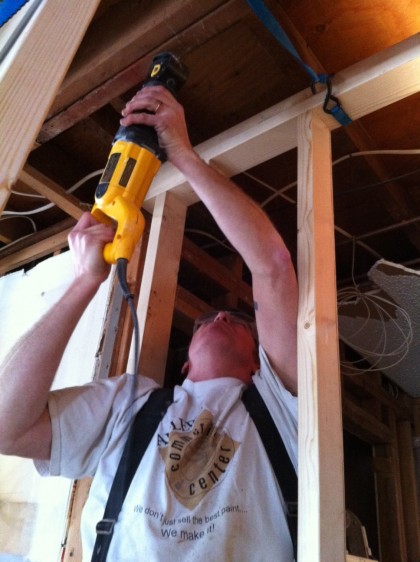
We cut through all the nails we could and levered the old beam down and out…

wed1

Easier than it sounds since there isn’t much to lever against. I put my wrecking bar through the floor upstairs in two spots when I got a little over-enthusiastic. Oops. Luckily the carpet is coming out and new flooring is going in, so no permanent damage done.

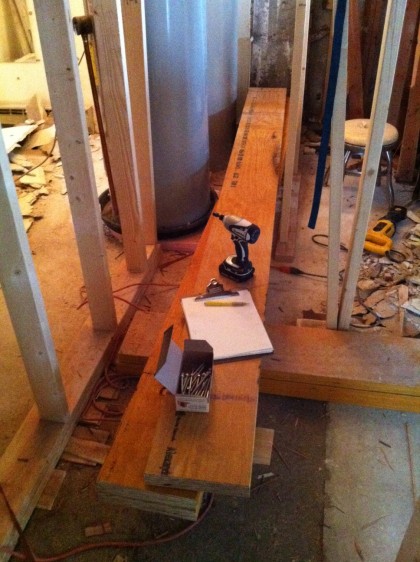
The new beam will span over 9′ and carry a new point load from the upstairs renovations, so it has to be beefy. It’s made up of three pieces of 1-3/4″ x 9-1/4″ LVL fastened together with hefty screws into one massively strong beam…

wed5

I put the first two together on saw horses and then moved them into place before adding the third, too heavy to move by myself otherwise.

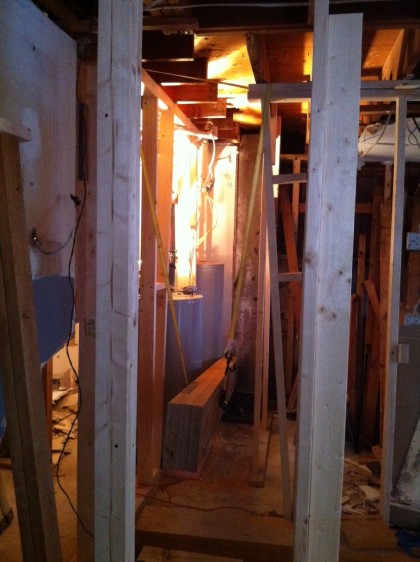
A little magic and boom, it’s strapped into position and now awaits final installation.

wed3

A long day but we got a lot done.

fri progress report

Friday, February 25th, 2011

UPDATE: In yesterday’s post I reported that David was about to launch into concrete cutting. So exciting. But not so fast. Instead, he’s building walls that aren’t in the plan…

new wall

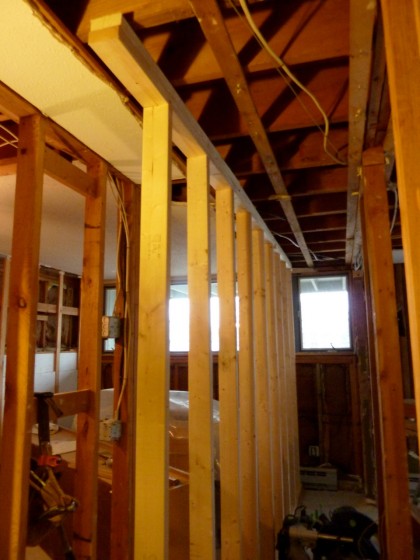
Support needs to be added to either side of where the new column/footing are going in on the right. You know, so the livingroom above doesn’t crash through. Although it looks like a crazy man is building errant walls in the middle of the room, that’s not actually the case. It’s just necessary construction before the necessary construction. Got that?

A termite update coming as soon as I can get it whipped up!

time to rock

Tuesday, February 1st, 2011

After less than two days, the city of Providence has given us the thumbs up!

building permit!

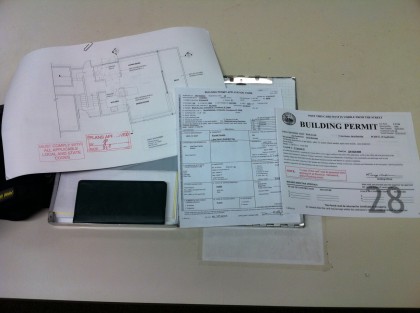
Got the building permit this morning. Remodel officially begins NOW!

I just realized that my very first post on mymodremod was February 1 — exactly one year ago today. What are the odds?!

patios: day 5

Sunday, December 5th, 2010

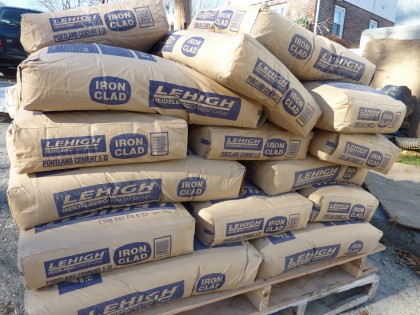
So our patio project is really hardening up. heh heh. See all that cement?

day 5 cement

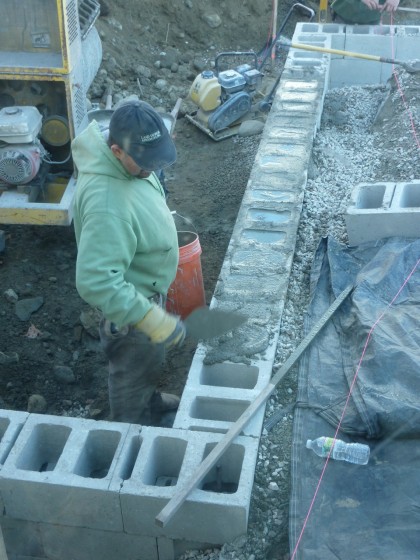
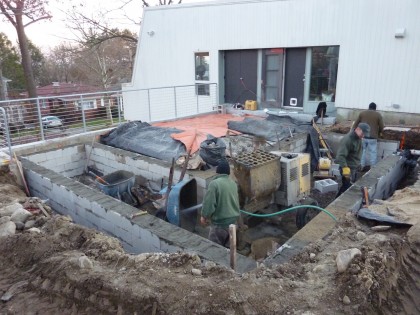
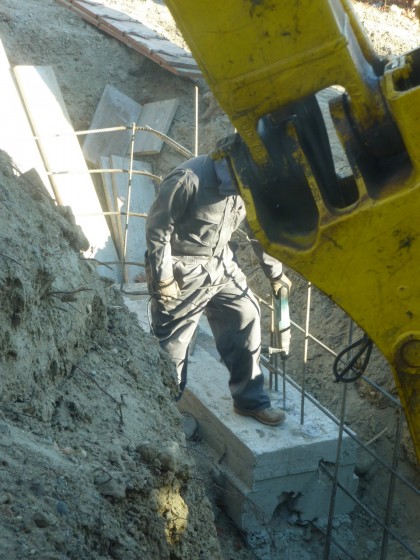
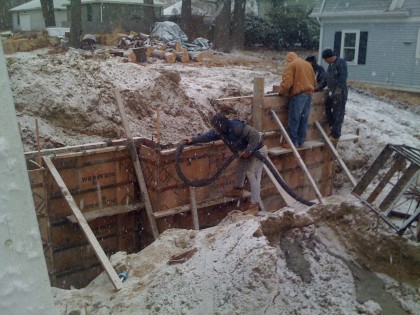
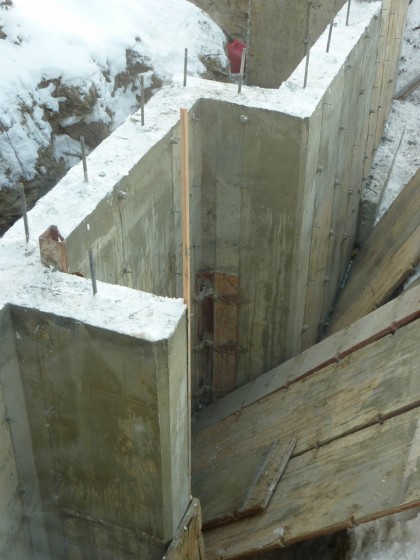
It’s now in our backyard. Day 5 was all about finishing the walls of the koi pond. That entailed a lot of cement…

day 5 cement day

And a lot of ensuring that lines were squared up and things were level…

day 5 getting the walls level

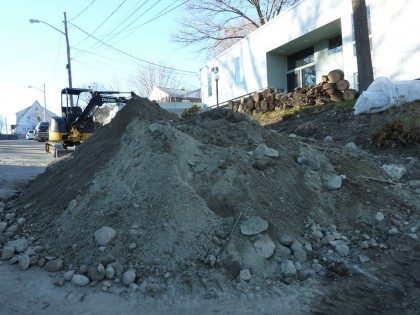
And a lot of yard guts being moved out of the way and into the street…

day 5 yard guts

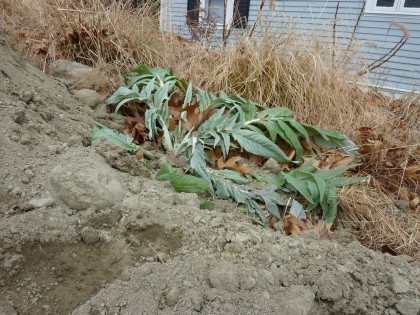
What does that mean for the plants in the margins of the yard?

day 5 poor cardoons

Let’s just say I’ll be digging out the cardoons and the euphorbias and yadayadayada.

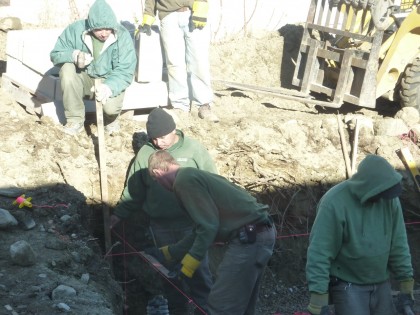
It never made it out of the low 40s today. Brrrrrrrrr. But in spite of the cold those boys powered through the walls. Look at them go!

day 5 what a difference a day makes!

day 5 view from the corner

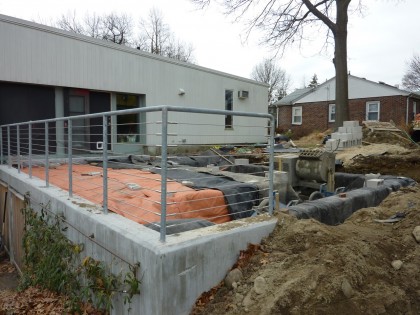
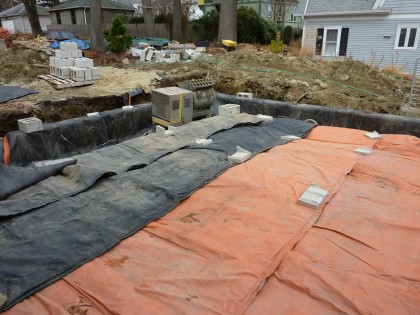
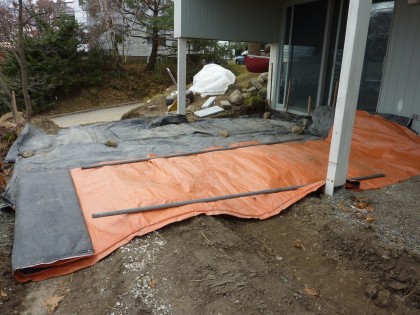
With the temps dropping down into the 20s at night, the crew decided to break out the thermal blankets on the newly poured walls and upper patio area…

day 5 thermal blankets

As well as the lower patio…

day 5 lower thermal blankets

That was a long Saturday’s worth of progress. Nothing going on here on Sunday. Except more hardening. And maybe I’ll get out there with a shovel to see if I can find my poor plants. Sorry plants!

————————

Day 4

Day 3

Day 2

Day 1

high-tech garden geekery

Tuesday, November 30th, 2010

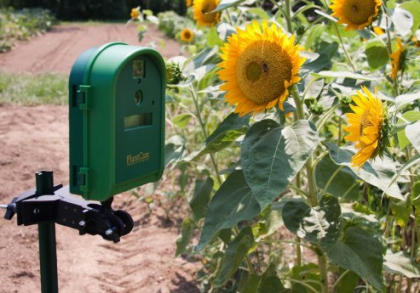
Hey gadget geeks: you should dig this. Just opened our new Wingscapes Digital Timelapse PlantCam.

plantcam box | amazon.com

plantcam box | amazon.com

It’s a  4.0 megapixel digital camera you can install indoors or out to capture the progress of your project, plant growth, etc.

camera setup | amazon.com

camera setup | amazon.com

We’ll be using it to snap shots of the patio install. Luckily, it’s weatherproof and came with a bracket, so we can attach it to one of our trees and forget about it for the next few weeks.

weatherproof exterior | amazon.com

weatherproof exterior | amazon.com

You can program it to snap photos or video at set intervals.

the inside | amazon.com

the inside | amazon.com

Unfortunately the package didn’t arrive until the end of the first day of our project. Damn. Would have made a more impressive time-lapse movie to start from zero.

Oh well. Next time. Only next time will be indoors. Stay tuned for results.

back on track

Friday, September 24th, 2010

meeting with markus

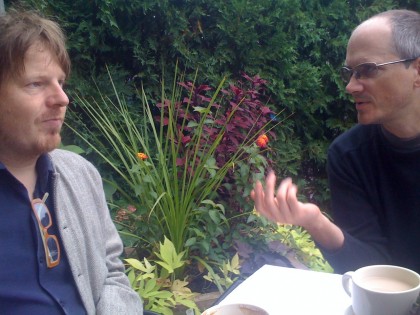
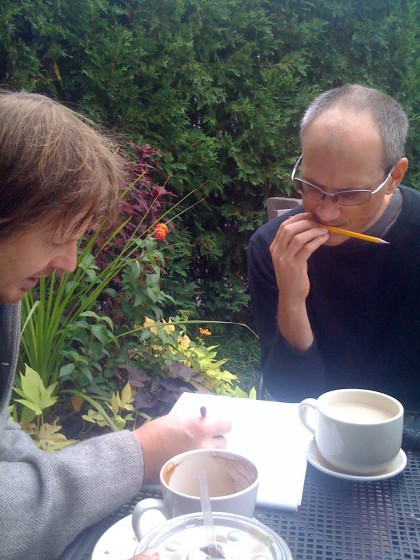
With the outside projects soon drawing to a close (fingers crossed), it’s time to bring the momentum indoors. This morning we met with Markus Berger, our architect, to get things rolling again. There was coffee. And tea. And baked goods… and pencil gnawing.

pencil gnawing... this must be the exciting part

Hopefully construction begins in October.

just in time for father’s day

Thursday, June 3rd, 2010

David’s father came up from Brooklyn for a visit, which around here is akin to signing up for our forced labor camp. With Father’s Day right around the corner, there’s no better time than NOW to put dad to work. The project: shed doors for our new retaining wall out back.

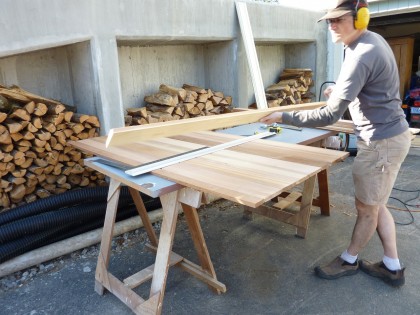
David built the doors out of cedar a few weeks back in his makeshift driveway workshop…

bettridge woodworks, right in our driveway

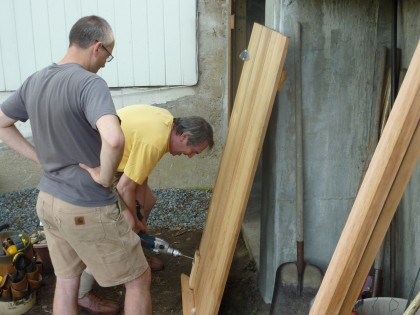
And this past weekend, Tom and  David hung two of the four doors. Power tools and bonding ensued…

way to put dad to work

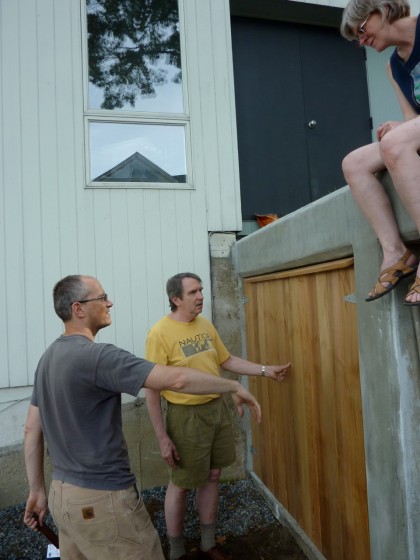
That’s Wendy taking a break from garden servitude…

in at last

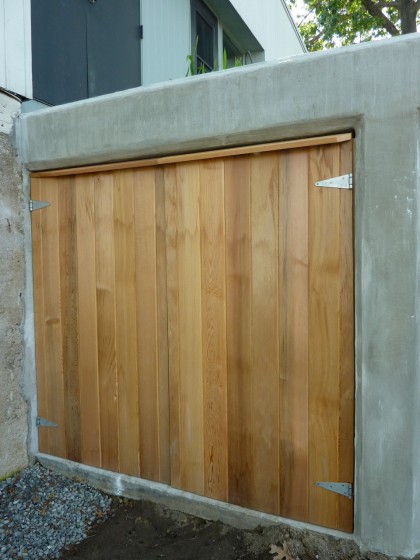
OOH! AAAAAH! They turned out quite nice, dontcha think?

a closer look

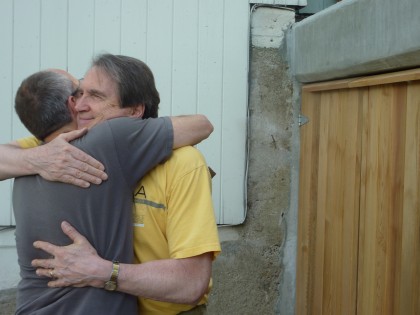
Still to come: the other two doors, hardware, outfitting the closets with storage. And hugs, duh.

awwww

thanks, garden gnome!

Thursday, May 20th, 2010

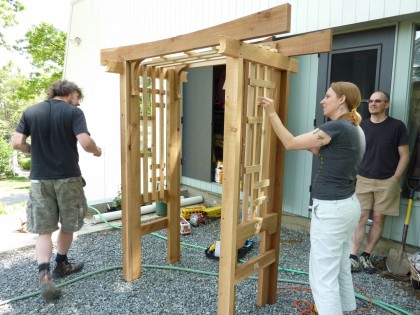
Oh tall and handsome garden gnome, won’t you please, please assemble my new cedar arbor (eBay!) so that my vines have a place to grow?

Graham comes to the rescue…

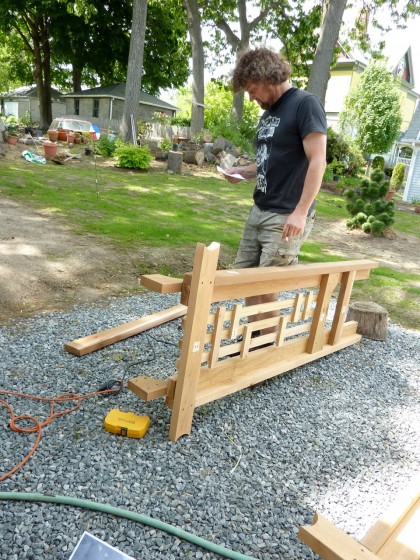
what were those instructions again?

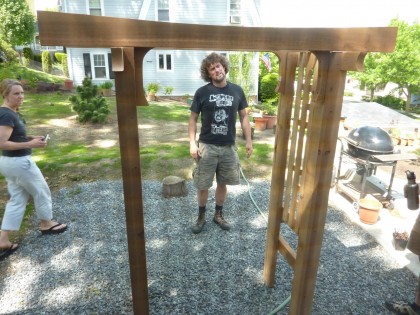
Is it done?

is this what it’s supposed to look like

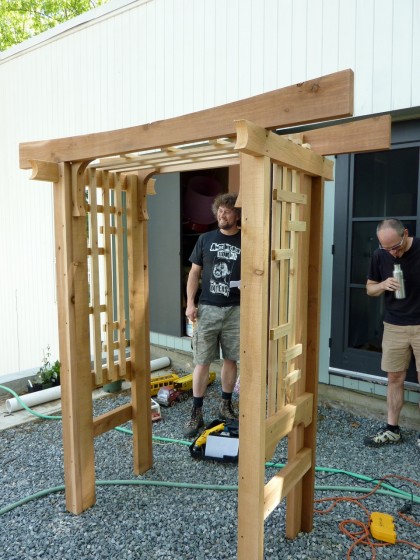
Yes, done! Story and David approve of how Graham handles his wood in front of onlookers…

done deal

So erect! Thanks, garden gnome!

all smiles

garden bones: the big reveal

Thursday, February 18th, 2010

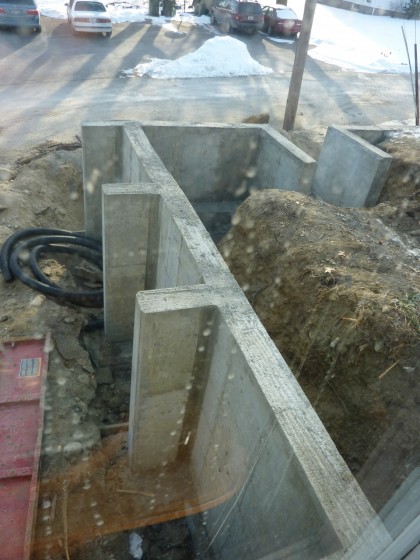
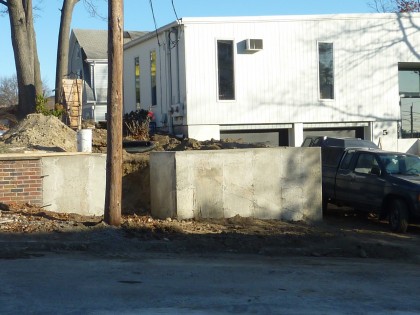
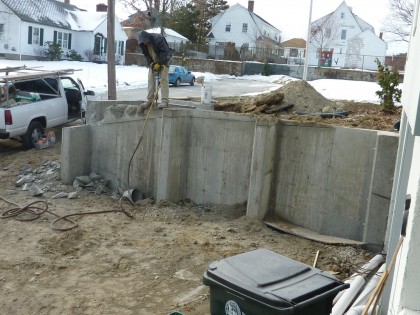
Retaining wall construction wrapped about two weeks ago. Let’s get right to the final results… As always, click to biggify.

final front view

final back view

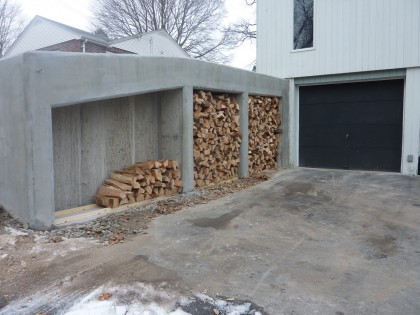
Very happy with how the walls look like they belong to the house — the mark of an architect. Irving would be thrilled. Thanks Markus Berger and Naomi Clare at Inside Out Design! Once the paint comes off the foundation, it should look even more seamless.  Doors still need to be built on the storage bays of the back wall. And when spring rolls around, plantings will soften the edges and add privacy.

The construction, chronicled

Want the nitty gritty? Read on…

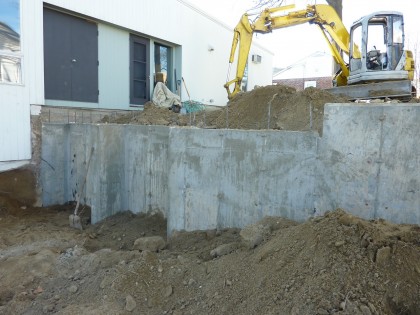
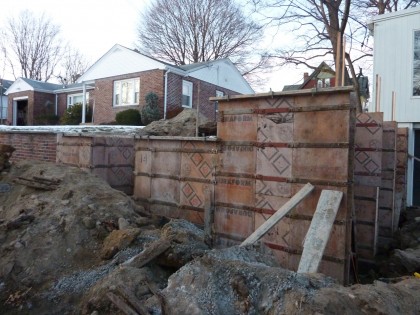
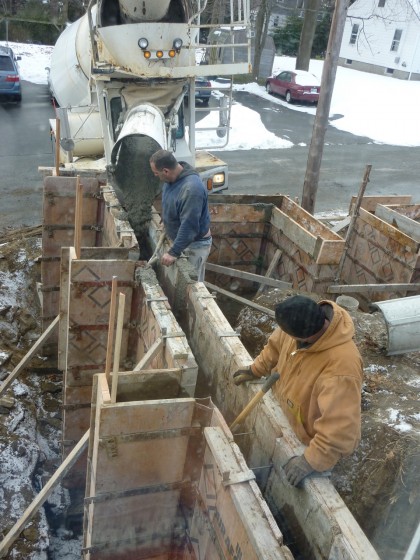
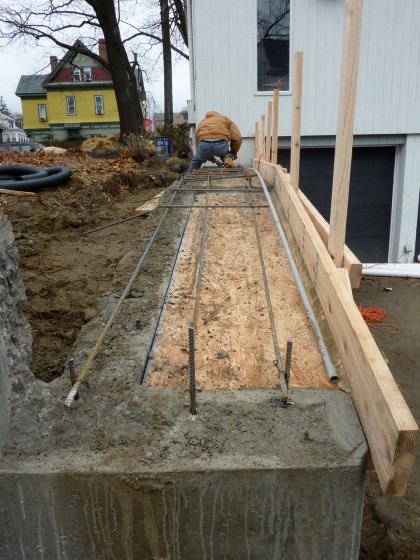
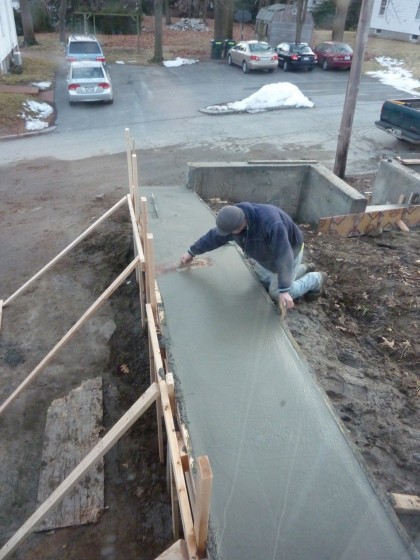
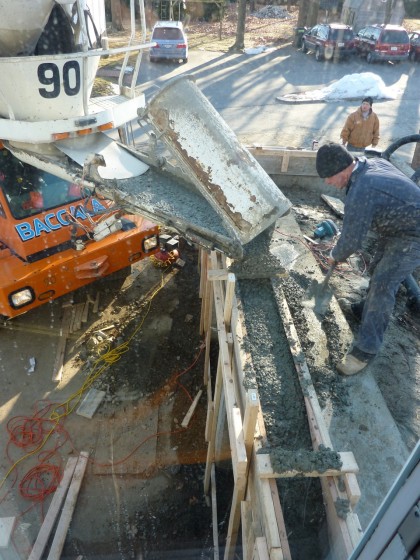
The retaining wall plans got done in November. The next step was getting bids from cement contractors. And tick tick tick tick tick, suddenly it’s December. Impending winter. This is Rhode Island, after all. Is building now really a good idea?

The contractor we settled on seemed to think it was. “Adjust the concrete mix to deal with the cold,” they said confidently in their thick Rhody accents. We were dubious. But our engineer, Erik Anders Nelson, was down with that. The city inspector was, too. So fine, then.

To start, we had to take out two trees in back that happened to fall directly in line with the placement of the retaining wall…

backwall 1

Sorry trees. I know it’s not much consolation but digging would have killed you. You’ll be replaced by something exquisite, I assure you.

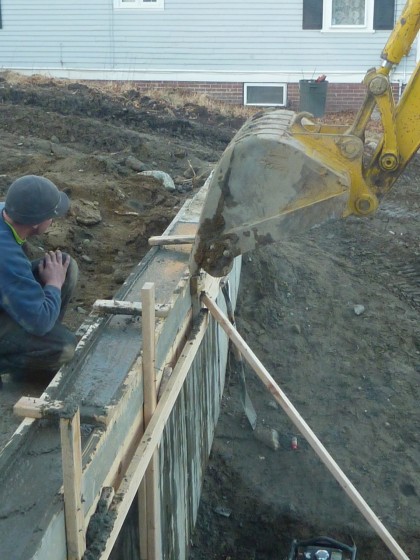
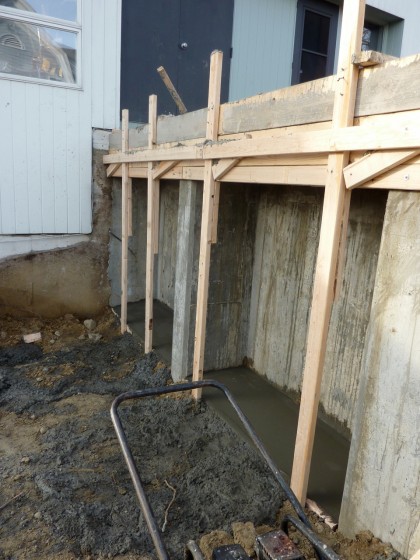
Digging started on December 15th. My Facebook friends weathered six weeks worth of almost daily posts on the progress. Highlights below. If you really want to get your geek on, you’re welcome to check out the full project from beginning to end, complete with angst and commentary.
Back wall:

back wall 2

back wall 3

back wall 4

back wall 6

back wall 7

back wall 8

back wall 9

back wall 10

back wall 11

back wall 12

back wall 13

back wall 14

Front wall:

front wall 1

front wall 2

front wall 4

front wall 6

front wall 7

front wall 8

front wall 9

front wall 10

front wall 11

front wall 12

front wall 13

front wall 14

front wall 15

front wall 16

front wall 18

front wall 19

Goodbye, rocky menace:

rocky menace

rocky menace gone

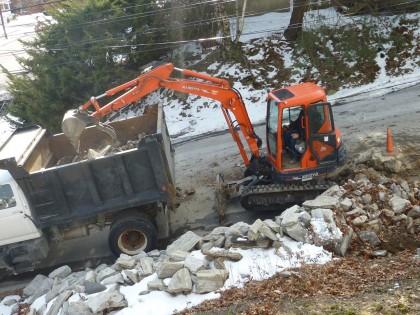
Four dumptruck’s worth of crappy stone, gone! Some of it…

rocky menace jr. in the neighbor's yard

ended up right across the street, in our neighbor’s yard! Glad someone can use it. We tried to give it away to any contractor who’d take it. No takers.

The ugly and unresolved:

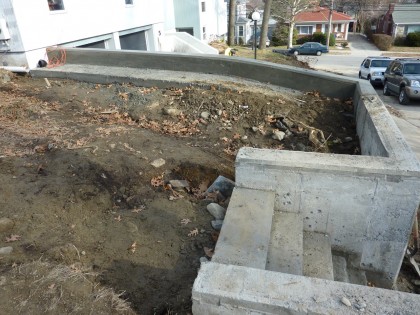
front wall stairs

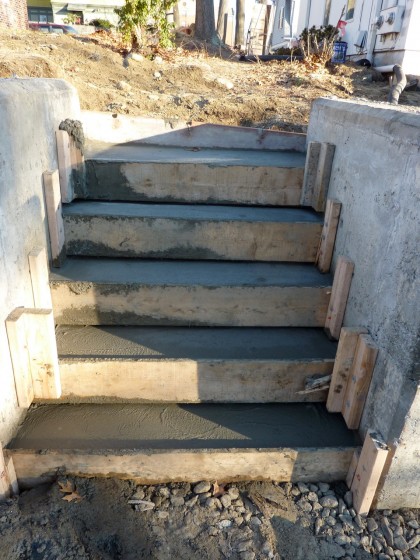
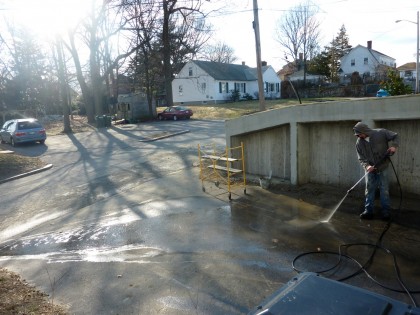
Drama with the stairs. The concrete crew couldn’t seem to make the detail consistent from step to step (5th photo down, after the jump). David had them rip it out… three times. Oy. Says he’ll be pouring the detail himself. Hallelujah.

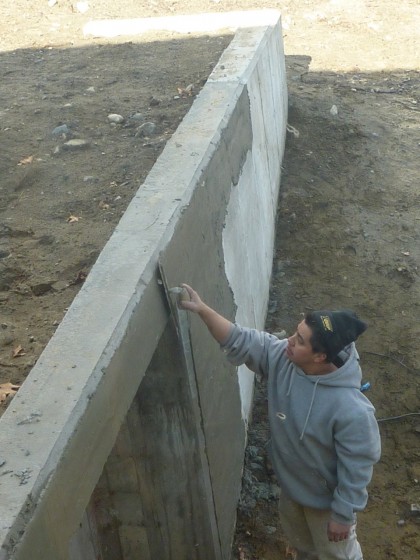
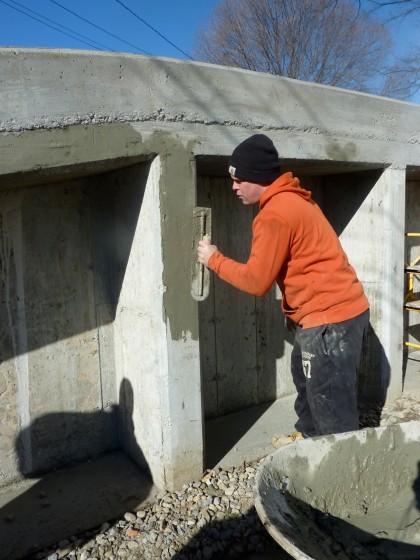
There’s also some debate about the stucco-ish finish. David thought he’d prefer it over the patchwork look of the concrete that resulted from multiple pours. Now he hates it. I could have lived with the bare concrete. Oh well.

Consider yourself caught up. Next step: adding skin to the garden bones. Epic look at ideas tomorrow!