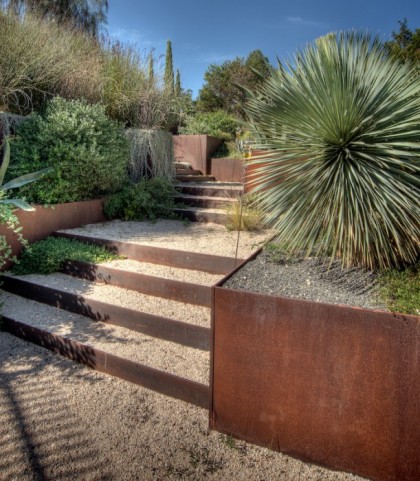
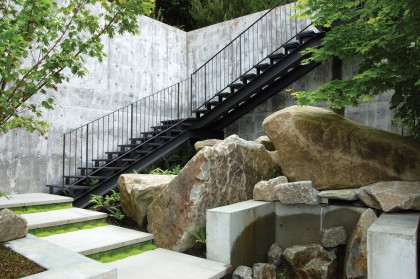
We don’t do things a little around here. No, we go big and hairy. Even when it comes to rainwater collection. You don’t think we forgot about that when we were busy putting in retaining walls and planning the yard, do you? I’ll let my huz David tell you all about it…
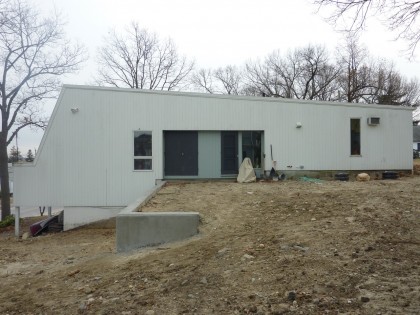
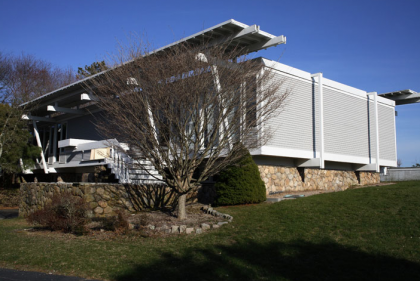
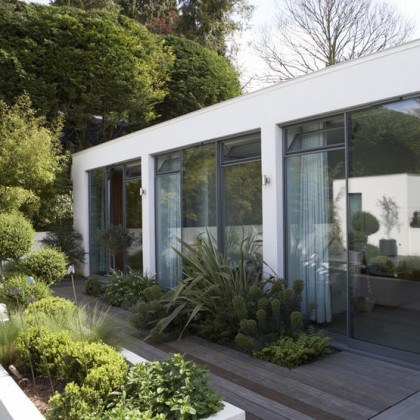
Look at that flat roof. Not only is it a great modern architecture feature, it’s great for collecting rainwater. With all the water running to one edge, the gutter to roof ratio is very low and the downspouts are easy to collect into one outlet. We knew we wanted to take advantage of our rainwater — so let’s look at the decisions we had to make to do it.
Crunching the numbers
Research on the web gave us lots of formulas and tables and charts on water collection — I’ve included links to some of those at the end of this post. Our roof is about 1,200 square feet which will generate about 720 gallons per inch of rainfall. Average annual rainfall in Rhode Island is about 33″, so we could theoretically harvest almost 27,000 gallons of water per year. That’s a lot of water! In actual practice, we won’t ever get even close to that number.
About 10% of the rainfall is lost to wetting the roof and evaporation. The filter rejects another 5%. But the main limiting factor is tank size. A heavy rain of say 3″ would produce about 2,160 gallons of water — less 15%, that leaves about 1,800 gallons we could possibly gather. The tank is 1,700 gallons and will seldom be empty enough to take a full rainfall.
What size tank?
There’s never been a garden here before, which means no historical data to refer to in order to figure out outside water usage. A rain barrel just isn’t going to do it for us — we need a tank and had to guess at how big. I suppose we could have opted for smaller than what we ended up with. But given size of the property and the opportunity to collect the maximum amount of water for just slightly more cost, why wouldn’t we go with a hella big tank?
We settled on the 1,700 gallon polypropylene, underground tank from Norwesco. Won’t rust or corrode. It’s cleared for environmentally safe, potable water, even. And by sinking the tank, that frees up more valuable outdoor space. Here are the 1,700 gal cistern specs.
Will we save money?
Yes and, um, not so much. There are multiple costs at play here. The average household served by Providence Water Board uses 75,000 gallons per year. Right now we only use about 35,000 gallons a year, less than half the average in this region — but again, none of that includes watering more than the few tomato plants we had. We pay $.0032 per gallon for water and $.0035 per gallon for sewer. That means we’ll save $.0067 for every gallon of city water we replace with rain water. Great! But we’ll have to save 463,000 gallons to break even on just the tank, filter equipment and the cost of getting it transported here. (Luckily, DIY means we’re saving on plumbing labor.) We might expect a 10 to 20-year payback, typical for green projects without state or federal incentives.
We’re trying to be smart in our garden planning. We’re planning for areas of pea gravel with a super-minimal, low-water lawn zone, a drought-tolerant plant zone, a zero-water plant zone, and so on, but obviously we can expect a decent amount of water use as we get our garden established. No doubt, all that rainwater we gather will go to good use.
The installation
Here are the down-and-dirty instructions. And here’s how an installation plays out in reality, starting with our tank arriving the week of Christmas. I knew it was huge but I hadn’t really considered that it was bigger than a Toyota…
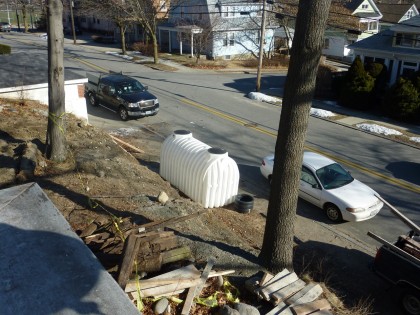
We waited for our concrete guys to dig the hole for us since the backhoe was already digging our retaining walls. We had to leave it in the street, completely paranoid some drunk college kid would mow it down in daddy’s car.
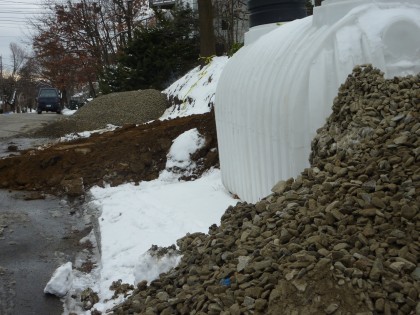
But a week or two later, the tank was fine and the hole was finally dug…
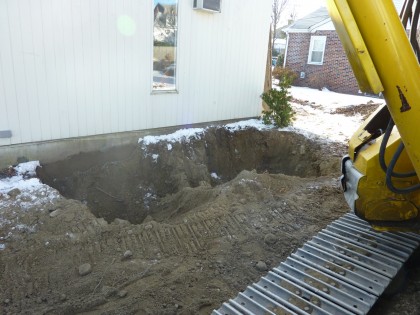
Then there was the matter of getting a 400-lb. tank up a hill without it sliding back into the street.
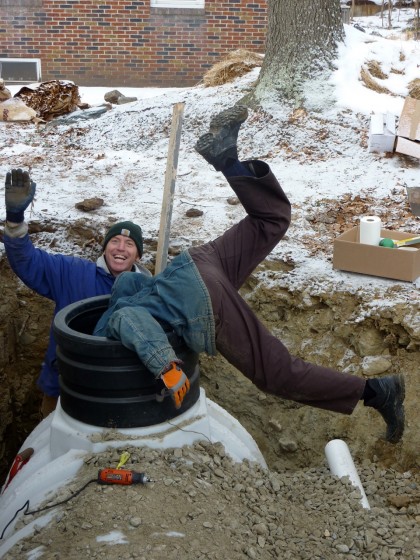
The tank is recommended to be set on sand to provide drainage and lower the chances of a puncture. The distributor told me crushed stone would work fine, so we went with that. Once the bedding gravel was added to the hole and the tank set, my friend Joe and I did the plumbing prep work. Plumbing the tank will be a lot easier when the ground isn’t frozen like it is now, so we installed the 4″ inlet and 4″ outlet then connected pipe to get us to where the filter will be buried.
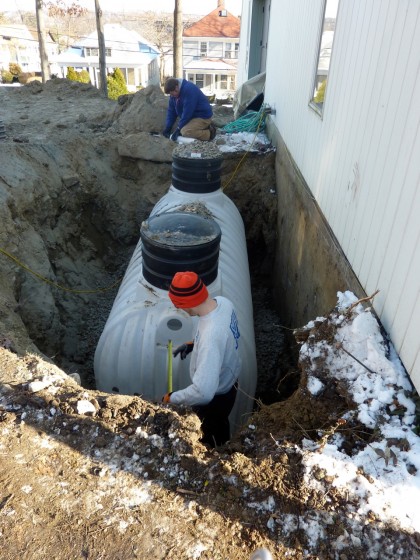
The rest of the plumbing will be buried in the spring. Next, we backfilled the hole with gravel…
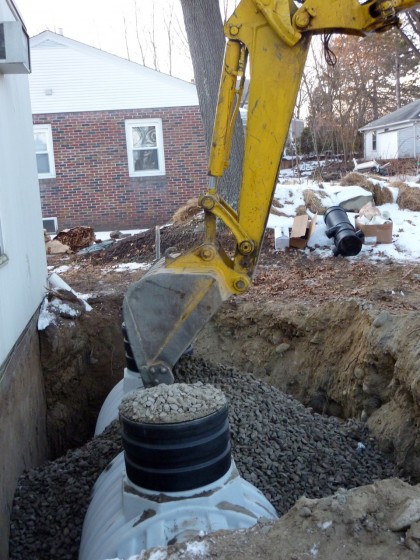
On sites where the water table is high or where there might be flooding, underground tanks have to be anchored down so they don’t pop up out of the ground when they try to float on the groundwater. They also require good drainage around and beneath so that a good New England frost heave won’t crush or shift them. Luckily, our hilltop location means excellent drainage and not having to worry about such things.
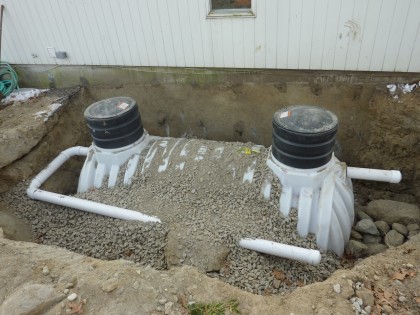
When we’re done plumbing the tank in the spring, there will also be a vent shaped like an upside-down J. A pipe will carry water from the in-tank, 12-volt pump (powered by batteries that will be charged by a small solar panel on the roof of the house, which I’ll also rig to power all of our exterior lighting) to a spigot next to the existing one that delivers city water. At least that’s the plan.
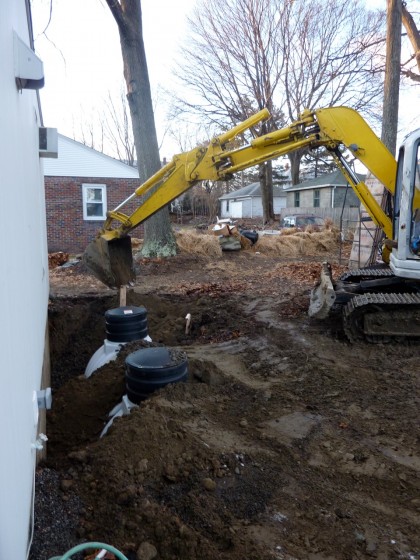
The gravel and tank then got topped off by soil to the same grade as the rest of the yard.
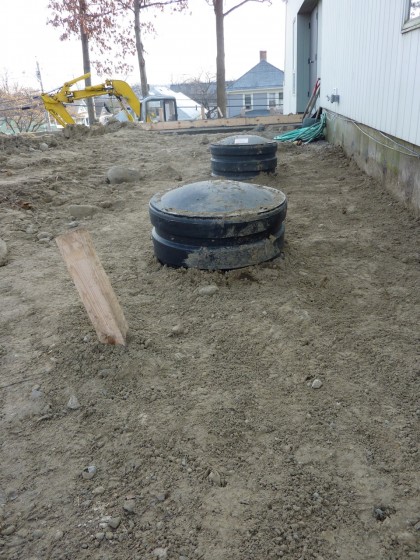
We’re waiting out the winter for the soil to settle — which it will inevitably do given the gravel. Then we’ll raise the level again with some nice loam. If it weren’t for the two manholes (we hopefully only need one), you’d never know the tank was there! Once the plantings are in, I think the manhole will hardly be noticeable.
The gadget geeks in the house will appreciate this: the filter we chose is German… because as we all know, German things are beautifully engineered.
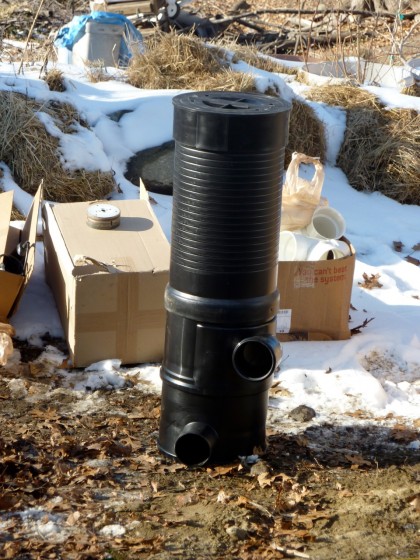
The Low Capacity Vortex by Wisy uses centrifugal force to push water through a fine stainless steel basket while detritus falls down the center along with about 5% of the water that goes in. That 5% passes through a second coarser filter, plus any overflow from the tank feeds into a perforated pipe where it can re-enter the water table instead of pouring into the gutter and down a storm drain. That’s better for the local soil and better for the ocean, since street and storm drain run-off can carry all kinds of nastiness. No need for us to contribute to that.
The ground should be warm enough in the weeks ahead to finish up the plumbing. Did I mention french drain? Sexy. You might want to stick around for that post.
Bookmarks for this post
csgnetwork.com has a online rainwater calculator (requires javascript)
watercache.com has a really basic calculator (no javascript)
green-trust.org has all the formulas if you’re feeling brave enough to do your own calculations
rain-barrel.net has an interesting explanation of the mathematical principles behind the rainwater calculator
off-grid.net posted an interesting look at somebody else’s underground tank system and associated costs
as for equipment…
rainwatermanagement.com has some nice rainwater collection setups for residential applications
tjb has an innovative rainwater collection setup we could never afford — but wow, impressive
and if you’re really, really into it…
harvesth20.com posts everything that’s happening in rainwater collection on a daily basis — this is where you’ll learn that rainwater harvesting is a surprisingly controversial subject and even illegal in states like Colorado! links to great resources and new products.
arcsa.org is the American Rainwater Cachement Systems Association — lots of links to lots of resources.
Rainwater collection is obviously a subject that will continue to increase in importance. I think we can expect to see many more companies jumping into the business and continued innovation in products — way beyond the standard rain barrel.


