Posts Tagged ‘concrete’

something concrete

Monday, May 7th, 2012

You may have missed it but I mentioned a week or so back that we had just returned from renewing our 10th anniversary wedding vows in Palm Springs…

renewing the vows


… with besties Lupe and Matt, who were with us on the very same spot a decade ago. Both times at dawn, no less. Very good sports, I must say.

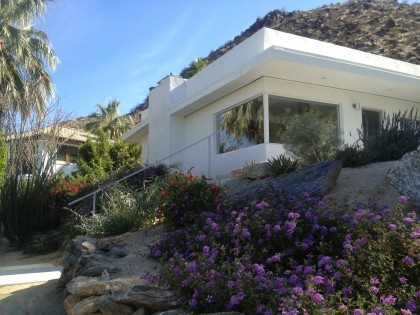
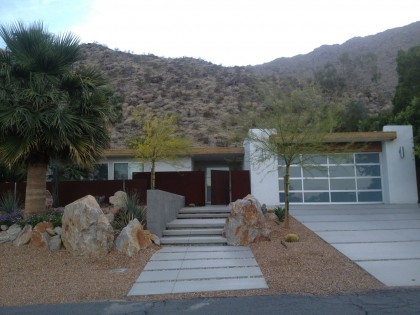
But this post isn’t really about that. It’s about my appreciation for the use of concrete at the recently restored midcentury modern rental home we stayed in…

the MCM house in palm springs


I know that sounds strange but bear with me and see if you don’t agree.

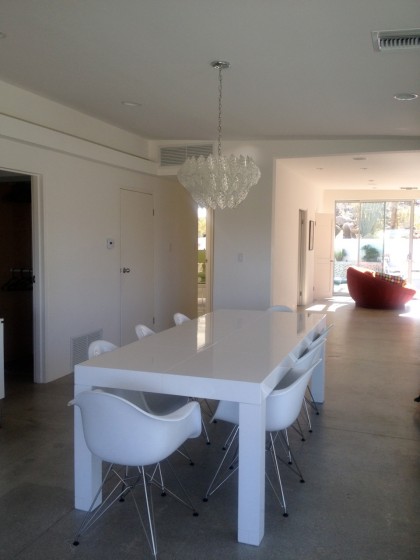
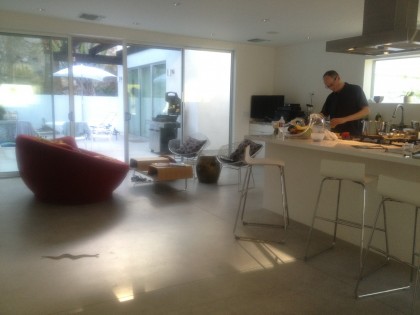
First of all, it looked as though tile had been removed from the floors to reveal the concrete underneath…

concrete floor view


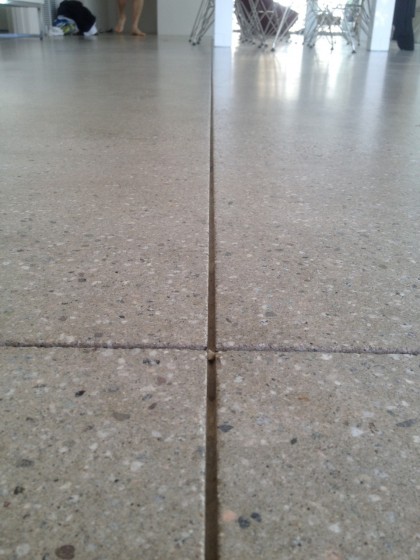
The owners scored it and polished it. Nice detail…

scored concrete floor


Kinda looks like terrazzo! So jealous. FYI, polished concrete is really difficult for a rattlesnake to move across… not that that will stop it from trying.

concrete floor with rattlesnake


No worries. It ended well.

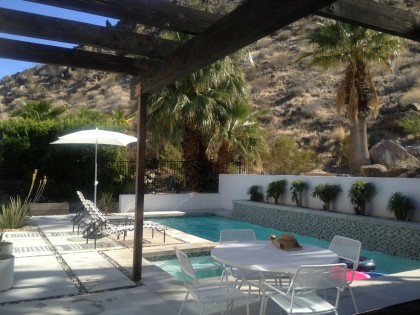
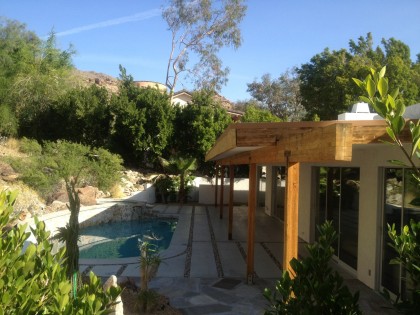
There was plenty of concrete outside the house, too. Around the pool…

concrete with stone around the pool area


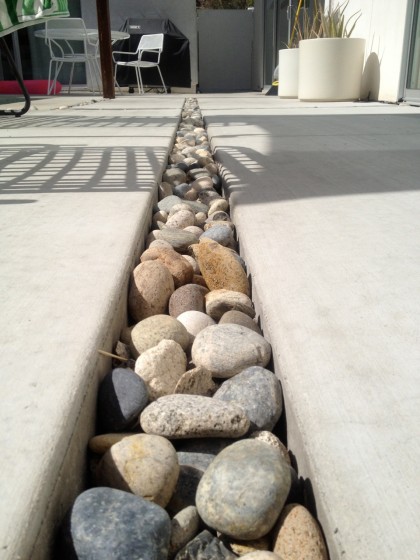
I love this look…

concrete with stone closeup


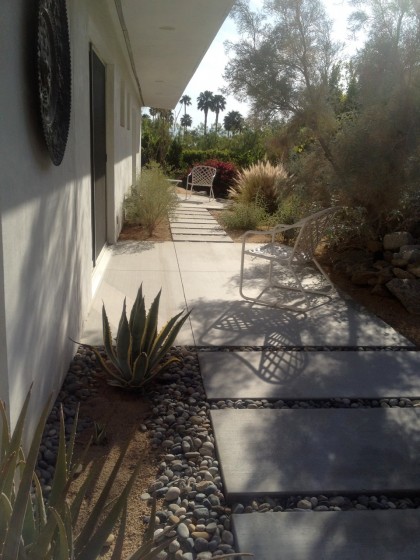
Around the sides of the house…

concrete with stone along the side of the house


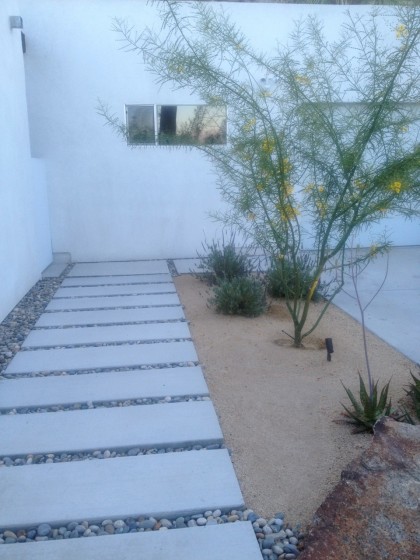
Along the driveway…

concrete walk alongside the driveway


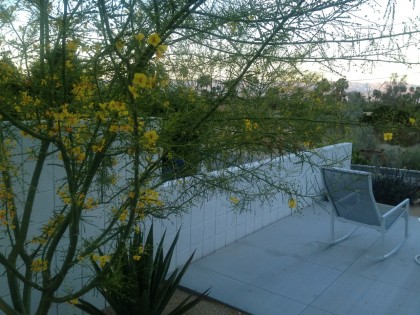
There was a cozy little concrete patio out front, too…

concrete patio


A peek over the wall (sorry, I couldn’t resist) at the house next door tells me it was likely remodeled by the very same owners. Similar patio design…

more concrete and stone next door


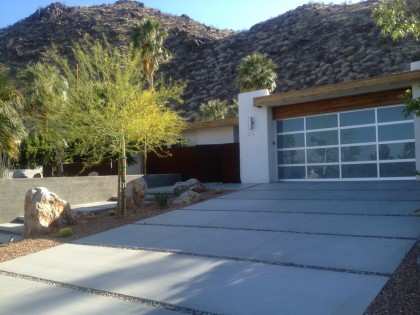
Yet another nice pool. The front driveway, which is on a slope not too dissimilar from ours in Providence, is concrete and gravel, something we’ve thought might not be possible…

driveway on a slope


We keep thinking the gravel may want to travel out from between the pads but it doesn’t seem to be doing so here. Hmmmm.

This house had an awesome scored sidewalk to boot…

driveway with complimentary sidewalk


Hard to tell from my early evening shot but that’s a gorgeous Corten wall in front of the house (click to biggify it and you’ll see it better).

Be still my beating heart.

geometric love

Monday, April 9th, 2012

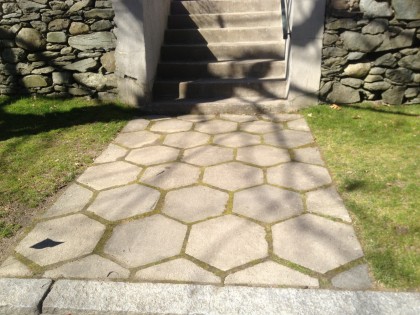
Spotted on my run…

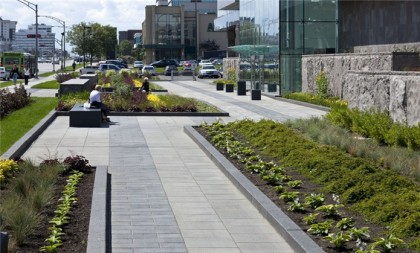
geometric walkway

after 8 wks of pondering

Thursday, February 2nd, 2012

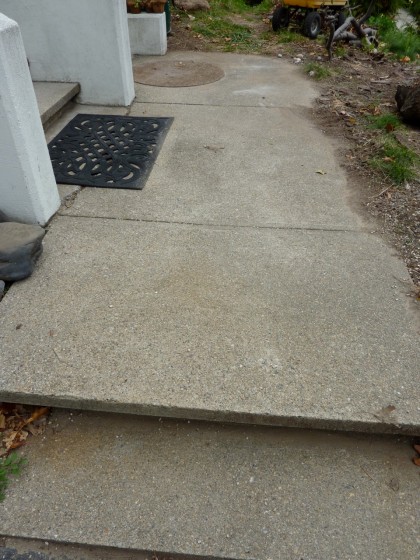
Remember way back at the beginning of December when Land Design Associates was working on the front walkway? While here, they also dealt with this ugly crack in the concrete that I showed you before…

crack in front of steps


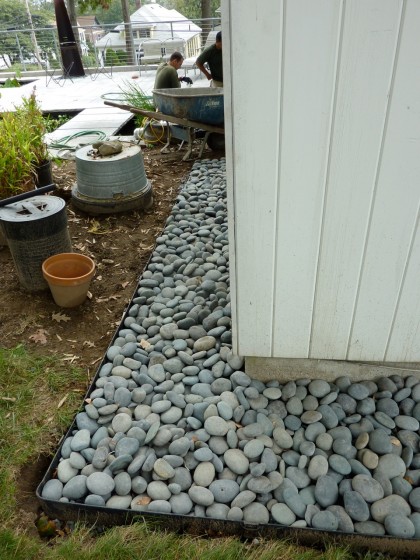
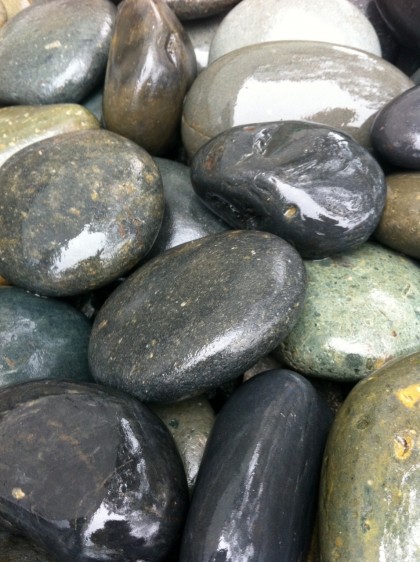
Yep, that one. There was much conjecture about what we would do about it. After considering the options, David settled (surprisingly) on the idea of insetting beach pebbles like the ones we have around our house…

our beach pebble border


They look pretty nice when you clean the dust off…

beach pebbles up close


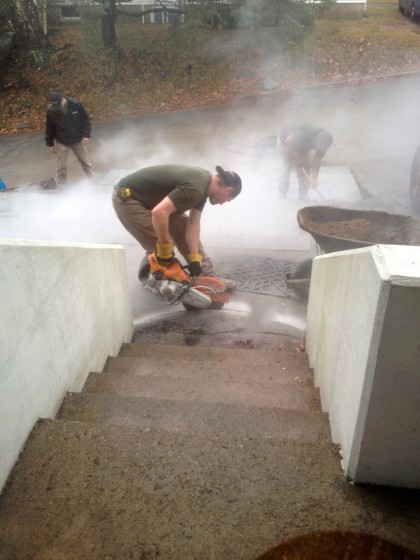
So we crossed our fingers and let the boys go at it. There was an impressive display of dust…

concrete getting scored


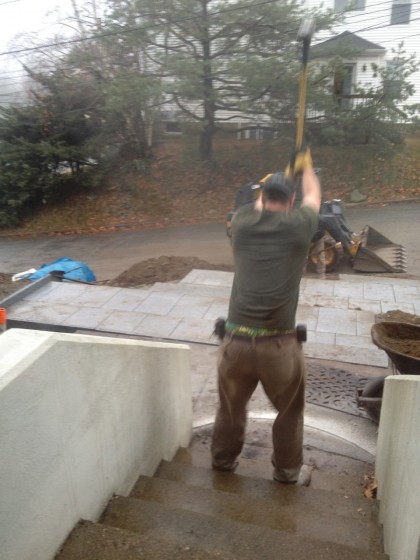
An incredible amount of sledge hammering…

concrete getting pounded


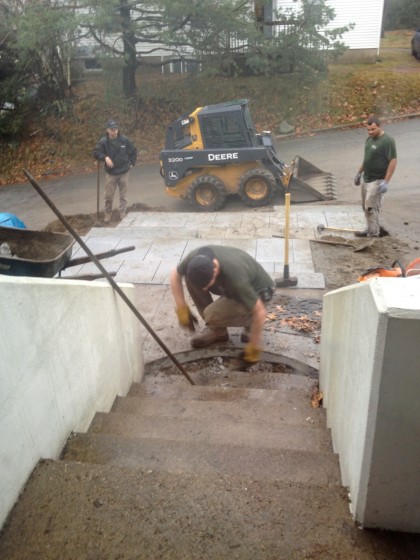
The prying up of amazingly stout concrete…

prying up the concrete


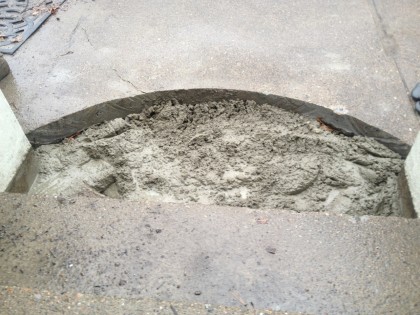
And eventually there was a welcome mat-sized spot to fill with new concrete…

getting filled with new concrete


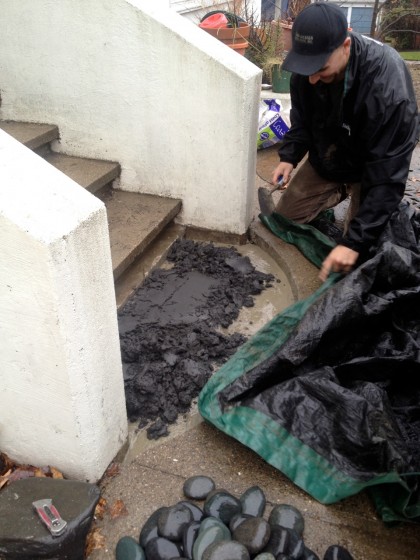
Topped off by concrete with a dark stain to match the beach pebbles…

topping off with stained concrete


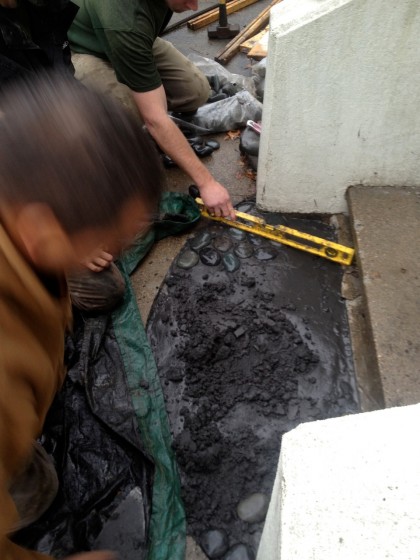
Followed by the beach pebbles themselves, getting their tops as level as possible…

leveling stones


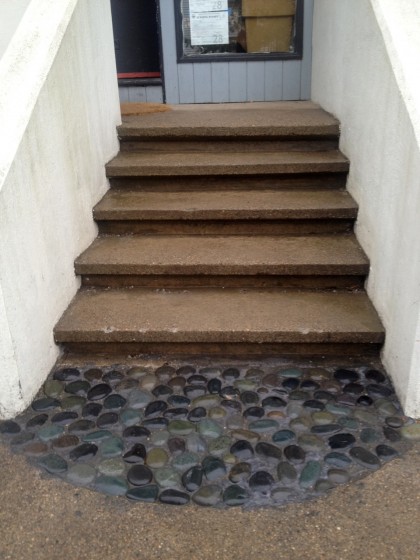
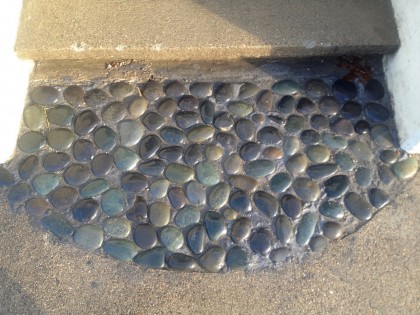
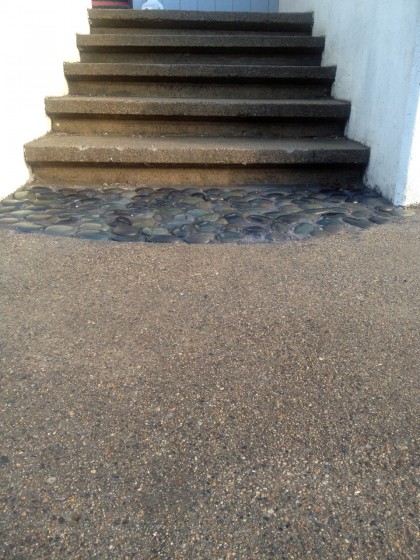
Then, voila! Beach pebble welcome mat where there once was a crack!

stone welcome mat finished


So it doesn’t look too bad, right? I mean, sure, it’s a little gloppy in spots (especially along the front curve. But in theory we can rough that out.)

a closer look


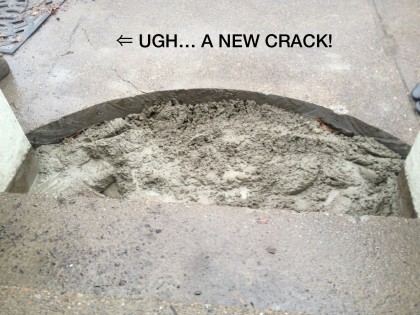
However…

ugh, a new crack!


I just couldn’t deal.

All that sawing and pounding action took its toll, I guess. Granted, the new crack is much smaller than the old crack. But water will work its way in over time and freezing and thawing will surely make that crack bigger. Yay.

I’m not going to think about that.

LA LA LA LA LA LA LA LA LA LA…

hmm, not too bad i guess


back to the front

Thursday, December 29th, 2011

Well, we did it. Managed to squeeze one final outside project into 2011: the front walkway. I didn’t feel strongly about having one but David did, so we enlisted Jim Egan at Land Design Associates to create something that would tie to the rest of the hardscaping he’s done for us.

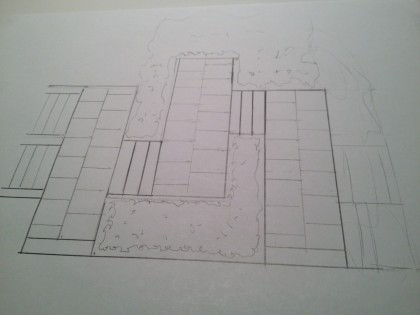
Here’s what Jim came up with…

fronthill_initialdrawing


Basically three terraced levels with steps in between. In his drawing, the top level (far left) shows the original concrete walk that fronts our concrete entryway steps and walls being replaced with granite. That’s this area…

fronthillwalk


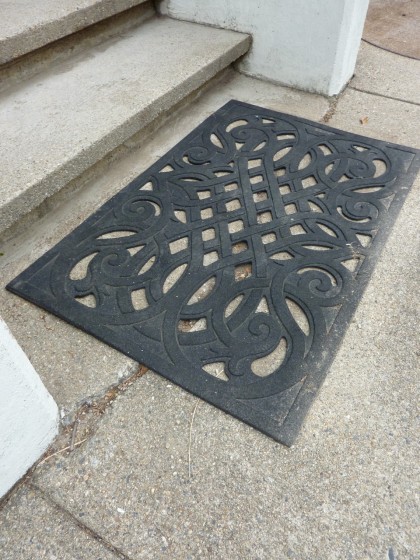
There was also talk of facing the concrete steps and walls with granite but that just doesn’t make sense. I think the concrete is integral to the design of the house. And there’s nothing wrong with any of it other than that stupid crack (under the black mat in the photo) at the bottom of the steps. So we’re keeping it as is and adding below it down to the street level. We realize that a granite walkway will never match the old concrete but think we can make it work.

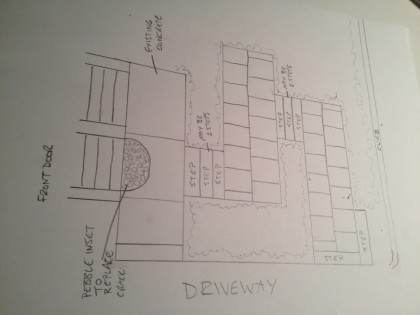
So, our slight revision to Jim’s initial idea looks something like this (click to biggify)…

fronthill2 | rough drawing


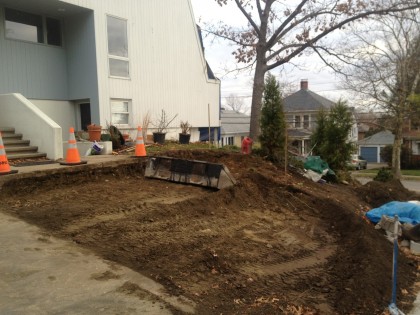
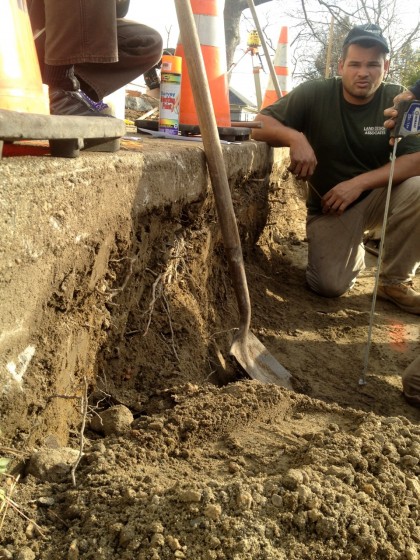
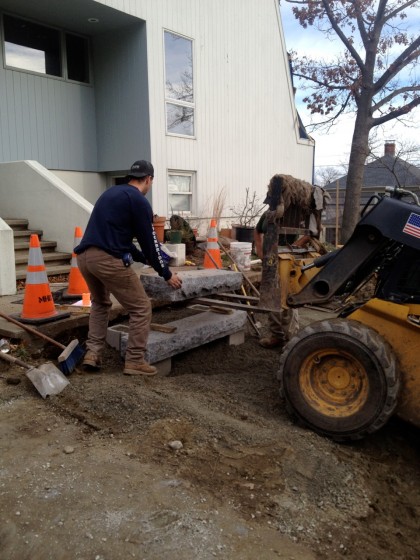
The crew came and made short work of it. First they dug out the hillside and leveled out bases for the two terraced parts of the walkway…

fronthill1


That involved moving a lot of soil…

fronthill3


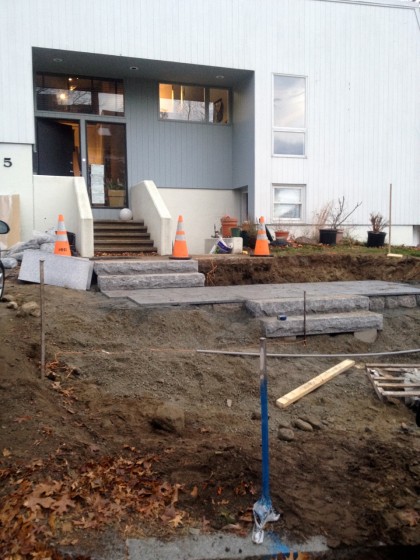
I added a good amount of that soil to other parts of the slope after they left, shovel by shovel, and then sculpted it as I saw fit. But I digress. The crushed base went down and the steps were heaved into place…

fronthill4


Then the first granite terrace went in…

fronthill5


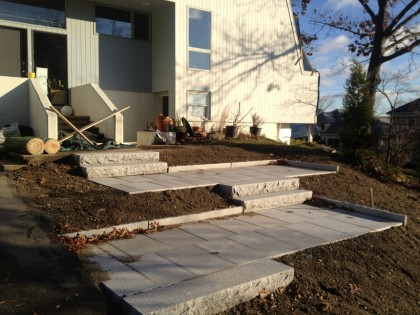
Followed by the second terrace…

fronthill6


And Bob’s yer uncle!

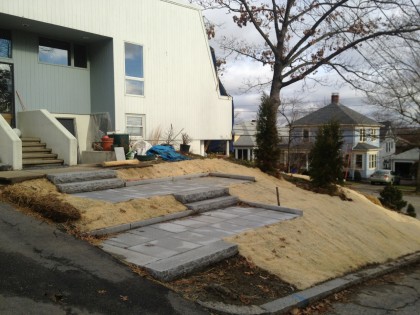
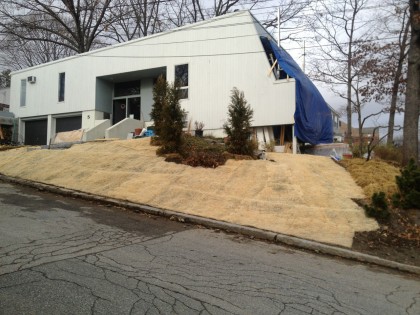
We’re left with a hillside of disturbed soil and it’s too late in the season for plants to take root. So once again, I staked biodegradable Curlex down to hold the dirt in place…

fronthill7


fronthill8


I rolled erosion control blanket and pounded stakes until almost midnite in a mad rush to beat the ground freezing the next day. But it’s done now and I won’t touch it again until April. Looks much better, no? Remind yourself what it used to look like.

And the crack? I’ll show you another time.


back to the walls

Thursday, October 13th, 2011

More from David on the remodel progress…

——————————————————————————————-

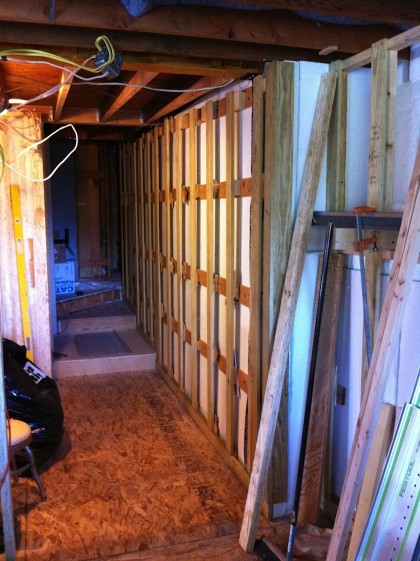
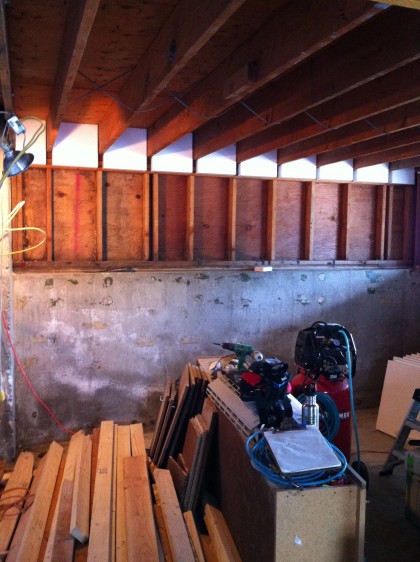
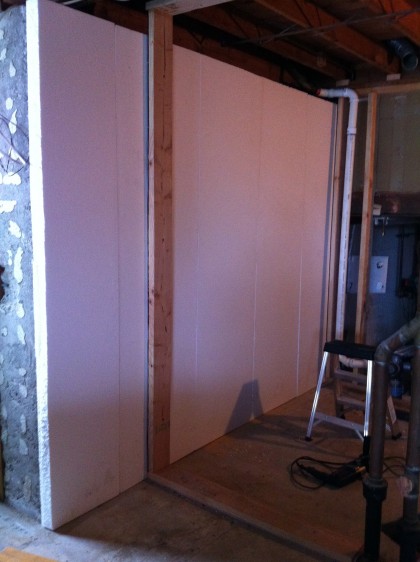
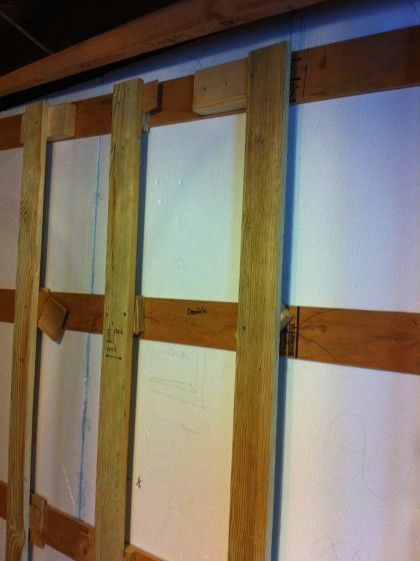
The walls downstairs are finally up and ready for the electrician to rough-in the wiring. Unfortunately, the foundation wasn’t poured dead plumb back in the ’70s (the crew was probably one toke over the line, if you know what I mean) so the furring had to be built out…

wall1


Seriously, take a closer look. I had to build out the blocking a full 1-1/2” in one place!

wall3


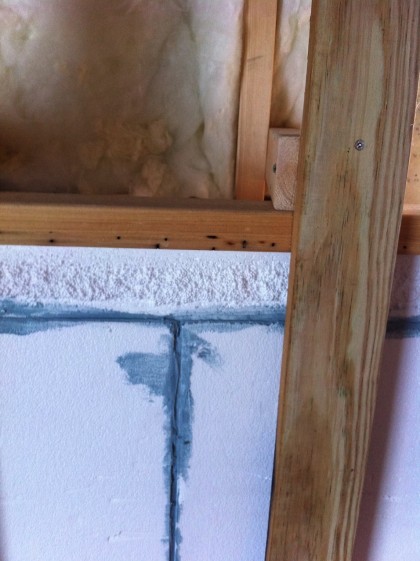
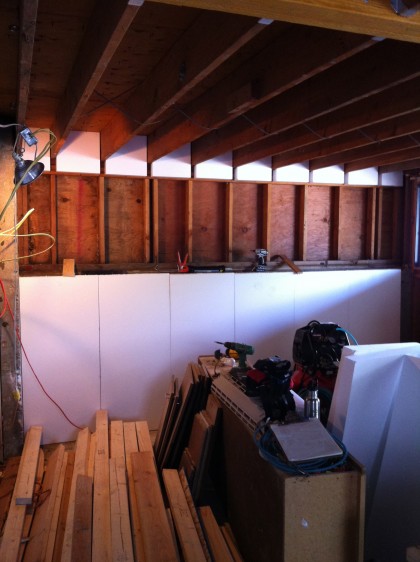
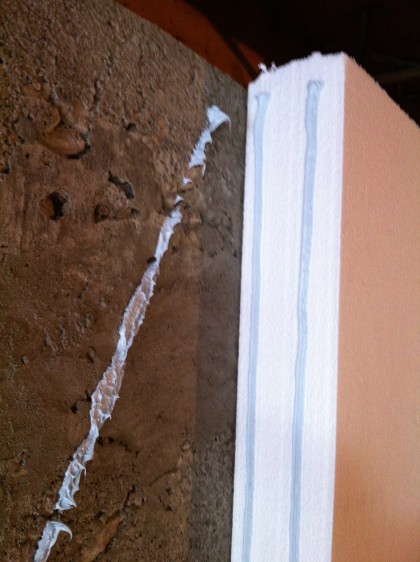
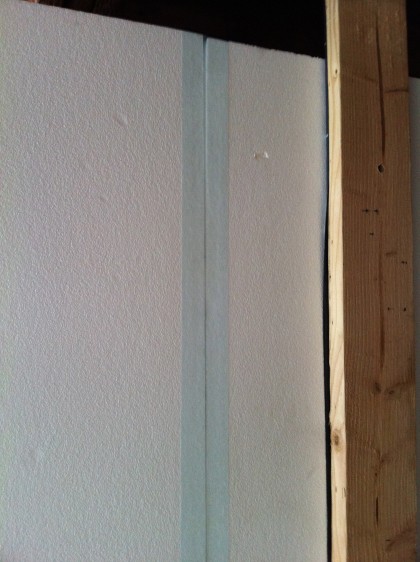
The special tape I was supposed to use for the Branch River Plastics EPS (styrofoam insulation) didn’t stick very well. By the time I’d pressed it down for the tenth time I realized I wouldn’t have access to it once the sheetrock was up. So I caulked all the joints with the PL300 I had used to glue it to the concrete and to itself…

wall2


That should keep the moisture in the concrete where it belongs. I know the system is working because I had to pull off a section to deal with a hole in the foundation that was leaking (well, shooting) water. So far, so good.

Want to know more about the insulation in those walls? It’s here.


what’s in your walls?

Wednesday, June 8th, 2011

So back to the downstairs, which is now in motion. David will tell you what he’s up to…

—————————————————————————————————-

One of the aims of these renovations is to cut our energy use, ideally by 60% or better. How will we achieve that lofty goal? By making the house air-tight and by adding insulation. Lots of insulation.

We ordered 3” of EPS (fancy name for styrofoam) made right here in Rhode Island by Branch River Plastics. Not only did it not have to ship from China, they make their foam in any size you like and they put boric acid in it to keep insects out  — which is handy seeing as we discovered there used to be termites in the walls. It weighs 2 pounds per cubic foot, so it’s denser than the shipping foam you’re used to. It is made with air instead of HCFCs so it’s better for the environment and holds its R-value over time unlike most other rigid foam insulation that slowly loses its effectiveness.

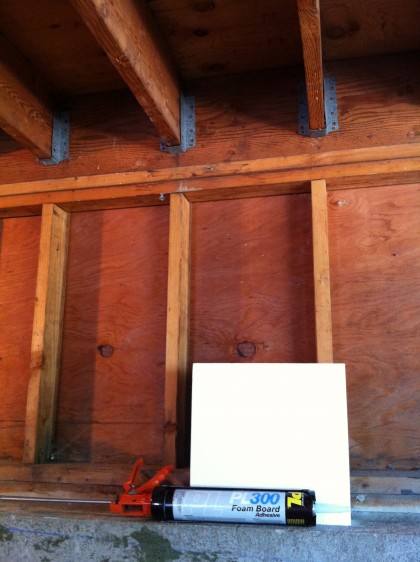
PL-300 adhesive holds it in place without dissolving it, don’t use anything that isn’t labelled specifically for foam…

foam glue


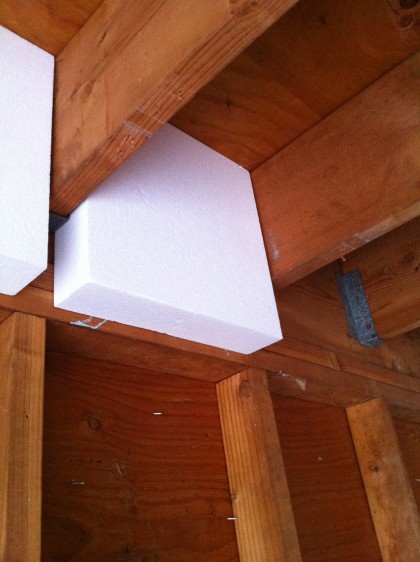
We had them cut pieces to fit between the floor joists…

rim joist foam

I wrapped it around the short walls on either end of the main space…

short wall before

short wall during

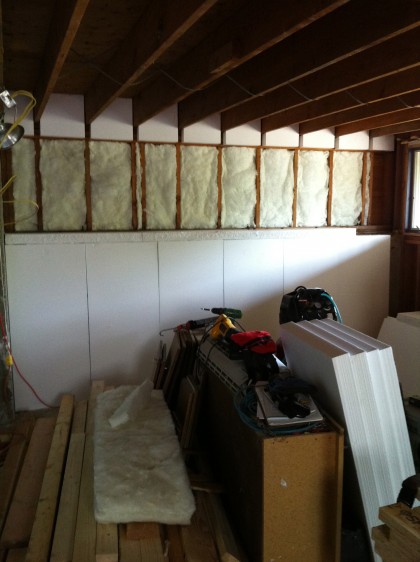
The wood-framed walls on top of the foundation receive two layers of un-faced fiberglass, here’s the first…

short wall after


When it’s done, the bathroom should be warm and cozy…

bath wall foam


I ran beads of the foam glue between the pieces to make them one big layer…

foam glue 2


Special tape seals the deal…

foam tape


I’ll be adding 3/4” furring strips screwed to the concrete. They’ll give us something to attach the sheetrock to, create a bit of air space to allow moisture to get out and give the electrician a place to run his wires. All that coming soon!


pond action

Monday, April 25th, 2011

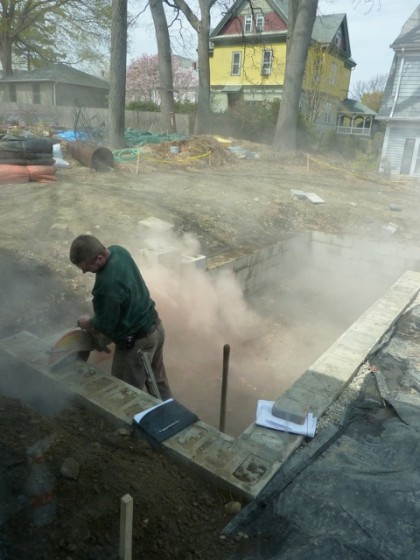
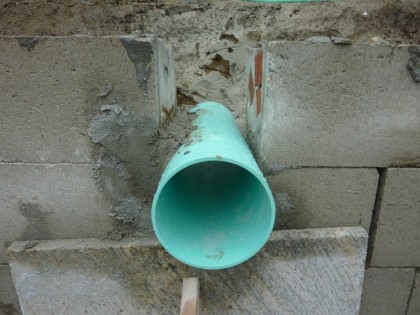
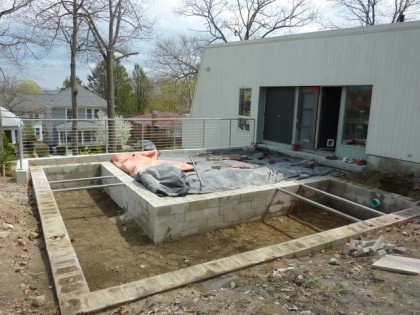
Yep, it’s happening. The pond is finally coming together. Yay! On Friday, the thermal blankets came off and the intake pipe for the skimmer went in. First, the cinder block wall had to be cut…

cutting the wall to make a notch for the intake

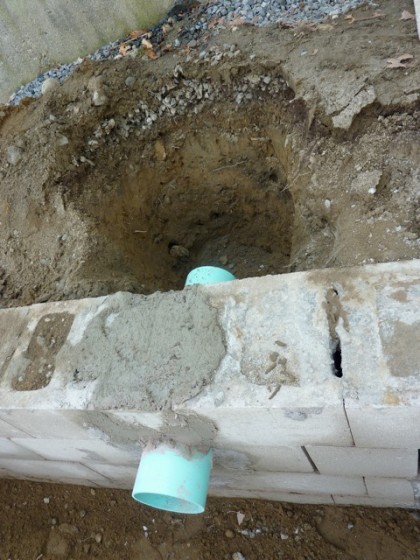
Then the pipe got cemented in and left to harden up over the weekend…

the intake to the skimmer gets cemented into place

Today, more cement went in. This baby’s not going anywhere…

more cement

Eventually that pipe will connect to the pond filter and pump. More on that when I have something to show you.

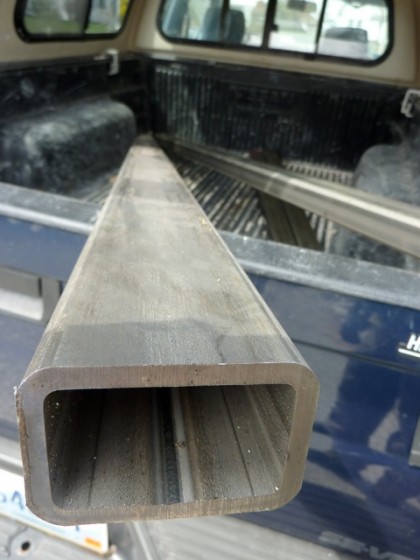
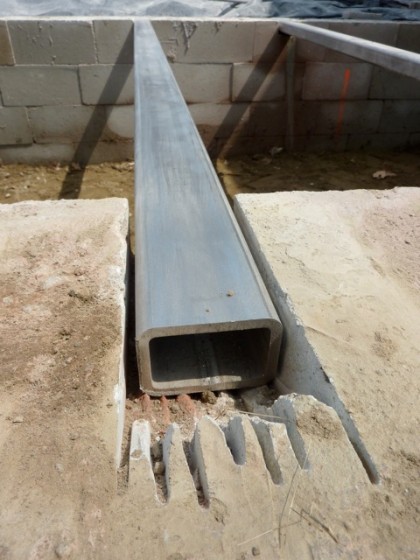
With specifications from the engineer, RI Welding was able to make the steel supports that will hold the two bridges across the pond. In case you’re wondering, yes, that’s a 1/4″ wall of Type 304 stainless steel (whatever that means)…

the steel arrives

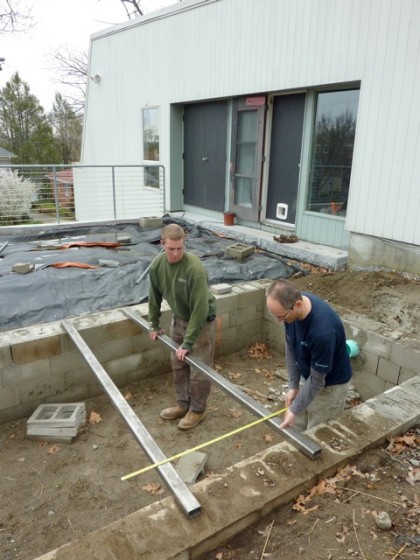
This afternoon we decided on the placement of the bridges…

the steel bridge supports get placed

After much noise and cement dust, the walls were notched to hold the steel in place…

the steel supports get their own special notch

Tomorrow, the flexible pond liner will go down with the steel supports right on top of it. With the steel in, you have a pretty good idea of what it’s going to look like when it’s finished…

a hint of pond to come

I wonder if we’ll have a pond and patio ready for celebrating Cinco de Mayo? Probably too much to hope for. But I’ll keep some limes handy anyway. You know, just in case.

tues a.m. progress report

Tuesday, March 1st, 2011

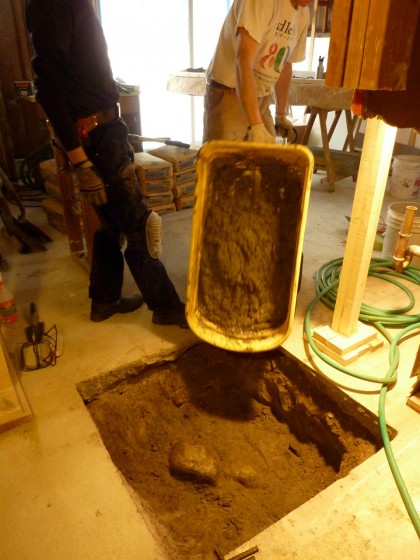
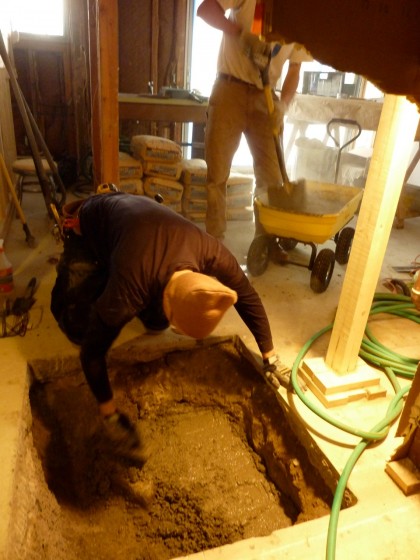
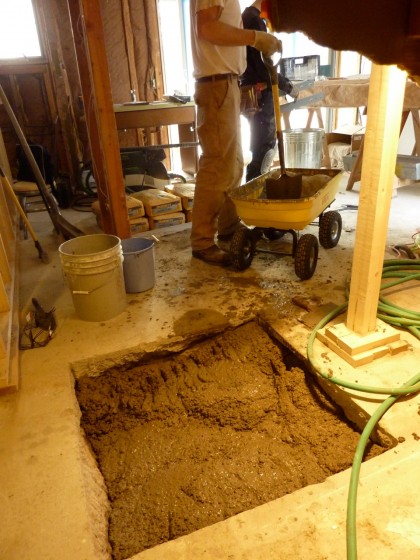
It’s not even 9:30 in the morning as I write this and the giant hole David and Joe drilled out the other day is already filled with concrete. It pays to hire professionals. Who start work at 7:30.

Joe mixes the first batch of concrete while David dampens the hole. I can’t believe I just wrote that…

pr2

The big hole takes the first load. I can’t believe I just wrote that…

pr3

David’s job is to — well, you can look at the pictures and apply your own innuendos…

pr4

pr5

pr6

pr7

And now, coffee break while things harden up. I can’t believe I just wrote that.

FYI: COMMENTING ISSUES ARE FINALLY FIXED! HAVE AT IT.

thurs progress report

Thursday, February 24th, 2011

You’ve seen what the downstairs used to look like. And you’ve seen the plan for what it will look like. So here’s what it looks like today.

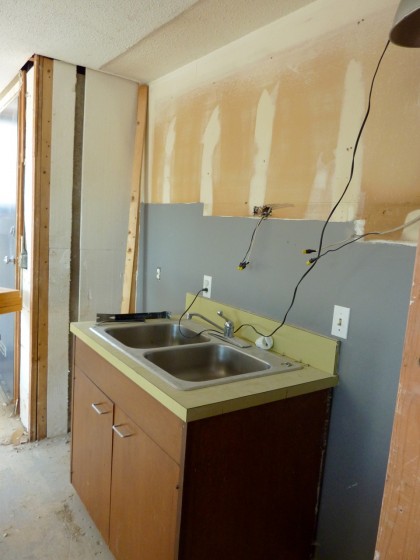
The kitchenette cabinets are down. We need a professional to come and deal with the plumbing so we can 86 the lower cabinet now…

kitchen cabinets are down

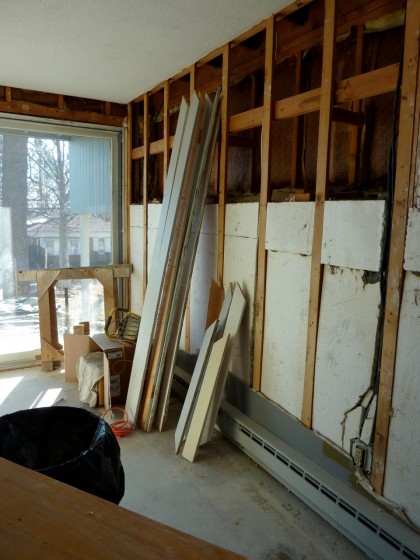
The sheetrock is all down and the trim is off. In fact, the trim is being picked up right now by some enterprising DIYer who saw our Craigslist posting for it in the “free” section…

the sheetrock and trim are down

The doors are out. Also being picked up by the same Craigslist troller…

the doors have been removed

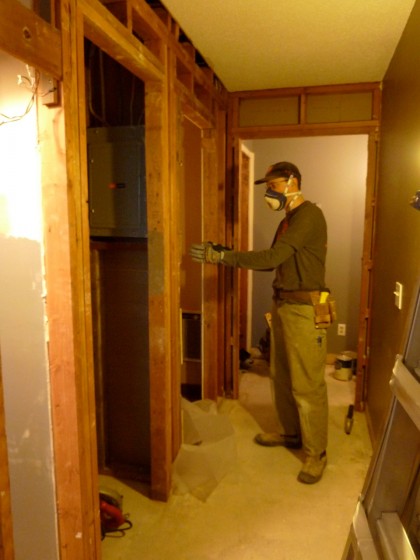
The hallway seems so much larger without doors…

the hallway seems bigger

Is it too late to put in a bowling lane?

David is hanging plastic to keep the dust from migrating upstairs…

dust prevention

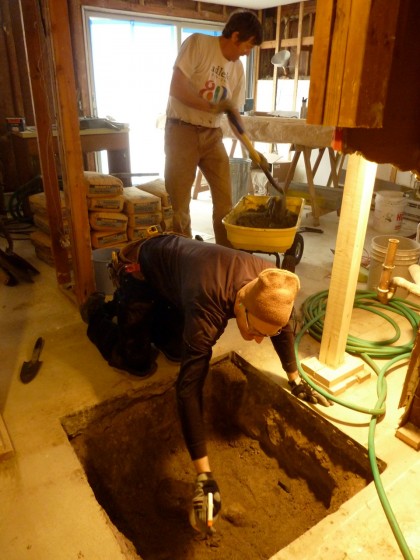
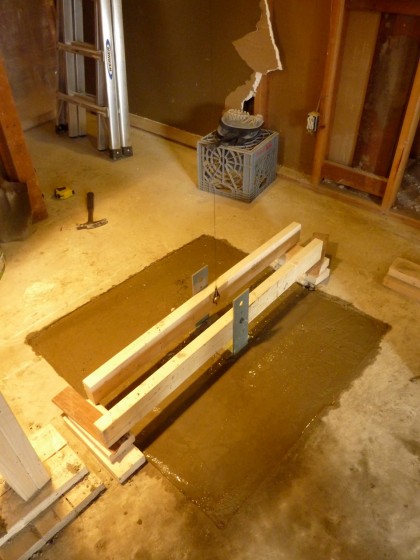
Because next up is concrete cutting so that we can verify for the engineer that there’s actually a footing for the column we want to put in…

concrete floor marked out for cutting

Expect noise. A lot of noise.

neverending patio story

Tuesday, November 16th, 2010

Talk about dragging things out. November and we’re still talking patios! Here’s where we left off: on the fence about poured concrete, our ideal scenario, so we’ve been considering other options.

Our poured concrete layout looked like this (click to biggify)…
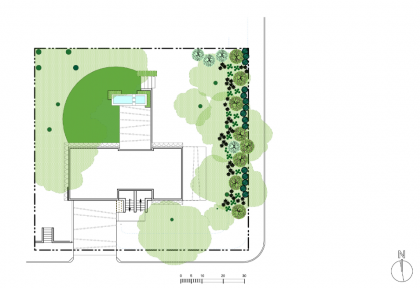
our last patio plan

Finished, those concrete sections would have looked kinda like this (but running parallel to the house)…
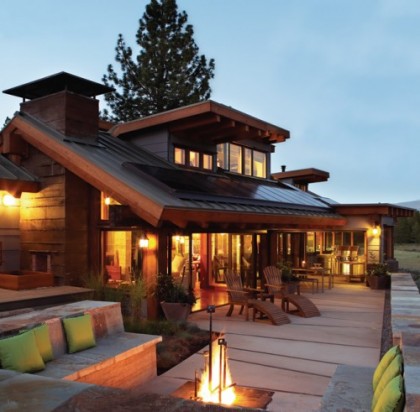
by shades of green landscape architecture | houzz.com

by shades of green landscape architecture | houzz.com

Too bad that’s not gonna work out moneywise. Waah.

Option 1 : concrete pavers

So if poured concrete is out, what’s the next best thing? Concrete pavers? We looked into a few sources after eliminating Lowe’s and Home Depot.  Stepstone, Inc. makes what I think are the best-looking concrete pavers by far…
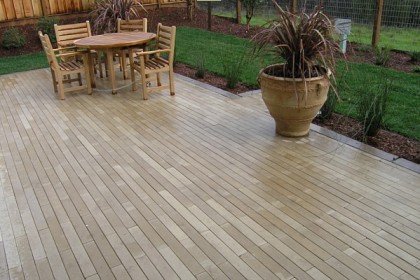
narrow modular pavers | stepstoneinc.com

narrow modular pavers | stepstoneinc.com

The October Dwell features an article on the remod of the mag founder’s first home.  Lots of great images of Stepstone pavers on their back patio. Beautiful. They’re made in Cali. On the phone, their people were very helpful. Drawbacks: Several week lead-time. Shipping. Not cheap. And honestly, I’m still hooked on having pavers set into gravel or grass, in which case these wouldn’t work — they’re designed with a mortarless spacer system that requires them to be butted up against each other.

Looking for a concrete paver alternative closer to home, David came across Bolduc in Canada. We liked the look of Avenue

avenue in a commercial application | bolduc.ca

avenue in a commercial application | bolduc.ca

Commercial rather than residential, which didn’t deter us. Cheaper than Stepstone. Comes in several shades of grey. The folks at Southridge Farm and Nursery in Walpole ordered some samples for us. They look like this…
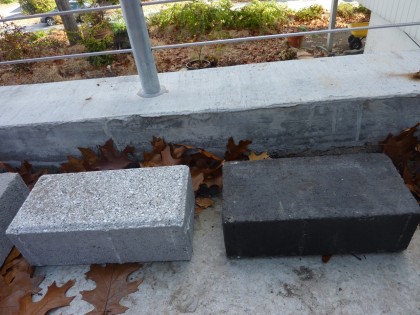
bolduc samples

They come in larger sizes. Good. Beveled edges. Icky. Overall, too, um, municipal looking? The top side of the dark option looks like poured asphalt. Not a look we’re going for. Shazam.

Option 2: stone

Okay, so if those pavers are out, what next? Stone? We automatically ruled out stone because it has to cost more. Doesn’t it? Turns out that bluestone or granite run about the same cost or even cheaper than the Bolduc pavers. Wow. Okay, so that sounds encouraging.

New layout options: squares

So what about layout now that the trapezoid look is a no-go? The square grid layout looks great but it’s a no for us, whether they’re set in pea gravel…
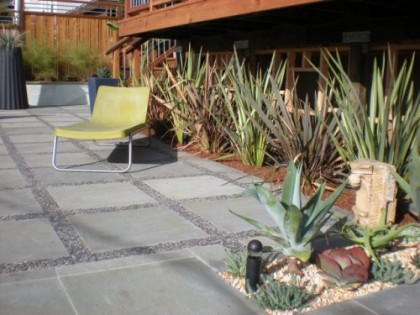
by daniel nolan design | houzz.com

by daniel nolan design | houzz.com

or set in grass…
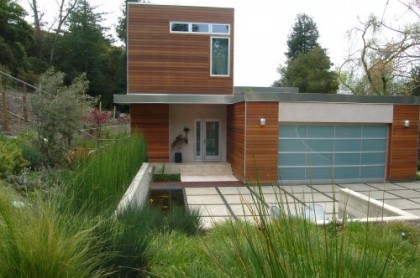
by huettil landscape archictecture | houzz.com

by huettil landscape archictecture | houzz.com

Squares are perfect when the architecture is boxy like that. Not so much for our situation. David and I don’t always agree about everything but we do agree that a long, linear layout goes better with our long, linear house. Strips set parallel to the house would lead the eye out toward the low pool at the end.

New layout options: rectangular strips

Imagine strips of stone set in pea gravel. Either uniform strips…
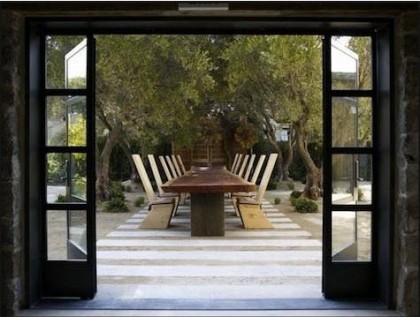
maisonry winery, yountville | remodelista.com

maisonry winery, yountville | remodelista.com

Or staggered strips…
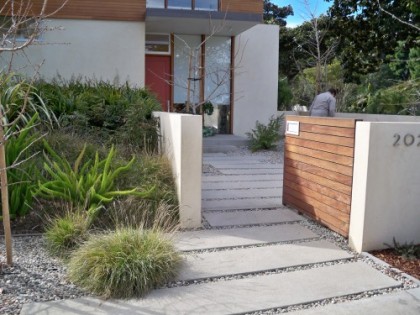
by environmental concepts | houzz.com

by environmental concepts | houzz.com

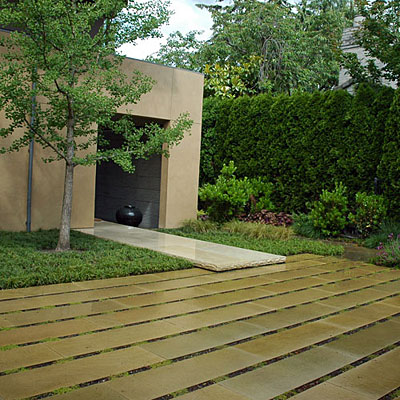
I can also picture strips of stone set in grass…
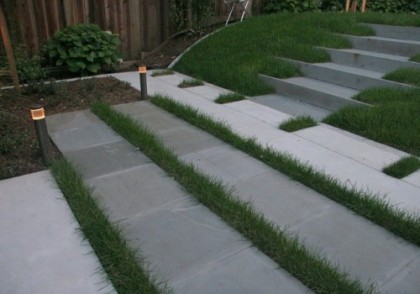
by feldman architecture | houzz.com
by feldman architecture | houzz.com

from seattle dream gardens | sunset.com

from seattle dream gardens | sunset.com

Decisions, decisions. We’ll be working out patio configurations this week so that we can get this party started.

Pool options

Then there’s also the matter of the pool. David was set on an above-ground water feature so that people could sit on the edge. Something akin to this…
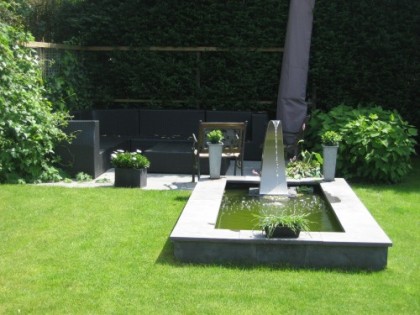
by carolyn chadwick | houzz.com

by carolyn chadwick | houzz.com

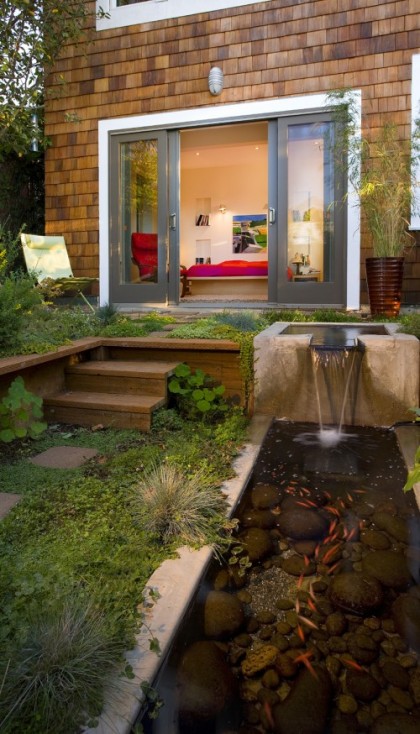
Not impossible to create such a thing but it’s a little more expensive. I’m not budging on my desire for steps across the pool to the patio, either way. Luckily, David is now open to an in-ground pond…
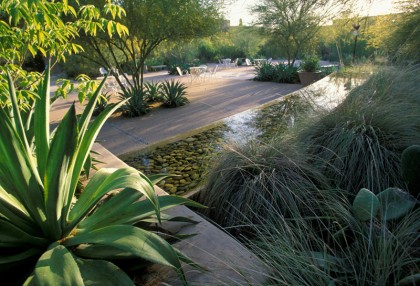
desert botanic garden pool by ten eyck landscape architects | teneyeckla.com
desert botanic garden pool by ten eyck landscape architects | teneyeckla.com

montcalm street by rossington architecture | houzz.com

montcalm street by rossington architecture | houzz.com

The stones in the pond are kind of nice. Of course, both of those examples are concrete edge and not stone, so the look would probably be more like this…
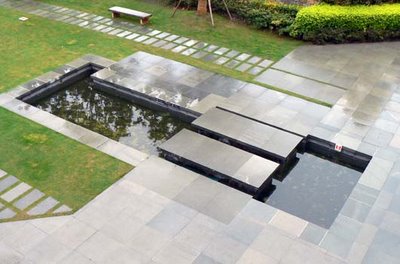
blue mountain by phillips farveaag smallenberg | pfs.ca

blue mountain by phillips farveaag smallenberg | pfs.ca

Sounds like poured concrete may not be in the pond picture now. Pool liner? Oy. Our neverending story… everybody sing!
Want even more?

Reference previous patio and pool obsessiveness at total yard-on for hardscape.