Posts Tagged ‘engineer’

cantilever is so happening!

Tuesday, September 18th, 2012

This is it. The rotting deck is rebuilt, the house has been prepped and waiting for the steel for the last month, and now comes the big climax. That cantilever we started talking about in May is on, baby!

Before David explains, let me remind you of this…

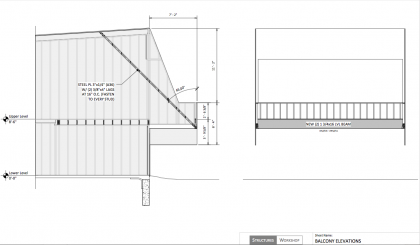
engineering drawing | deck, 04/02/12


That’s the drawing our engineer provided (click to biggify it) as a way for us to remove the posts and cantilever the deck. To recap a previous post:

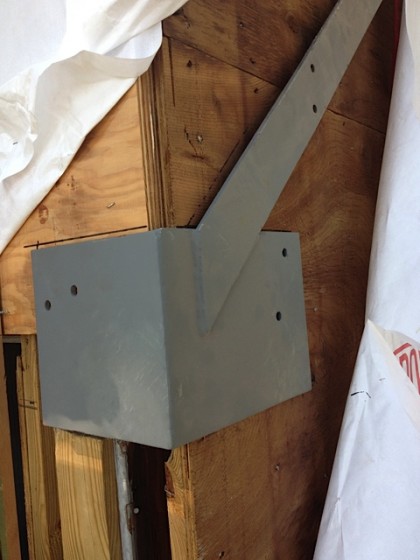
  • Two steel brackets (or cups) will tie all the wood together at the outside corners of the deck.
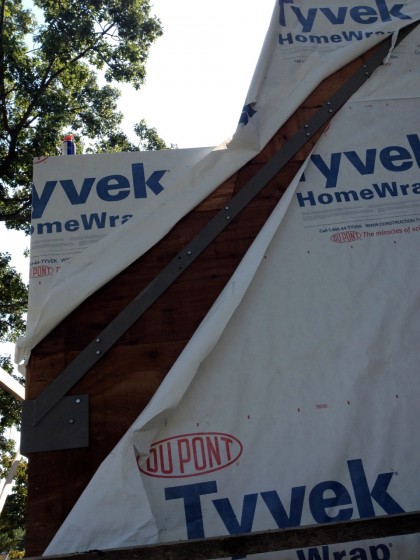
  • Two long steel straps bolted to each framing member they cross will support the outside corners by spreading the load across the sides of the house.


So, can I introduce you to the steel?

Steel, reader.

Reader, steel…

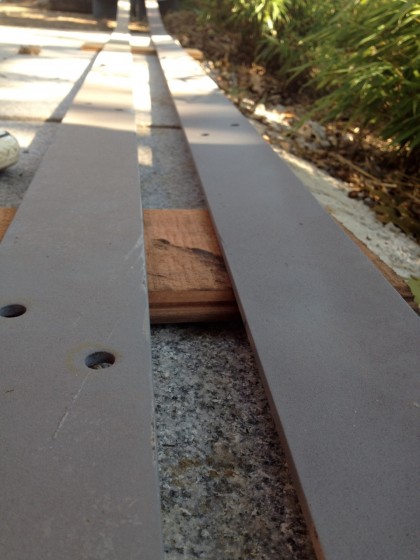
closeup of the steel


Now that the niceties are out of the way, take it, David!

—————————————————————————————-

Rhode Island Welding custom-made the steel our engineer specified for us (complete with pre-drilled holes as you can see above), and last week Joe and I installed it.

First, we drew exactly where the steel brackets (or cups) would fit into the existing deck structure…

drawing notes where future steel will anchor deck


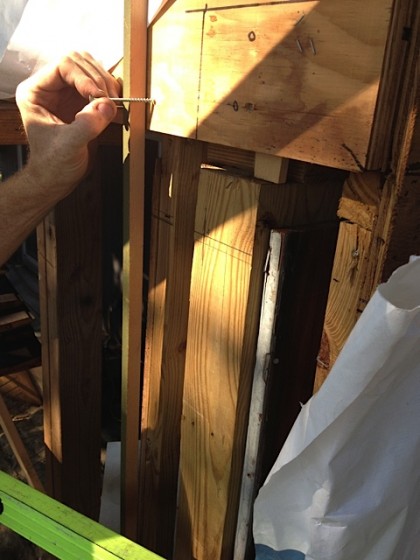
Then we put up a story pole — the 1”x1” stick that Joe’s about to put a screw next to — that would serve as our marker for the proper height of the deck structure once the posts were cut away.

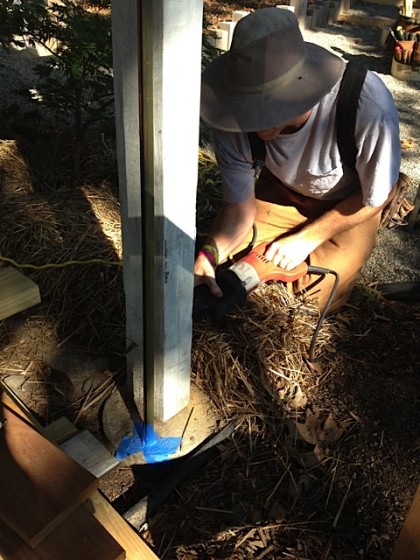
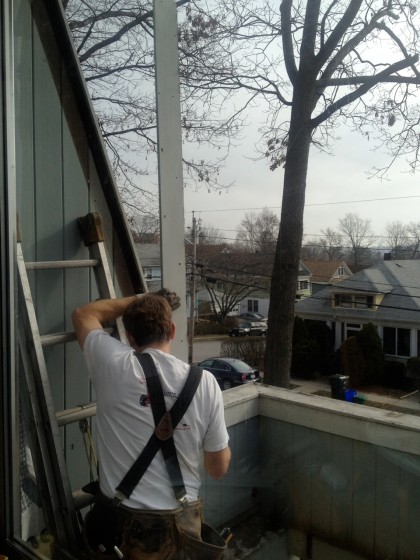
Here’s Joe cutting the 4” x 6” post so that we could jack the deck up slightly — we want the deck to settle back down to its original height after we set it on the steel. The bottom of the story pole is taped to the concrete footing with blue tape…

cutting the first post


After that, installation went fairly quickly.

Once in, the steel cup catches the bottom of the deck and the strap transmits the load up and spreads it across the house framing…
steel corner in place


32 galvanized bolts, each ⅜” diameter by 4” long, hold it all together across each framing member as planned…

installed! job well done, boys!


This week, Joe and I will take out the remnants of the posts and the deck will be fully cantilevered as originally intended!

mystery solved

Saturday, May 5th, 2012

Back to the deck. The other day, it was taken apart. And the findings? Tell us all about it, David…

——————————————————————————————

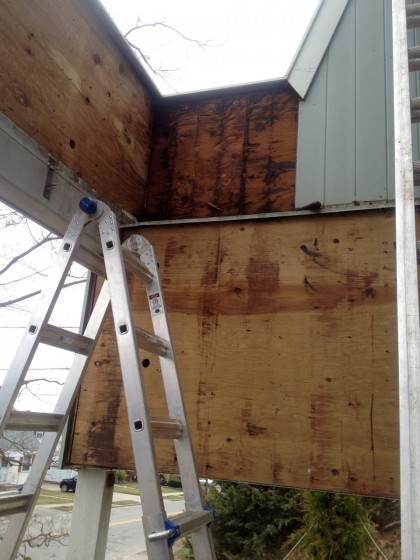
So. Exploratory surgery has exposed the truth about the deck…

the deck wall has been removed


Some is ugly… well, all of it is ugly. But we kind of knew that going in.

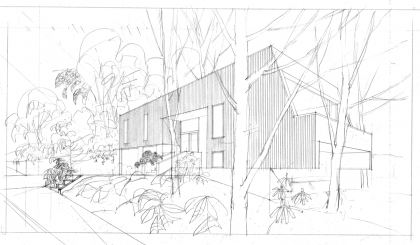
Insects had their way with the original deck and it’s apparent that in the early ’80s the deck was rebuilt. Unfortunately not by craftspeople, or in fact by carpenters. In any event, we will now repair what’s there as well as build it to the original ’70s design, as intended by architect Irving Haynes (click to biggify)…

architectural rendering of our house, circa ’70 | Haynes and Associates


Cantilevered. Which means we’ll be taking out the three spindly support posts currently there.

Our engineer provided us with drawings of an ideal situation (click to biggify)…

engineering drawing | deck, 04/02/12


The plan:

  • A pair of LVL beams (same as we used to support the living room floor/downstairs ceiling) will carry the deck load across the front of the house.
  • Two steel corners will tie all the wood together at the outside corners.
  • Two long steel straps bolted to each framing member they cross will support the outside corners by spreading the load across the sides of the house.
  • And with slight modification of the steel corner, we will proceed. After the building department gives us a permit, that is.


Once the framing is all sorted we’ll add some nice new decking, an affordable teak alternative called Garapa Gold. But that’s a story for another day.

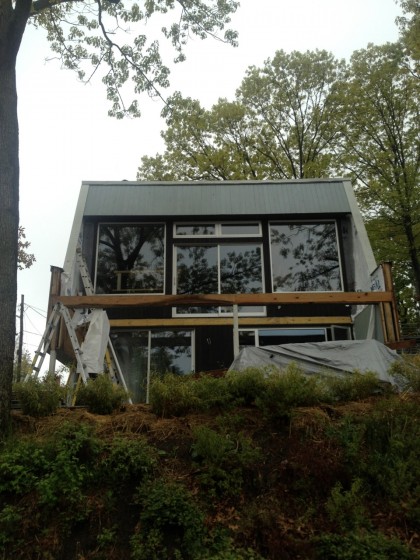
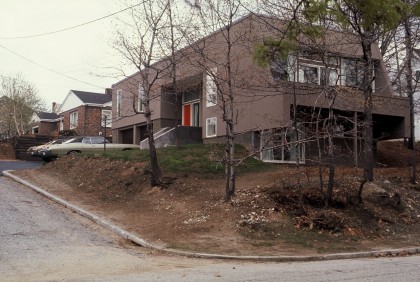
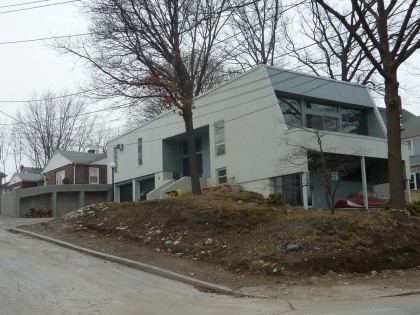
In the meantime, everyone can see us from the street…

please don’t go out on the deck

the deck: where we left off

Thursday, March 29th, 2012

Let’s see, what’s been going on at the homestead since I last had time to share?

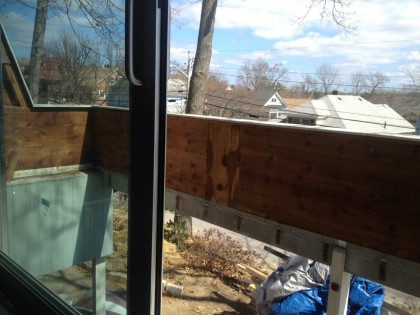
Removing the siding on the inside of the deck surround…

removing the siding


removing the siding 2


Turns out the wall on the west side of the deck was completely soggy to the point of rotting…
soggy siding


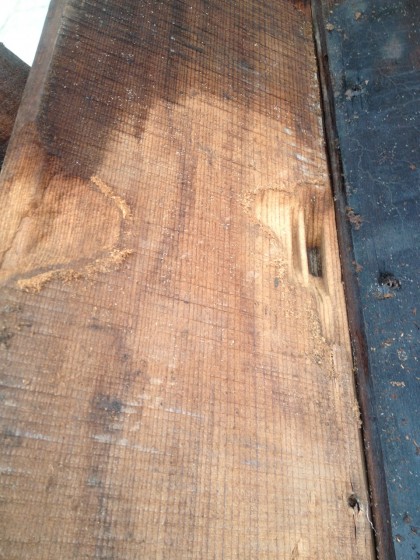
It absolutely reeks of mildew and was covered in slimy goo. Gross. The wood on that side is not salvageable, unfortunately. Especially once you add in the carpenter ant damage…
signs of old carpenter ants


They love wood that’s been softened up by poor drainage. Luckily we got rid of the ants right after we moved in.

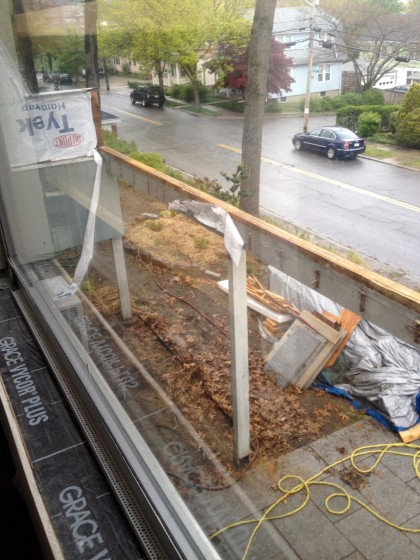
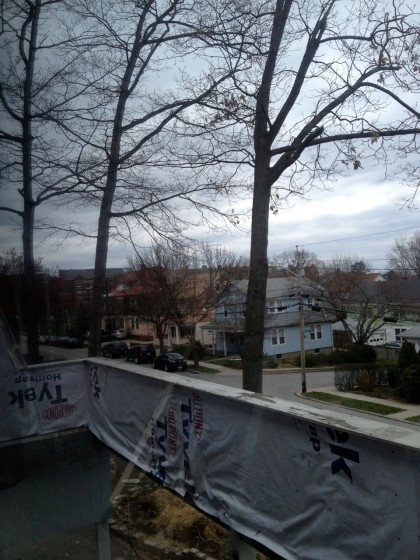
So where does that leave us? The walls are temporarily covered in housewrap to keep out the spring rains…

deck walls with housewrap


And now there’s a slight pause in the rebuild of the deck while we wait for the engineer to chime in. On what, you ask? Biggify this and check out the deck as the architect imagined it in 1970…

architectural rendering of our house, circa ’70 | Haynes and Associates


Cantilevered. No supports.

Compare that to how it actually got built a year later…

view from the corner, post-construction | Haynes and Associates


A single post stuck in the middle. Well, not exactly the middle — slightly off-center so that it wouldn’t interfere with coming and going through the lower slider. Weird.

Compare that to how it looks now…

finished wall, February 2010


At some point, posts were added to either end in addition to the one in the center. David and I think this looks a little clunky and have always imagined we’d try to go back to Irving Hayne’s original vision if possible. Next week, Eric over at Structures Workshop should come back to us with drawings and we’ll find out if we can make it happen. Good man. We’ve tapped him more than once for this remodel.


garden bones: the big reveal

Thursday, February 18th, 2010

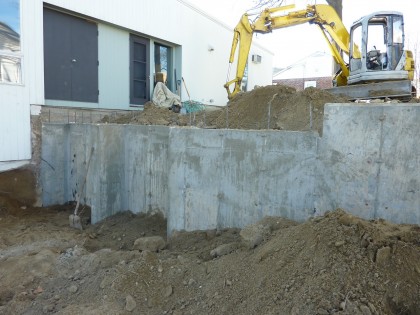
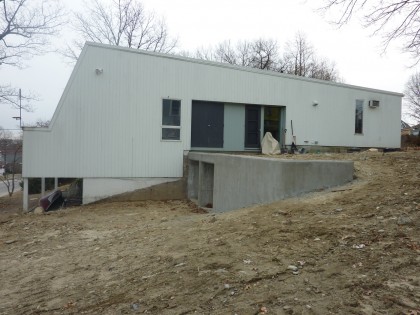
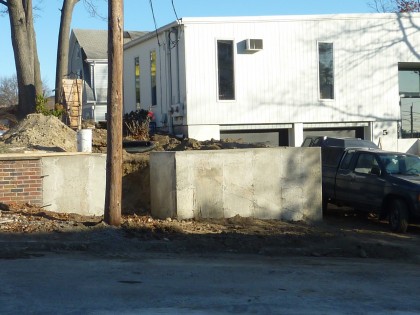
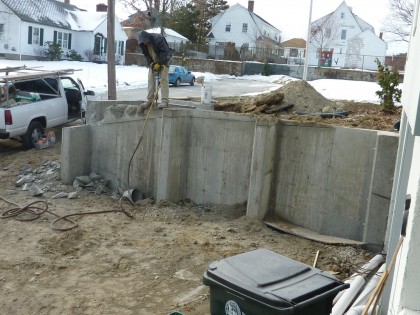
Retaining wall construction wrapped about two weeks ago. Let’s get right to the final results… As always, click to biggify.

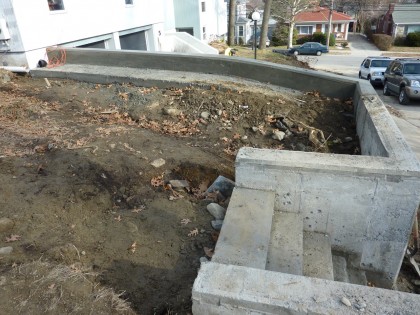
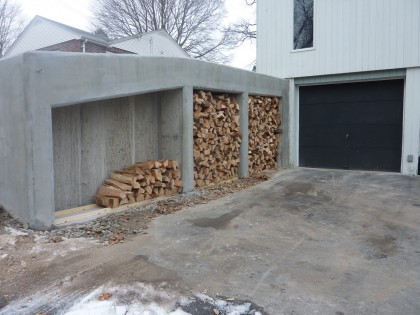
final front view

final back view

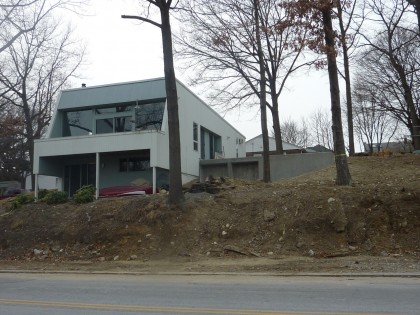
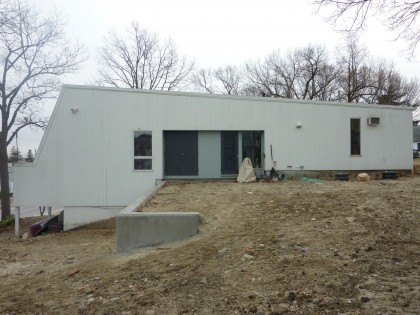
Very happy with how the walls look like they belong to the house — the mark of an architect. Irving would be thrilled. Thanks Markus Berger and Naomi Clare at Inside Out Design! Once the paint comes off the foundation, it should look even more seamless.  Doors still need to be built on the storage bays of the back wall. And when spring rolls around, plantings will soften the edges and add privacy.

The construction, chronicled

Want the nitty gritty? Read on…

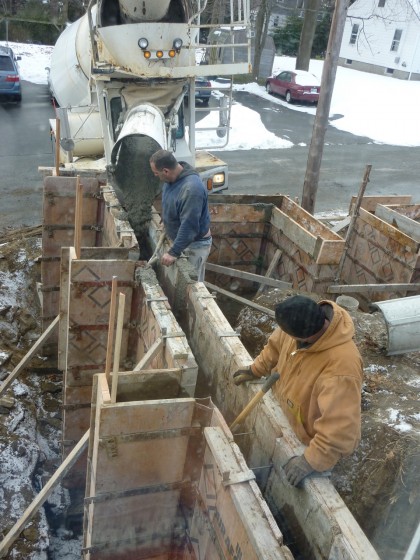
The retaining wall plans got done in November. The next step was getting bids from cement contractors. And tick tick tick tick tick, suddenly it’s December. Impending winter. This is Rhode Island, after all. Is building now really a good idea?

The contractor we settled on seemed to think it was. “Adjust the concrete mix to deal with the cold,” they said confidently in their thick Rhody accents. We were dubious. But our engineer, Erik Anders Nelson, was down with that. The city inspector was, too. So fine, then.

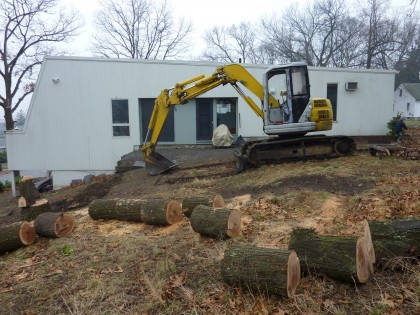
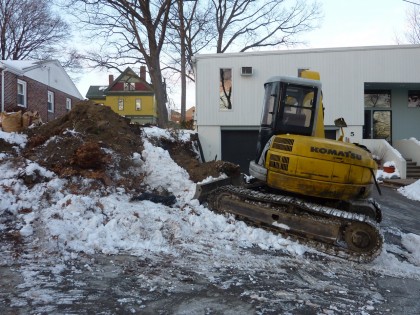
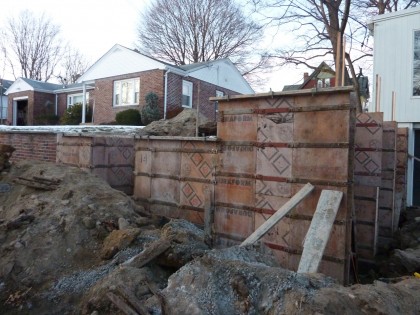
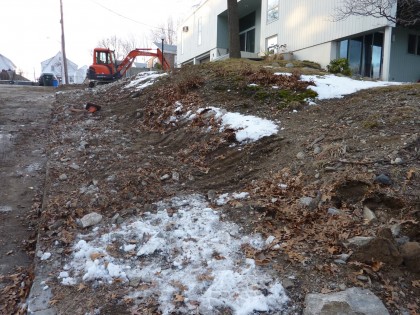
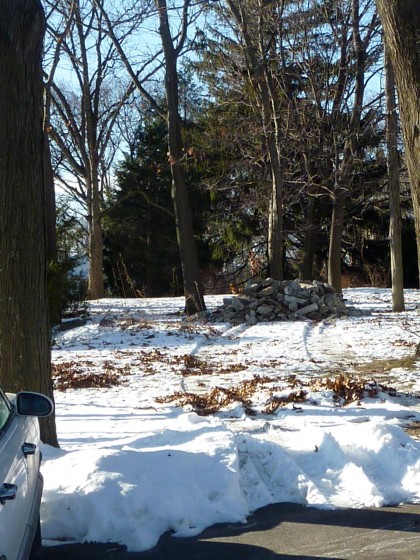
To start, we had to take out two trees in back that happened to fall directly in line with the placement of the retaining wall…

backwall 1

Sorry trees. I know it’s not much consolation but digging would have killed you. You’ll be replaced by something exquisite, I assure you.

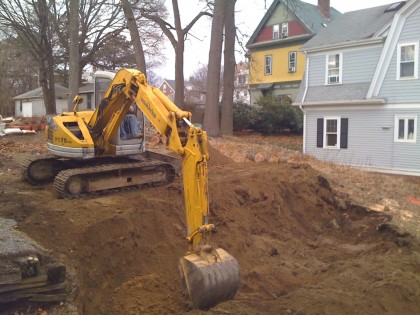
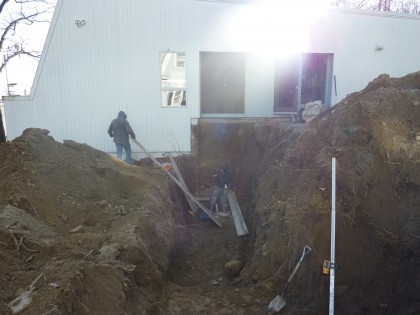
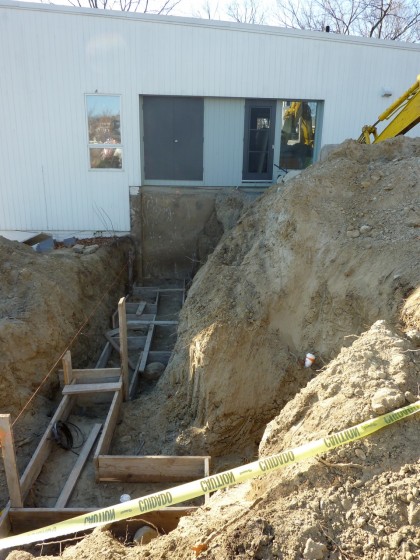
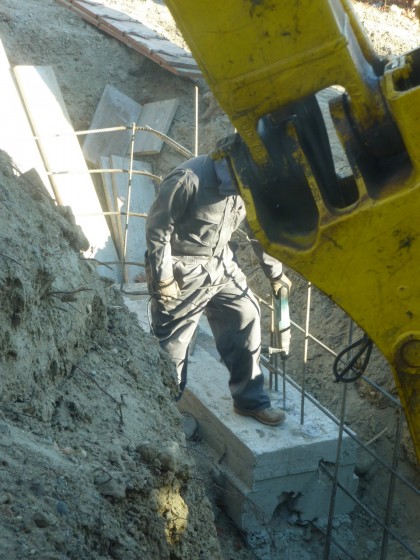
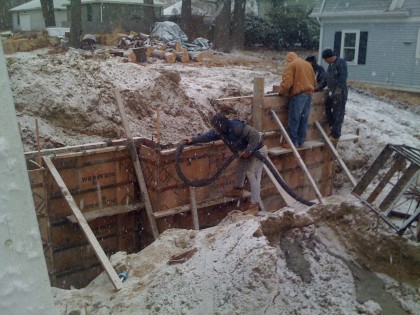
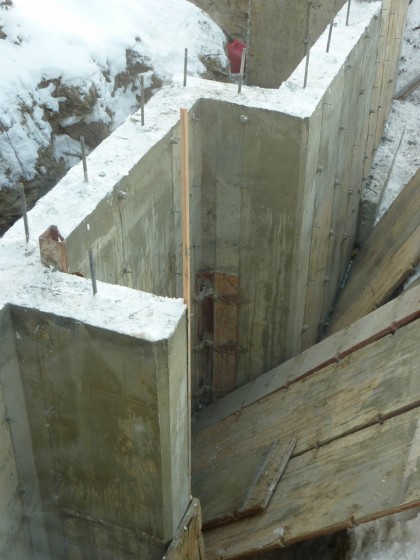
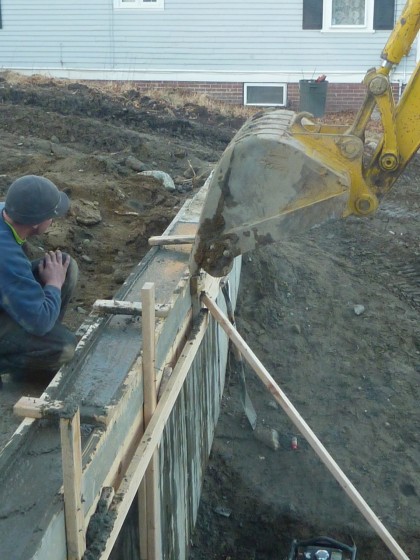
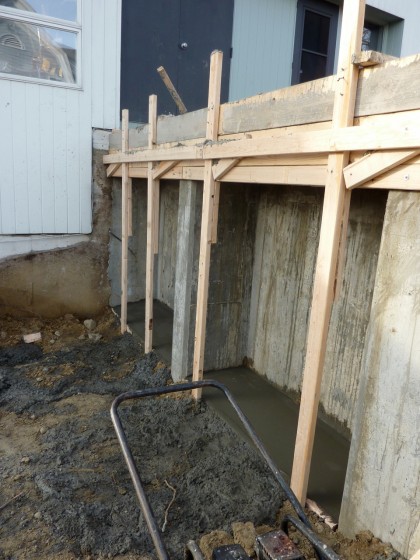
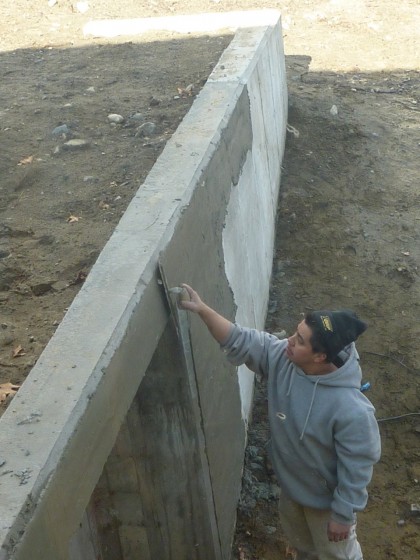
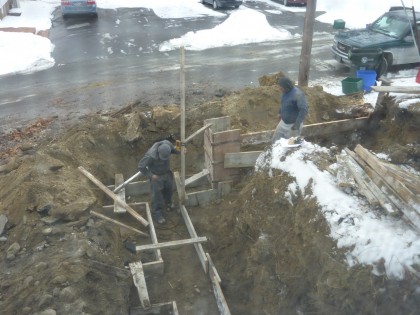
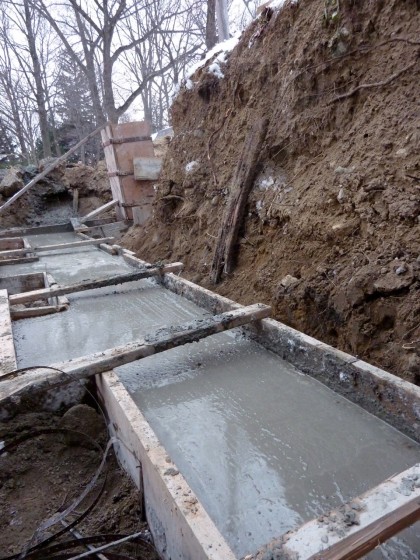
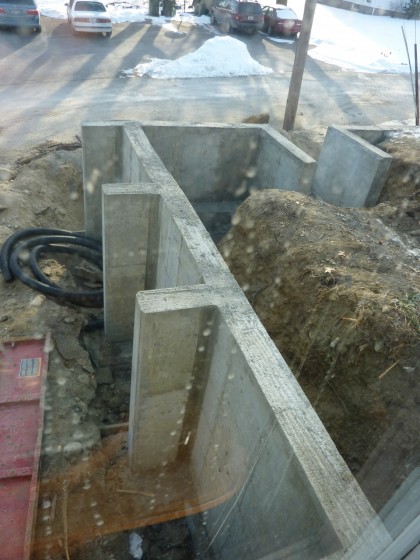
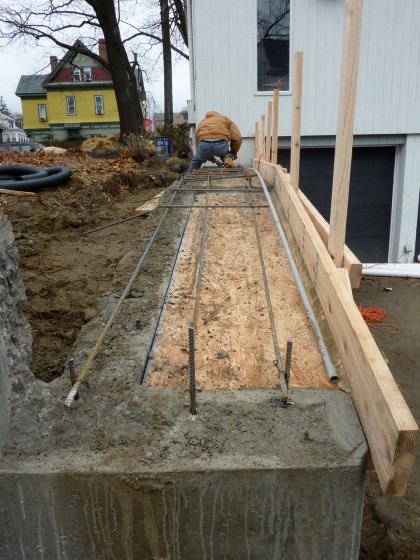
Digging started on December 15th. My Facebook friends weathered six weeks worth of almost daily posts on the progress. Highlights below. If you really want to get your geek on, you’re welcome to check out the full project from beginning to end, complete with angst and commentary.

Back wall:

back wall 2

back wall 3

back wall 4

back wall 6

back wall 7

back wall 8

back wall 9

back wall 10

back wall 11

back wall 12

back wall 13

back wall 14

Front wall:

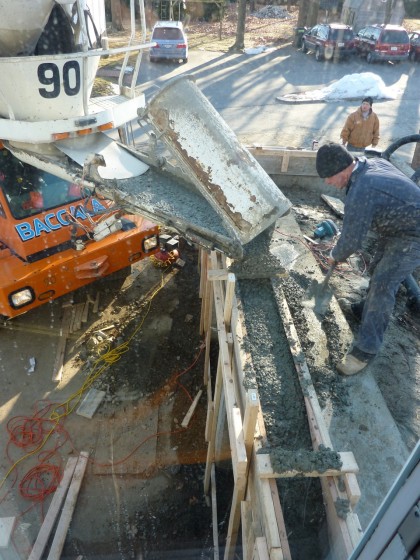
front wall 1

front wall 2

front wall 4

front wall 6

front wall 7

front wall 8

front wall 9

front wall 10

front wall 11

front wall 12

front wall 13

front wall 14

front wall 15

front wall 16

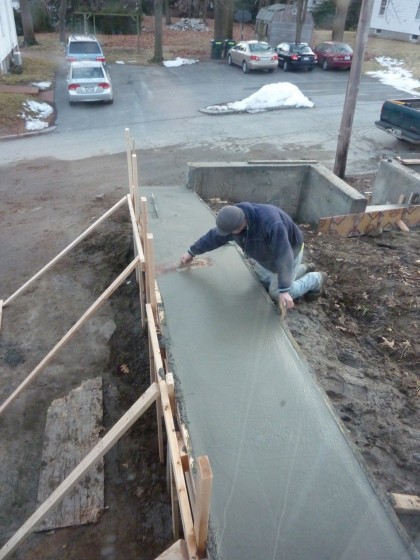
front wall 18

front wall 19

Goodbye, rocky menace:

rocky menace

rocky menace gone

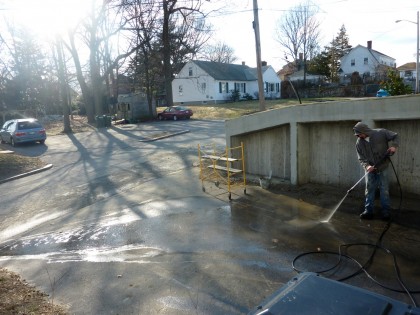
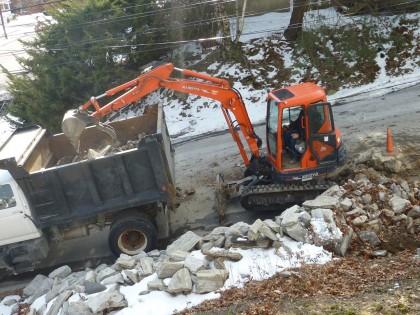
Four dumptruck’s worth of crappy stone, gone! Some of it…

rocky menace jr. in the neighbor's yard

ended up right across the street, in our neighbor’s yard! Glad someone can use it. We tried to give it away to any contractor who’d take it. No takers.

The ugly and unresolved:

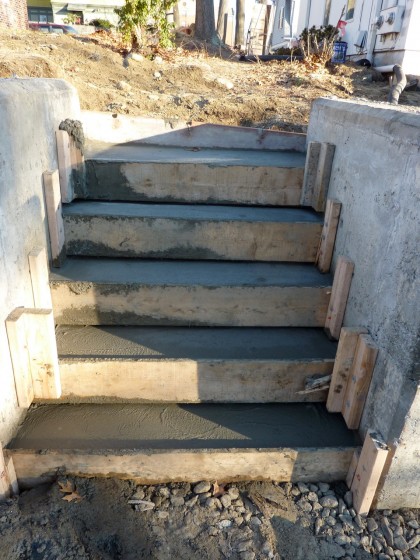
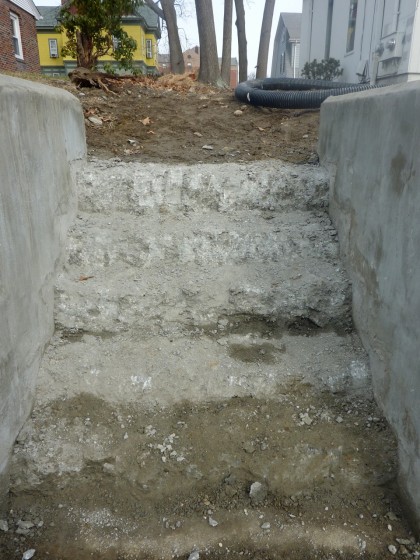
front wall stairs

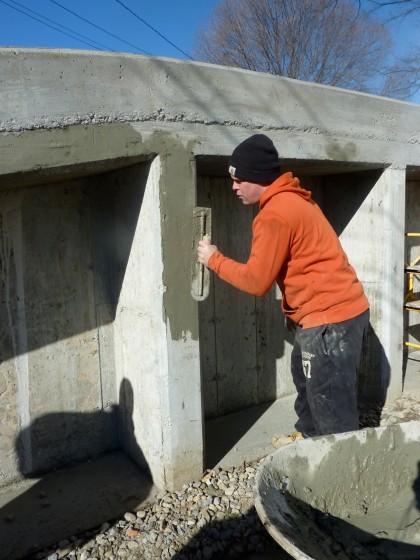
Drama with the stairs. The concrete crew couldn’t seem to make the detail consistent from step to step (5th photo down, after the jump). David had them rip it out… three times. Oy. Says he’ll be pouring the detail himself. Hallelujah.

There’s also some debate about the stucco-ish finish. David thought he’d prefer it over the patchwork look of the concrete that resulted from multiple pours. Now he hates it. I could have lived with the bare concrete. Oh well.

Consider yourself caught up. Next step: adding skin to the garden bones. Epic look at ideas tomorrow!

garden bones: the design

Wednesday, February 17th, 2010

Our yard yearns to be a garden. Sadly, it’s more like a ski jump. Without walls to tame the slope, nothing can get planted and the yard is basically unusable. The hardscaping really is the skeleton for any landscaping to come. Here’s the down-and-dirty decision-making for retaining walls.

What to build them out of?

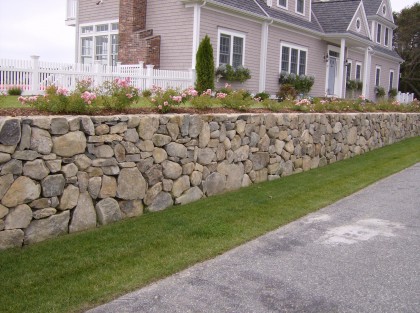
We briefly entertained the idea of replacing our rotting timber retaining walls with stone. True to New England, yes…

traditional stone wall | earthandstonecapecod.com

traditional stone wall | earthandstonecapecod.com

But not in keeping with the style of the house. And because of the height we need, we’d still require concrete and rebar and whatnot to keep them from toppling over.

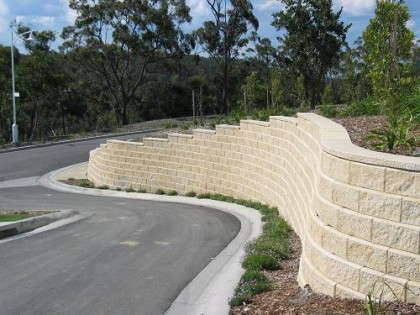
We talked to contractors about keyed block…

keyed block retaining wall | allanblock.com

keyed block retaining wall | allanblock.com

Absolutely the fastest, easiest, cheapest alternative. You see keyed block used in Lowe’s and Home Depot parking lots — a lot. Maybe that’s why it’s just not for us.

Those two choices eliminated, we took a closer look at what we have to work with. Both retaining walls actually touch the house’s concrete foundation… they’re kind of an extension of the house out into the landscape. When you think of it that way, it just makes sense to go with concrete as the wall material. Easy choice.

How should they look?

We want to echo a few design details from the house to tie the walls in visually…

angled walls

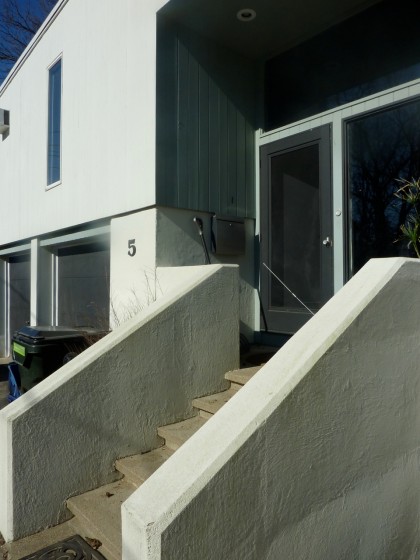
Angle. We want the driveway wall to pick up on the walls of our front steps.

wall detail

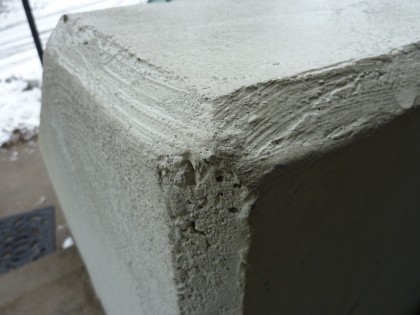
Beveled edges. We want this detail everywhere.

We want to build some function into the concrete walls — why not, right? In front, that means wood storage. Out back, small tool storage. We also wanted easy access to the yard from the front, which means adding steps…

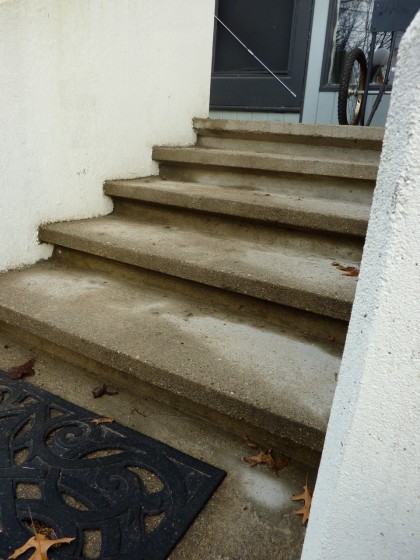
step detail

Any new concrete steps need to look like the original ones.

Who’s perfect to help?

In the hunt for help on the interior remodel, I was lucky to come across Markus Berger, president of Inside Out Design and assistant professor of interior architecture at RISD. He’s daring. Talented. Loves our funky house. Understands our passion for modern. Great reasons for him to work with us on plans for the inside — and outside, on the retaining walls. Naomi Clare is his able assistant. Love her.

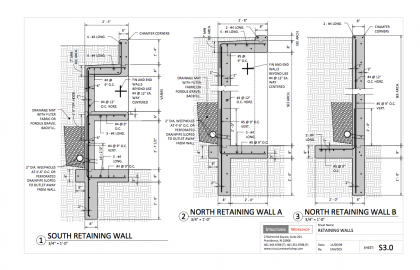
Both walls are well over 4′ tall. In Providence, that means you need an engineer to cover structural requirements and get your project approved by the city. Markus hooked us up with Erik Anders Nelson — an extremely clever engineer working at Structures Workshop, also an adjunct professor at RISD.

Got plans?

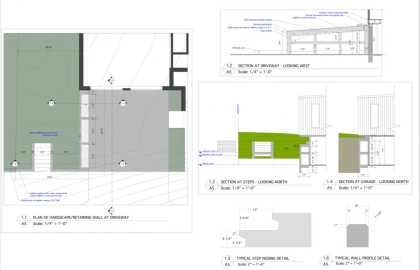
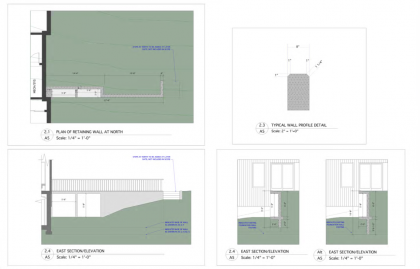
Heck yeah, we got plans! I’ll cut to the chase, since we’re playing catch-up anyway… Click the images to biggify.

Design for the front wall:

front retaining wall | Inside Out Design

Design for the back wall:

back retaining wal | Inside Out Design

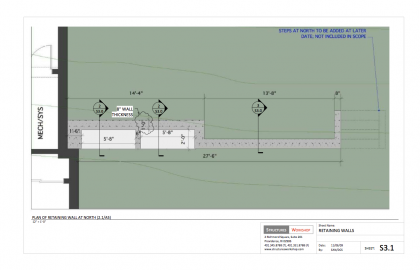
Engineering plans:

engineering detail, both walls

engineering plan, back wall details

Actual walls up next! Bear with me, we’re almost caught up.