Posts Tagged ‘flooring’

something concrete

Monday, May 7th, 2012

You may have missed it but I mentioned a week or so back that we had just returned from renewing our 10th anniversary wedding vows in Palm Springs…

renewing the vows


… with besties Lupe and Matt, who were with us on the very same spot a decade ago. Both times at dawn, no less. Very good sports, I must say.

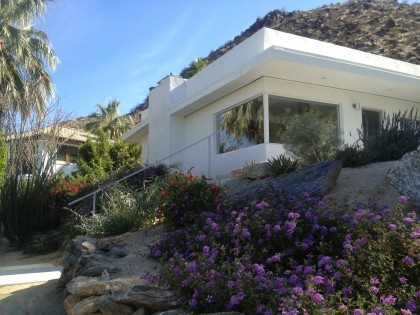
But this post isn’t really about that. It’s about my appreciation for the use of concrete at the recently restored midcentury modern rental home we stayed in…

the MCM house in palm springs


I know that sounds strange but bear with me and see if you don’t agree.

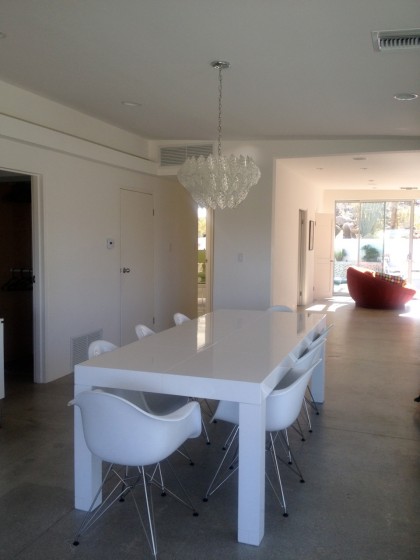
First of all, it looked as though tile had been removed from the floors to reveal the concrete underneath…

concrete floor view


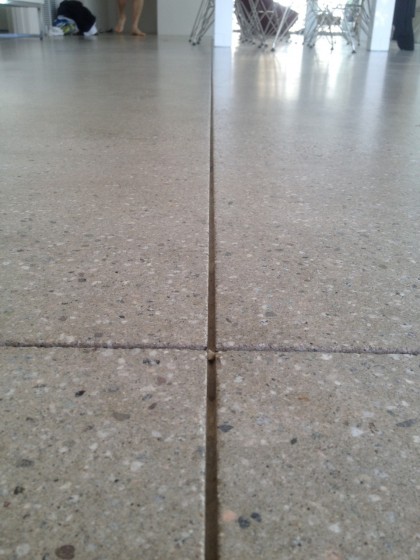
The owners scored it and polished it. Nice detail…

scored concrete floor


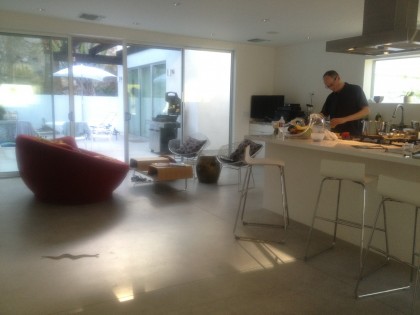
Kinda looks like terrazzo! So jealous. FYI, polished concrete is really difficult for a rattlesnake to move across… not that that will stop it from trying.

concrete floor with rattlesnake


No worries. It ended well.

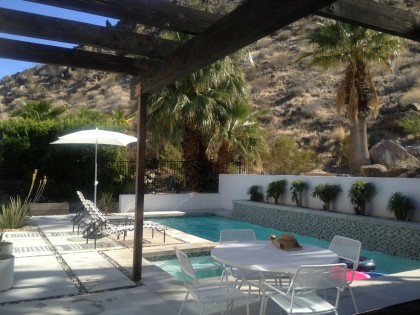
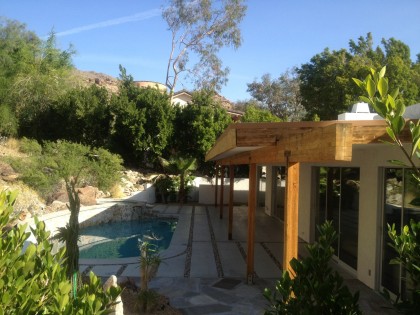
There was plenty of concrete outside the house, too. Around the pool…

concrete with stone around the pool area


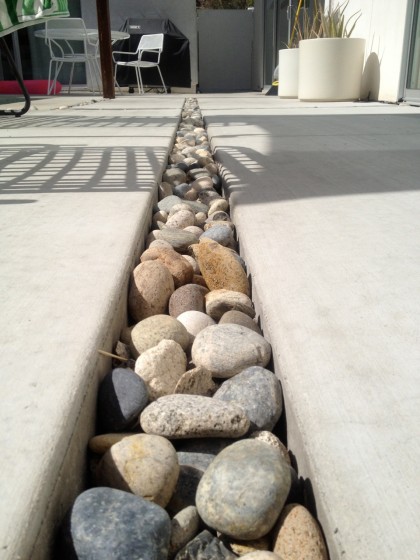
I love this look…

concrete with stone closeup


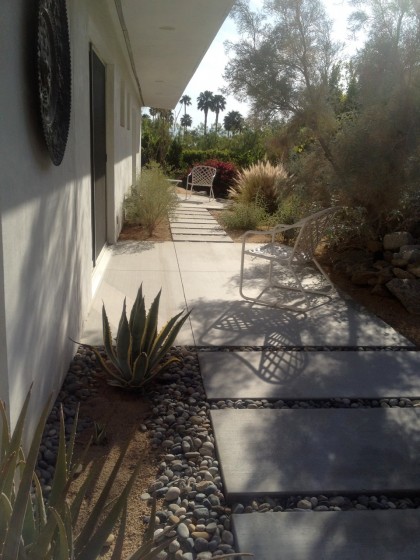
Around the sides of the house…

concrete with stone along the side of the house


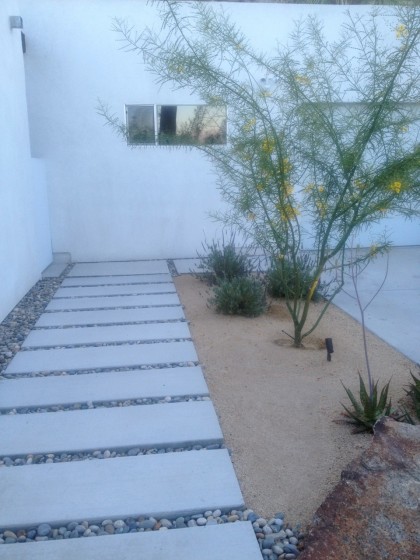
Along the driveway…

concrete walk alongside the driveway


There was a cozy little concrete patio out front, too…

concrete patio


A peek over the wall (sorry, I couldn’t resist) at the house next door tells me it was likely remodeled by the very same owners. Similar patio design…

more concrete and stone next door


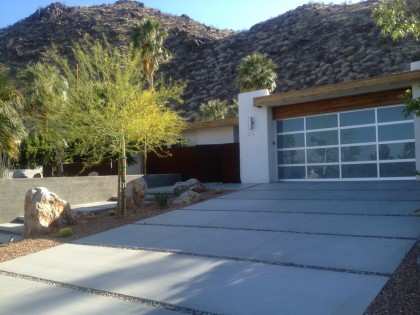
Yet another nice pool. The front driveway, which is on a slope not too dissimilar from ours in Providence, is concrete and gravel, something we’ve thought might not be possible…

driveway on a slope


We keep thinking the gravel may want to travel out from between the pads but it doesn’t seem to be doing so here. Hmmmm.

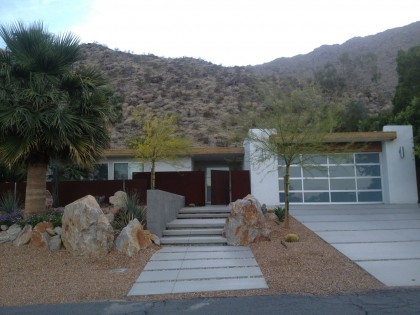
This house had an awesome scored sidewalk to boot…

driveway with complimentary sidewalk


Hard to tell from my early evening shot but that’s a gorgeous Corten wall in front of the house (click to biggify it and you’ll see it better).

Be still my beating heart.

the highs, the lows

Friday, May 4th, 2012

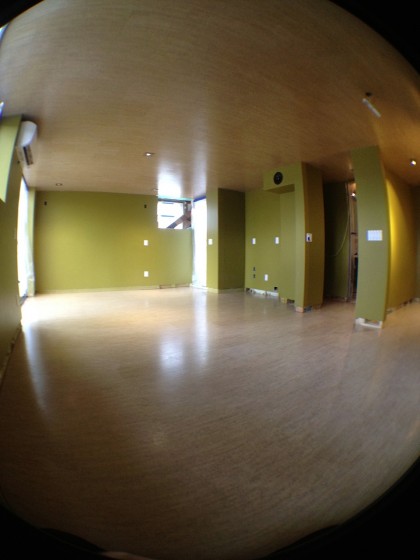
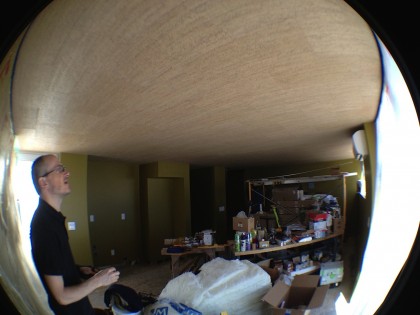
Want to see something that turned out perfect? The floor and ceiling, finished. TA-DAAAA!

the highs: floor and ceiling look fantastic!


the highs: still looks great from this angle


It’s so great when a project turns out the way you hope it would.

And now that that’s out of the way, want to see something that turned out craptastical?

Sure you do…

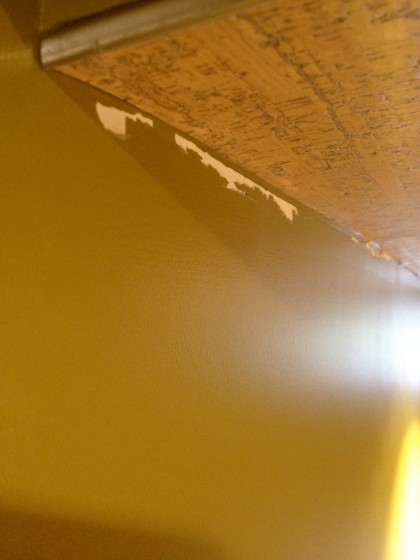
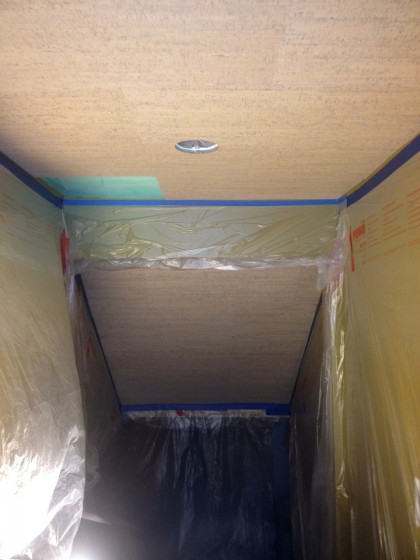
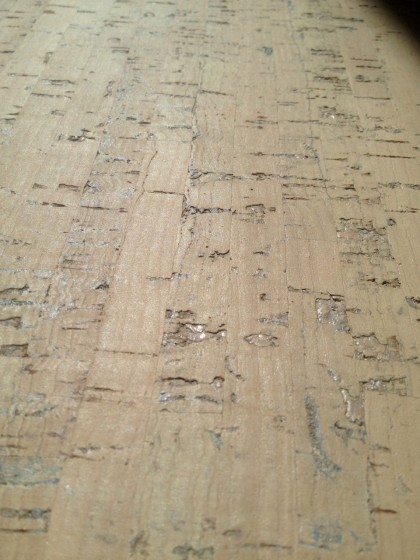
the lows: paint peeled off


Yup, when the plastic held on by the paint-friendly blue tape was pulled down, it took the brand-new paint job with it. All. the. way. around. the. room.
FFFFFFFFFFFFFFF…

Why did the paint fail? Who knows. But one thing is for sure: it’s not a simple fix. It probably means sanding and another full coat. Kill me now.

progress report: floor finishing

Tuesday, May 1st, 2012

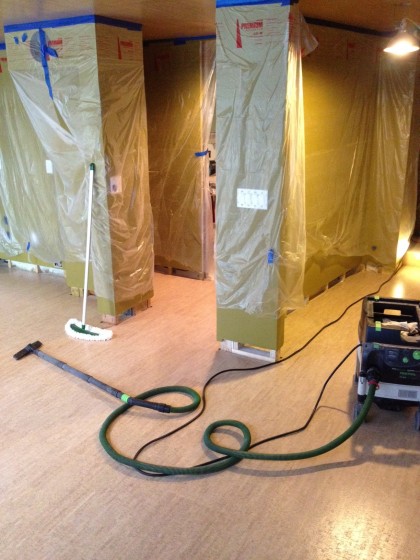
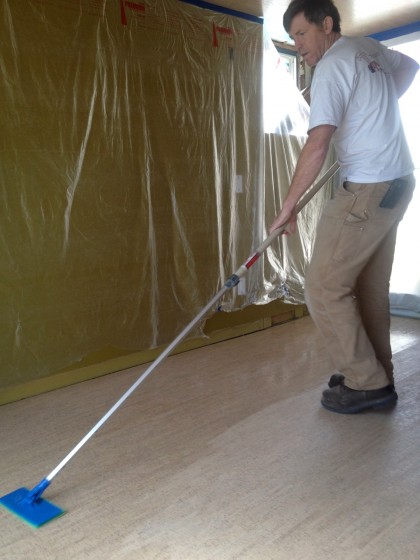
Well this is going quickly! David and Joe are putting four coats of finish on the cork flooring downstairs. The first two coats went down yesterday. This morning there was sanding, vacuuming and dust mopping…

get that dust off the floor!


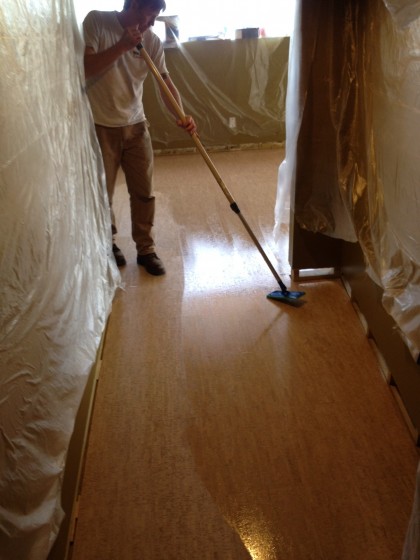
And now the final two coats are going on…

Joe adds a finish coat to the hallway into the downstairs


More later!

floor finishing is happening

Monday, April 30th, 2012

There may be only one in this shot but I assure you there are two swarthy dudes laying down the first coat right now…

first coat going on!


get your feet on the floor

Friday, April 27th, 2012

… everybody rock and roll! Think you can name that tune?

So with the ceiling now finished downstairs, the floor is in motion. No wasting time here, nuh-uh. David and Joe are gettin’ down to bidness, if ya know what I mean…

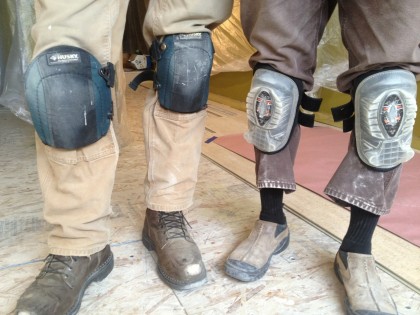
readiness starts at the knees


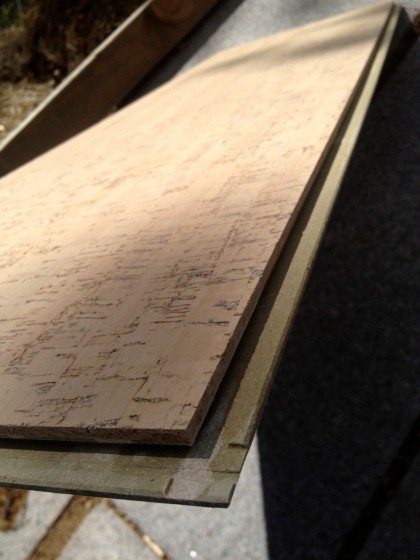
The floating cork planks are huge — 12″x36″ and 1/2″ thick, so theoretically the floor should go down even faster than the ceiling…

Duro cork plank


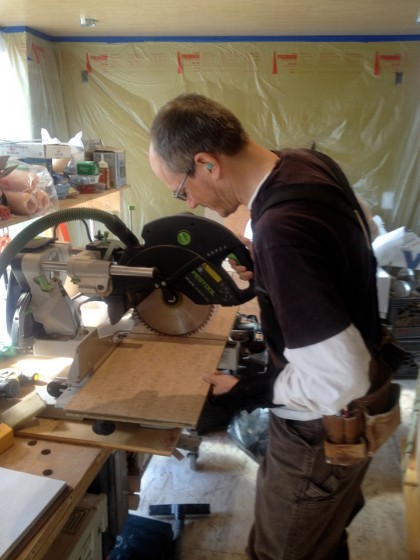
There’s some trimming involved to get things to fit…

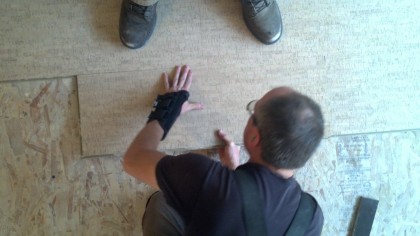
David trimming cork planks to fit


But these things snap together easy-peasy…

fitting pieces together


Work began yesterday and already the boys are more than halfway done!

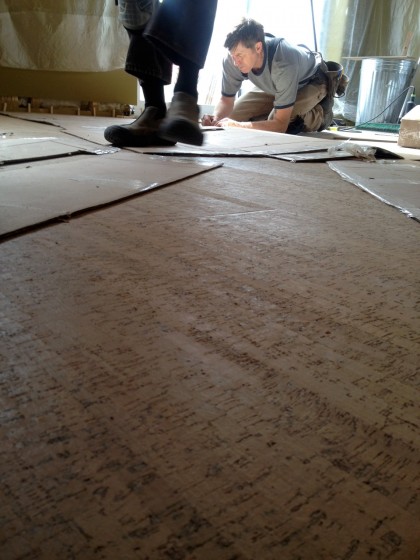
floor in progress


ceiling done!

Thursday, April 26th, 2012

Yep, the ceiling is dunzo! Finito! Completo! David has the lurid details…

———————————————————————————————————

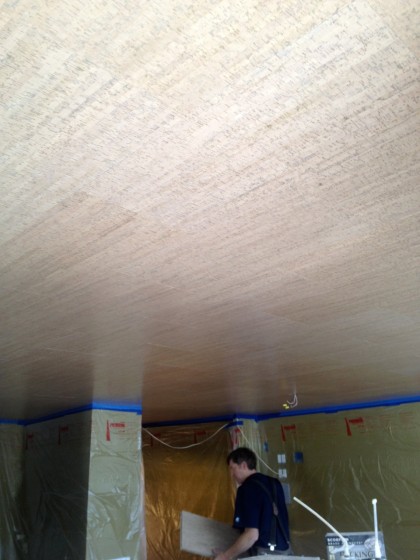
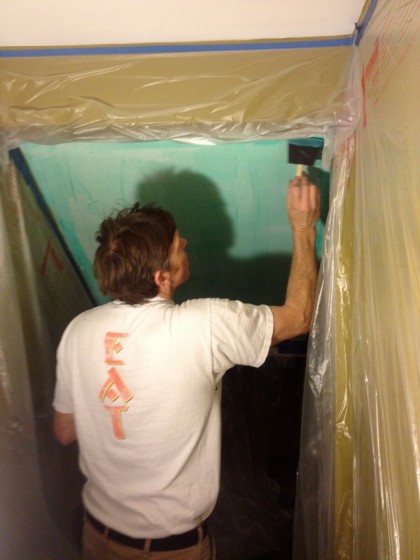
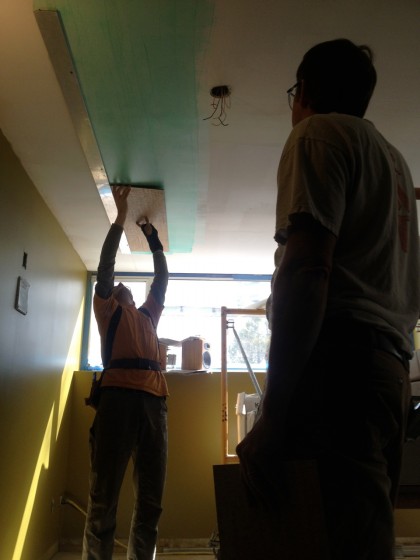
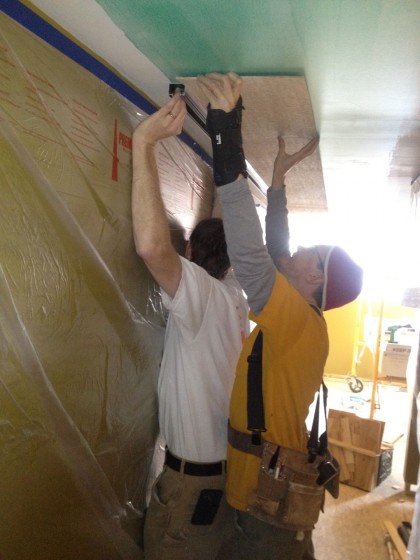
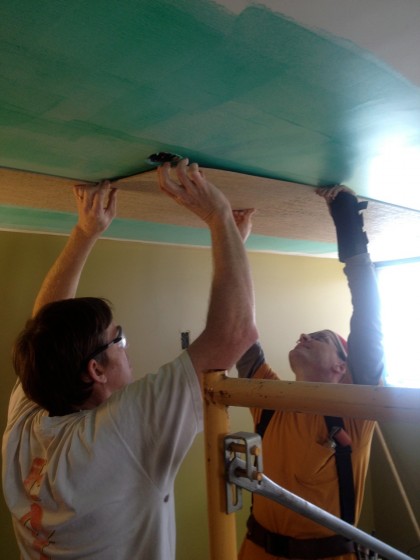
Joe and I finished installing the ceiling tiles and tackled the final step earlier this week: sealing them. As I just reminded Brook, cork is wood, right? So it benefits from having a finish on it to resist marks and scuffs, and to keep the stain from discoloring over time.

Because the cork on the ceiling won’t get wear and tear from countless feet, we applied two coats instead of the four recommended for floors. The ceiling in the bathroom got four coats because of the increased humidity and the probability of water splashing up onto it in the shower.

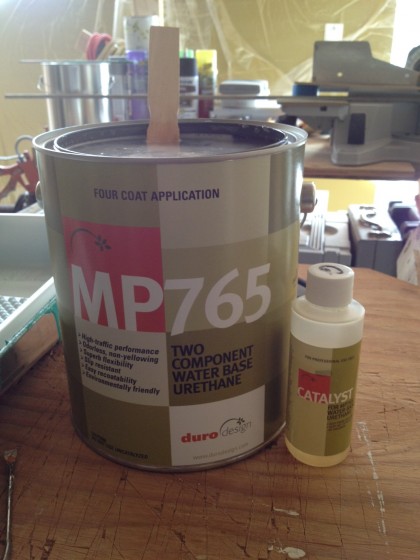
The water-based finish was supplied by Duro, the flooring maker, as well as filters to ensure that no grit or anything else was in the finish, and applicator pads…

duro cork finish for the ceiling


They even sent us the mixing stick! The finish is a catalyzed, water-based polyurethane. According to the instructions, you add 6 ounces of resin (the Catalyst bottle) to the gallon of finish and stir well. Easy. As long as you remember that the gallon needs to be used within four days or it will harden in the can.

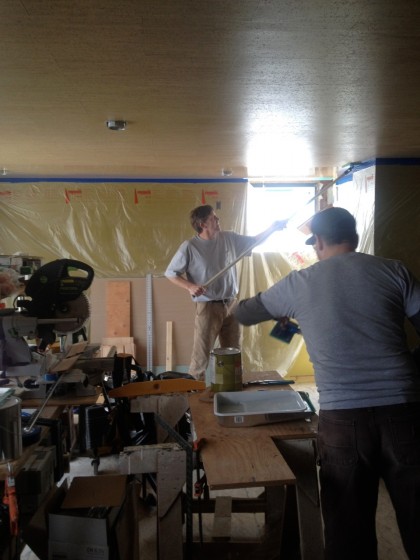
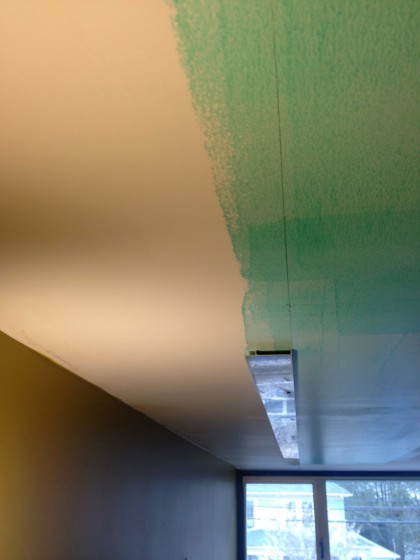
We whipped up two poles to attach the pads to and then applied elbow grease liberally. To be honest, it was a little tricky keeping a wet edge on such a large expanse…

finishing underway, quick quick quick!


The second coat dried very quickly and required moving fast to stay ahead of it. Invigorating exercise.

The finish dried within hours to a dull, not quite matte but far from lacquered, sheen…

ceiling is finished, yay!


Looking good. Next up: the floor.

happenings

Monday, April 9th, 2012
Before we get started, I apologize for some text and spacing issues the blog seems to be experiencing. Hmmmm. Can’t figure that one out.
So here’s what you missed since I got slammed with work:

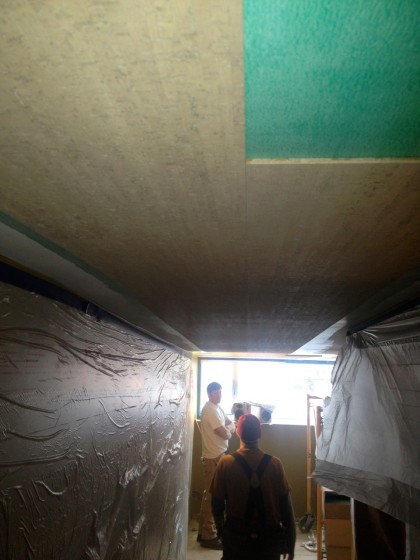
The ceiling is now completely tiled in cork (click to biggify the grandness)…

ceiling is corked, yay!
Something about it says eco-chic luxury spa, doesn’t it? The planks will get a protective finish tomorrow and the floor will be prepped for cork installation after that.

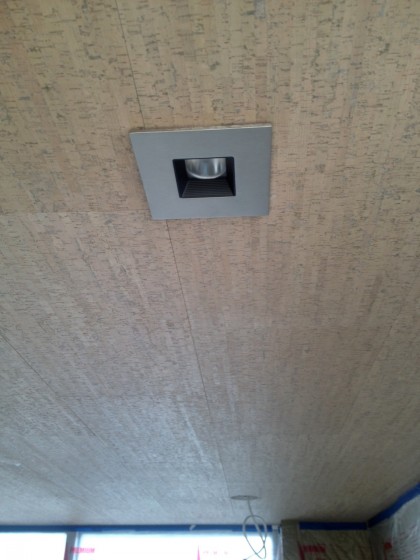
I mentioned the other day that Rob has been busy giving us light. The ceiling fixtures are in now…

first lights going in
Best of all — they actually work! Illumination. I dig it.

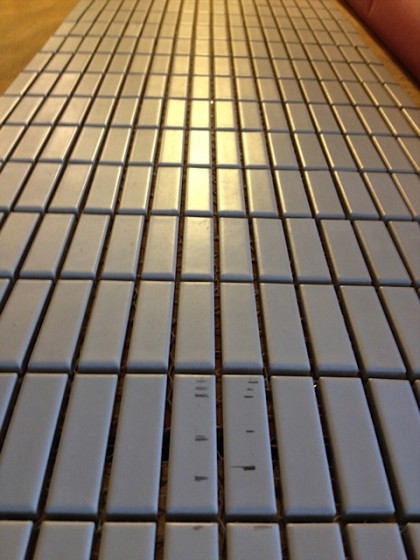
Also ongoing: tiling the bathroom. Our friend and fellow remodeling pro Mark Cummins has been prepping the walls, furring them out (building them up with wood shims) such that the diminutive wall tiles we’ve chosen will space out perfectly and require no cutting. That required a good amount of mocking-up and measuring. (And patience.) Followed by much re-measuring and marking, just to be safe…

marking the tiles


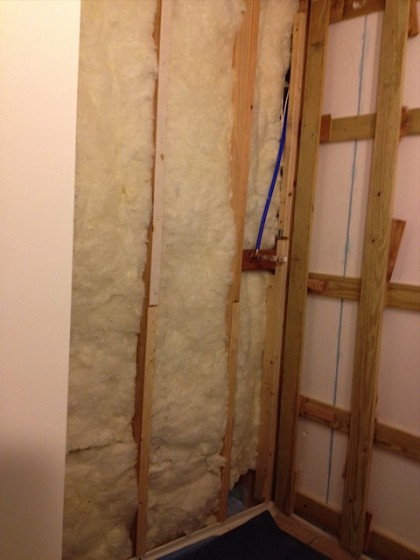
Once Mark was confident we had it right, the 1/2″ cement board went up. In the shower, it’s gone from this…

shower wall before


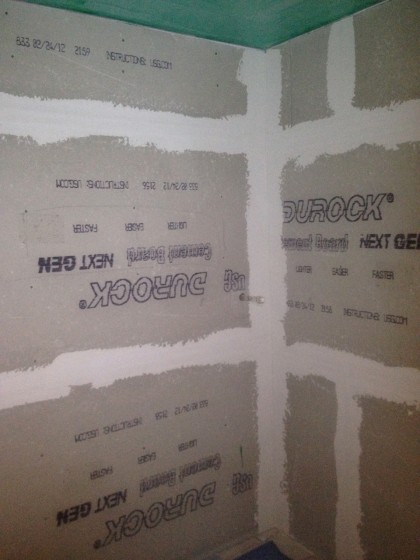
To this…

walls cement boarded in shower


That’s the hand-held shower pipe poking through on the right. There will likely be an inset section in that wall for setting soap and sundries… a complication but hopefully not an impossibility. After that, water-based waterproofing and then tiling.

At this rate we may actually have a functional downstairs by summer. Doh! I just cursed us, didn’t I? Fudge.

the planking edition

Monday, April 2nd, 2012

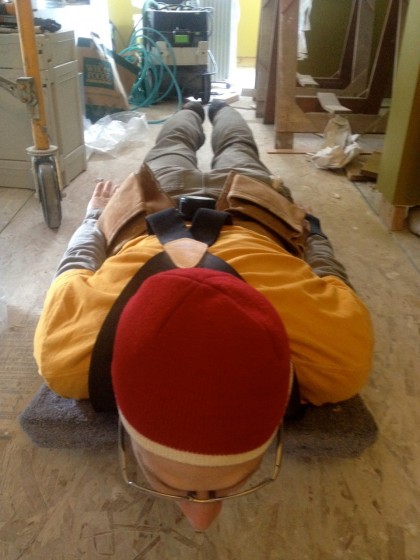
Ruefully late to the meme, our remodel is finally the site of a planking…

david planking


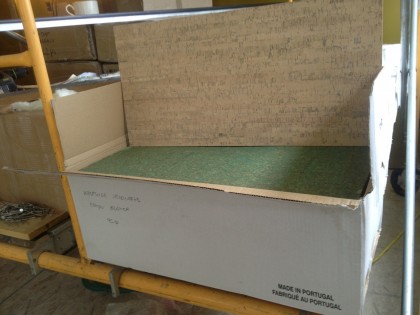
No, not that planking. This planking…

box of cork planks


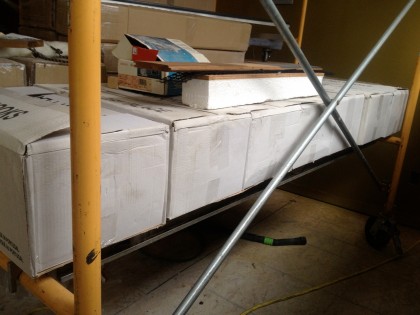
Destined for the floor and ceiling, boxes and boxes of cork planks (Edipo from DuroDesign) have been waiting patiently since last summer…

boxes of cork


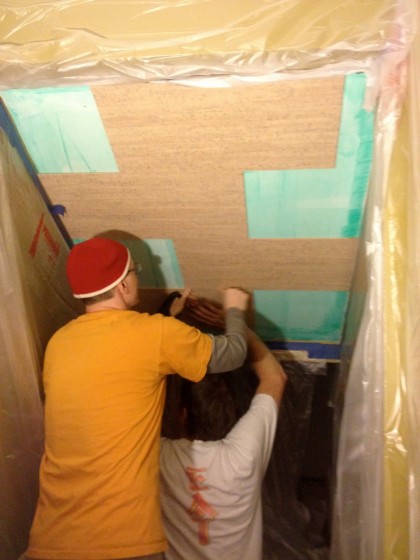
David and Joe started under the stairs — an out of the way place to practice installing these for the first time. First there was adhesive…

joe applies adhesive


Then the planks went on, staggered…

corks goes on staggered


Almost done…

cork almost done under the stairs


Sorry, it’s a little dim under there and the shots aren’t so great. It looks nice, take my word for it.

The reason we chose the Edipo was for its linear strips…

edipo cork plank from duro design


We want those strips to run the length of the house rather than the width, because upstairs the angled ceiling that runs front to back is a feature we want to accentuate. Downstairs, the ceiling is flat rather than angled, of course, but it makes sense to be consistent with what we’re planning for upstairs. To that end, the tiling began with a long reference line to keep the planks straight…

reference line


The first plank went up and then the boys worked their way down the hall…

first cork plank goes up in the big room


You really have to like the guy you’re working with to do this job…

david and joe


And so the planking continues…

planking continues


Moving pretty quickly now. This could be done some time tomorrow… well, hopefully.

view down the hallway


Very happy with the cork thus far, I must say. How happy? Dancing on the ceiling happy!


floored yet again: rubber cork

Wednesday, January 11th, 2012

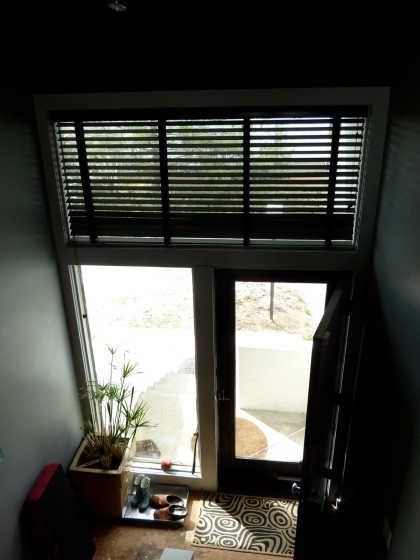
More than once, we’ve discussed flooring for our entryway. That’s this area here with the lovely particle board floor…

remod wants | entryway


We’ve been round and round possibilities to go with the cork we’re using as our primary flooring. We’ve looked at terrazzo tile. We’ve looked at concrete tile. I thought we’d settled on this, but now David and I are revisiting the subject.

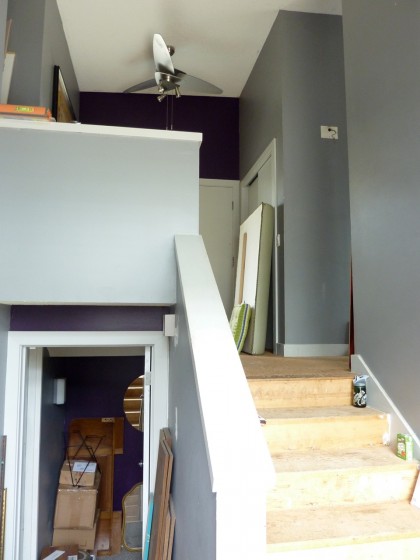
This is why we’re noncommittal: Initially we hoped the cork would work everywhere, including the entryway. It’s durable. It doesn’t mind when water’s tracked in. But when it comes to stairs…

remod wants | entry stairs


… the nosing on the risers would have to be wood or metal. Not the worst thing, I suppose, but that’s when we decided to consider tile. A tile riser with a tile nose is a more cohesive look. Of course, it would be noisier than cork. And colder. Which is why now we’re also considering this: rubber cork.

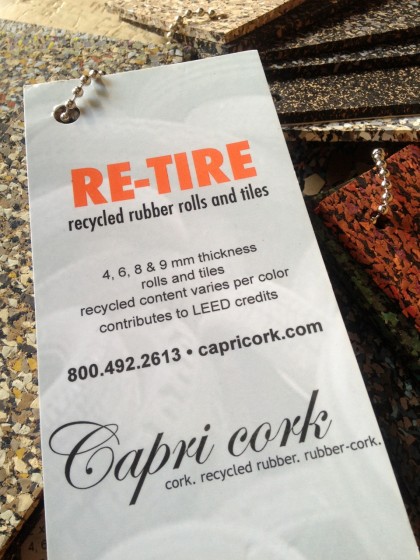
capri re-tire


After much web surfing and multiple calls to flooring dealers, a Capri Rubber Cork rep called and pointed me toward Rustigian Rugs in Providence. David and I dropped in to see samples.

We like that Capri’s Re-Tire Medley collection combines recycled tire waste, post-industrial rubber waste, virgin rubber and post-industrial cork waste. Slip-resistant, sound absorbing and it contributes to LEED points. Nice!

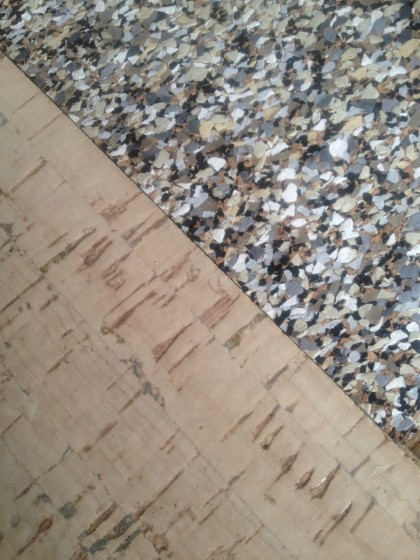
The Peppercorn sample plays well with our cork sample…

capri re-tire peppercorn


Kinda looks like terrazzo, doesn’t it?

Still undecided. Like cork, rubber requires separate nosing — although steel or aluminum would look pretty sweet with the steel cable railing we’re planning. It runs about $11 a sq ft and a minimum order is 200 sq ft. (Or we could just use the cork everywhere after all?)

It also requires an acrylic or urethane finish coat available from Capri. I optimistically assume the sealer would encase that heady scent of eau du tire factory. One can only hope.

prepping the bathroom floor

Monday, November 7th, 2011

David Bettridge will now catch us up on the downstairs bathroom as he preps for tile. Try to contain your excitement, okay?

—————————————————————————-

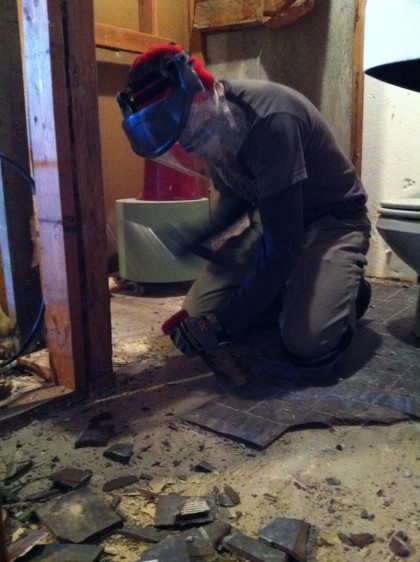
The majority of the downstairs floor is insulated and ready for flooring but the bathroom is its own special case. Way back in March, I removed the old tiles from the floor…

the floor during


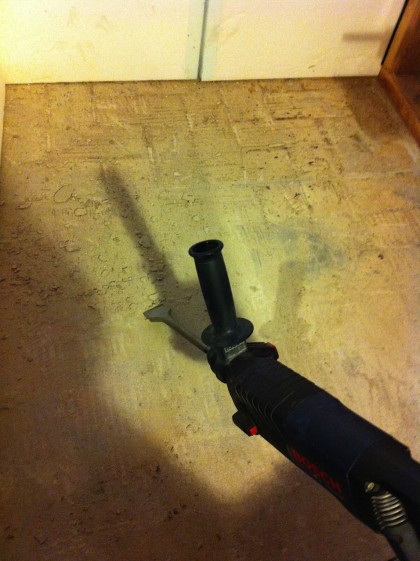
More recently, I removed the last of the thinset (tile ‘glue’, a kind of flexible mortar). A wide chisel bit in my trusty Bosch Bulldog made short work of it…

bathroom floor | bosch bulldog

The Bulldog is a light-duty rotary hammer that has settings for drill+hammer, just drill or just hammer. Hammer drills on the other hand only have settings for just drill or drill + hammer. The Bulldog drills into 40-year old concrete like a hot knife through butter.

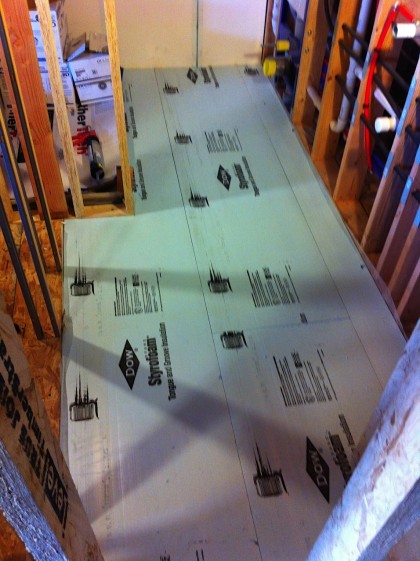
Once the slab was clean and smoothish, I layed down 1” tongue and groove high-density foam insulation…

bathroom floor | foam insulation


It will act as a thermal and moisture break between the new tile floor and the slab (and planet earth) underneath. This will hopefully keep the bathroom floor more comfortable underfoot and keep the basement dry. And it will help the bathroom be more energy efficient as well.

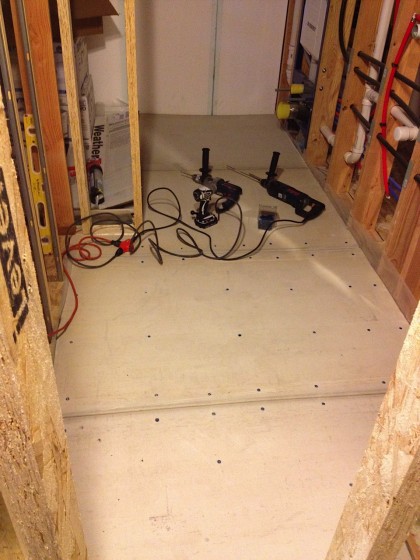
I layed 1/2” cement board over the foam and screwed it down to the slab underneath, using Tapcon screws…

bathroom floor | cement board


Due to their special threads and lubricated coating, they actually cut into the concrete when installed into a pre-drilled hole. Technology, gotta love it. I used a lot of screws so there would be no movement under the floor tile, and therefore no cracking.

Some lucky tile installer will trowel thinset onto the cement board, lay Schluter Ditra tile membrane down before troweling on more thin set, then setting and grouting the floor tiles. The membrane acts as another moisture barrier but more importantly it separates the tile from the floor which lets things move a little bit before any cracking takes place. Again, technology at work.

Schluter will also be providing all the metal bits and pieces that allow tile to be installed up against other materials like cork flooring, wood cabinets, mirror, etc. A small prep detail but an important one. Like they say, do it right the first time.