Posts Tagged ‘stone’

after 8 wks of pondering

Thursday, February 2nd, 2012

Remember way back at the beginning of December when Land Design Associates was working on the front walkway? While here, they also dealt with this ugly crack in the concrete that I showed you before…

crack in front of steps


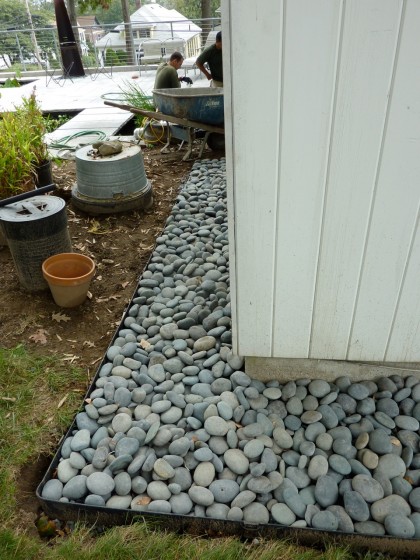
Yep, that one. There was much conjecture about what we would do about it. After considering the options, David settled (surprisingly) on the idea of insetting beach pebbles like the ones we have around our house…

our beach pebble border


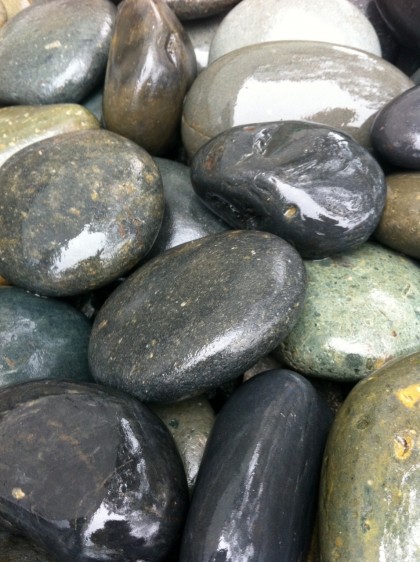
They look pretty nice when you clean the dust off…

beach pebbles up close


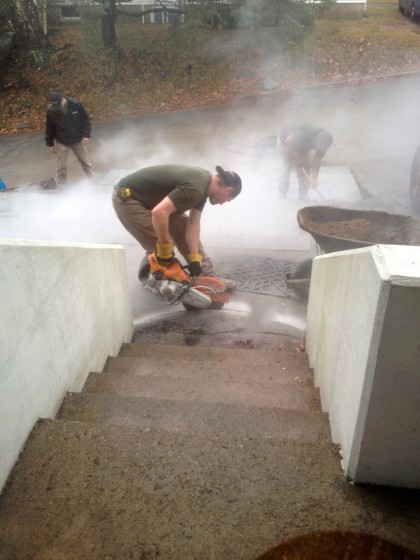
So we crossed our fingers and let the boys go at it. There was an impressive display of dust…

concrete getting scored


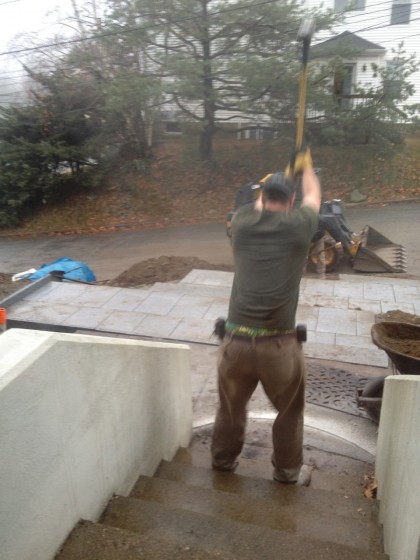
An incredible amount of sledge hammering…

concrete getting pounded


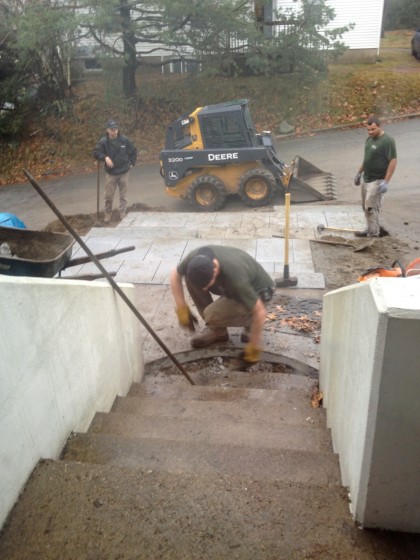
The prying up of amazingly stout concrete…

prying up the concrete


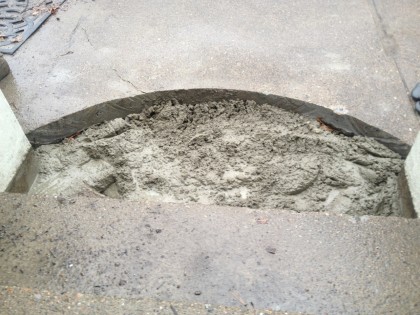
And eventually there was a welcome mat-sized spot to fill with new concrete…

getting filled with new concrete


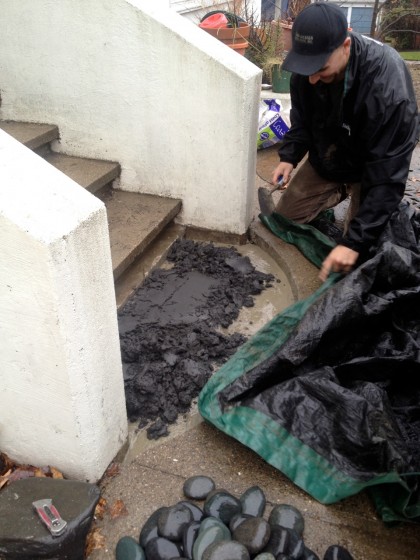
Topped off by concrete with a dark stain to match the beach pebbles…

topping off with stained concrete


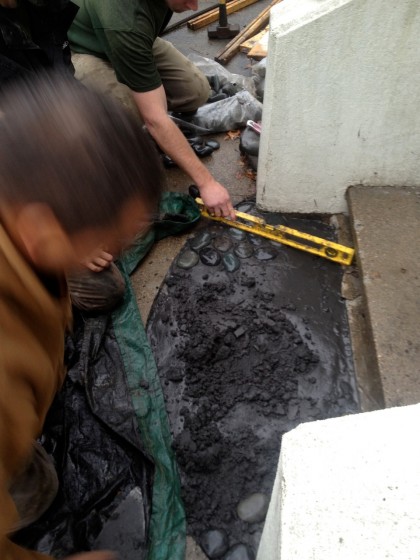
Followed by the beach pebbles themselves, getting their tops as level as possible…

leveling stones


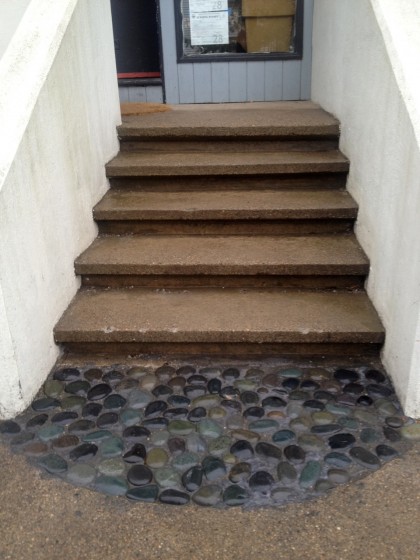
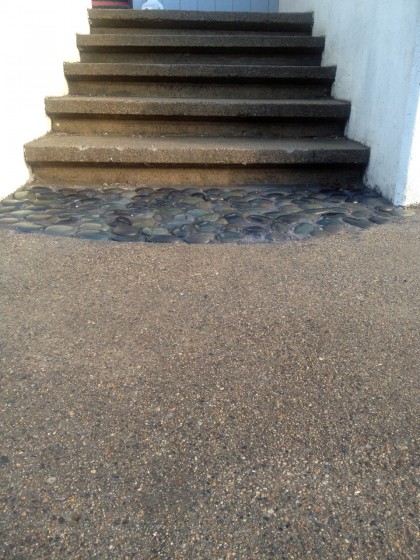
Then, voila! Beach pebble welcome mat where there once was a crack!

stone welcome mat finished


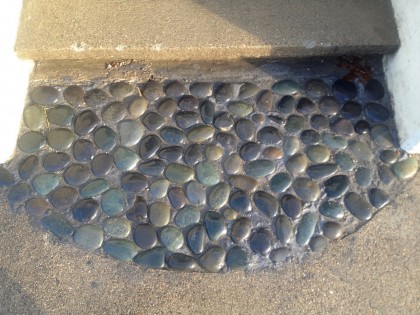
So it doesn’t look too bad, right? I mean, sure, it’s a little gloppy in spots (especially along the front curve. But in theory we can rough that out.)

a closer look


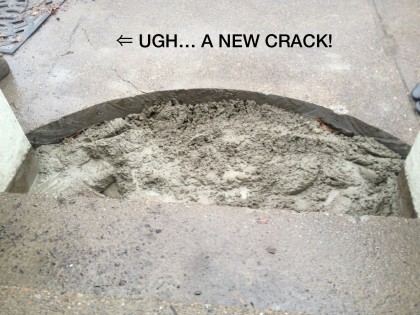
However…

ugh, a new crack!


I just couldn’t deal.

All that sawing and pounding action took its toll, I guess. Granted, the new crack is much smaller than the old crack. But water will work its way in over time and freezing and thawing will surely make that crack bigger. Yay.

I’m not going to think about that.

LA LA LA LA LA LA LA LA LA LA…

hmm, not too bad i guess


back to the front

Thursday, December 29th, 2011

Well, we did it. Managed to squeeze one final outside project into 2011: the front walkway. I didn’t feel strongly about having one but David did, so we enlisted Jim Egan at Land Design Associates to create something that would tie to the rest of the hardscaping he’s done for us.

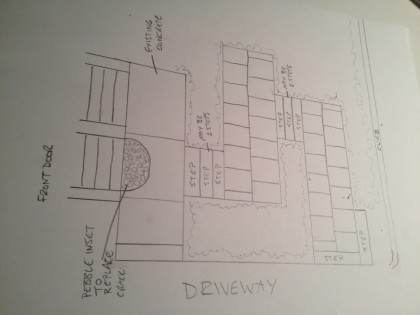
Here’s what Jim came up with…

fronthill_initialdrawing


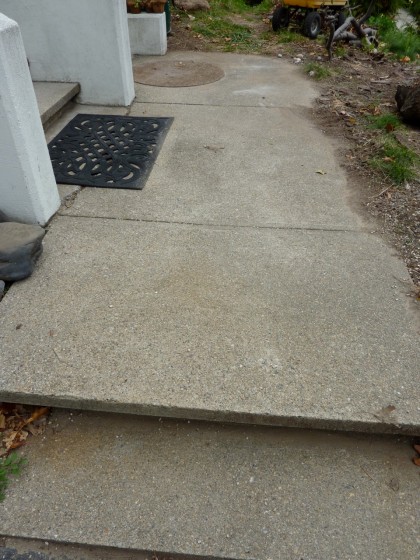
Basically three terraced levels with steps in between. In his drawing, the top level (far left) shows the original concrete walk that fronts our concrete entryway steps and walls being replaced with granite. That’s this area…

fronthillwalk


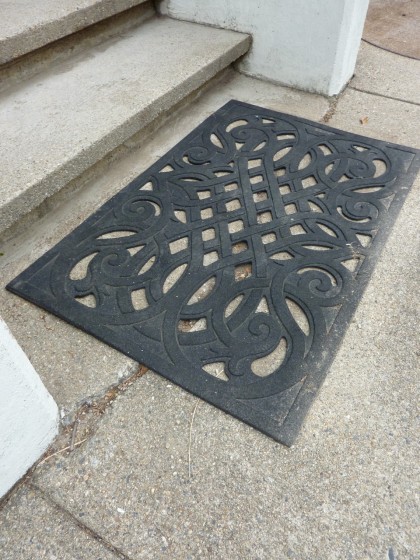
There was also talk of facing the concrete steps and walls with granite but that just doesn’t make sense. I think the concrete is integral to the design of the house. And there’s nothing wrong with any of it other than that stupid crack (under the black mat in the photo) at the bottom of the steps. So we’re keeping it as is and adding below it down to the street level. We realize that a granite walkway will never match the old concrete but think we can make it work.

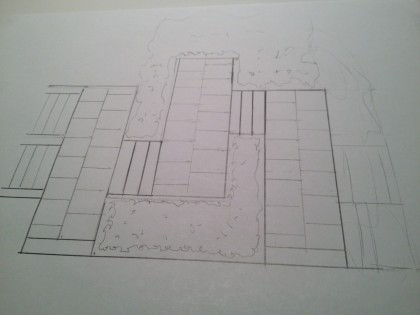
So, our slight revision to Jim’s initial idea looks something like this (click to biggify)…

fronthill2 | rough drawing


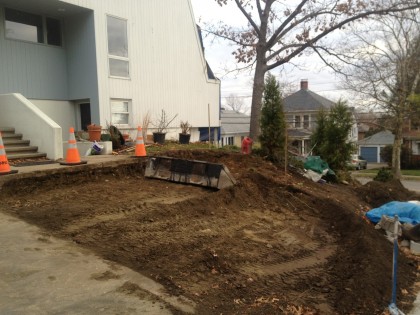
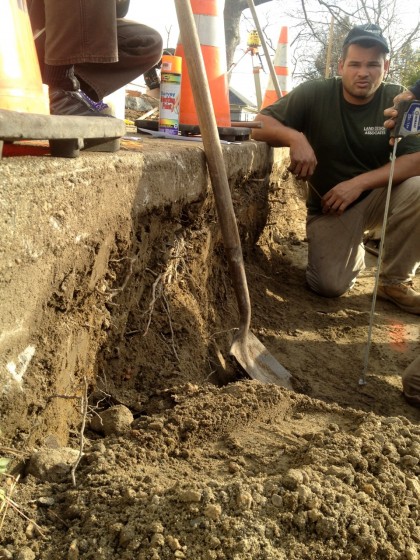
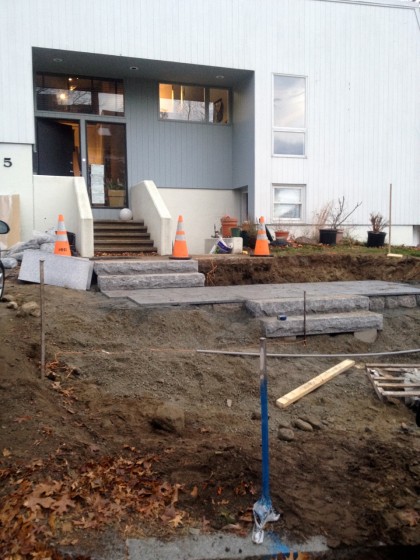
The crew came and made short work of it. First they dug out the hillside and leveled out bases for the two terraced parts of the walkway…

fronthill1


That involved moving a lot of soil…

fronthill3


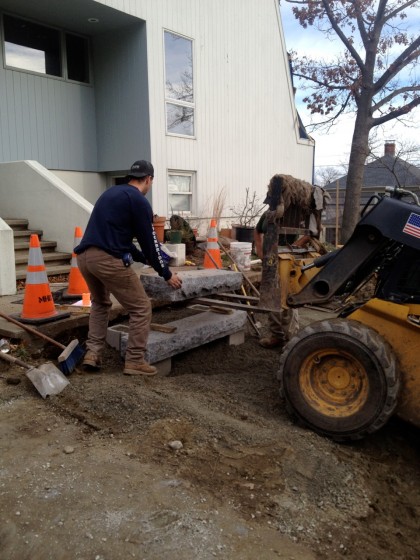
I added a good amount of that soil to other parts of the slope after they left, shovel by shovel, and then sculpted it as I saw fit. But I digress. The crushed base went down and the steps were heaved into place…

fronthill4


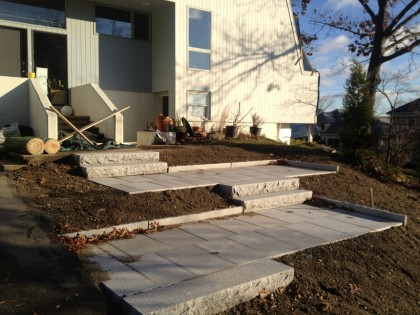
Then the first granite terrace went in…

fronthill5


Followed by the second terrace…

fronthill6


And Bob’s yer uncle!

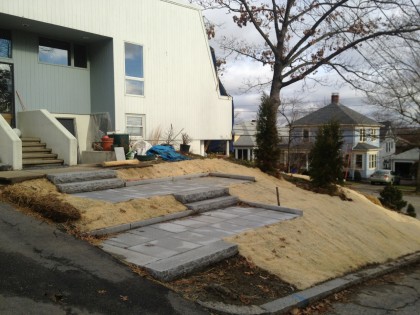
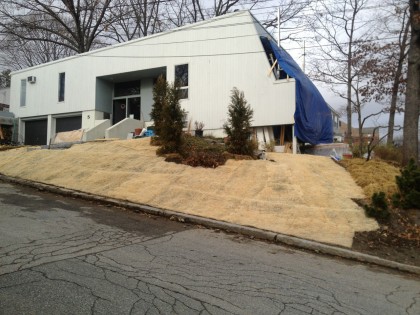
We’re left with a hillside of disturbed soil and it’s too late in the season for plants to take root. So once again, I staked biodegradable Curlex down to hold the dirt in place…

fronthill7


fronthill8


I rolled erosion control blanket and pounded stakes until almost midnite in a mad rush to beat the ground freezing the next day. But it’s done now and I won’t touch it again until April. Looks much better, no? Remind yourself what it used to look like.

And the crack? I’ll show you another time.


gophers!

Tuesday, September 27th, 2011

gophers!! okay, not really


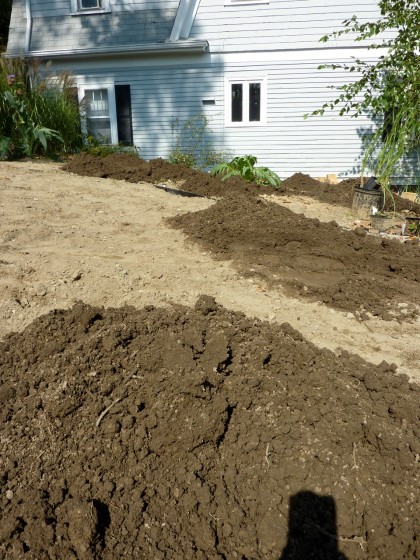
Okay, not really. Those are piles of new loam that the crew is laying down today so we can finally have a little bit of grass. Yay! No more dirt washing into the pond! We hope.

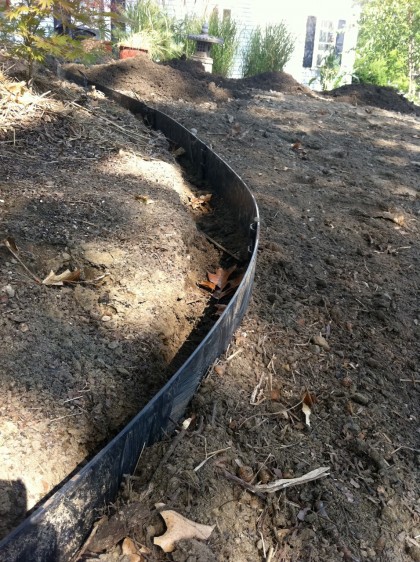
The last of the steel edging was put in to separate the grass from the planting area…

more steel edging


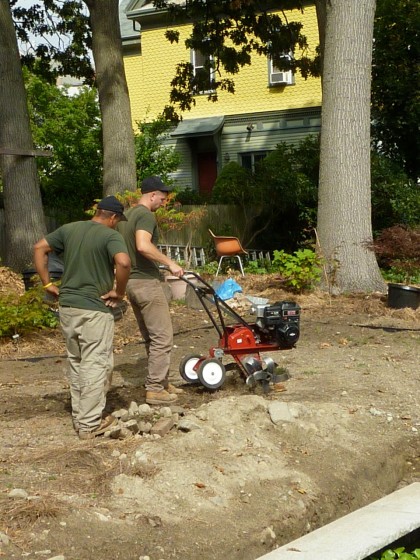
Before the screened topsoil and compost came roto-tilling — better aeration for fledgling grass roots…

rototilling the lawn area


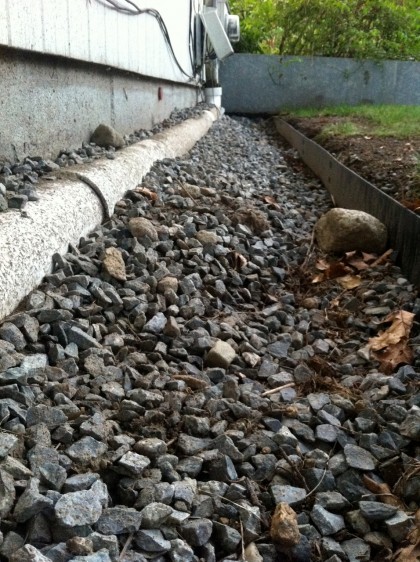
The border around the house is finally complete. It went from this…

border before


To this…

border after


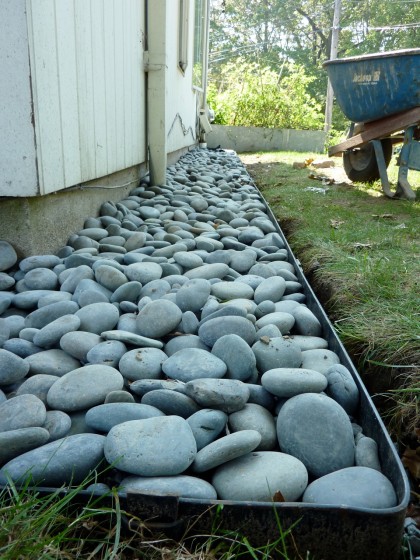
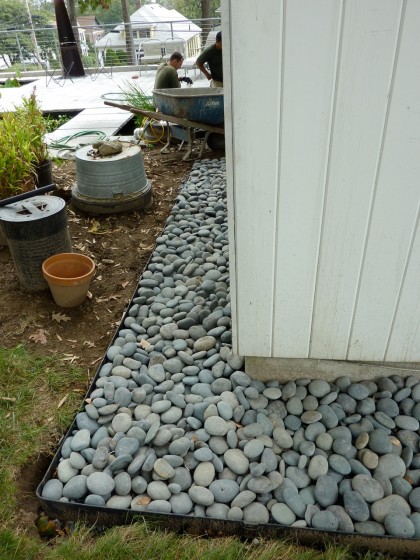
Mexican beach pebbles from The Stoneyard now top off the crushed stone. Picture this up against siding with a dark grey stain instead of light sage…

border with pebbles


Looks great, right? Better shots when all the soil is in.

marvin o’gravel balloon face

Friday, July 8th, 2011

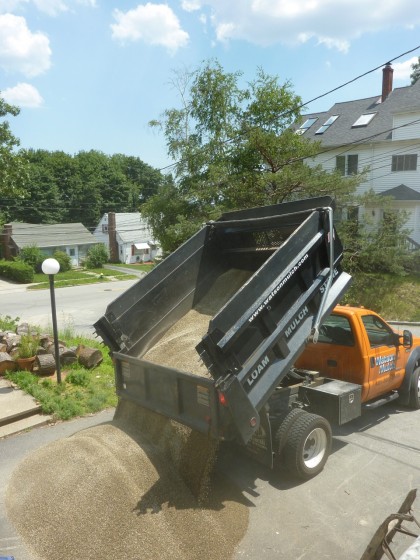
Get the reference? A few days ago, this arrived in our driveway…

gravel truck


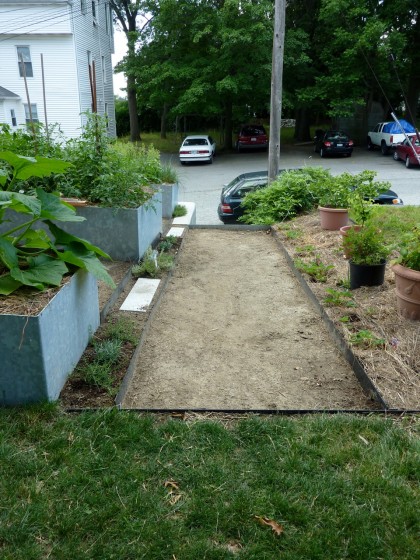
Which means I can get some closure on certain areas of the yard. To start with, the veggie garden. We put down the steel edging to separate paths from plantings…

steel edging installed


another shot of edging


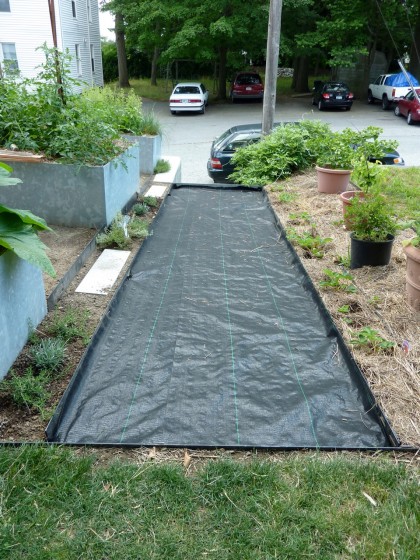
Then we layed down weedblocking cloth because I’m hella tired of pulling weeds…

weedblocker installed


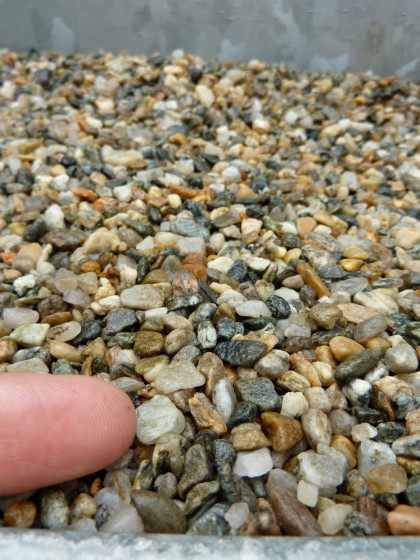
And then there was lugging the gravel up the steps bucket by bucket — the smallest gravel I could find, called “rice stone.”

rice stone closeup


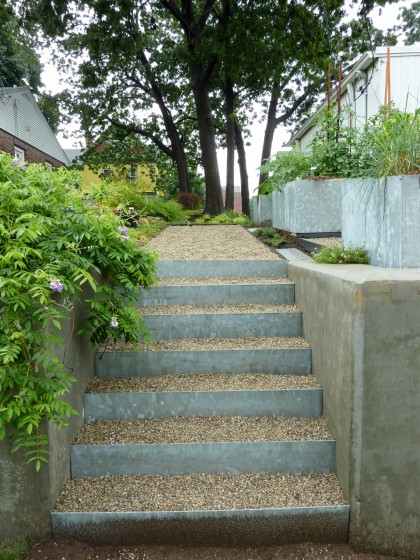
Will know soon whether that was a good choice or not. Am loving how it looks so far…

no more stairs of death!


No more stairs of death!

oops, not gneiss?

Thursday, May 5th, 2011

You may or may not find this amusing. Remember how late last year David and I deliberated over the choice of stone for the patios and pond surround? We went with a very light, clean-looking granite…

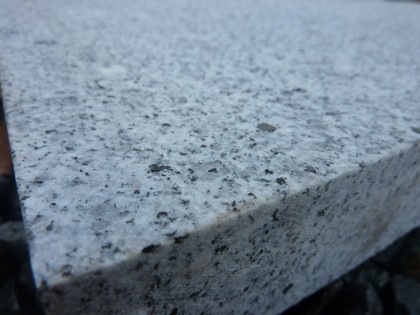
grey granite closeup

At the time, we just assumed it hailed from somewhere nearby. Perhaps The Granite State, New Hampshire? It could also have come from Massachusetts, Connecticut, Maine, Vermont and New York, which all have granite quarries.

Igneousramuses, we should have thought to ask.

So would you like to venture where our very affordable granite was born? Go ahead, click to biggify…

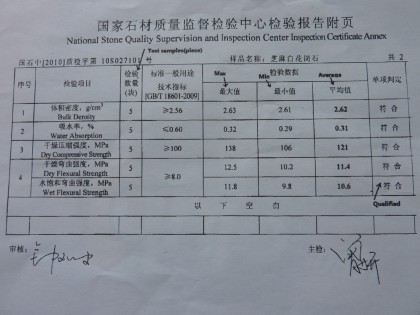
our stone is from china, what the?!

CHINA. Doh! It was shipped from the other side of the planet and it’s still more affordable than local granite. How do they do that? Argh.

Will it look fabulous when the patio’s all done? Yup. Will we feel just a little bit guilty for being planet killers? Yup. At least until we polish off the first pitcher of celebratory margaritas. Schistheads.

Here, listen to this with me and maybe we’ll both feel better. (circa 1961 and part of the COMPLETELY GENIUS Ballads for the Age of Science record collection I found for Bix)

granite it is!

Friday, November 19th, 2010

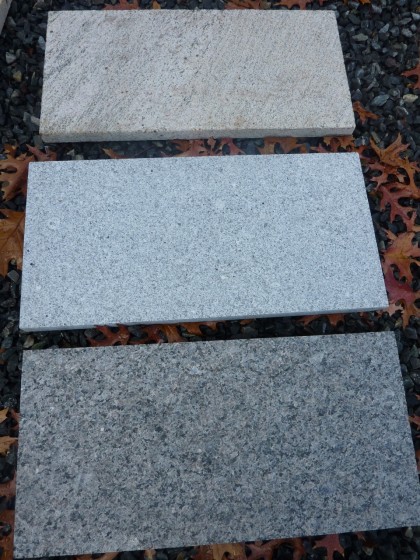
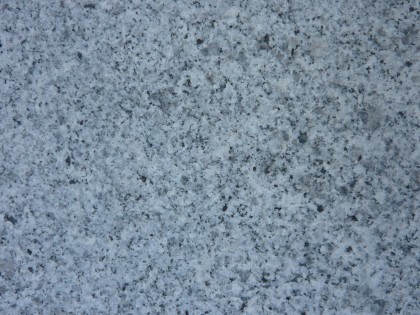
One huge step for mankind: we’ve chosen our patio material. WOO HOO! I know, I know — honestly, who cares? We deliberated over which kind of stone would work best for our ongoing patio drama. Bluestone, eliminated. Three granite samples, under review…

granite samples

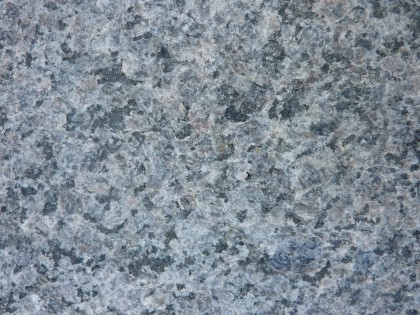
CALEDONIA GRANITE

Browns and greys, flecks of black. Appearance overall is a warm grey. Probably from Canadia. That’s right, I said Canadia. Humor me. The darkest of the options. Large flecks of … mica? You know, the shiny bits. The roughest, crunchiest grooviest of textures among the options. I like it. David’s least fave.

caledonia granite closeup

caledonia, straight on

GREY GRANITE

Very light grey with flecks of black. Looks like the stuff every curb in New England is made of — may be called Chelmsford? From the U.S., probably quarried not too far from here. The lightest, most uniform and smoothest finish of the bunch. Classic. David’s favorite. Not as expected as bluestone but of the granites, it’s pretty familiar.

grey granite closeup

grey, straight on

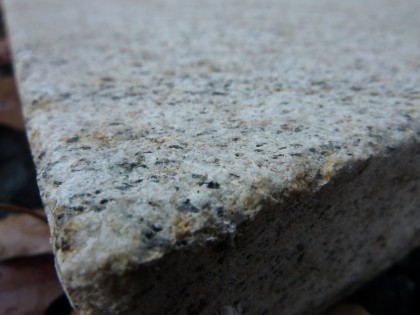
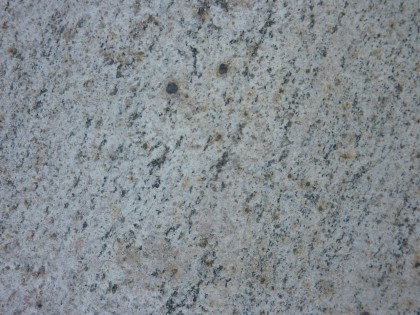
SANDY POINT GRANITE

Beige to tan with gold and grey flecks. Very warm, almost Mediterranean. Couldn’t find out where it’s from. Fairly porous. Not as smooth as grey granite, not as rough as Caledonia. We think it’s pretty but too yellowy for what will eventually be our grey house exterior and grey concrete retaining wall.

gold granite closeup

gold, straight on

THE DECISION

In any other case, I’d likely say Caledonia. But in the interest of keeping things minimal and modern, I’m going to agree with David on this one and say basic grey granite will work fine for this project. Pairs well with the light concrete we already have in the backyard. And after all, the patio material shouldn’t be the star in this case, just a supporting character. Make that affordable supporting character.

Would just like to add that I never would have considered granite as a contender  — am completely anti-granite when it comes to the inside of the house. Granite countertops? Blech. Oh the irony.

Next step: firming up the layout and pool details. And to play us out, Louis Jordan and his swingin’ band!

my latest brimfield score

Tuesday, September 14th, 2010

Finally made it back to the Brimfield Antique Show this past weekend. Hadn’t been in years and suddenly got the flea market bug. Must be the fall weather. So what did I find?

Mostly a crapload of junk I’m not interested in. Is the poor quality of the offerings related to the crappy economy? Or am I suddenly pickier than I used to be now that we don’t have the advantage of loft space? Who knows. I drove away with just one thing…

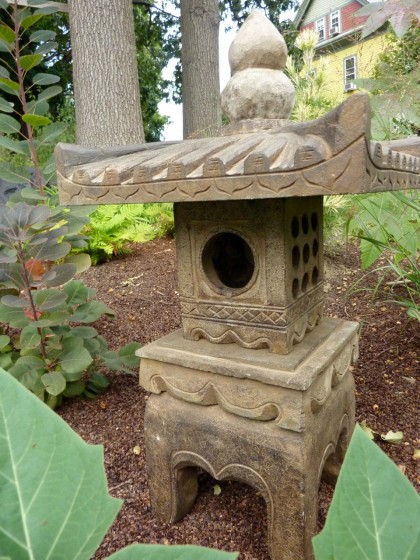
lantern front view

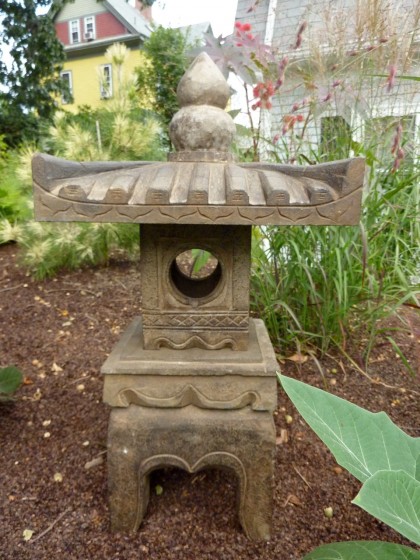
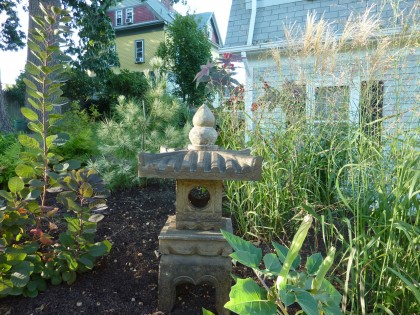
A lantern for the garden, to drive up my Asian quotient.

lantern side view

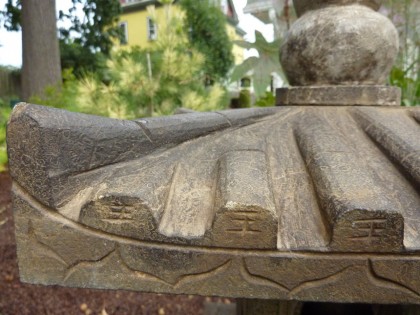
Antique? Not per se. Unless stone formed over thousands of years counts as antique. According to Michael Carboni, the dealer at The Traveling Buddha’s Brimfield booth, the lantern was carved from Chinese bluestone by artisans in Northern China. He travels there for handcrafted goodies and antiques for a few months out of every year. Nice guy.

detail of roof

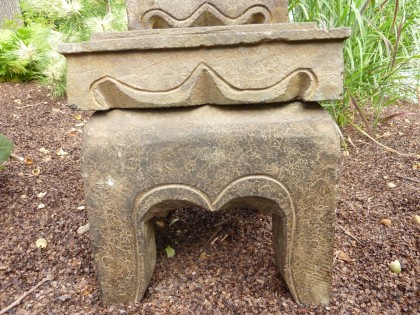
Comes in five pieces…

detail of base

… and weighs about a gazillion pounds.

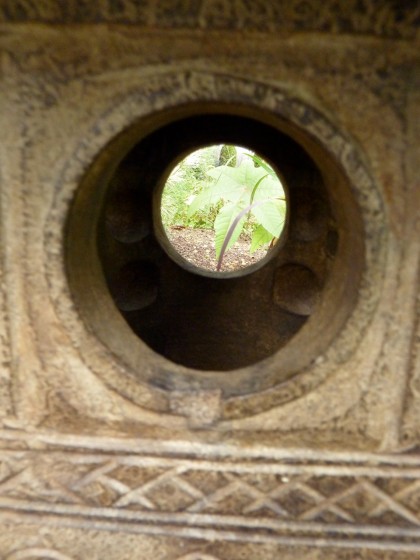
lantern window

The bottom pieces are drilled in case you want to run electricity to it to light it up rather than use a candle. I’m unlikely to do that.

For the one gardening geek out there trying to identify plants around the lantern (click for biggification)…

my new Chinese stone lantern

Leaves of datura in the foreground, Panicum virgatum ‘Shenandoah’ switch grass just starting to turn burgundy to the right, plumes of Miscanthus sinensus ‘Rotsilber’ (Japanese Silver Grass) waving in the background, the red-leafed tropical-looking thing is Ricinus communis (Castor Bean), yellow and green-banded Pinus densiflora ‘Oculis Draconis’ (Dragon’s Eye Red Pine) immediately behind, Matteuccia struthiopteris (Ostrich Fern) behind and to the right, Cotinus coggyria ‘Royal Purple’ (Smokebush) just to the left. Hoping this will fill in nicely in the next few years.

august, undone

Wednesday, August 25th, 2010

This month was a little disappointing. Lots of projects in the works but little actually finished. Or actually started. Let’s see…

THE BENCH, UNDONE

We left off with David taking a weekend welding class in July with the intention of creating a bench for our entryway. Here’s where it stands…
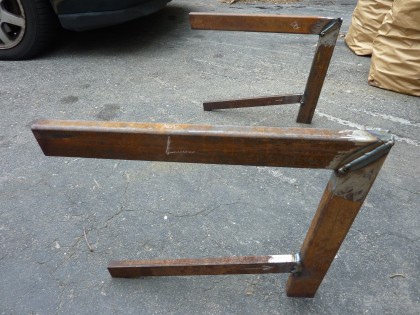
steel legs, welded up but not done

Still to come: the sanding down of the welds for a smooth leg…
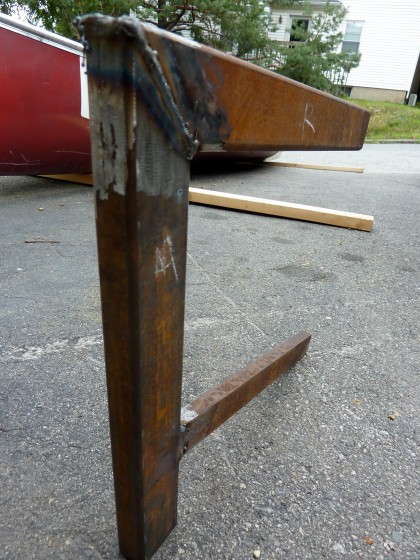
closeup of the weld

Also to come: the powder-coated finish. the wooden bench seat. and the satisfaction of being able to sit down and take off your muck boots at the door.

THE RAILING, UNDONE

The railing for our retaining wall out back is still not a reality. We need to keep people from tumbling over that 7′ drop! Rhode Island Welding helped us with the galvanized steel raised veggie beds and stairs, so we talked to them about the railing….
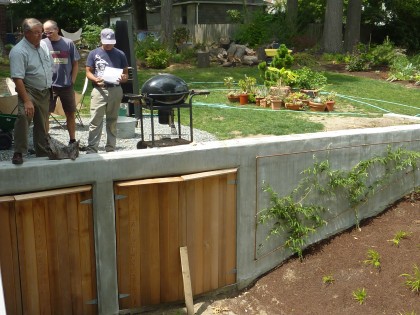
cable railing discussion with Rhode Island Welding

Prior to measuring and drawing up what we wanted, there was much discussion about what kind of railing would work best here. David and I agree that we want something:

  • minimal to complement the simple lines of the house
  • you can see through, as we don’t want to block our view
  • that isn’t the star but fades into the background
  • that is obviously an accessory to the design of the house rather than something that looks like construction — meaning that if it’s solid wood, it begins to look like our wood siding and we don’t want to take away from the original envelope of the house
  • that we can use on our indoor stairway as well — both railings are within viewing distance of each other and should be similar

So several options were up for consideration…
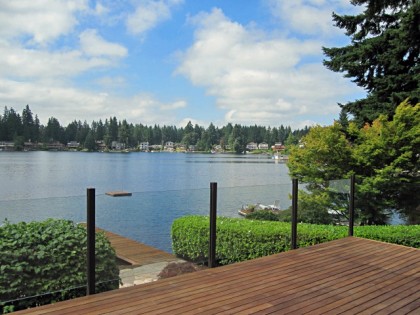
glass | aluminumrailing.com

glass | aluminumrailing.com

Glass, my first choice. And ridiculously, prohibitively expensive. Damn. Definitely my top pick for indoors, as well. Not gonna happen.
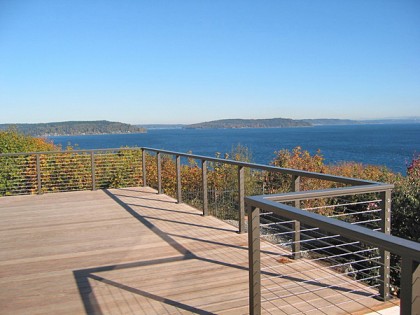
cable | aluminumrailing.com

cable | aluminumrailing.com

Cable railing. Second choice. Much cheaper than glass but still pricey. A very clean look. Zoning regs are very clear on height, necessity of a top rail, distance between cables, etc., so there’s no budging on that. We looked at a lot of cable railing systems in order to find ways to cut costs. Basically comes down to quality and endurance, which is why we ultimately decided to have RI Welding make it right for us.

Also considered…
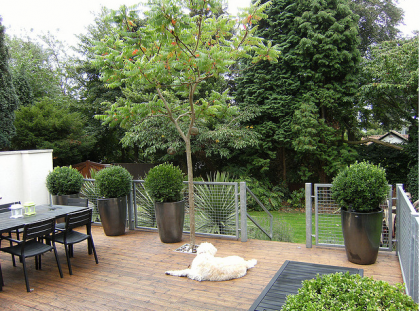
mesh | adesignandbuild.co.uk via flickr www.flickr.com/photos/db-gardendesign/3811605850

mesh | adesignandbuild.co.uk via flickr www.flickr.com/photos/db-gardendesign/3811605850

Galvanized steel mesh railing. Would still require the posts and top rail to be built by Rhode Island Welding (unless we went with wood supports and top rail) but the mesh would save us some cash — cable systems are pricey and cable system installation obviously takes longer. In the end, we decided the mesh grid just wasn’t something we wanted to repeat inside the house.

Wood. After looking at the cable railing price, we opened ourselves up to the possibilities of wood again… maybe slender, horizontal slats wouldn’t be too bad?  or even vertical?…
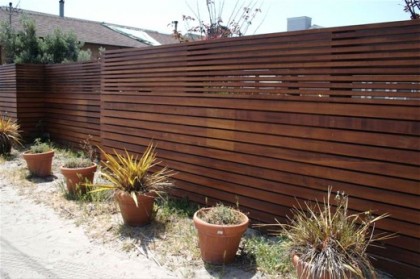
from apartment therapy | www.apartmenttherapy.com/sf/look/look-modern-fence-050175

from apartment therapy | www.apartmenttherapy.com/sf/look/look-modern-fence-050175

Something similar might be a good modern choice. But even a railing-height version would interrupt the view and force you to look at the fence. And it just wouldn’t work inside the house. So nix that. Cable railing it is!

Designs submitted to Rhode Island Welding. Fabrication in progress. Stay tuned.

THE STAIRS, UNDONE

So, the state of the stairs. The set in front, done except for the final addition of pea gravel…
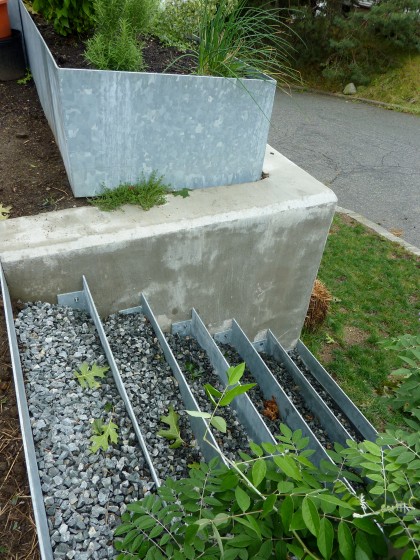
front stairs need pea gravel to top off crushed stone

Back stairs? *sigh* Don’t ask.

When it’s all said and done, they’re supposed to look kinda like this…
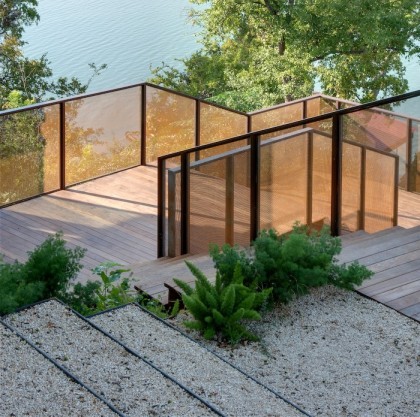
gravel and steel steps by D-Crain | d-crain.com

gravel and steel steps by D-Crain | d-crain.com

THE STORAGE AREA, UNDONE

The doors may be done but the insides of the storage closets aren’t yet outfitted for storing things. This is our current latching solution…
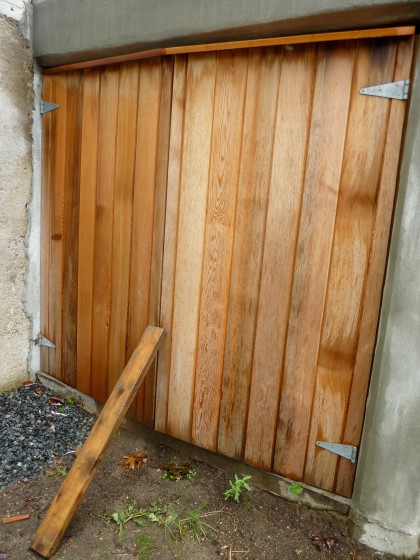
storage area lacks closure, heh heh

I seek closure. Before winter, please.

THE PATHS, UNDONE

The paths are all dug…
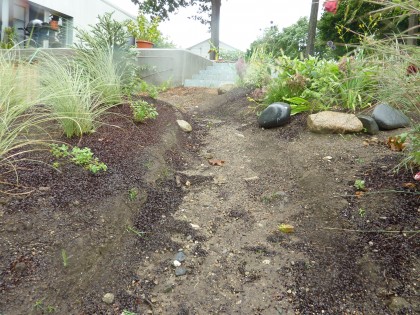
one of our uphill paths

They pretty much look like that, with the dirt washing down the sides of the beds and into the paths every time it rains because none of the plants have grown in enough to hold the soil.

No point in adding pea gravel to the paths until I can solve the constant erosion issue that comes with having a slope. I’ll save the details for another post but suffice it to say that standard edging isn’t tall enough and gabions look like the right solution.

THE STRAIGHT-RUN EDGING, UNDONE

Close to the house, we still need to turn this…
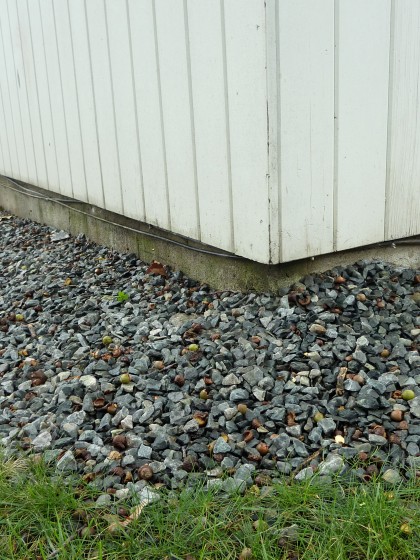
buffer around house needs edging and beach pebbles

… into this — minus the concrete edging and fabulousness of an iconic modernist house, of course.
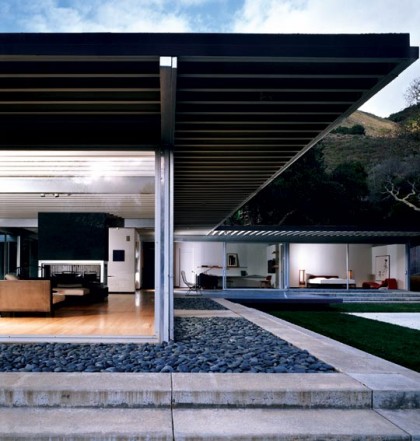
beach pebble buffer at Johnson House, Piere Koenig | eichlernetwork.com

beach pebble buffer at Johnson House, Piere Koenig | eichlernetwork.com

And make this…
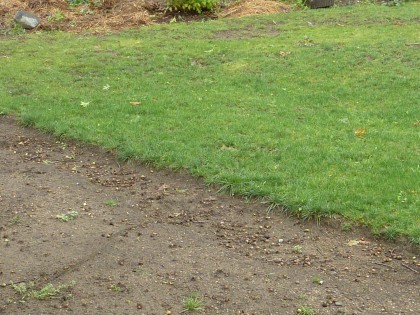
path needs edging

… look a little more like this:

steel edging by Andrea Cochran Landscape Architecture | acochran.com

steel edging by Andrea Cochran Landscape Architecture | acochran.com

The 2′ buffer around the house needs edging and topping off with beach pebbles. In the past, we’ve gotten them through Stoneyard in Massachusetts. Their Mexican Beach Pebbles are dark, flat and the classic choice. Their New England pebbles, more irregular and frequently egg-shaped. Blech. In Rhody, Watson Mulch has a nice, small, tumbled pea gravel but their pebbles, not so much.

Have spent an embarrassing amount of time researching edging. Plastic and rubber, yuck. Stone, too pricey, too cottagey. Metal is by far the most minimal. Aluminum looks cheap and insubstantial to me — like it’ll crimp if you breathe on it wrong. Yes, have looked at all the brands out there at various price points and don’t like any of them. Decided since we have steel in the rest of our hardscape, maybe that’s the best choice. I’ll save details for another entry but the best contender so far is Border Guard — it even comes in galvanized steel so it would tie in with the rest of our hardscape. Sold.

THE PATIOS, UNDONE

I won’t waste your time repeating my patio wishes. Let’s just leave it at “it ain’t done yet.” We did, however, manage to meet with Tom Zilion of Madstone Concrete to discuss what all this vision might cost. He’s all about the nuances of finish and color…
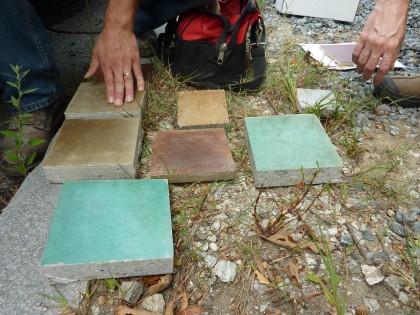
overwhelmed by colors

Any color, including black. And yet we find ourselves drawn to the straight-forward grey…
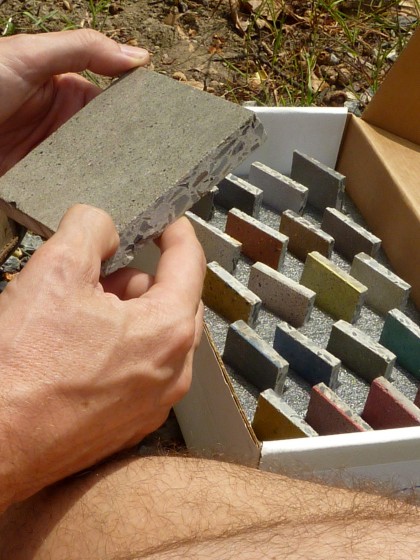
you just can’t go wrong with classic grey

God, we’re boring. But it just makes the most sense when you want the house to be the hero, not the patio. Black would look amazing, but it gets hot in the sun. Not ideal for bare kiddie feet. We’re still discussing possibilities with Tom. He does beautiful work, so expect to hear more about it.
See what you missed while I was out? Nothing. Just project after project, and all of them Undone.