After a week of posts from Mr. Bettridge on the downstairs progress, we might just be caught up! Take it away, David…
—————————————————————————————————-
To make the downstairs more comfortable (and cheaper to heat) in the winter, we decided to insulate the floor slab. Our house scientist wanted 2” of foam, but we didn’t think we could afford to give up that much headroom, so we decided to use 1” instead.
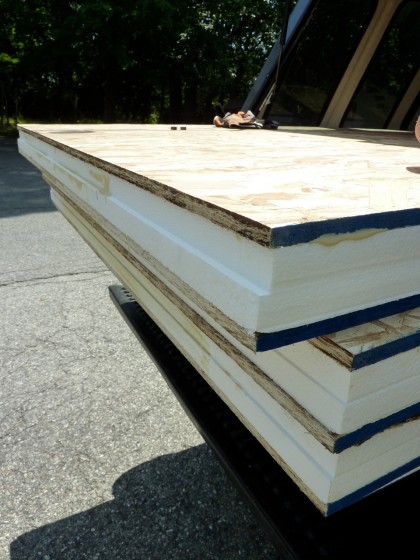
Then we became concerned that the foam alone might not be enough — its 20 psi load rating isn’t high enough to properly support furniture and whatnot. So we had local Branch River Plastics make us a bunch of these panels…
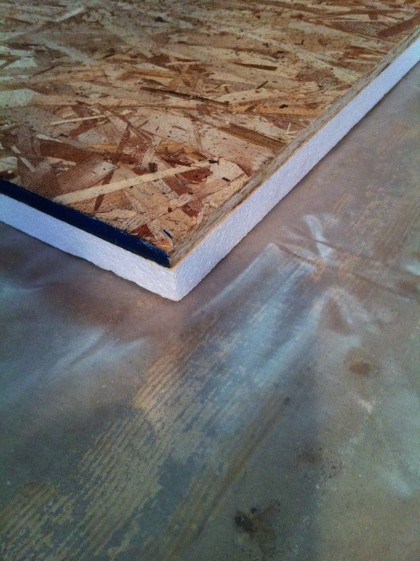
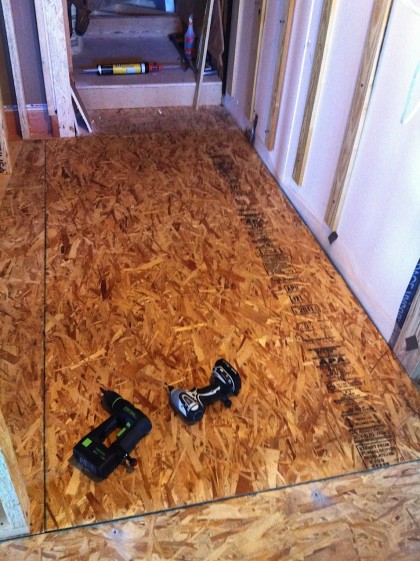
It’s the same EPS (styrofoam) we used at 3” thick to insulate the foundation walls, only these are made of 1/2” thick 4’ x 8’ OSB (oriented strand board) glued to 1” EPS….
The non-formaldehyde, non-outgassing OSB spreads out the weight of people and stuff on top of it and provides a nice stable surface for the finish floor to rest on…
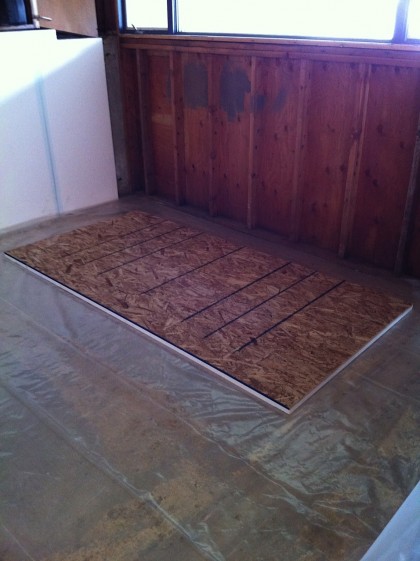
Underneath the foam is 6 mil plastic that acts as a vapor barrier, keeping moisture out of the floor system. Even in its not-quite-completed state, the basement is down to 45% humidity which is great.
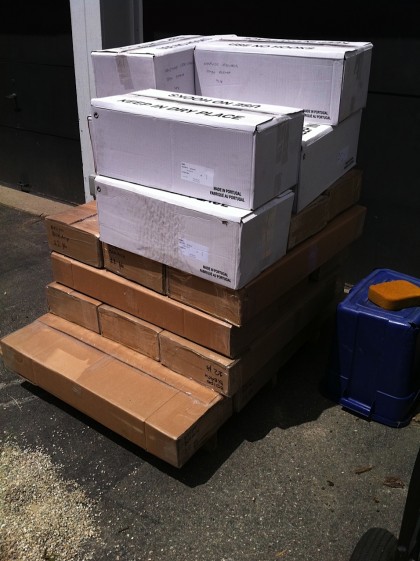
Eventually — well, soon — the cork floor planks will be installed over the top of the insulation panels. Until then, they wait…
Luckily, they’re no longer waiting in the driveway.
The last piece of sub-floor went in twice because of the leak in the foundation wall. On the right you can see the 6 mil vapor barrier coming out from under the sub-floor and up the wall. It got sealed to the 3” foam with non-hardening sealant (in that big caulking gun on the step)…
Give me a few more days and I’ll show you how we’re prepping the bathroom floor in a slightly different way.
Tags: energy efficiency, flooring, insulation, remodel
[…] majority of the downstairs floor is insulated and ready for flooring but the bathroom is its own special case. Way back in March, I removed the […]